CATAN 3D - Ultimate Storage Box System


Print Profile(2)


Description
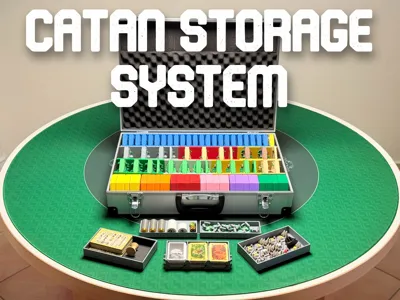
CATAN 3D - Ultimate Storage System
I finally finished my version of the Ultimate Storage System for 3D CATAN.
I searched everywhere online for the perfect OCD-friendly storage system for my 3D Catan set.
After hours of frustrating searching, I couldn’t find exactly what I wanted.
So, I took the best designs I found and created my own, which works perfectly! No cm is wasted!
This storage system has enough space to accommodate nearly every scenario from Settlers: Complete Edition.
Products needed for this build:
- Flightcase from Amazon. (Measurements Outside = 500 x 120 x 350 mm, Inside = 490 x 100 x 340 mm)
- Universal Anti Slip from Amazon.
Credit where credit is due:
- @mprommeg for the CATAN 3D Colorway-Inspiration
- @copehill077 for the Organizer Trays (use all of his Trays EXCEPT the desert Trays which I designed, up in print profiles)
- @DirkMcGirk for the Catan Player Pieces Box
________________________________________________________________________________________________________________________________________________
Building Plan
 | Step 1: Take out the bottom inlay of the flight case. |
 | Step 2: Measure, cut and add the Universal Anti Slip Material |
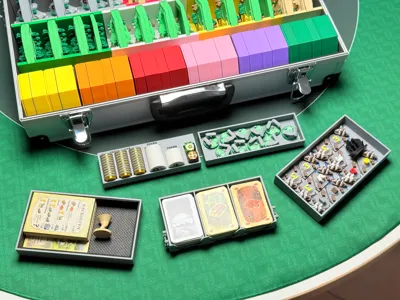
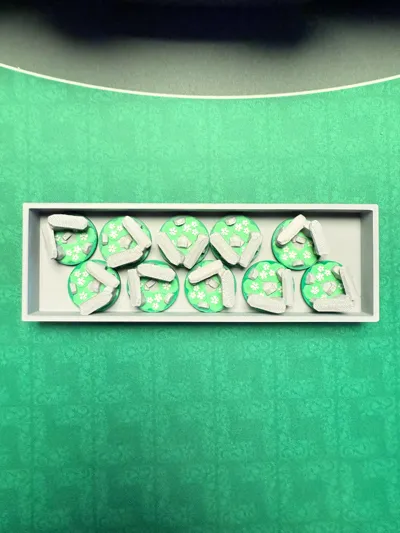
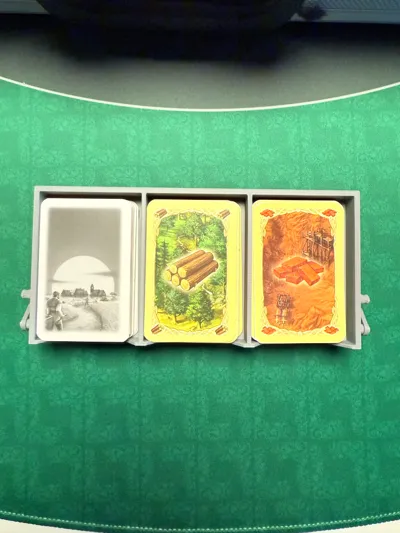
 | Step 3: Add the Organizer Trays |
  | Step 4: Add every row of Organizer Trays for all Resources as shown |
  | Step 5: as before |
  | Step 6: Add the Catan Player Pieces Box (I recommend securing it with a rubber band to keep everything together.) |
 | Step 7: Cut out the top section of the foam as shown in the picture (about 9cm) |
  | Step 8: Cut a piece of thinner foam from the flight case leftovers and attach it to the upper section. This helps reduce the tightness of the trays for a smoother fit when closed. |
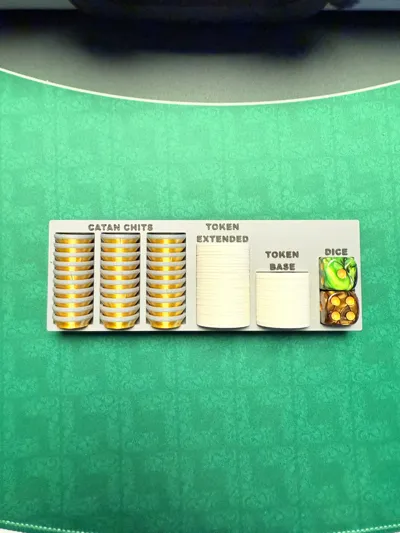
     | Step 9: Apply universal anti-slip material to the bottom of each tray for added stability. For the dice tray, you can also line the inside to reduce noise while rolling. |
 | Step 10: Arrange everything in the order shown in the picture, and you're all set! |

INFO:
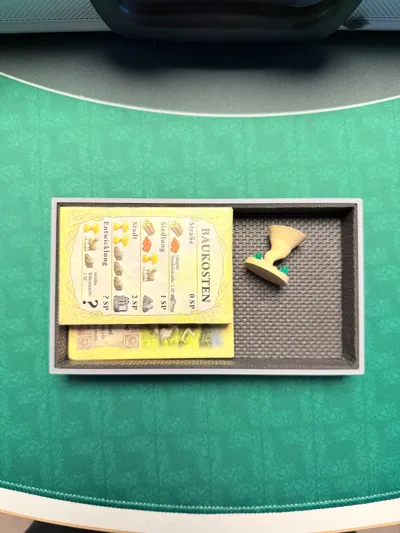
The cardholder is designed for 44x68mm cards. If you want to use the same arrangement for larger cards, make sure the width does not exceed 16 cm.
License
You shall not share, sub-license, sell, rent, host, transfer, or distribute in any way the digital or 3D printed versions of this object, nor any other derivative work of this object in its digital or physical format (including - but not limited to - remixes of this object, and hosting on other digital platforms). The objects may not be used without permission in any way whatsoever in which you charge money, or collect fees.
Comment & Rating (35)