
Futuristic Bluetooth Speaker
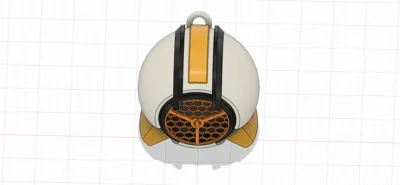
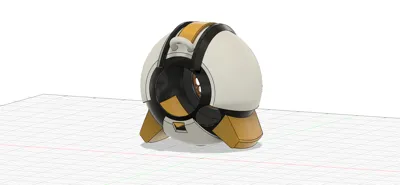
Print Profile(1)





Description
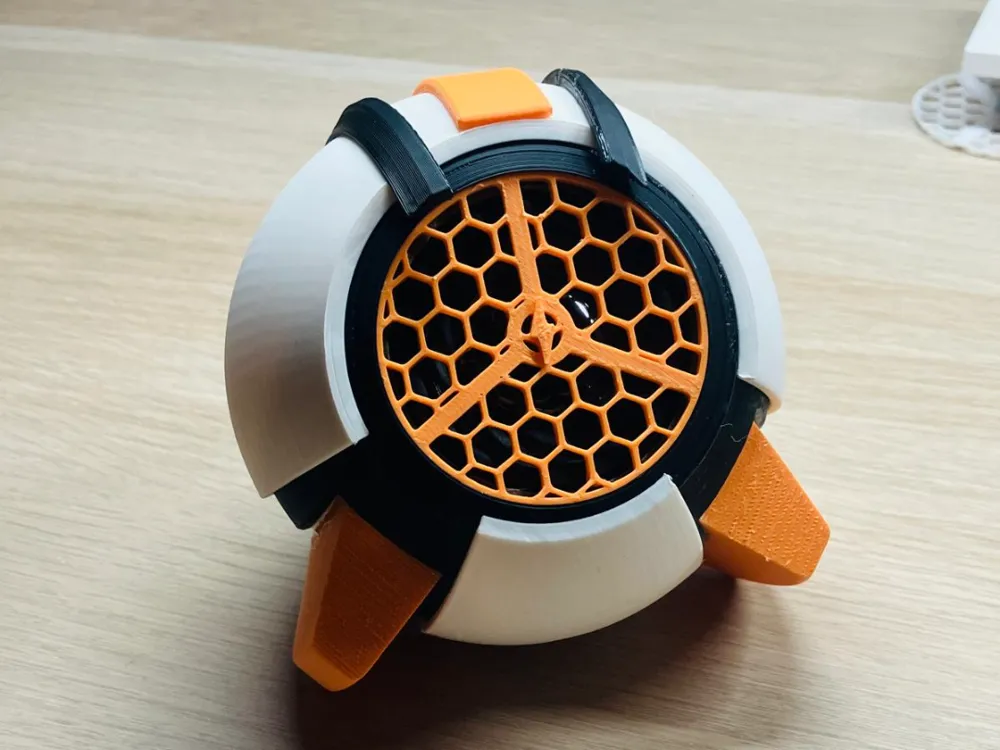
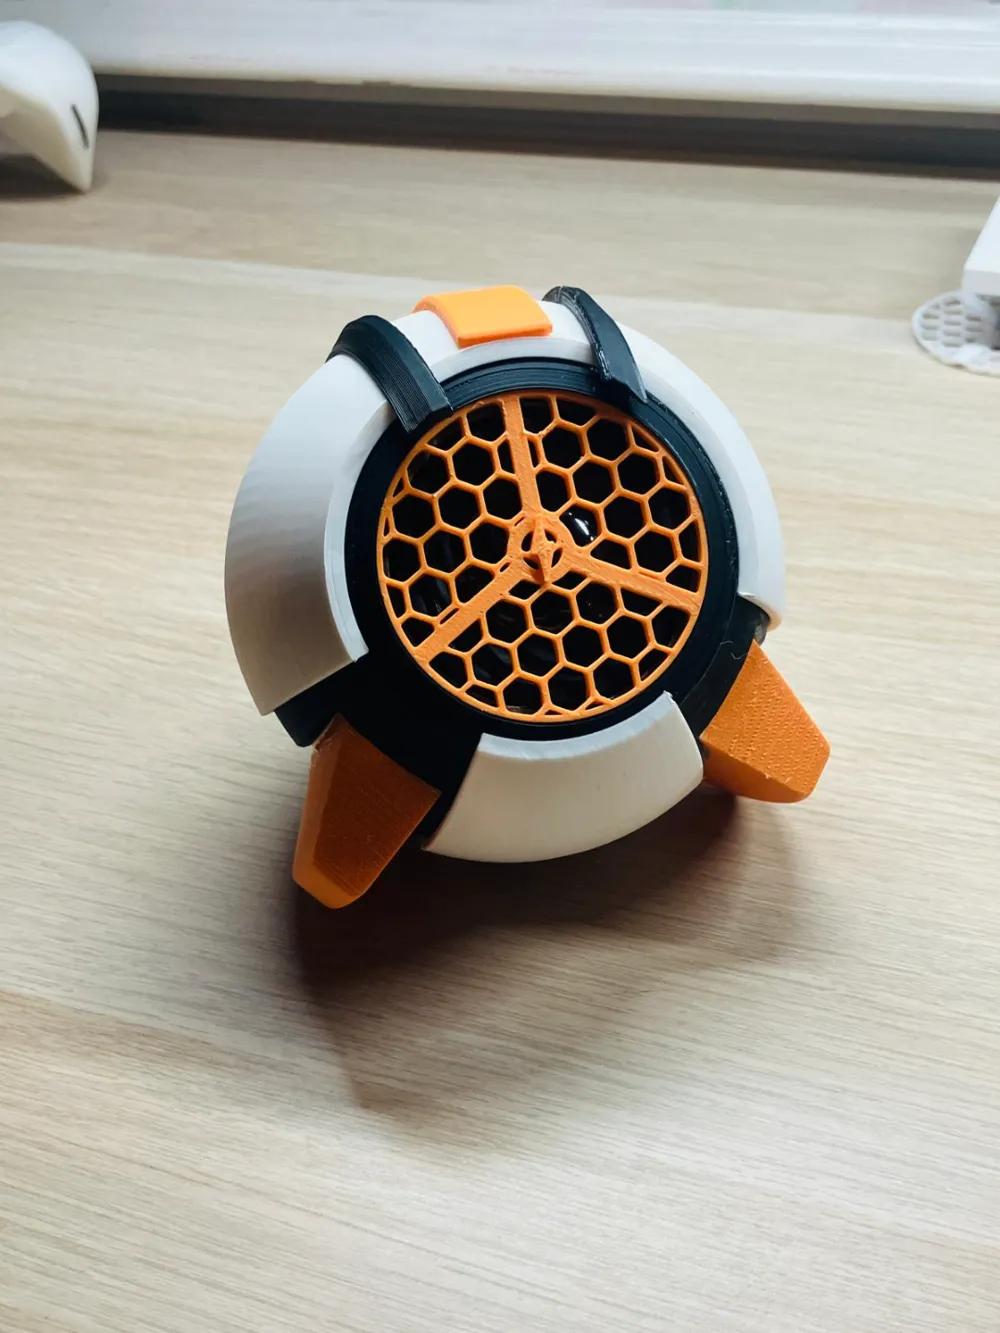
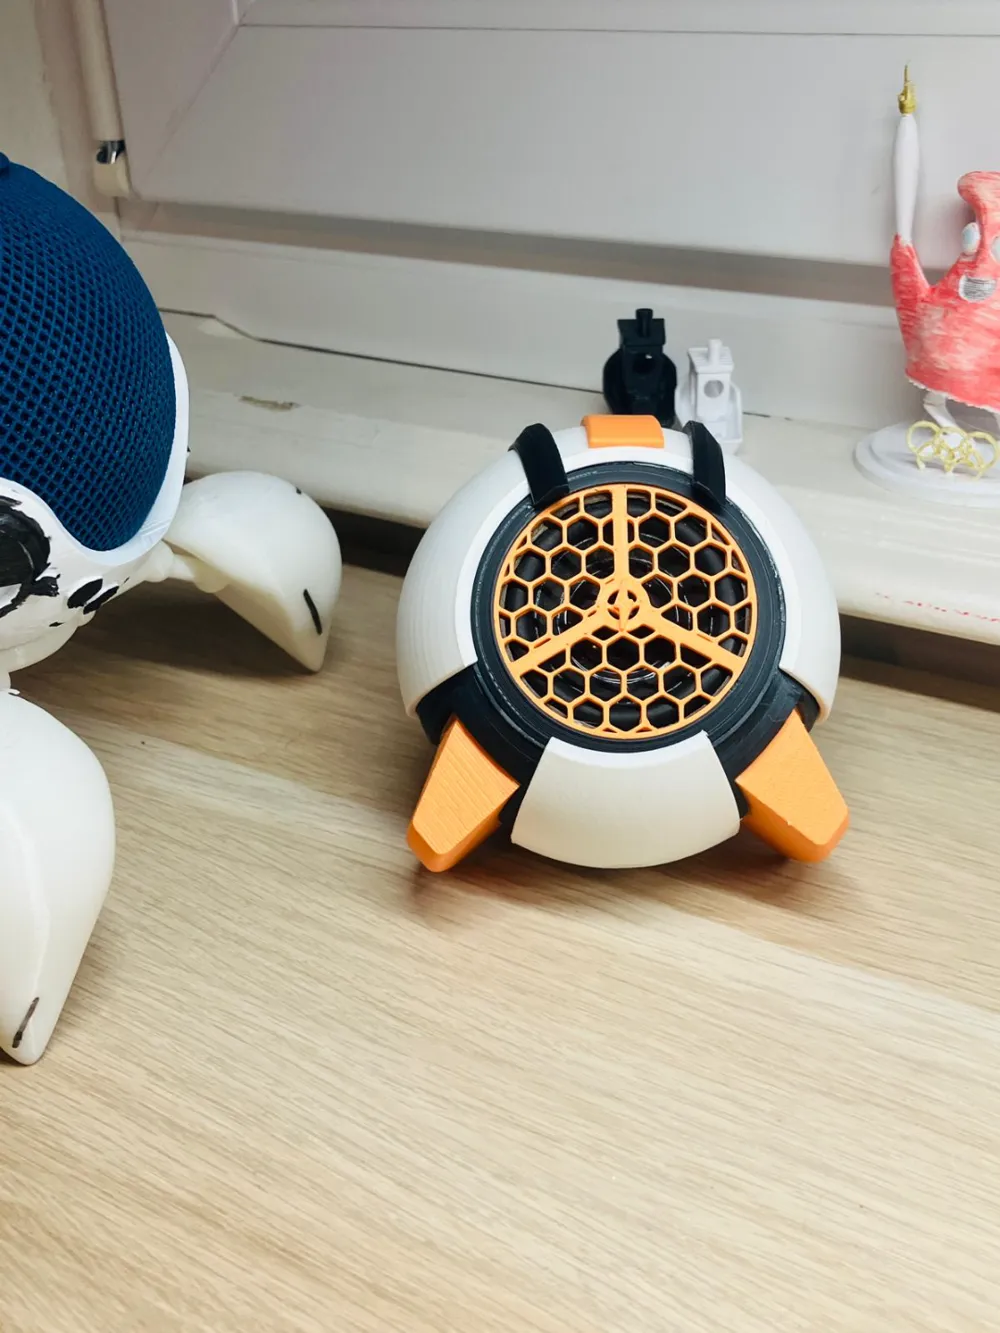
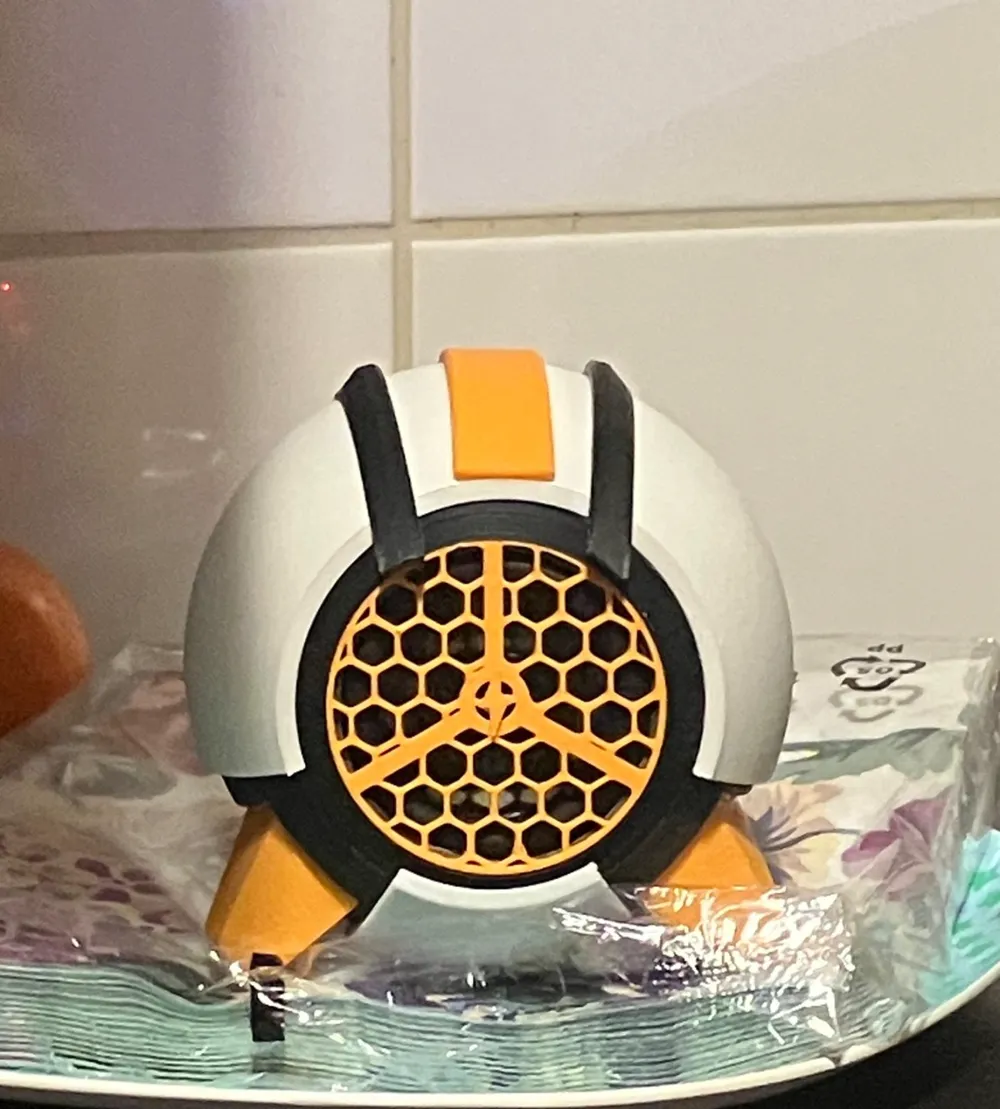
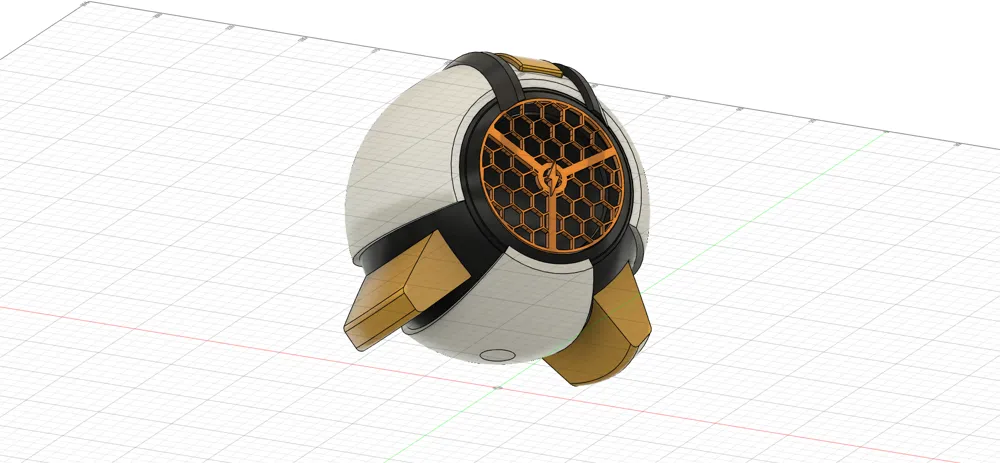
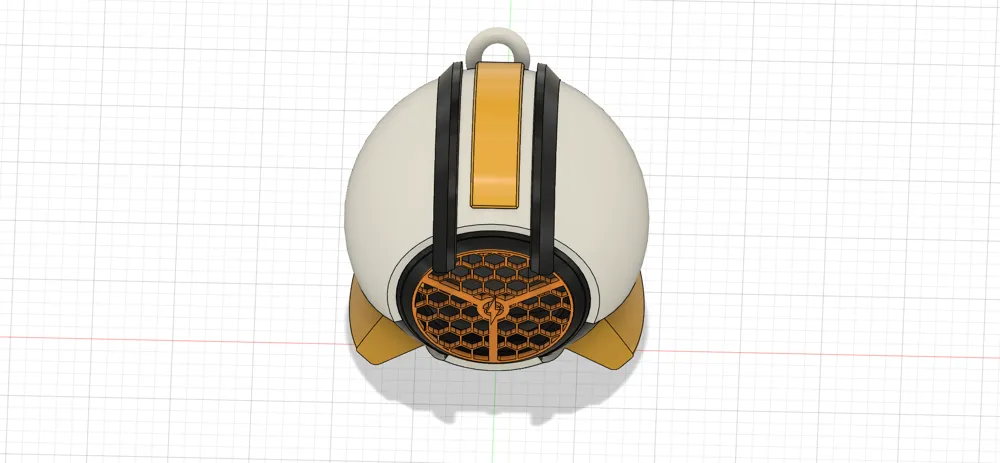
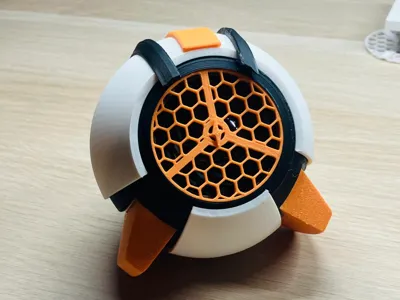
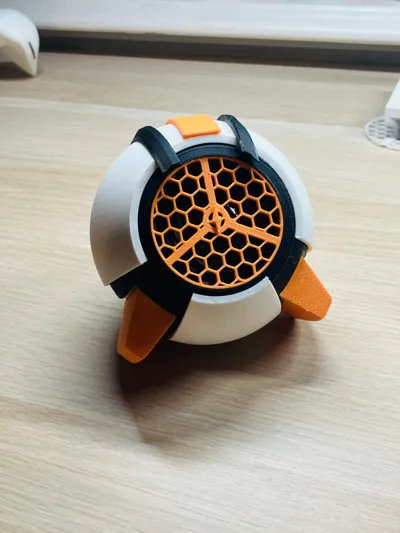
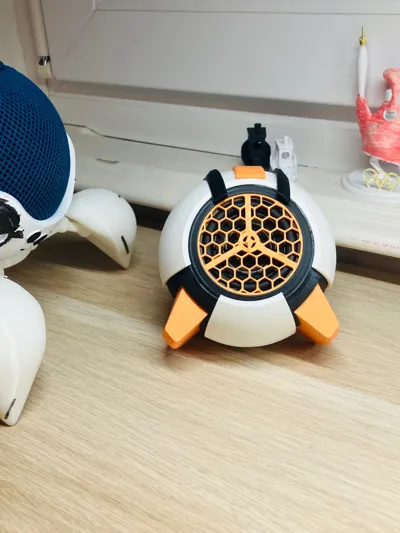
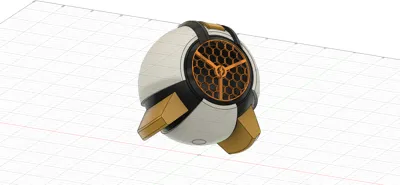
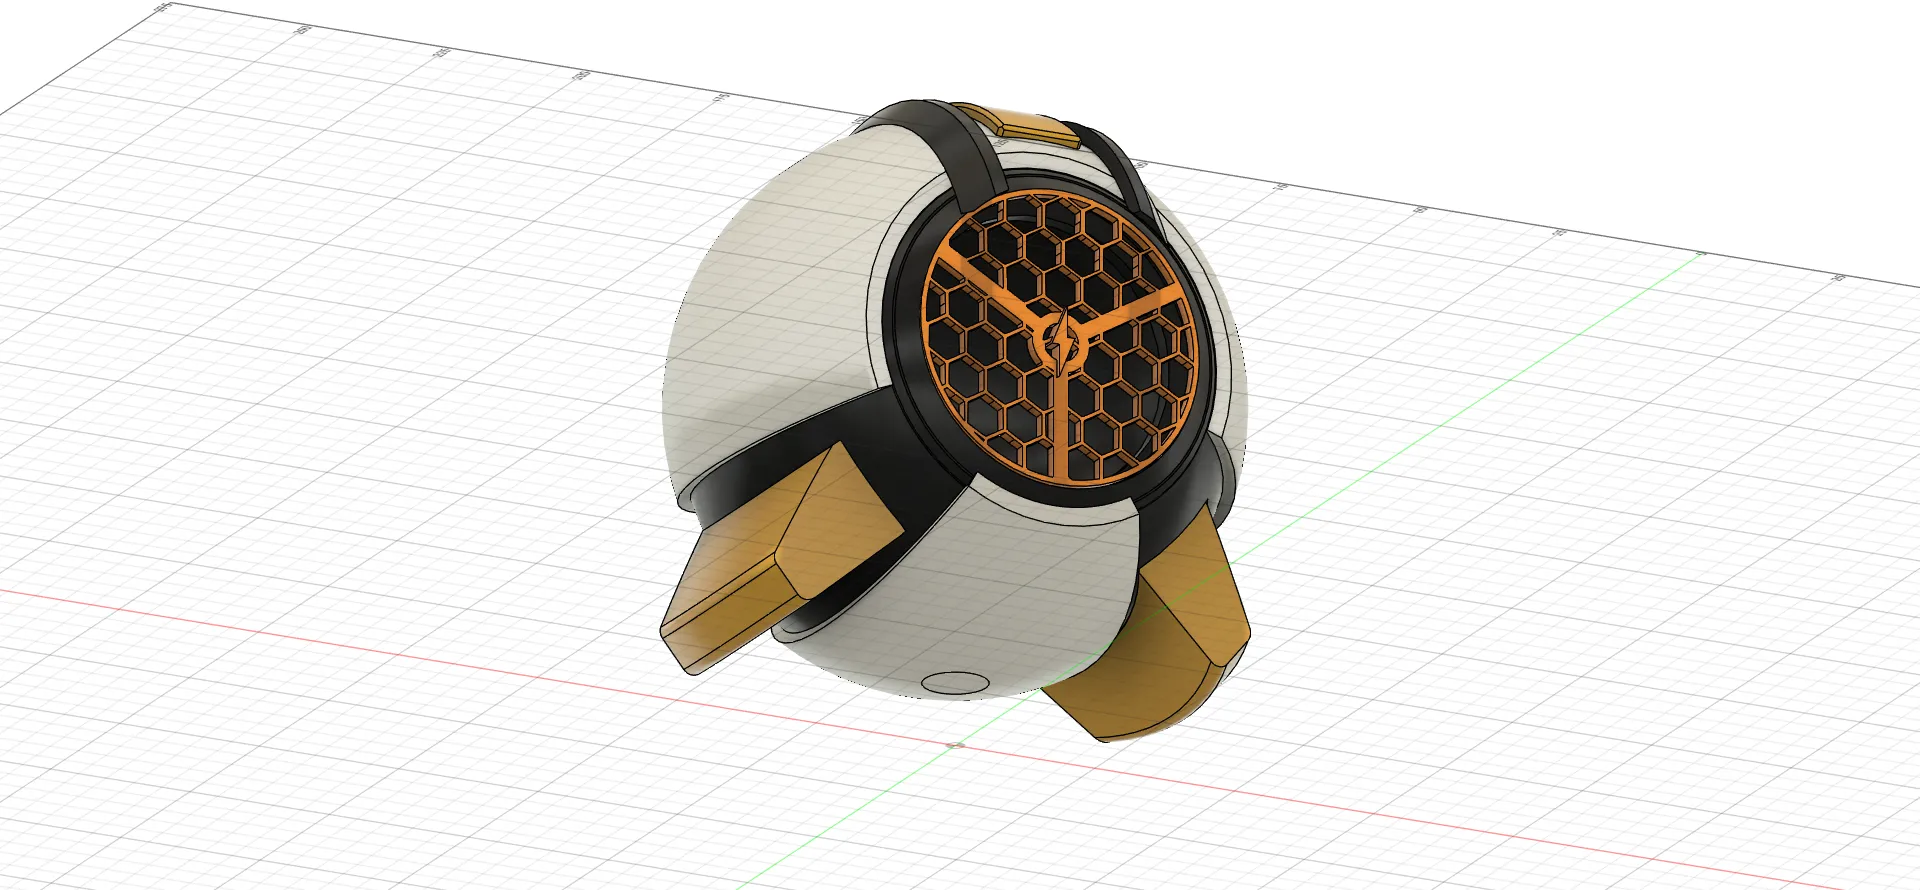
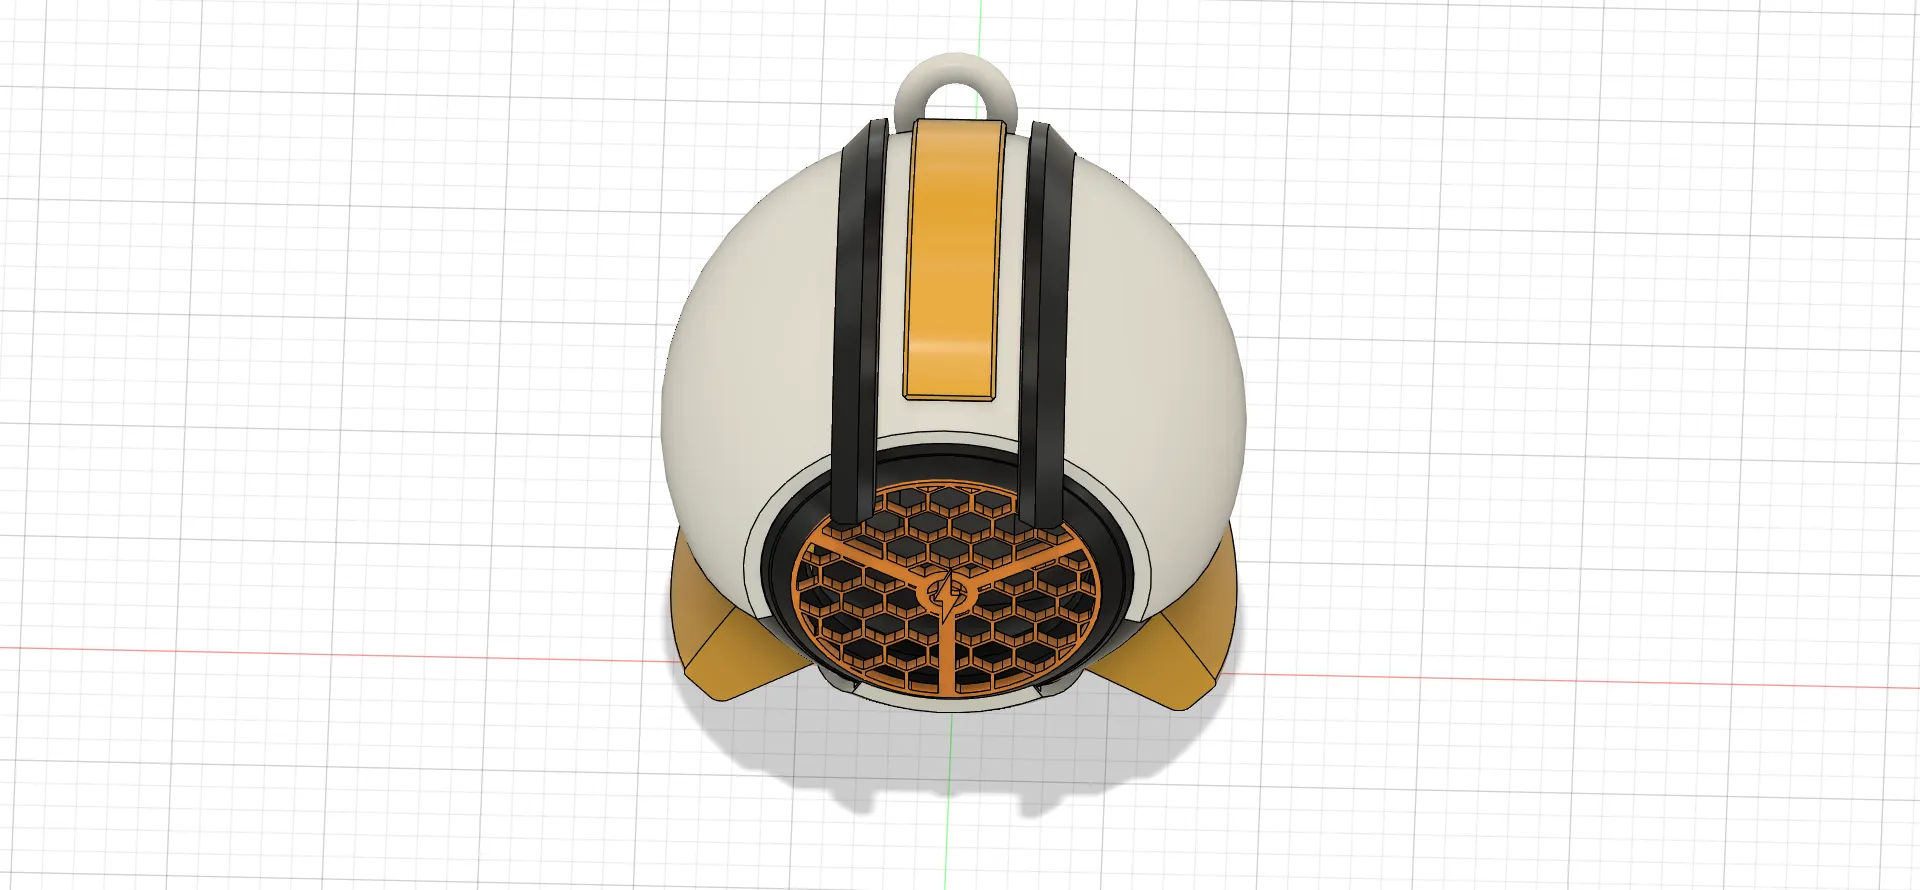
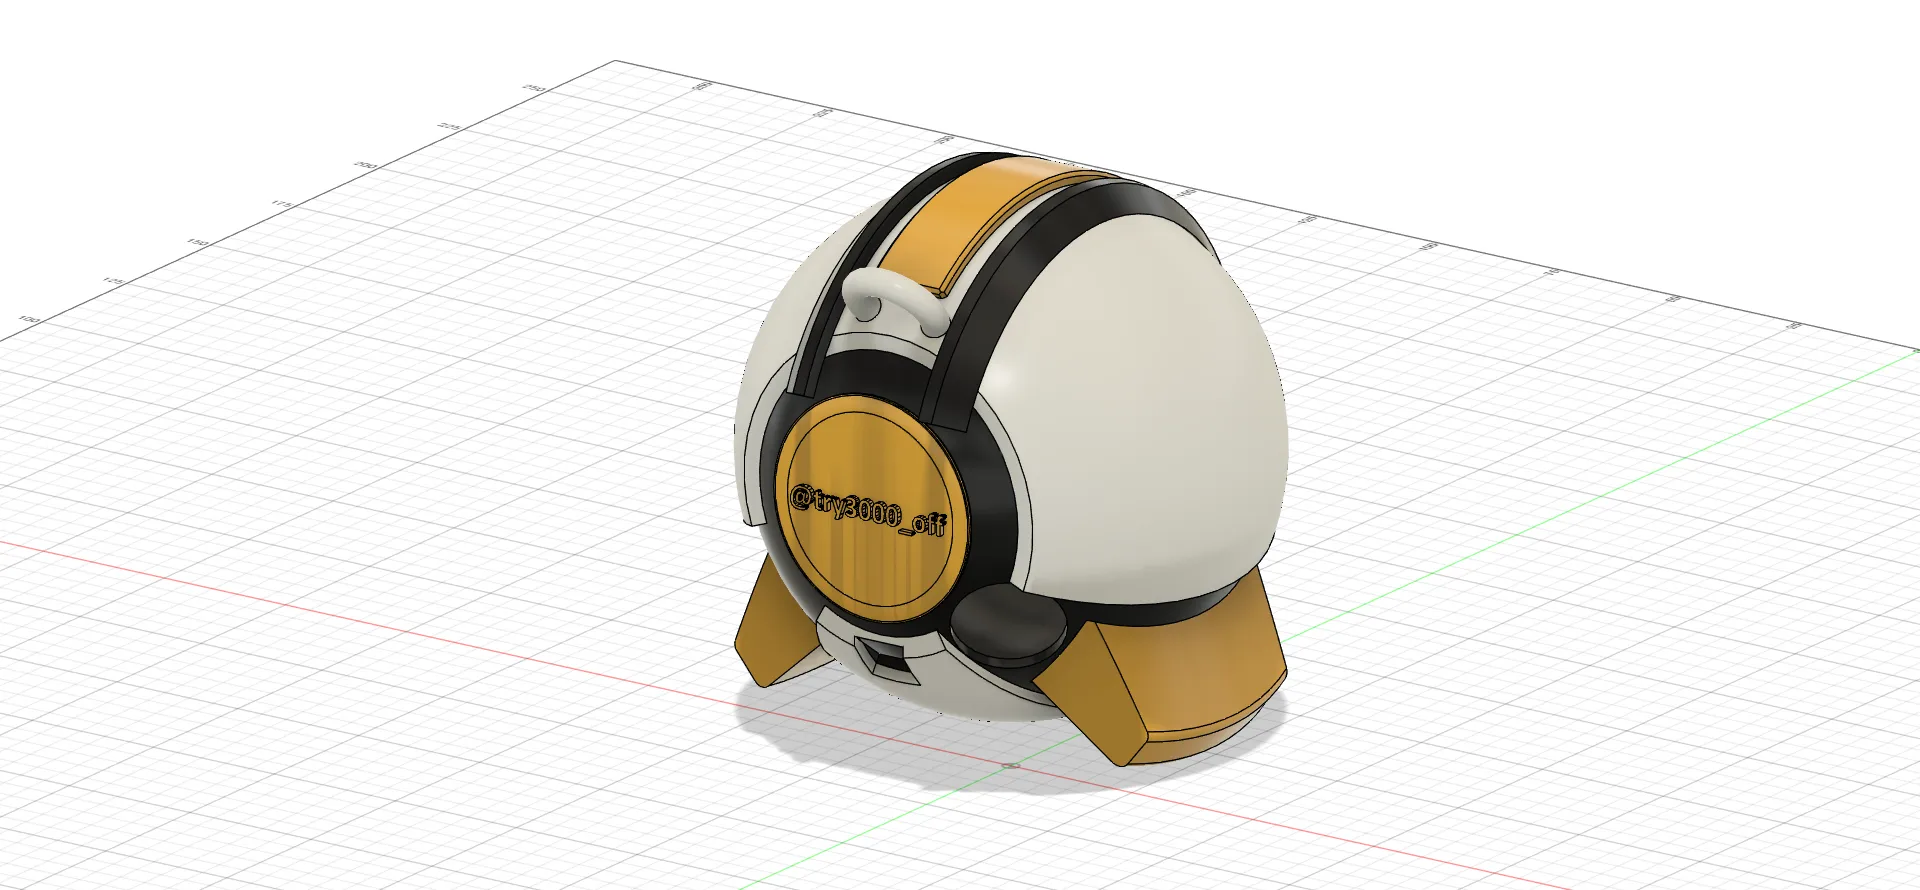
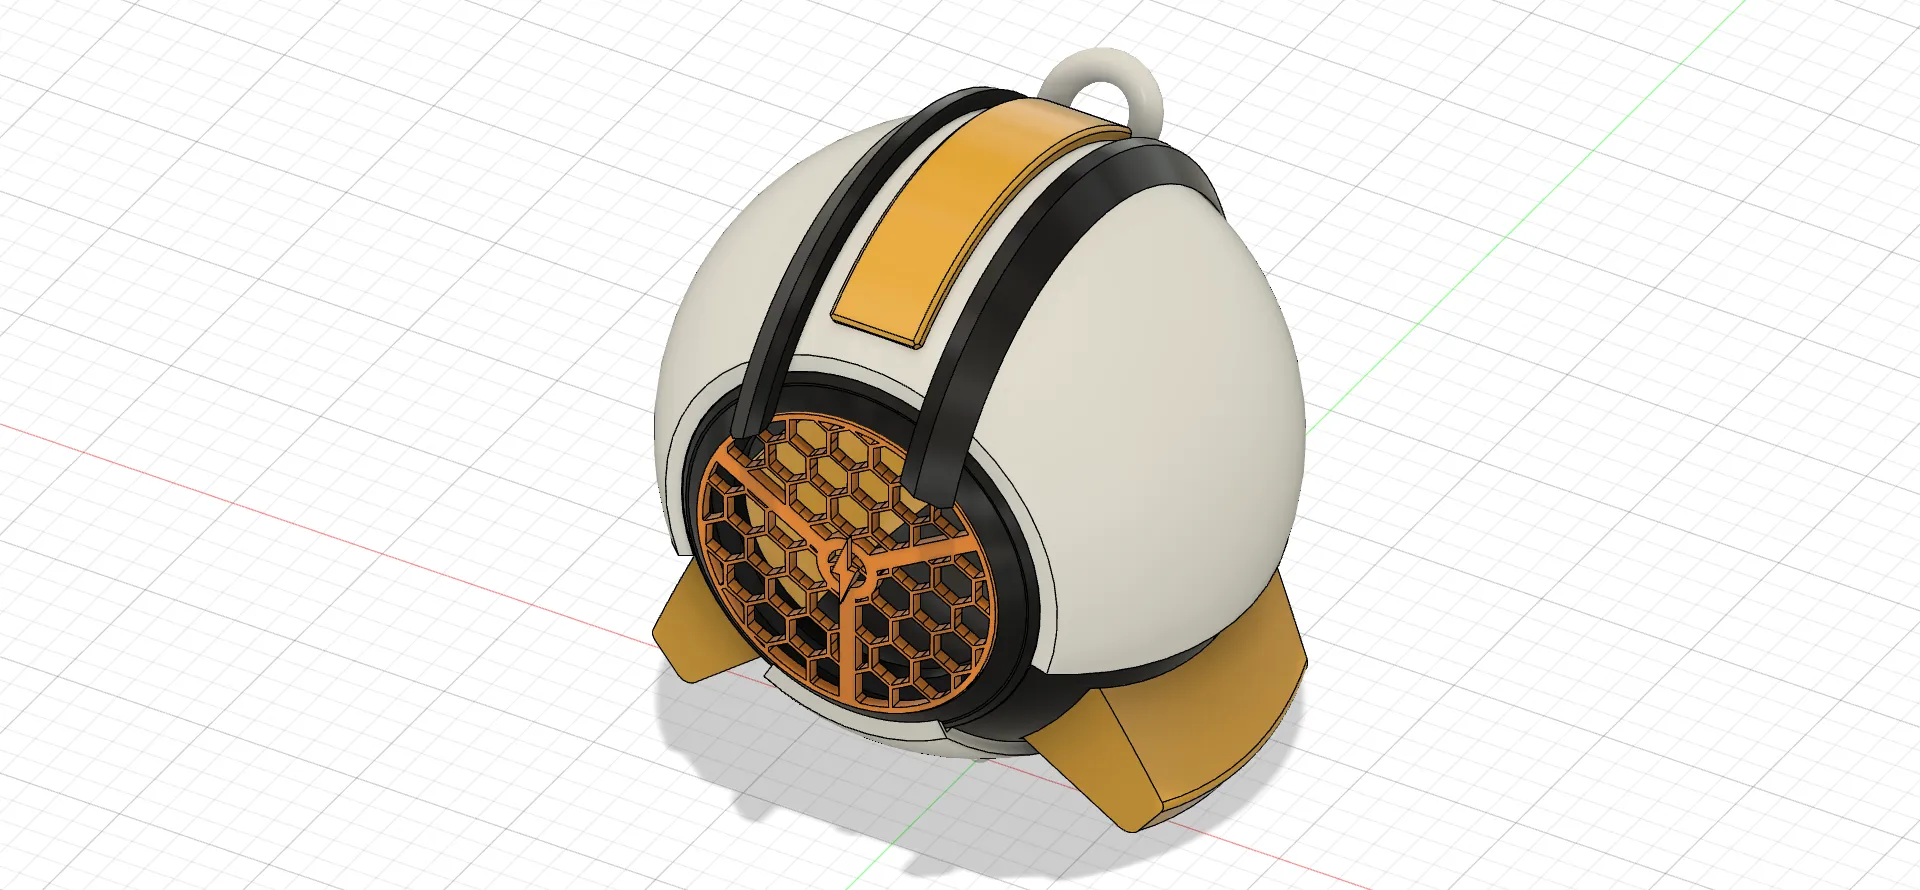
I have designed a futuristic Bluetooth speaker. It's perfect to impress your loved ones! Feel free to choose your own colors for even more originality. You can tell me in the comments which colors you would like, and I can model them for you so you can have a preview before printing your own speaker.
Technical details for the embedded electronics:
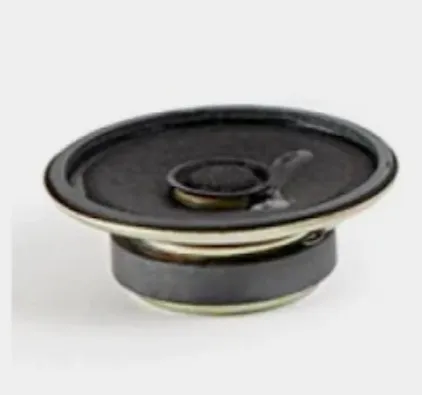
5v 5w speaker (50mm diameter)
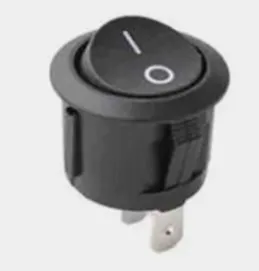
Push-button switch (+-20mm diameter at its base)
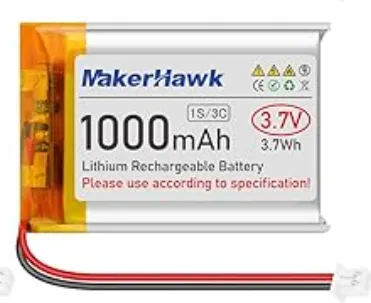
1S lipo 3.7v battery (minimum 1000mah for good battery life)
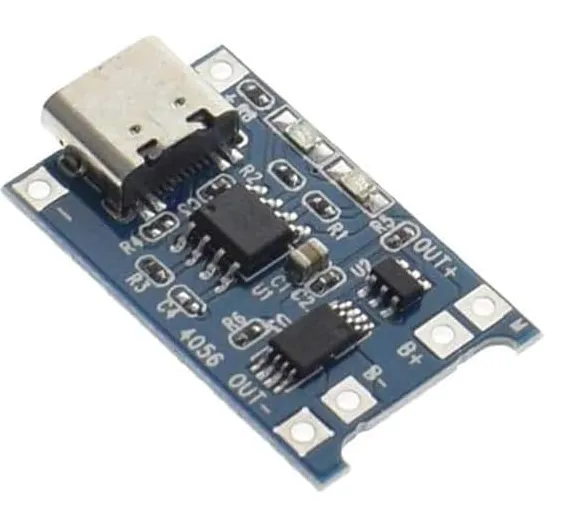
USB-C charging module for 1S battery
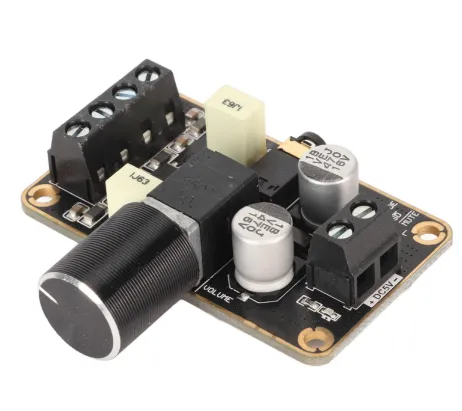
5v Bluetooth module (This image is not the module I used, mine no longer exists. But there are many very functional modules, you just have to make sure that there is no USB charging port, as this would complicate the power supply of the board which is done by battery and not by USB.)
Regarding assembly:
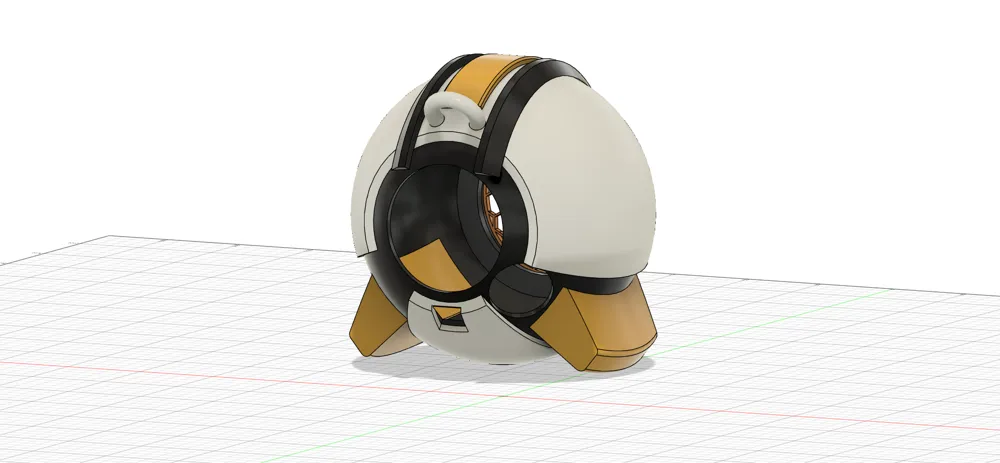
- Glue the two feet from the inside of the main sphere.
- Insert the ON/OFF switch into its designated space.
- Connect the battery to the charging module.
- Connect (via soldering) the switch in a closed loop including the charging module (on the charging pins), the switch, and the Bluetooth module.
- Place all components in the main sphere.
- Connect the speaker and insert it into its place.
- Apply glue around the speaker, glue the “link” piece, then carefully insert the “grille” over the speaker.
- Apply glue to the “D” piece and glue it under the main sphere.
- Apply glue to the “speaker cover” piece and glue it to the main piece.
- Insert the “back” piece at the back of the speaker.
- Glue the “A”, “B”, and “C” pieces to the top of the speaker.
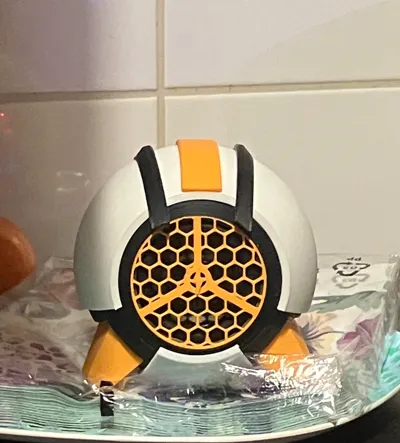
Use the photos as a guide, ask for help in the comments if you encounter a problem.
Boost Me (for free)
Do you like my projects? Send a boost, it's free and it's greatly appreciated :)
License

You shall not share, sub-license, sell, rent, host, transfer, or distribute in any way the digital or 3D printed versions of this object, nor any other derivative work of this object in its digital or physical format (including - but not limited to - remixes of this object, and hosting on other digital platforms). The objects may not be used without permission in any way whatsoever in which you charge money, or collect fees.


Comment & Rating (5)