Coin Launcher with Backspin (Fun Desktop Blaster)


Print Profile(2)


Description
WARNING: THIS TOY CAN DAMAGE TV's, WALLS, WINDOWS ETC… Please be safe.
When i was a kid I always wanted a gun that shot pennies. more specifically i wanted it to throw them pretty fast and reasonably accurate and spin stabilization.
The is version 1 which is a single shot model with a swing arm.
Assembly
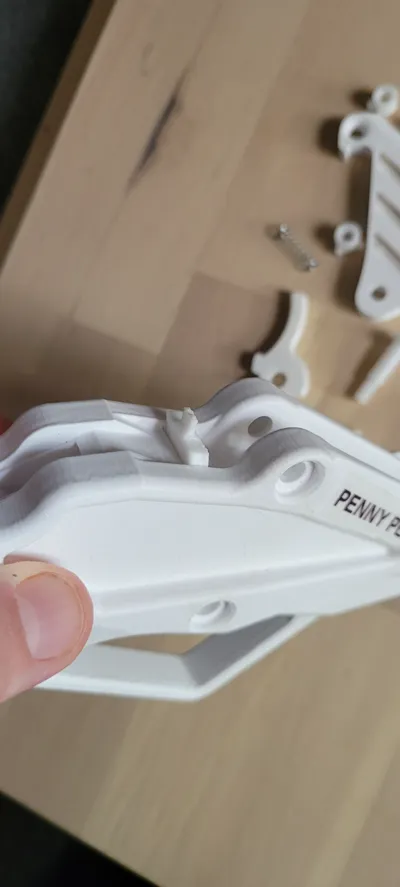
Step 1: print and gather your parts. In addition to the printed parts you will need a clicky pen spring and some rubber bands. I got my pen spring from a pilot G2. It is very important to print the “bumper” out of TPU so that you dont break swingarms.


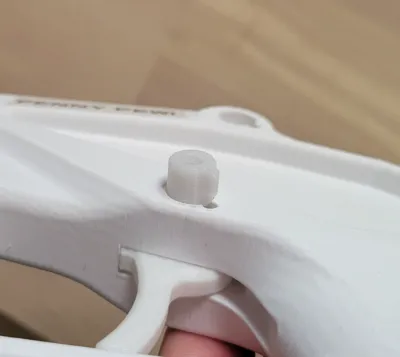
Step 2: insert the penny finger into the main body as shown. this should be snug, but removable if it were to break. I figure its way faster/easier to print just the finger instead of a whole new body.

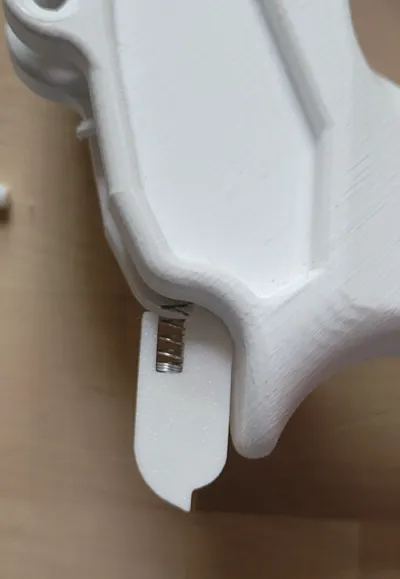
Step 3: insert the spring into the “rack” and insert the “rack” and spring into the main body as shown this should spring in and out freely.

Step 4: while pressing in on the “rack” insert the trigger in through the trigger guard and capture the assembly with a screw. This can be trick to line up, but when you have it correct the trigger will pull the rack in and out.

Step 5: insert the swing arm in the top hole and capture with a screw. Both screws get a nut added to the body on the other side. Tighten the screws, but not so tight that it restricts movement.

Step 6: insert the bumper into the front of the main body. this should just be a friction fit.

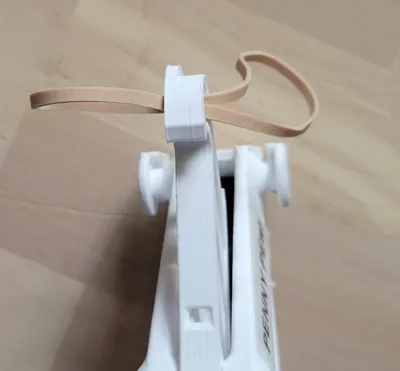
Step 7: add your rubber bands. If you struggle to get bands through the eye of the swing arm you can use a piece of purge filament to thread through and pull the bands through the hole easier.

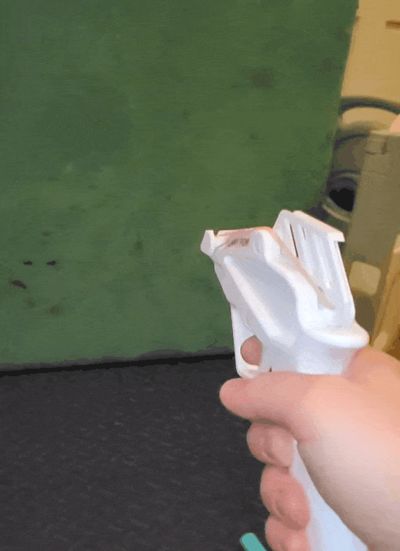
To fire: pull the swing arm back until it locks into place. insert a penny in the top slot of the swing arm making sure to press it in past the “click” and the penny is fully inside the swing arm. this is an interference fit, but should not require too much force.

Edit 2/7/2025: I added a new stronger print profile and I added the 3 new files for the main body that allow users with an A1 mini to print this with a shorter grip for the smaller build volume. There are essentially two options; 1. a one piece short grip version or 2. a two piece glue together version that has the same grip length as the original. I do not have access to an A1 mini so i cannot print and validate a profile for this one but just use the same slicer settings as for the profiles i already uploaded.
License
You shall not share, sub-license, sell, rent, host, transfer, or distribute in any way the digital or 3D printed versions of this object, nor any other derivative work of this object in its digital or physical format (including - but not limited to - remixes of this object, and hosting on other digital platforms). The objects may not be used without permission in any way whatsoever in which you charge money, or collect fees.
Comment & Rating (46)