Motorization Kit For Your Tiny Train


Print Profile(3)


Bill of Materials


Description
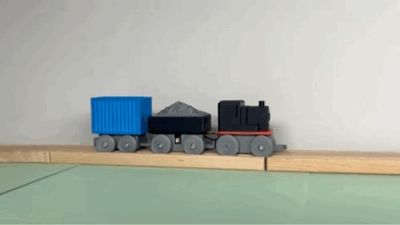
This is a motorization kit for One Maker Show's epic Tiny Train model! You don't realize how TINY that train system is until you're trying to stuff a motor into it, but it was a fun challenge!
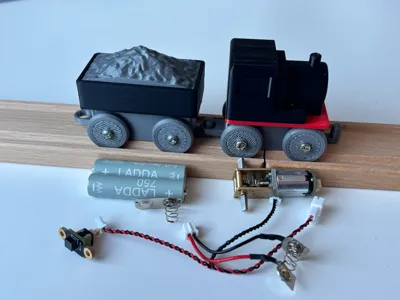
The secret is the equally tiny N20 Dual Shaft Worm Gear Motor. I used the parts included in the Endless Loop Express kit, but I will link to the supplies individually as well.
The concept is simple - I hollowed out one of the Tiny Train bases and extended the length and height just a little so that the N20 gear motor would fit inside. I designed a ridged train wheel (for traction) that press fits onto the gear motor shaft, and added a top lid so that when closed up, the box still holds your train car of choice using One Maker Show's modular system, though I recommend the old fashioned steam engine because the next car behind it will hold the 2 AAA batteries needed to power it, disguised as an extended coal car.

Assembly Instructions
For the Locomotive:
- Print the drive base, the drive base top, two free-spinning wheels, and 2 traction wheels.
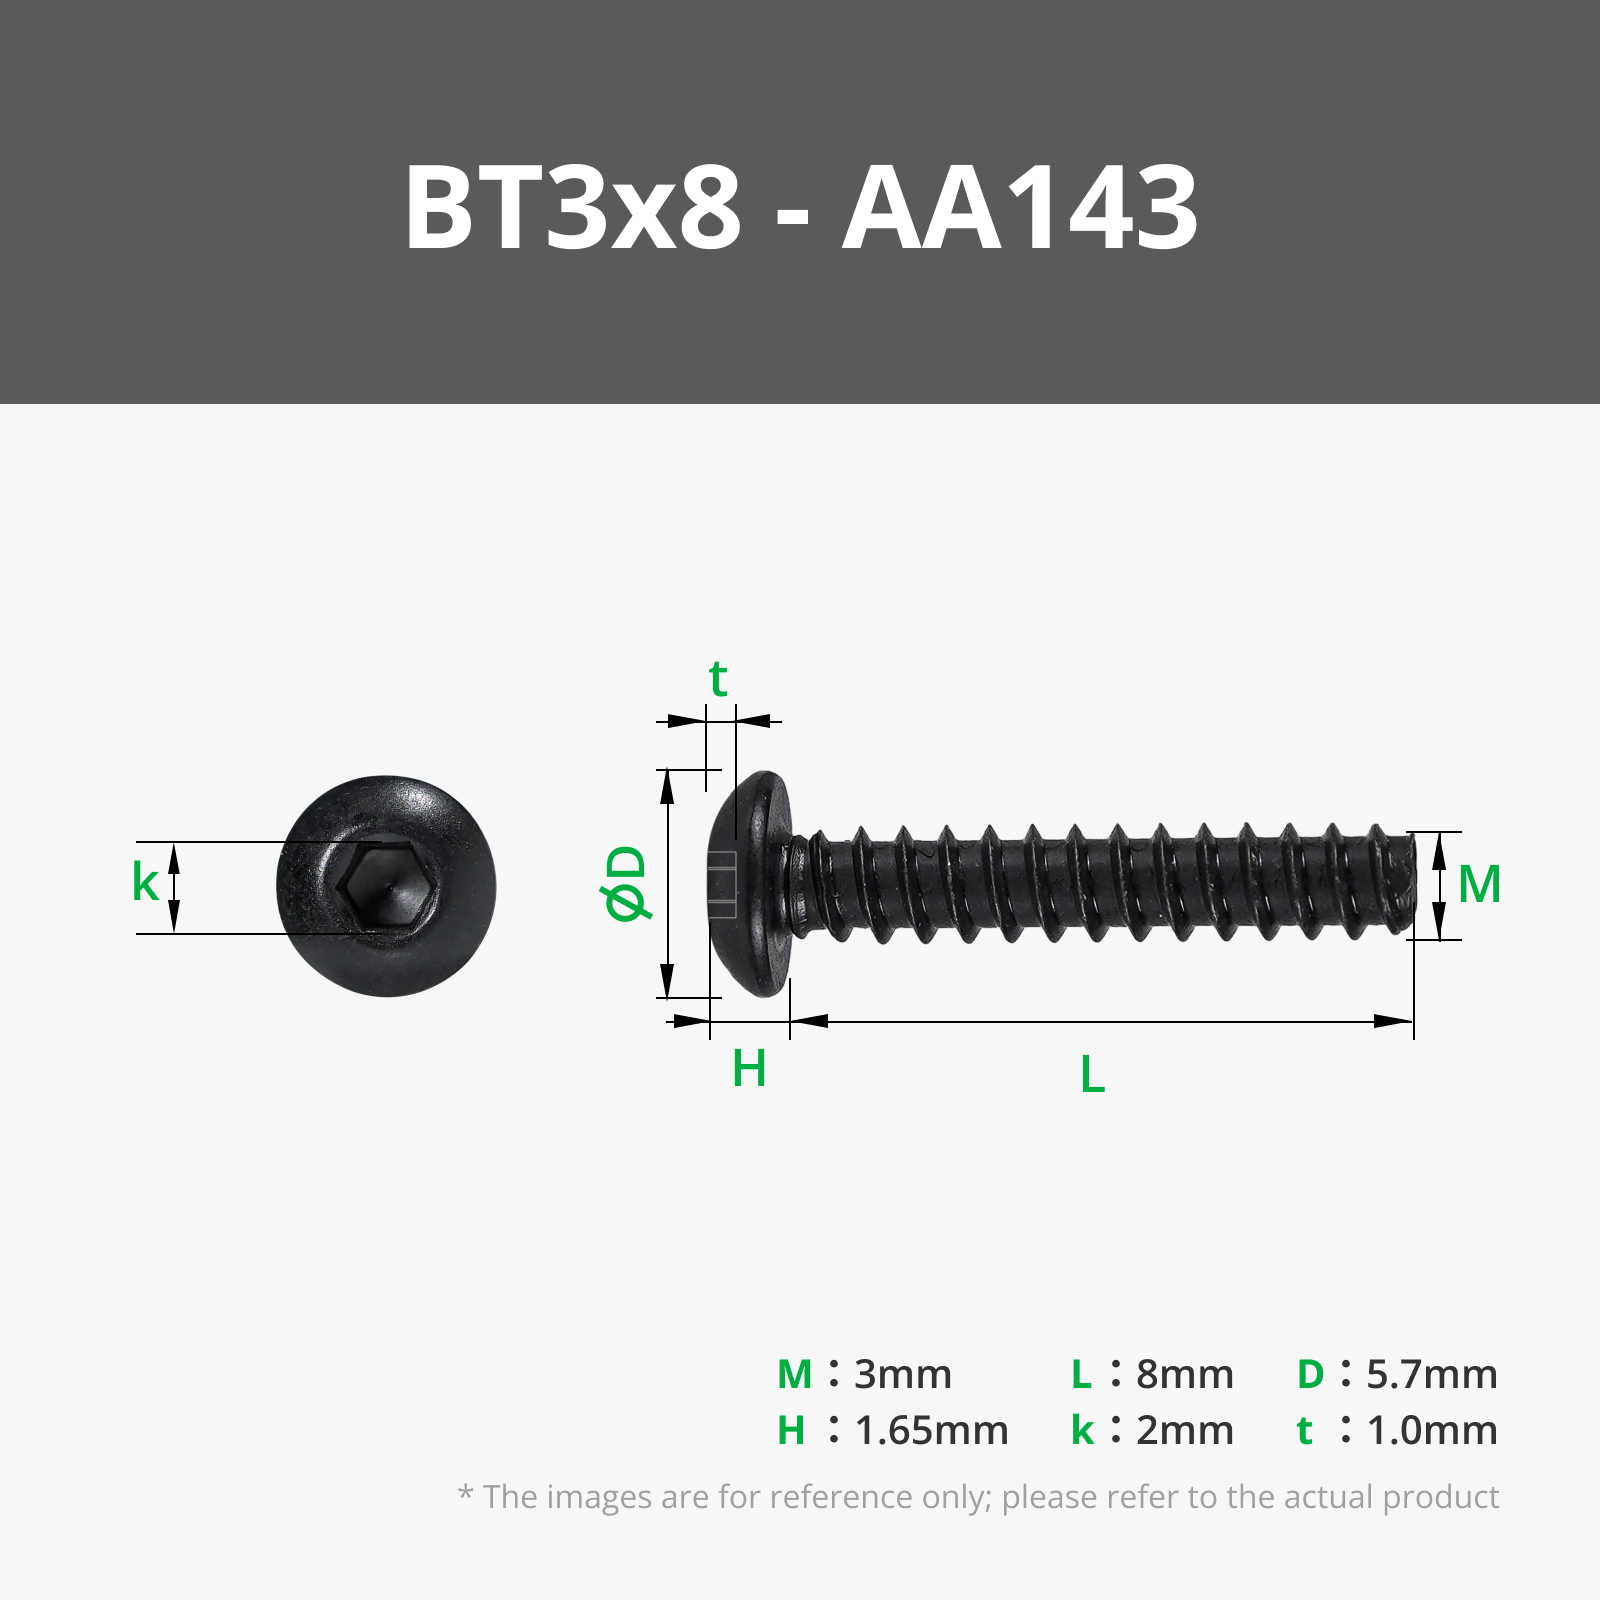
- Attach the free-spinning wheels with button head M3 screws.
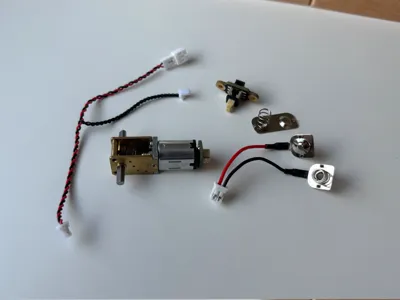
- Press-fit the traction wheels onto the shaft of the N20 gear motor (LA009).
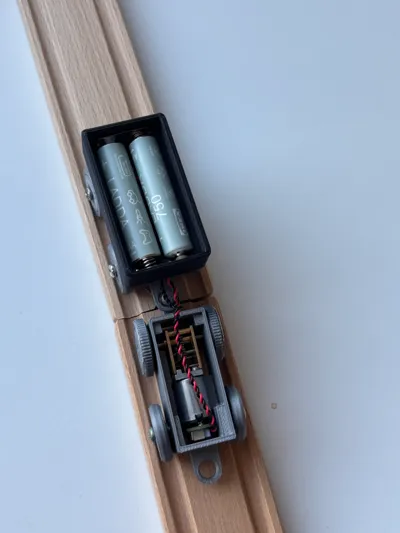
- Drop the drive base chassis over top of the motor so the wheels fit into the axle slots, then rotate the motor and click it into place.
- Note: The direction of wheel spin depends on which way you drop the motor in. I recommend you give it a test run now, and if the wheels spin backwards, just flip the motor over 180 degrees.
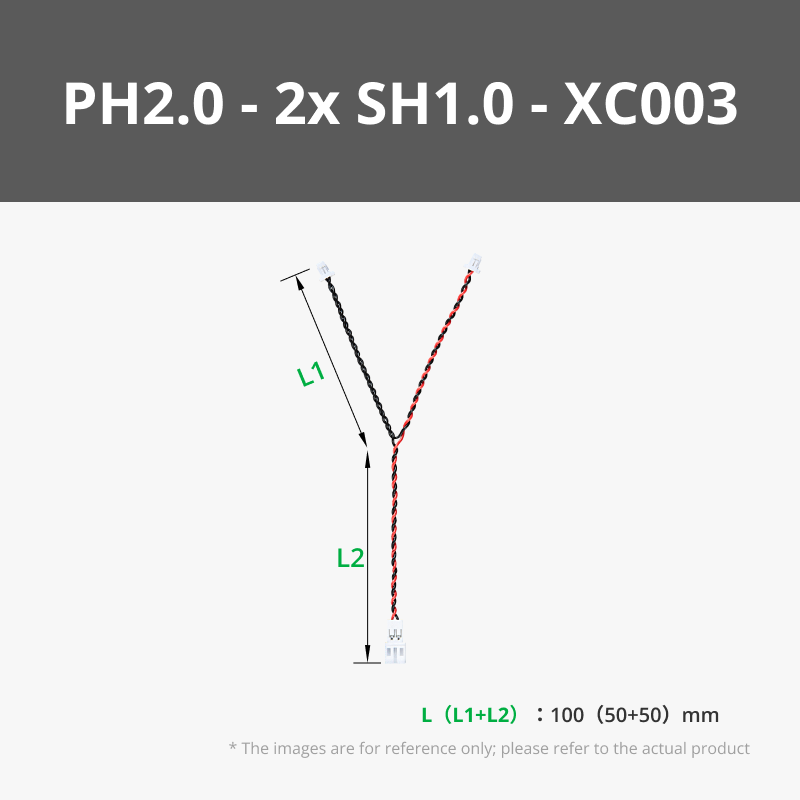
- Attach the power cable (100mm Y Type PH2.0 to Dual SH1.0 Conversion Wire, XC003) and run it out the back of the drive base, through the hole above the coupler.
- Click the drive base top into place and add your favourite locomotive from the Tiny Train system.

For the Battery Car:
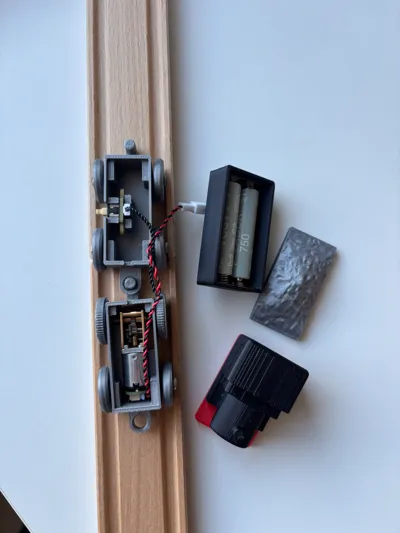
- Print the battery car base, the coal hopper top (which is the AAA battery holder), the coal, and four free-spinning wheels.
- Attach the free-spinning wheels with button head M3 screws.
- Drop the Self-Locking Button Switch (IA006) into the holder in the car base. Make sure the connector is facing up.
- Take the coal hopper top and the AAA battery terminal kit (AAA Battery Spring Contact Plate with PH2.0 Connector, IA008).
- Locate the end of the coal hopper with the slot for the longer AAA battery metal plate. Slide the plate into the slot.
- On the other side, slide the two metal terminals into the two separate slots, making sure to orient the wires pointing downwards. Also make sure that the terminals are opposite what is inserted on the other side, e.g. the spring terminals should not face each other.
- Install two AAA batteries and cover them with the coal.


Assemble Your Train:
- Now couple the battery car to the locomotive. Run the power wires through the slot into the battery car.
- Plug the smaller connector into the power switch.
- Plug the larger connector into the AAA battery terminal protruding down from the coal hopper.
- Tuck the wires into the battery car base and click the coal hopper into the base.
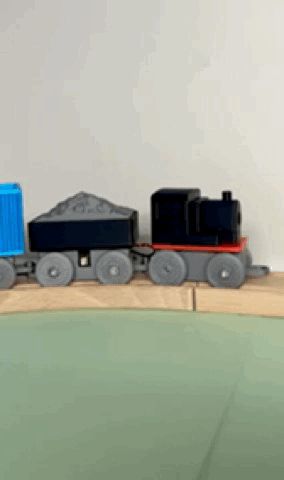
- Your train is now ready to run!

Enjoy your new, powered, Tiny Train!
Boost Me (for free)
I appreciate your support!
License
You shall not share, sub-license, sell, rent, host, transfer, or distribute in any way the digital or 3D printed versions of this object, nor any other derivative work of this object in its digital or physical format (including - but not limited to - remixes of this object, and hosting on other digital platforms). The objects may not be used without permission in any way whatsoever in which you charge money, or collect fees.
Comment & Rating (86)