
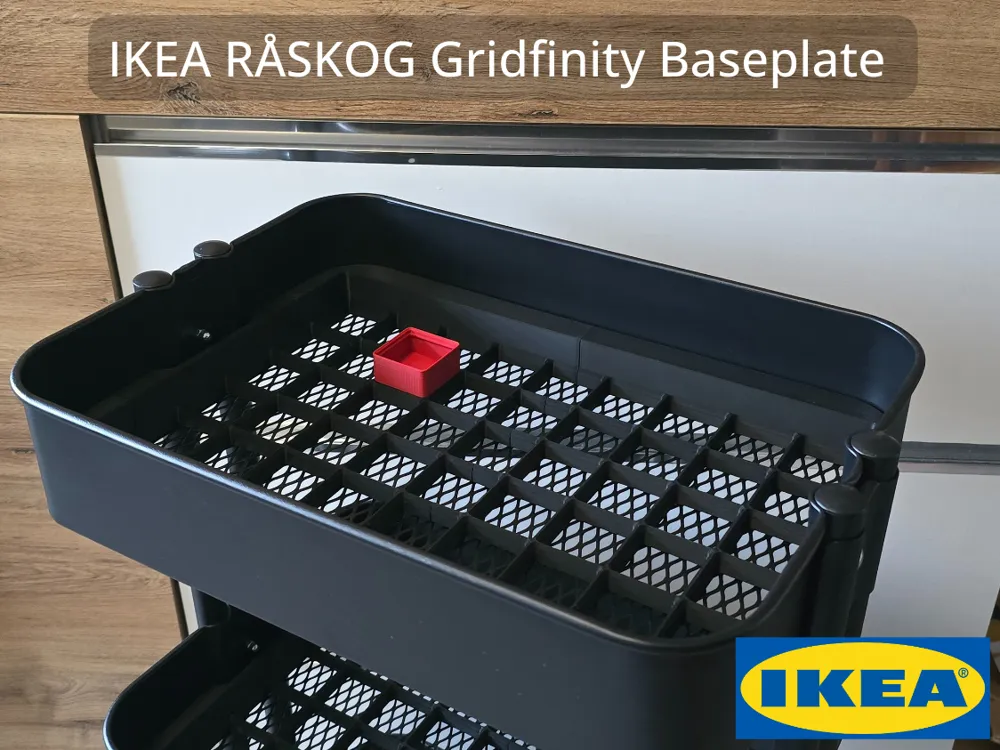
IKEA RÅSKOG Gridfinity Baseplate

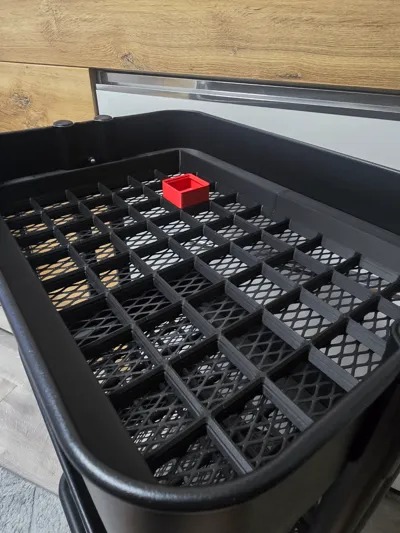
Print Profile(11)


Description
(PLEASE NOTE: THIS VERSION IS COMPATIBLE WITH THE OLD VERSION OF RÅSKOG TROLLEY, WHERE THE TRAYS HAVE THE SAME SIZE! PLEASE MEASURE THE TRAYS BEFOREHAND, IN ORDER TO PREVENT PRINTING THE WRONG SIZE!)
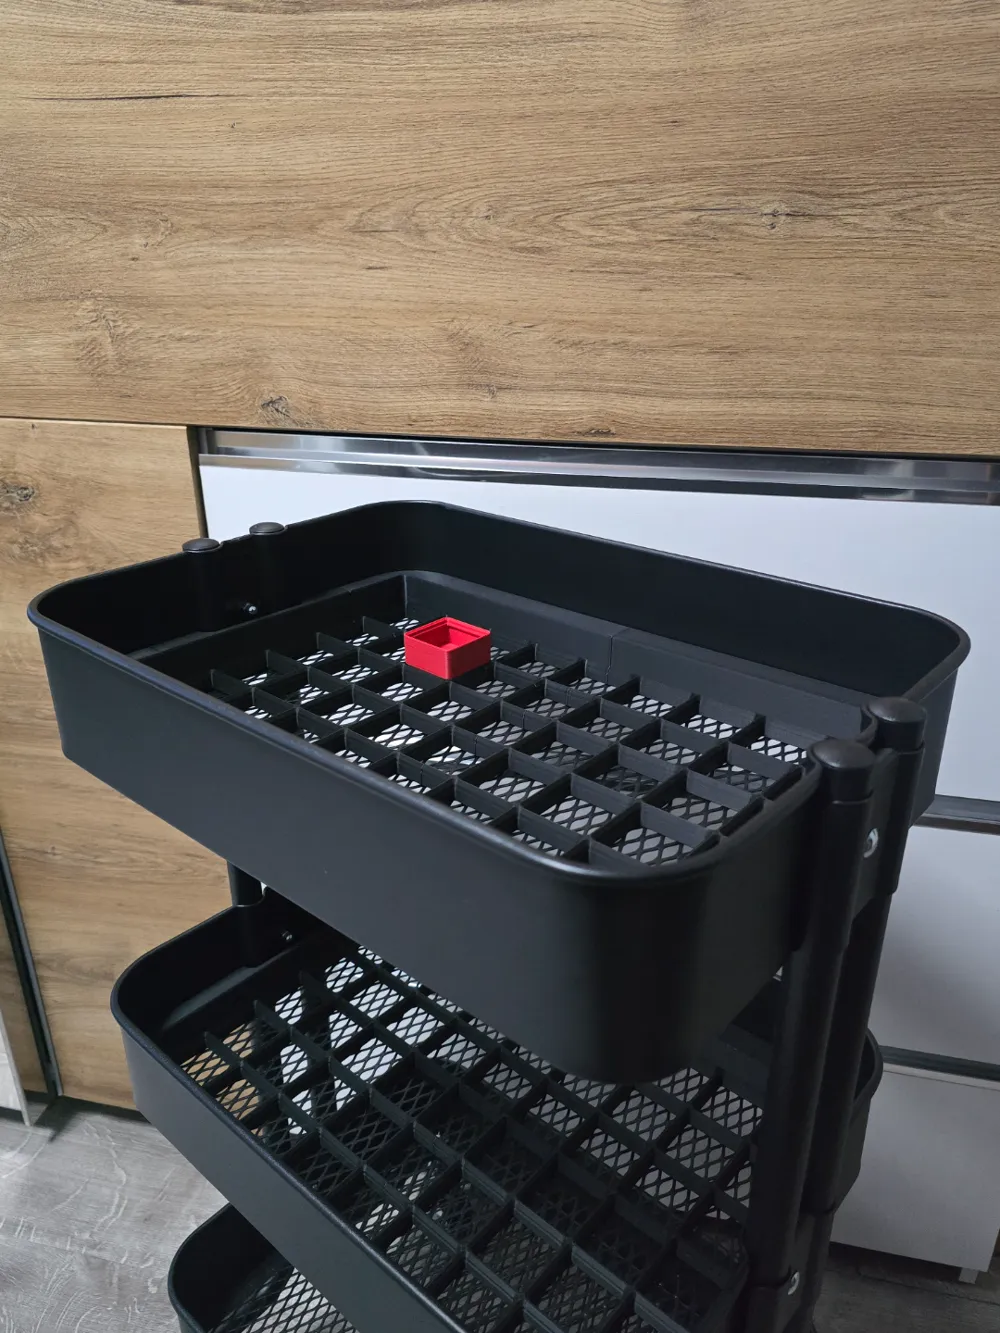
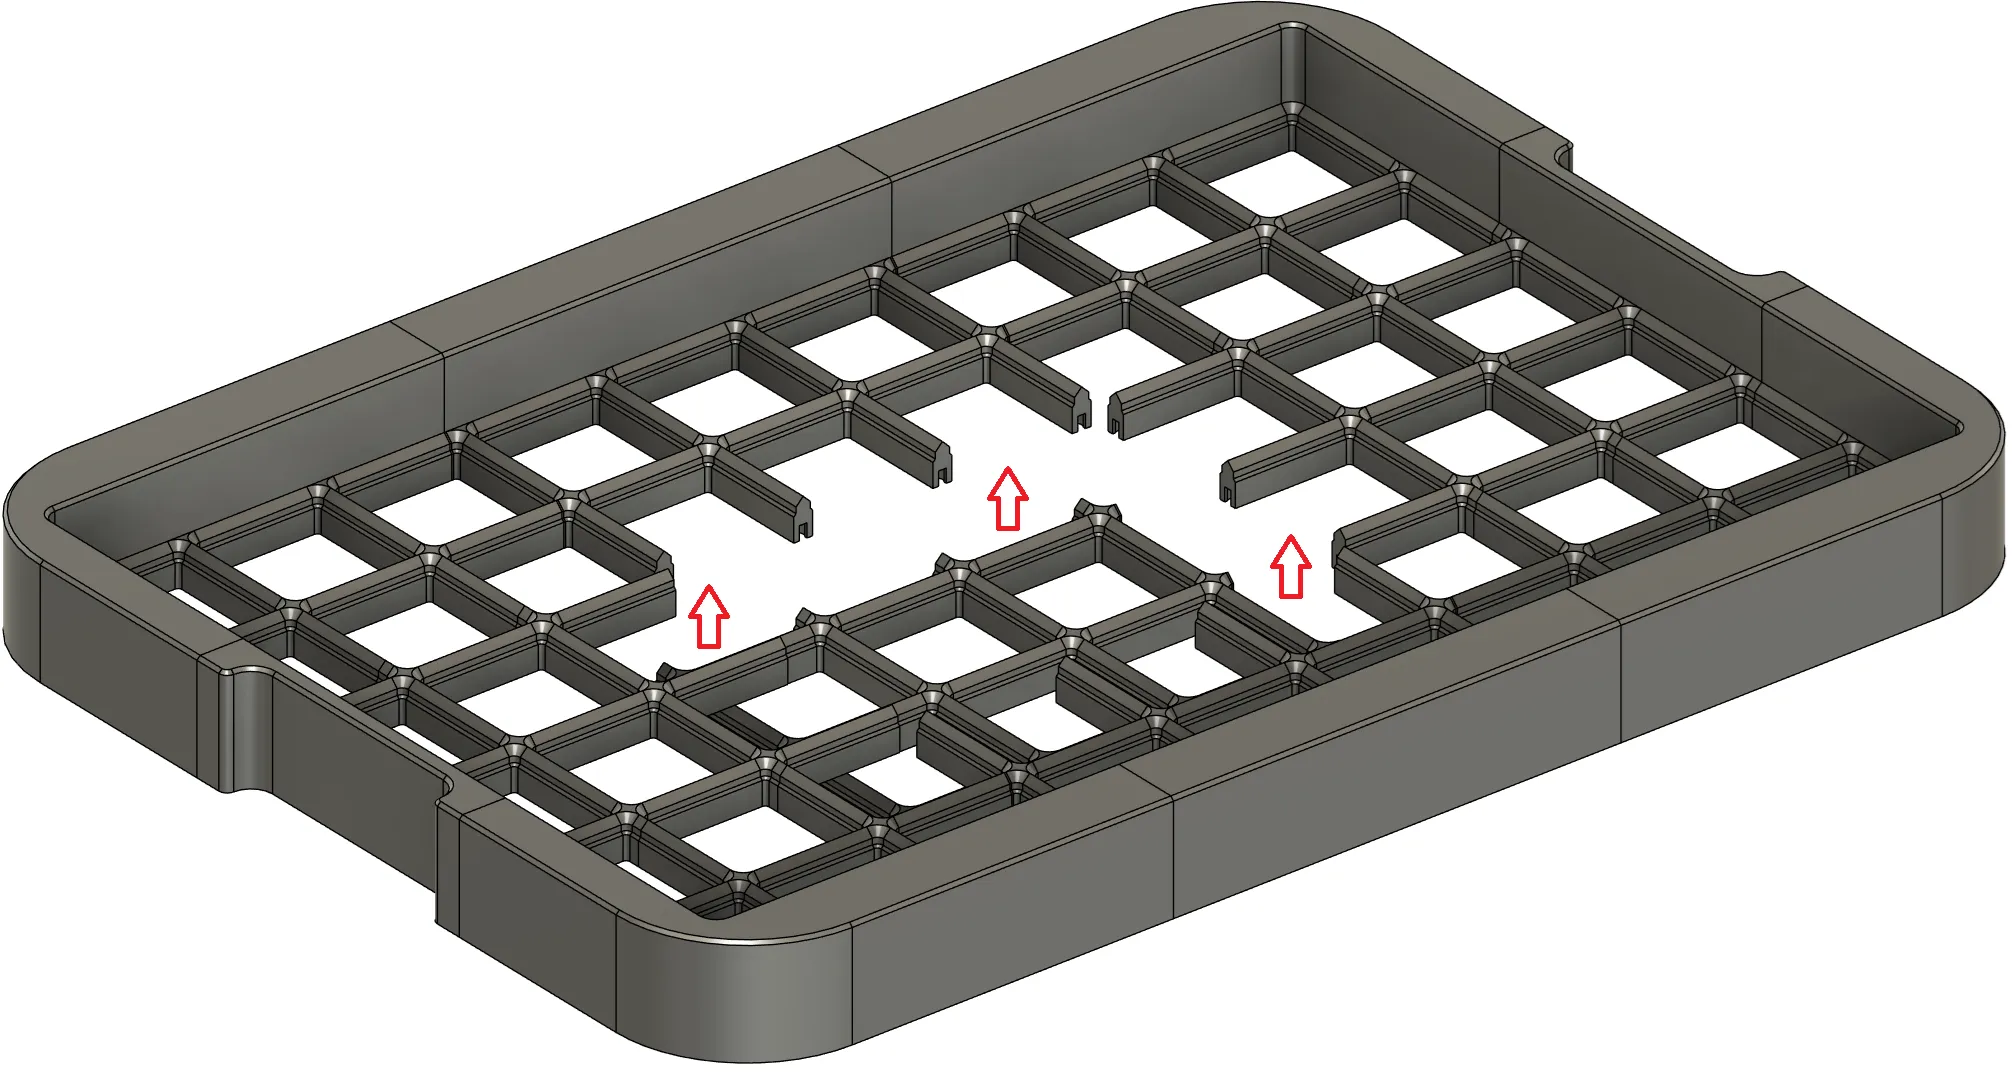
IKEA RÅSKOG Gridfinity Baseplate
This model is compatible with the 35x45x77/78 cm trolley.
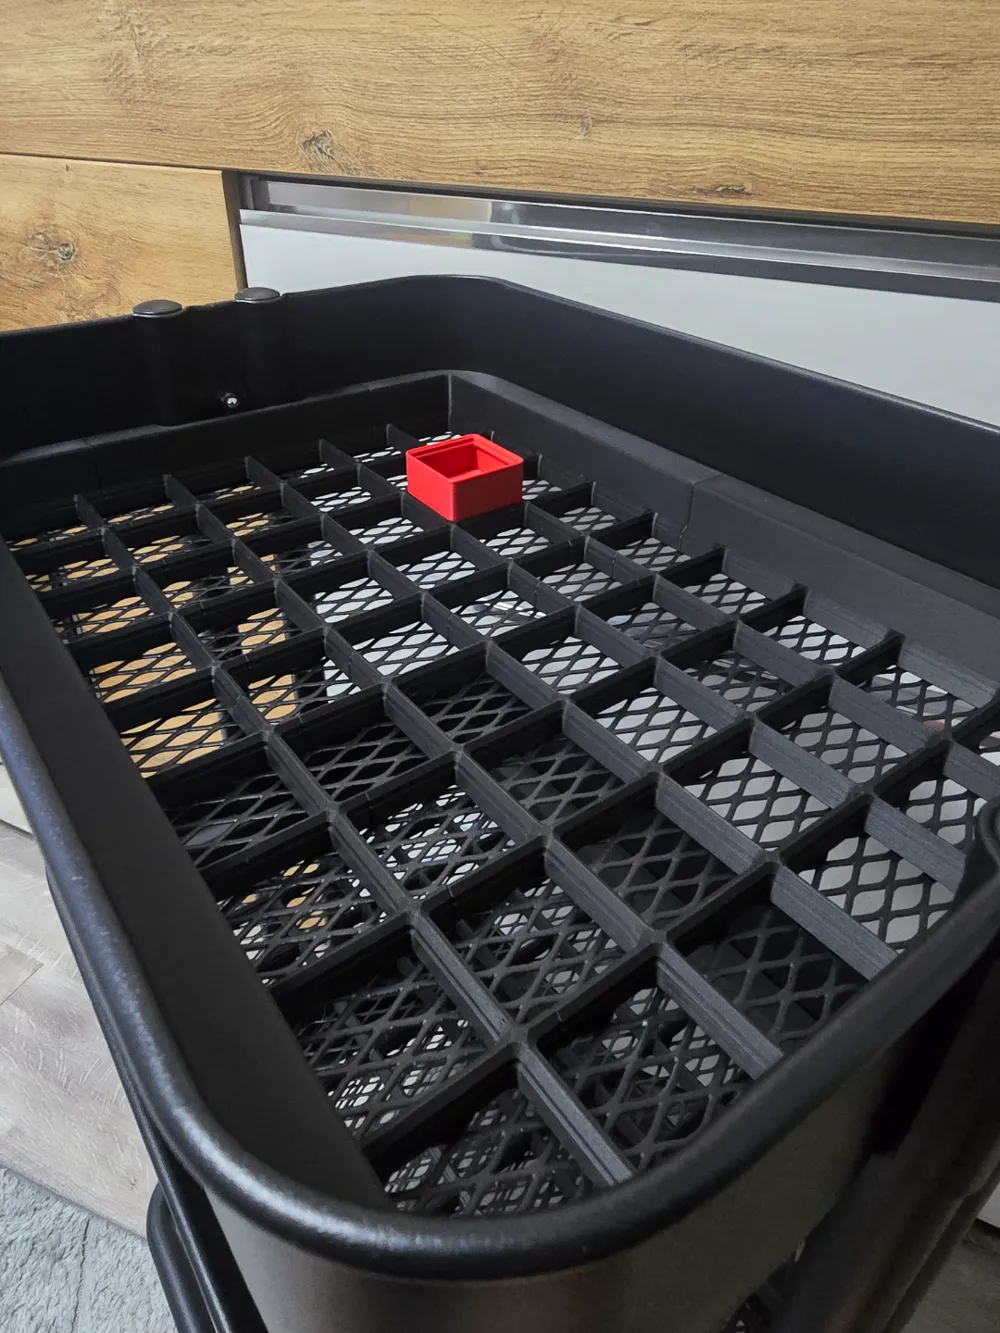
Have you ever thought about making a tool trolley out of a IKEA RÅSKOG trolley? Well, I did, so I made this Gridfinity baseplate so that everyone can customize their trolley however they want. I have added multiple heights in Gridfinity units (7 mm), in order for you to choose which one you prefer.
Numbered Parts 🔢
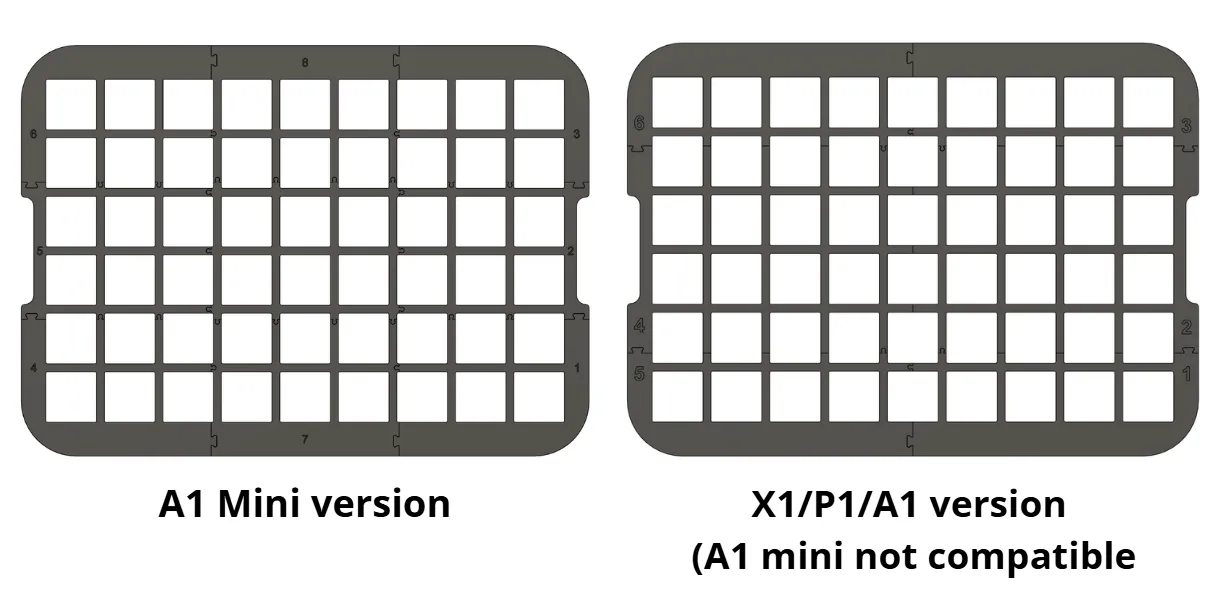
Every part has it's own number on the backside, which helps you during the assembly.
Assembly/Installation 🔧
X1/P1/A1 version
The assembly and the installation is pretty straightforward. Every piece is connected through a dovetail connection, so the whole construction feels like a connecting a puzzle. You may also use glue for fusing the connections together, but you don't need to.
The installation itself is just pushing the whole baseplate inside the tray. My recommendation is to push one side first and then the other.
A1 Mini version
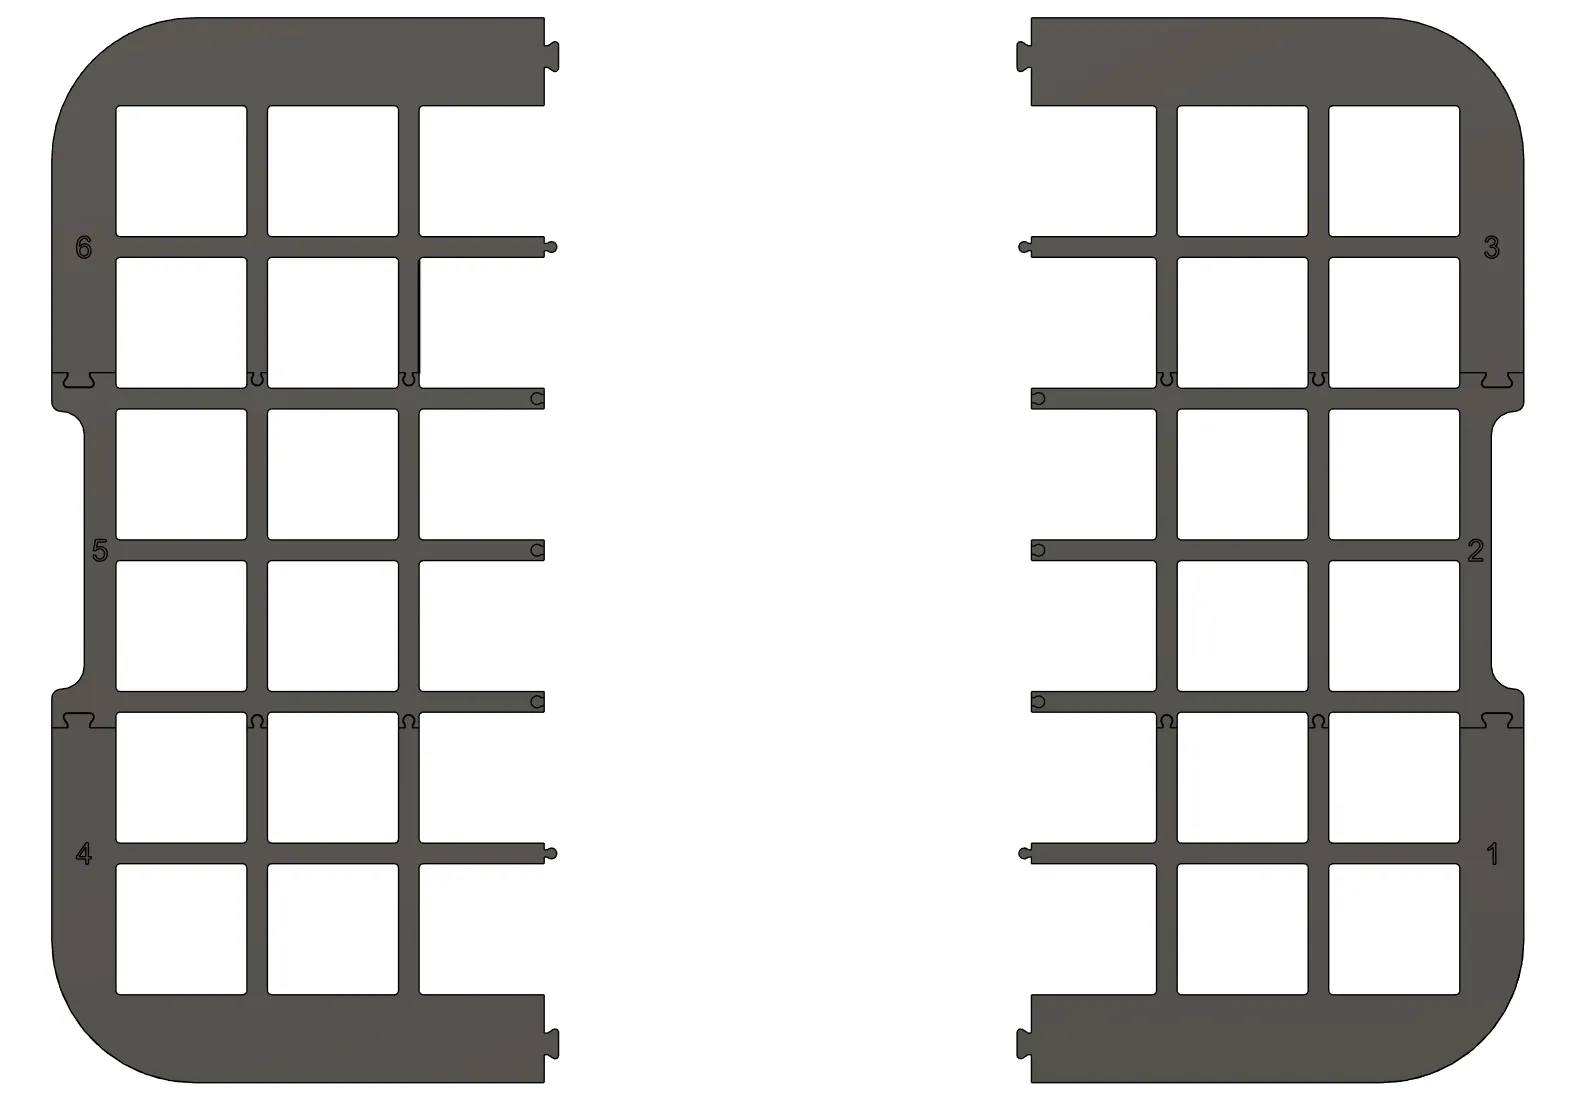
Due to the size of the model, I had to cut it out in even more pieces, which increases the complexity. It is still nothing difficult if you follow the short instuction.
Connect the sides first (Part 1 + Part 2 + Part 3 and Part 4 + Part 5 + Part 6)
Now connect the with the help of Part 7 and Part 8
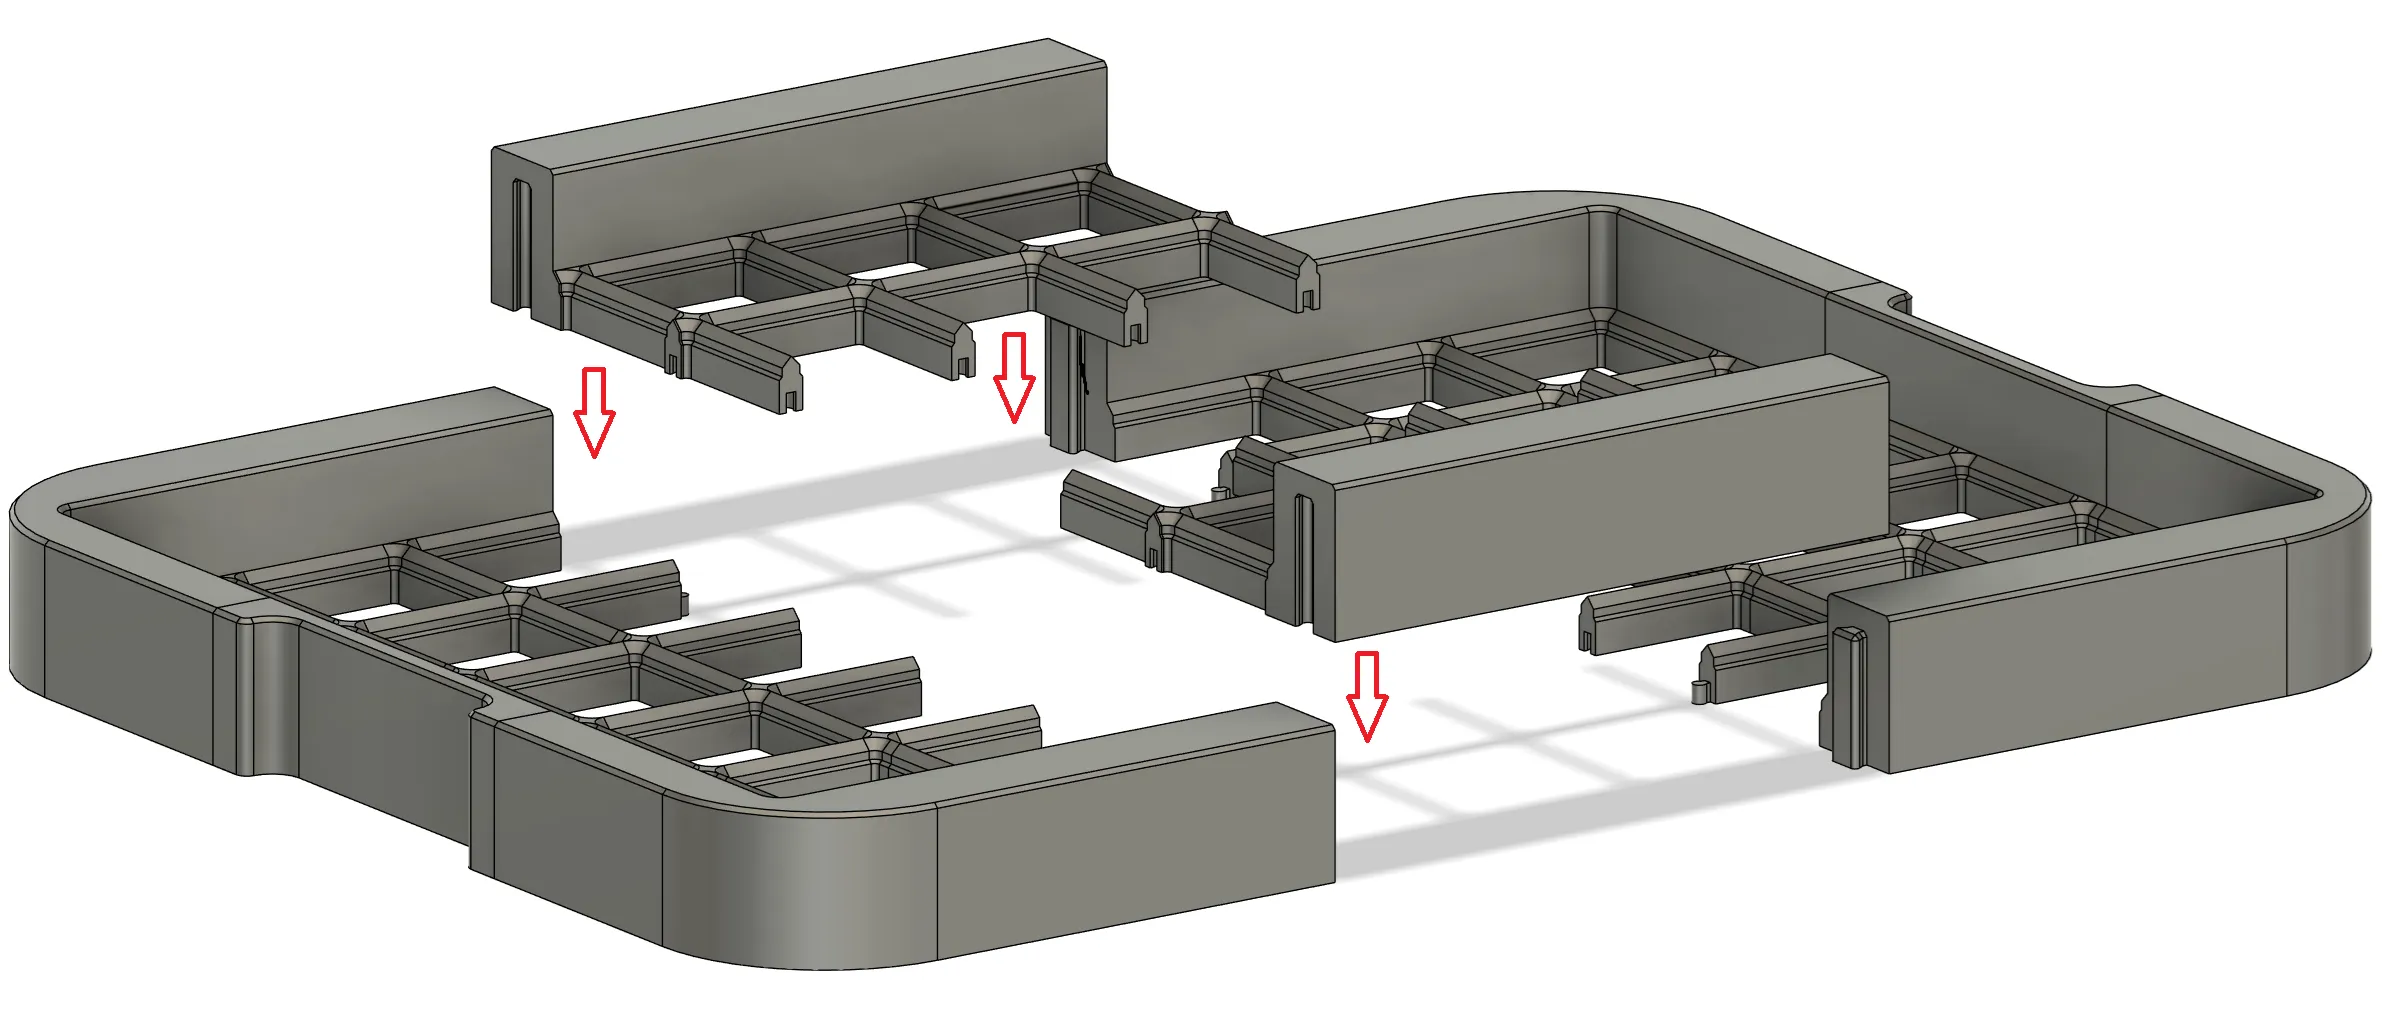
Connect the Part 9 (center) and your baseplate is finished!
Share your experience 📣
If you come across any problems or difficulties, please share your opinions in the comments or PM me. I would love to help you out and solve any problems you may encounter. If this model has helped you, please leave a review or comment and boost me if you want to support my work.
Boost Me (for free)
A boost means a lot to me and it supports my work and hobby, which I love doing!
License

You shall not share, sub-license, sell, rent, host, transfer, or distribute in any way the digital or 3D printed versions of this object, nor any other derivative work of this object in its digital or physical format (including - but not limited to - remixes of this object, and hosting on other digital platforms). The objects may not be used without permission in any way whatsoever in which you charge money, or collect fees.


Comment & Rating (102)