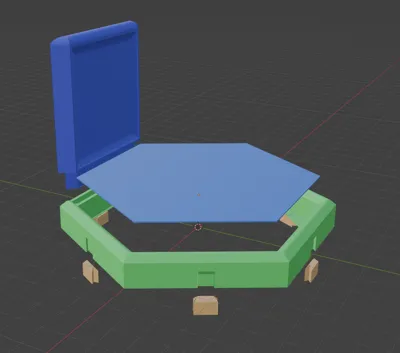
Hexagonal wall shelf for small figurines


Print Profile(2)


Description
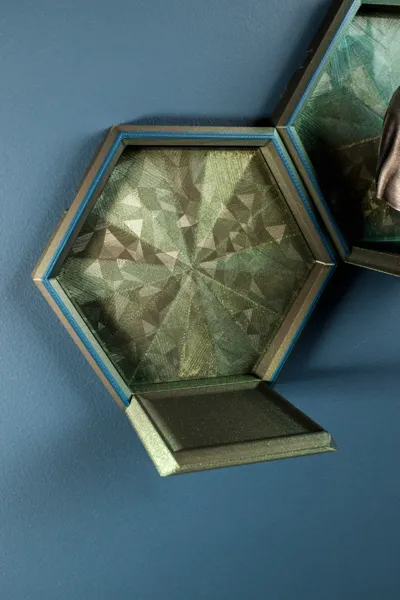
I recently printed myself a handful of small (less than 100mm tall) figurines/busts, and wanted to display them on my wall. I tried printing one of the available hexagon shelfs on Makerworld, but I wasn't satisfied with it, so I decided to make my own.
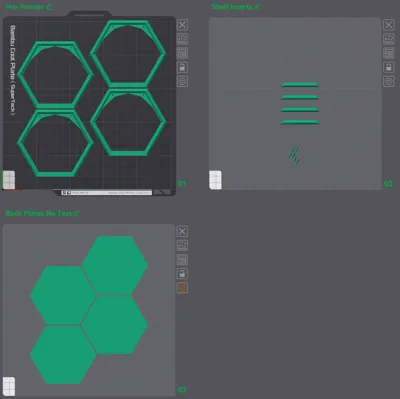
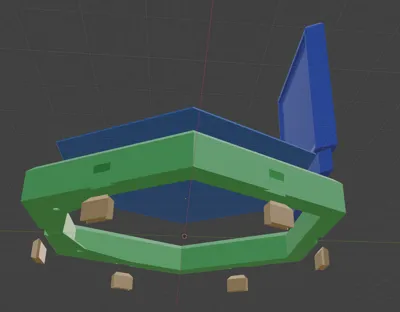
This design is a quick and easy print, with an almost negligible chance for lifting/warping. The frame, shelf, and backplates all print separately. Some small supports are used for the shelves, but in my print profile I've got the support settings such that the supports just pop right off, super easy.
These are 115mm from outer point to outer point, giving approx. 92mm of vertical clearance for a figurine. You should be able to scale it up if needed without any issues.
Just to be clear, this design is just the shelves, not the busts/figures in my photos. Those are other designs (not mine) that I printed to display on these shelves.
Printing Details
Frame
- My print profile has a color change programmed in near the top. This is optional, and is just for aesthetic purposes. Otherwise, no special settings are required for the frame

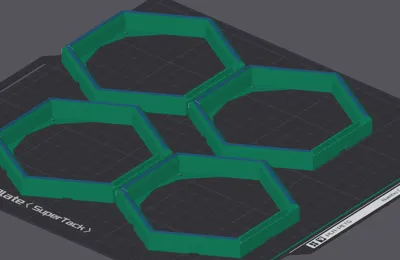
Shelf
- Enable supports:
- Normal(auto) Snug, Top Z Distance = 0.22mm
- With those support settings, when i went to remove them from the build plate, the supports stayed stuck to the plate, and the shelf just popped right off, no cleanup required.
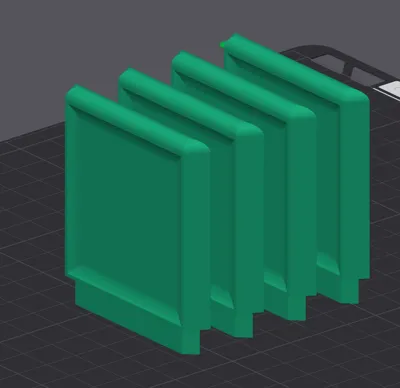
Backplate
- I printed this on a smooth/holographic build plate for the special effect. The bottom surface pattern is Octogram Spiral.
- I've found that unless I increase the special effect build plate temp to 75 or 80 degrees, I'll often have bed adhesion issues, so I would recommend doing likewise. Also, slow the initial layer down to 50 or preferably even less.
- I've uploaded a 2nd print profile that just has the backplates, but with text embedded in them using Bambu Slicer's built-in text feature. To edit the text, simply click on the Edit Text option in the right-click menu when looking at Objects mode:

Assembly
Everything is friction fit, meaning that you might initially have some trouble getting the shelf into the slot, or getting the connector pieces into the appropriate holes. I had 100% success using a few light taps with a hammer to get them in. The backplates should just pop right in. You an put a little dab of glue to adhere the backplates in if you need to.
License
You shall not share, sub-license, sell, rent, host, transfer, or distribute in any way the digital or 3D printed versions of this object, nor any other derivative work of this object in its digital or physical format (including - but not limited to - remixes of this object, and hosting on other digital platforms). The objects may not be used without permission in any way whatsoever in which you charge money, or collect fees.
Comment & Rating (66)