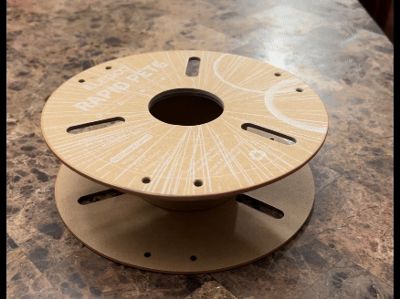
Spool Core Diameter Gauge


Print Profile(2)


Bill of Materials


Description
Boost Me (for free)
If you like this tool and it works good for you, please give me a boost. It is greatly appreciated!
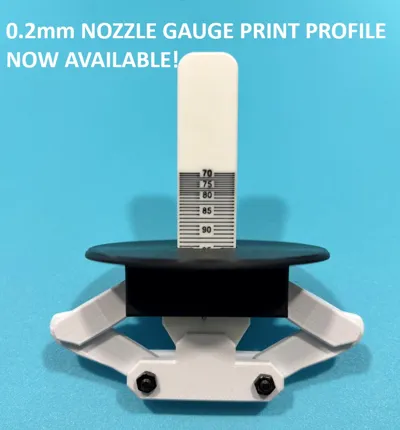
UPDATE 2025-09-18: Print Profile for Hi Res Gauge using 0.2mm nozzle now available.
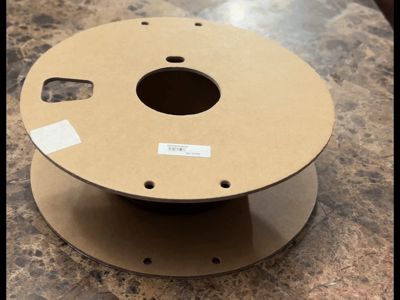
Have you ever gone to rip the side off of a cardboard spool to put your favorite master spool on it only to find out you had the wrong diameter core adapter printed off? Have you ever had the same manufacturer change their cores to different diameters? If so, then this is the tool you need. This takes the guesswork out of what diameter the core is BEFORE tearing the sides off.
Background: This Gauge is a result of my 3D Printing journey (like many others) starting with a non-Bambu printer, buying a LOT of cardboard spool filament, then upgrading to a Bambu printer with AMS. I like the Bambu filament, but I needed to use the cardboard spool filament I have and Bambu can be hard to get sometimes when I want it quickly. After trying the many rings for cardboard spools out there, I wasn't happy with the result. I then moved on to trying the many Master Spool options out there. Some are good and some aren't, but I decided they work much better than the rings. I am currently in the process of designing my own Master Spool (which I will post when it is ready) to eliminate what I don't like about the ones that are available. I quickly learned that it was next to impossible to know the spool core size ahead of time - the same brand can have 3 or 4 different core diameters. I don't like the “universal” core adapters because they aren't very stable and the filament can get off-center. That is why I designed this Gauge to know what diameter adapters I needed and print them BEFORE I started tearing the spool apart. THIS HAS QUICKLY BECOME ONE OF THE MOST FUNCTIONAL TOOLS I HAVE FOR 3D PRINTING.
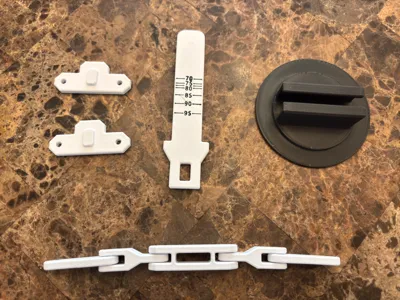
Printing: Print each of the 5 parts as described in the instructions. NOTE: The Gauge does require AMS unless you know how to do manual color changes. The linkage includes print-in-place joints except where they attach to the side plates at the bottom. The fit assumes a properly calibrated filament - if you have fitment or joint problems you may need to adjust the flow rate of your material. The profile is set up for PLA Basic which should be ok. However, for better long-term durability of the joints, you may want to opt for PLA+ or Tough PLA. Higher temp filaments like PETG or ABS may work as long as you can get the print-in-place joints to work.
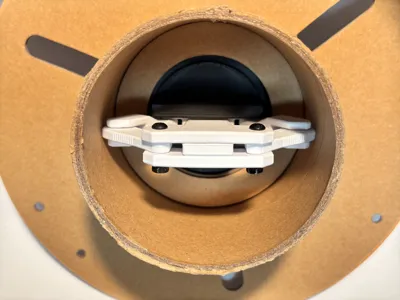
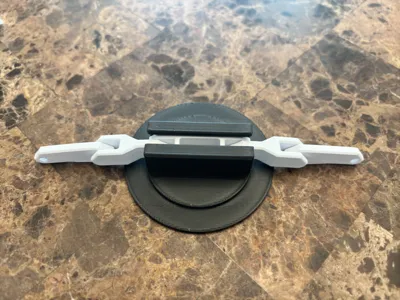
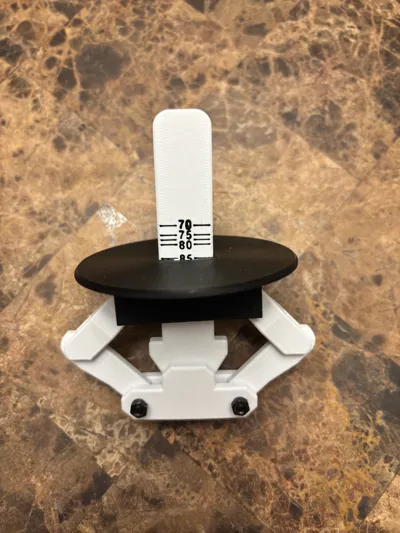
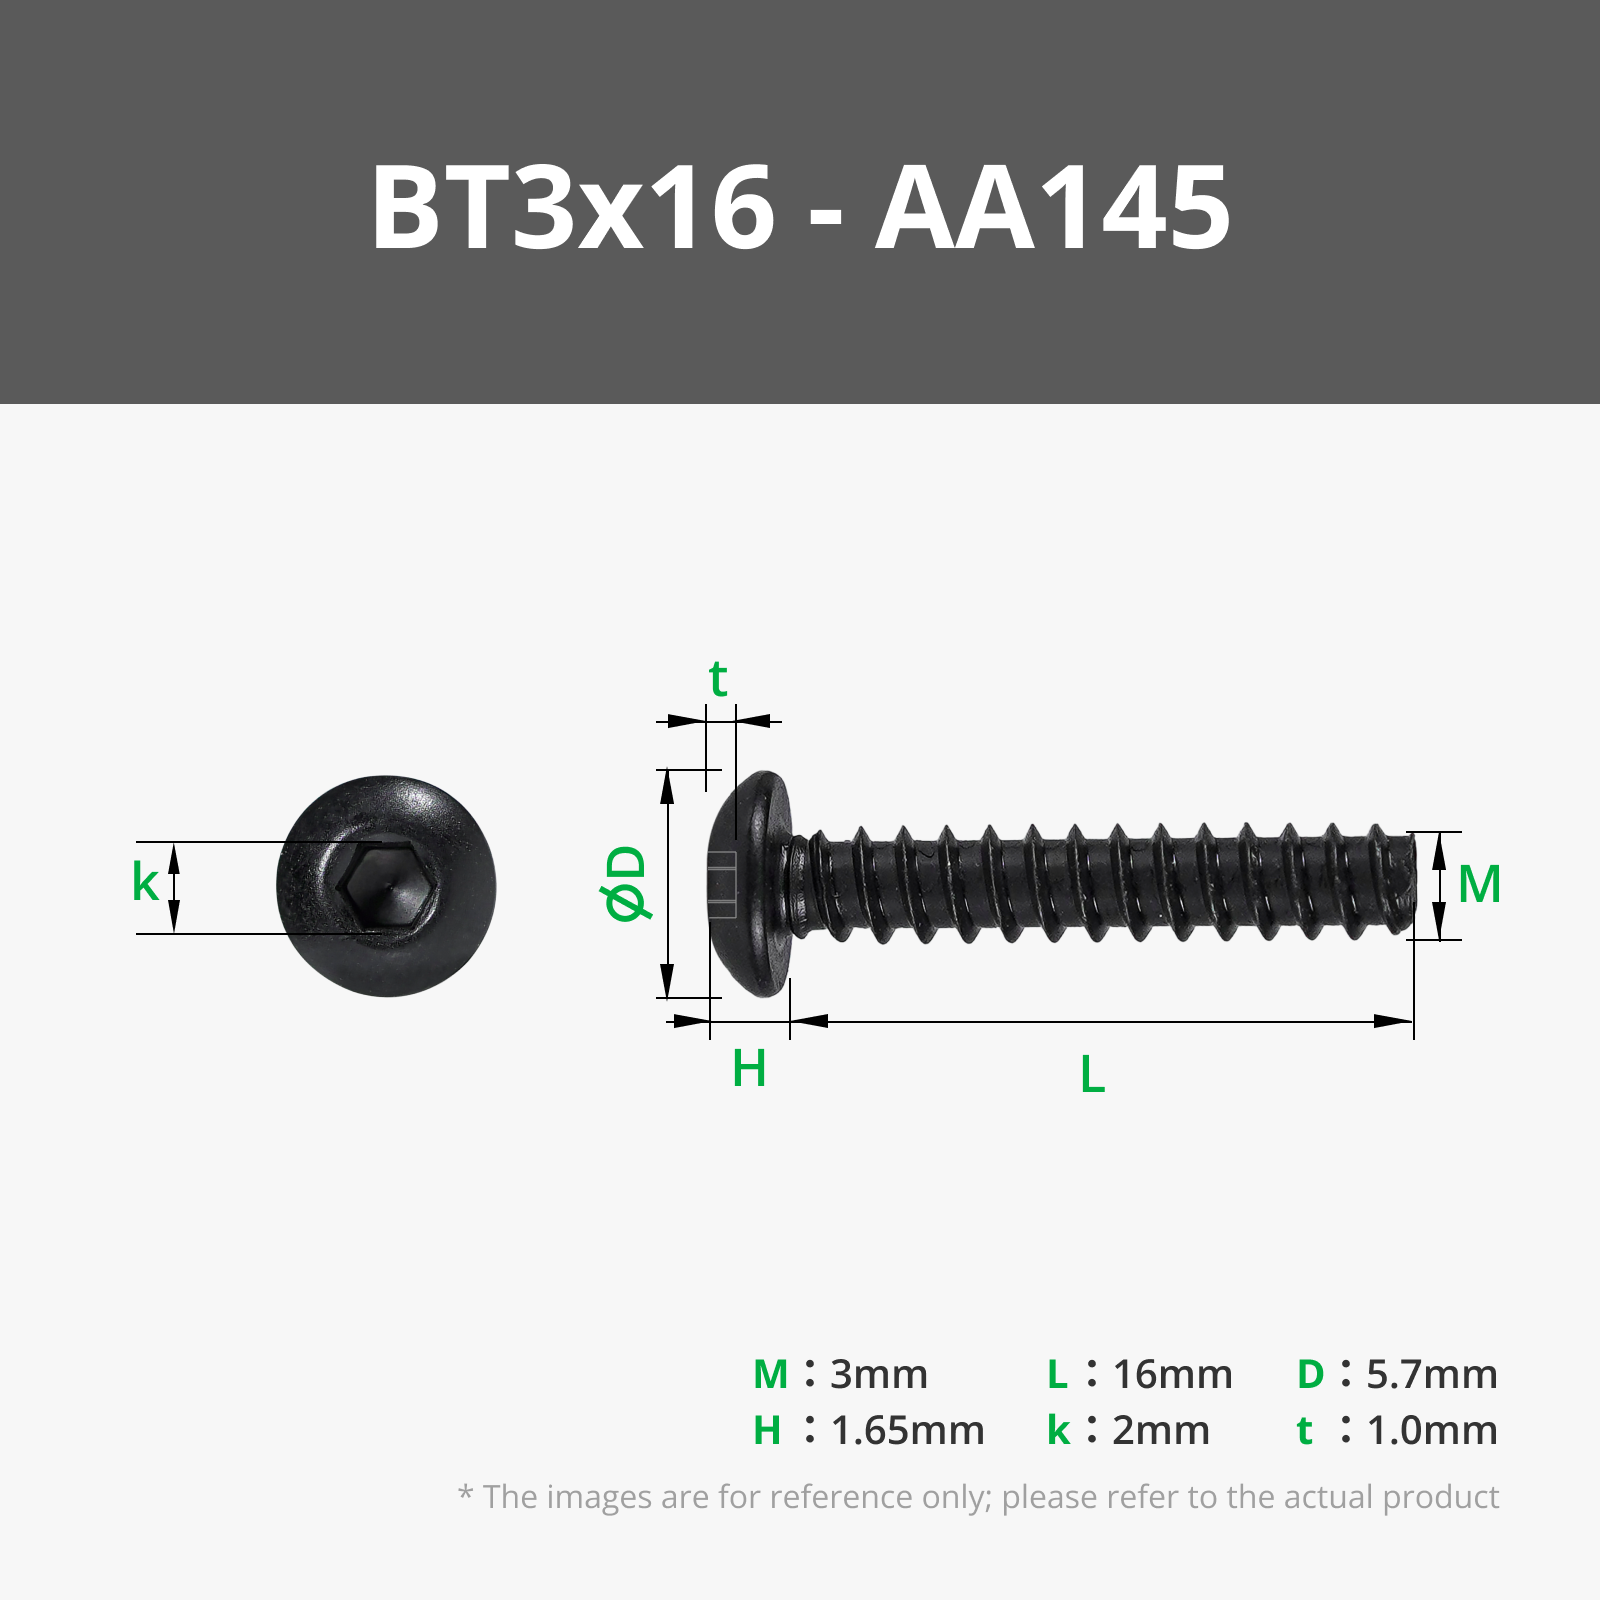
Assembly: The assembly instructions are in the documentation section below. The images above also show the basic assembly sequence as well. You will need (2) M3x16mm screws with Hex Nuts.
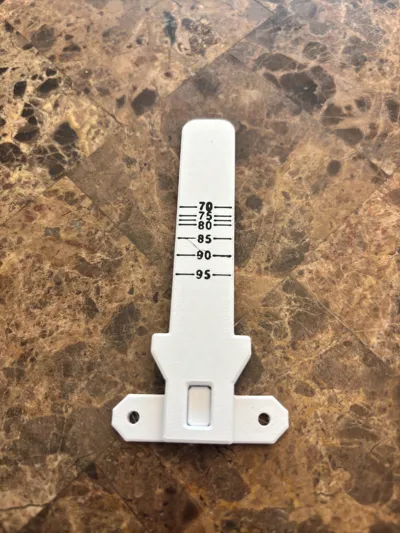
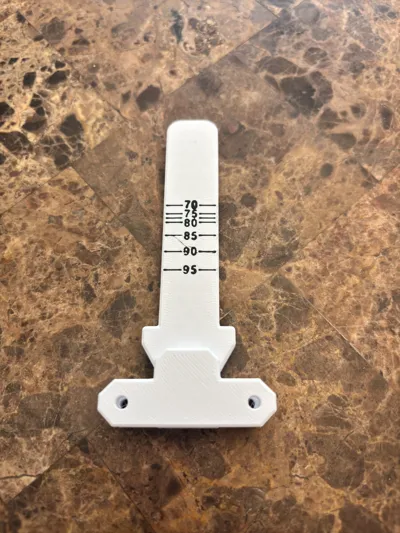
To use the gauge, simply insert it into the hole and press firmly on the cap so it is flush with the cardboard side, then give the gauge a little tug and it will tell you what the inner diameter is of that core. I would suggest rotating it and taking 4 measurements at 45-degree increments and using the smallest measurement (not all cores are perfectly round).
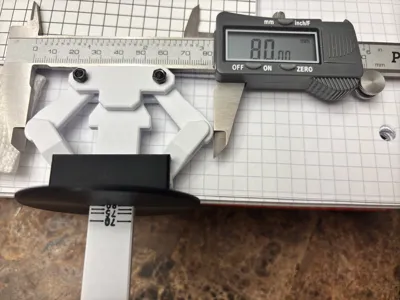
The gauge line locations are calibrated based on the model prints that I made. I would suggest before you use it the first time to verify it with a caliper like this:

If for some reason your lines need adjusted, they are all in the slicer file as separate objects as well as the numbers. On the PC app, you can shift-select all of them from the object list and move them all at once using the MOVE button in the slicer.
Documentation (1)
License
You shall not share, sub-license, sell, rent, host, transfer, or distribute in any way the digital or 3D printed versions of this object, nor any other derivative work of this object in its digital or physical format (including - but not limited to - remixes of this object, and hosting on other digital platforms). The objects may not be used without permission in any way whatsoever in which you charge money, or collect fees.
Comment & Rating (12)