Creality Ender 3 / Pro / CR10 - Direct drive Mod


Print Profile(1)

Description
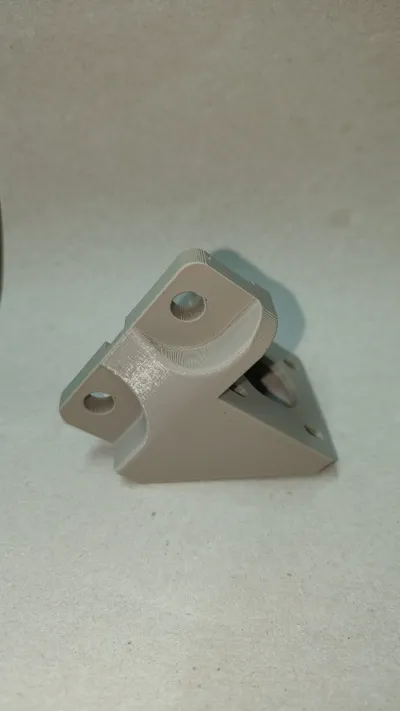
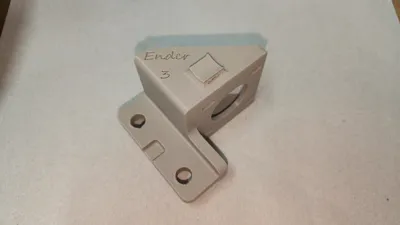
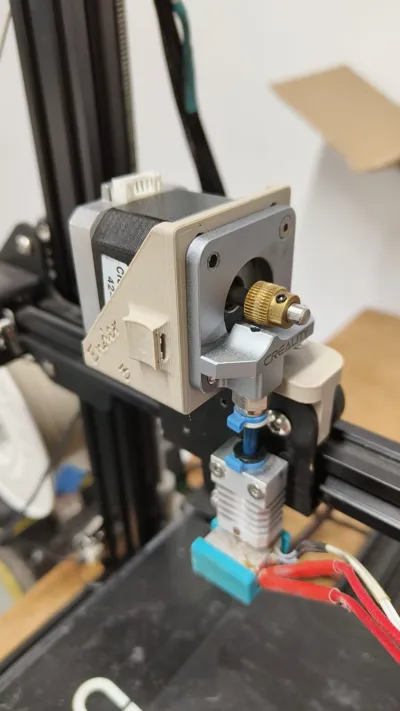
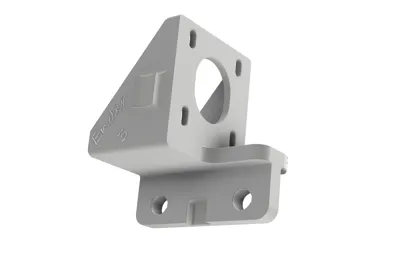
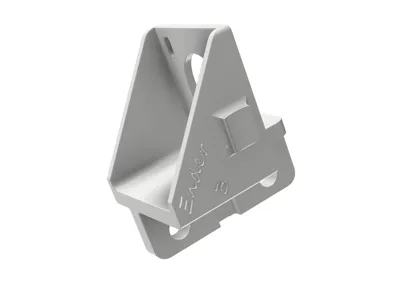
I modelled in Fusion this 3D part to convert my Ender 3 Pro to direct Drive.
I know there are lots of this 3D parts on the internet for free, but you know, it is funny to do it yourself.
You don't need any extra parts, it's practically free.
It's a huge print quality difference!
Printing
I printed it on PLA for testing purposes and now has 100+ printing hours and seems perfect. I think PETG or ABS is not needed.
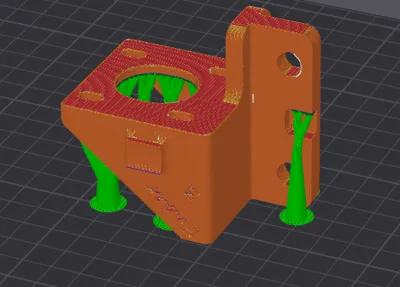
printed with tree supports, 15% infill and 4 perimeters in the position you see in the building plate image
Instructions
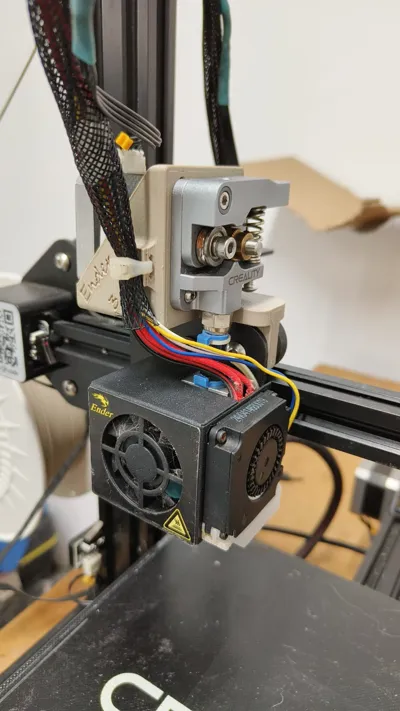
-First remove the fans with the two allen bolts,
-Remove the extruder from its original place and disconnect the cable.
-Remove the two rollers from the carriage and the two spacers.
-Press the two spacers on the 3D printed part, if they are not tight, secure them with some glue, loctite or epoxy, you choose. They sit flush on the nearest part of the X carriage plate, if you flush it to the other side, the 3D part is not straight, check it before glue it.
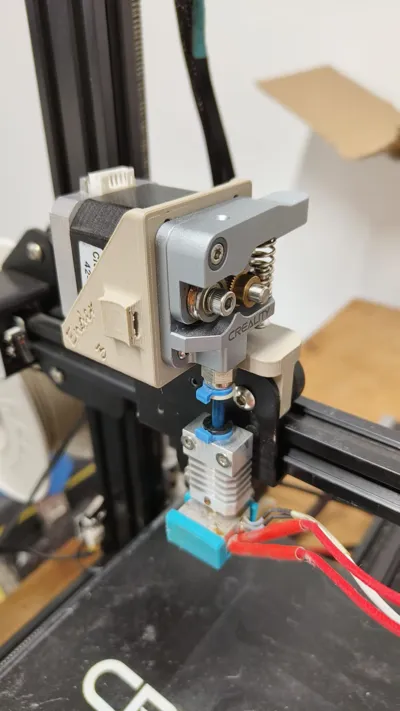
-Reinstall the two Rollers and adjust the excentrical nut from the lower side if needed.
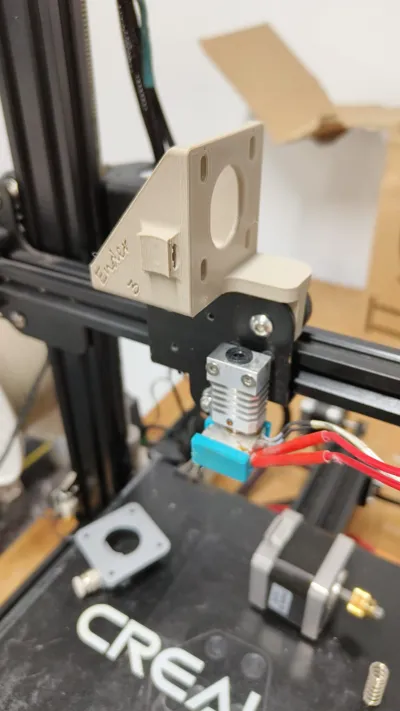
-Install the Motor with the connector upside, do not tighteen it yet.
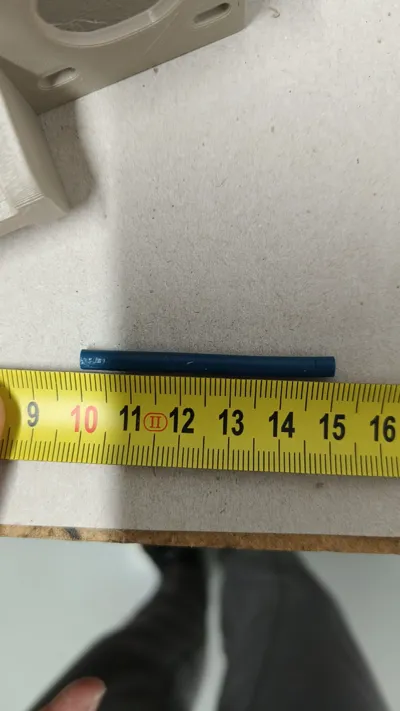
-You need to cut a piece of bowden, the lenght can vary with your extruder setup. I have a Micro Swiss and all-metal feeder drive and my tube is 50mm exact.
-Install the bowden tube and secure it, it shouldn't move.
-Tighteen everything
-Now you can install the fans and secure the cables to the 3D printed part with a zip tie.
Important: If you want to use the full Z axis, you need to cut and extend the Extruder motor wiring or change them with longer one if you don't like / know how weld wires.
Remember to set your retraction settings lower! I use 0.8mm at 30mm/s and works really well.
Boost Me (for free)
License
You shall not share, sub-license, sell, rent, host, transfer, or distribute in any way the digital or 3D printed versions of this object, nor any other derivative work of this object in its digital or physical format (including - but not limited to - remixes of this object, and hosting on other digital platforms). The objects may not be used without permission in any way whatsoever in which you charge money, or collect fees.
Comment & Rating (13)