


Print Profile(1)

Description
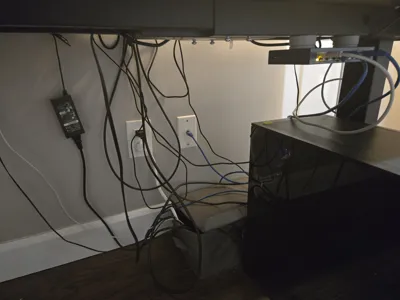
I saw what LTT was doing with their MCM system and thought it would be fun to make a DIY version of the PBK to I could cleanup under my desk. Currently using 2 pairs for a small switch and a power bar.
Printing in PLA provides a bit more of a tight fit and snap in place. ABS or others may require some fine tuning as it felt a touch loose with ABS.
BOM
- QTY 2: M3 Heatset Insert (Length 4.5mm, Voron type)
- QTY1: 20mm countersunk magnet - I purchase “40lb” rated ( I used https://tinyurl.com/3v4ep3x9)
- QTY1: M3 Countersunk Screw - 10mm (for magnet)
- QTY 1: M3 Buttonhead Screw - 10mm (for keyhole)
- QTY 3: springs - I used 8mm OD x 10MM length springs (I have a file for 15mm length springs as well, max OD is 9mm)
Assembly
- Insert the heatset inserts into the innie, one on top, one on the bottom
- Place the 3 springs into the circles on the base
- place the innie onto the springs
- Place the Top over the innie and base, press down, turn the Top clockwise until the alignment bumps are lined up
Use
- Place the button head over the keyhole, press the innie down and slide the assembly
License
You shall not share, sub-license, sell, rent, host, transfer, or distribute in any way the digital or 3D printed versions of this object, nor any other derivative work of this object in its digital or physical format (including - but not limited to - remixes of this object, and hosting on other digital platforms). The objects may not be used without permission in any way whatsoever in which you charge money, or collect fees.
Comment & Rating (3)