7" Record Single Box – FlipThrough with Ease!


Print Profile(2)


Description
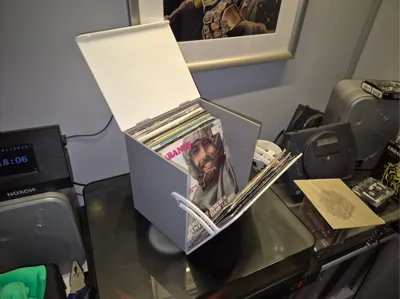
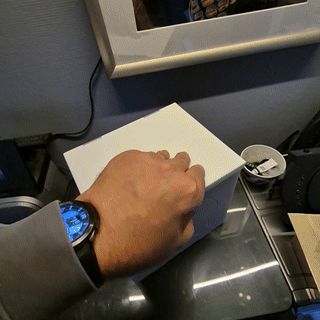
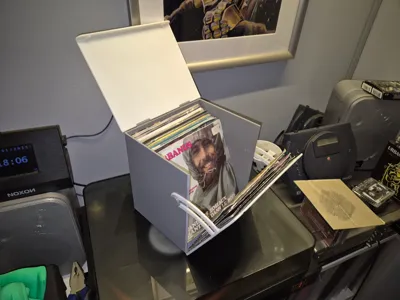
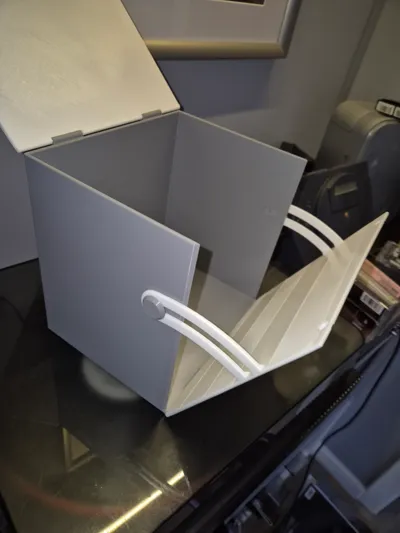
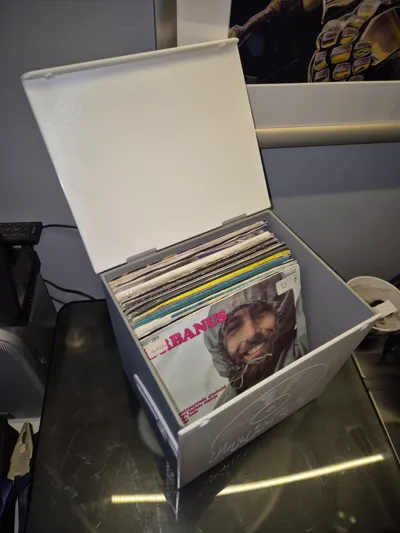
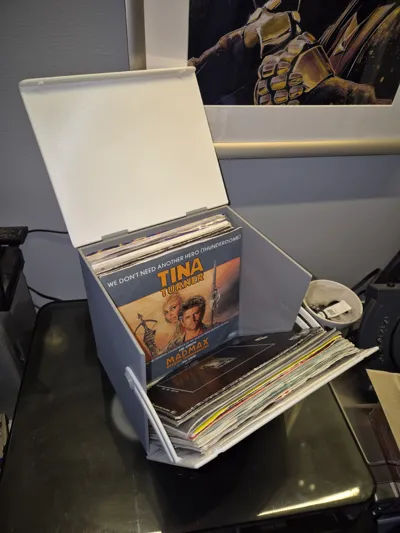
This 3D-printable record storage box is designed for 7-inch vinyl singles. Inspired by a vintage design, it features a front panel that tilts forward, allowing easy browsing through your records. The box is fully printable and requires only a minimal amount of super glue for assembly.
The model consists of five parts:
- The main box (the largest piece)
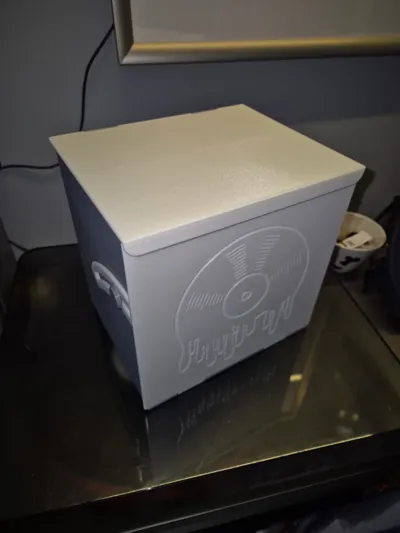
- The lid, which securely clicks into place
- The front panel, which features a stylish vinyl record logo and includes two brackets
- Two pins, used to attach the front panel to the main box
The sliding mechanism lets the front panel move forward for easy access. Assembly is straightforward and requires only basic tools and a bit of patience.
Assembly:
Once all the parts are printed, you can begin assembling the box.
- Attaching the front panel
Use a 1.75mm filament piece to secure the front panel to the main box. The filament fits snugly into the hinge holes, so gently push it through with fine pliers until it comes out the other side. Take your time and proceed carefully to avoid damage. - Securing the brackets
Close the front panel, ensuring that the brackets remain outside the main box. Insert the two pins to secure the brackets in place. Important: Do not tighten them too much, as the brackets must be able to slide. - Fixing the pins
The pins need to be firmly attached to the box. You can do this in two ways:- By applying a small drop of super glue
- By lightly melting them with a low-temperature soldering iron
Note: Make sure to fix the pins only to the box and not to the brackets to ensure smooth movement.
- Attaching the lid
Finally, attach the lid to the main box by inserting another piece of 1.75mm filament through the hinge holes. Make sure it is secure but still allows the lid to open and close smoothly.
After these steps, your record storage box is ready to use!
Boost Me (for free)
If you enjoy this model, please consider giving it a boost! Your support means a lot and helps me keep creating fun and awesome model's. Thank you!
Comment & Rating (28)