Star Trek Badge Collection


Print Profile(3)


Description
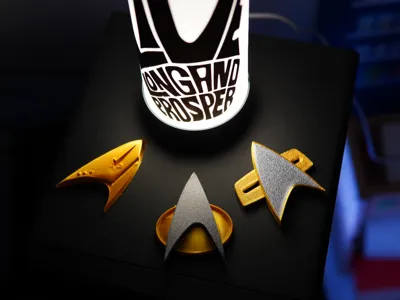
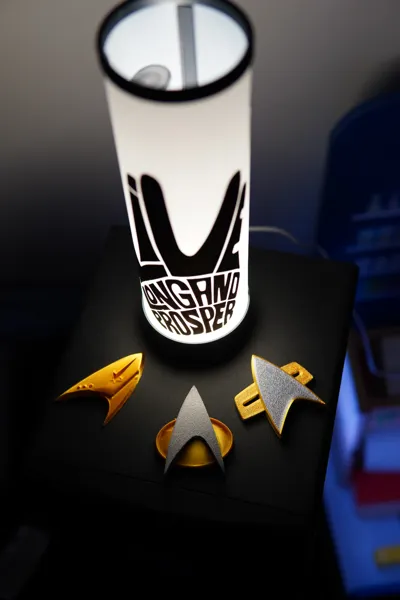
The Ultimate Star Trek Combadge Collection
…that only has three badges… not much of a collection you might say… and you would be right!

For now, the “collection” consists of:
Late 2240s-2250s insignia - Discovery
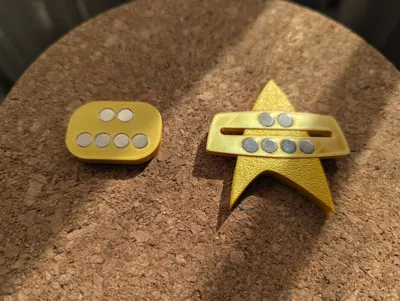
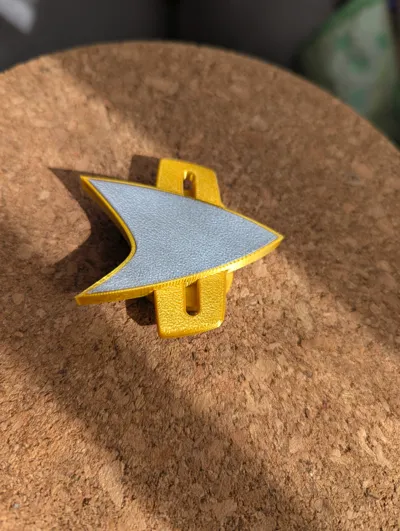
2340s-2360s insignia - The Next Generation
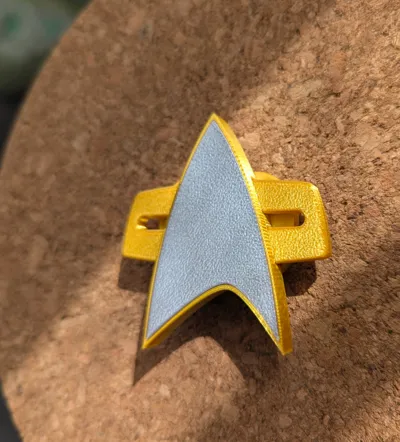
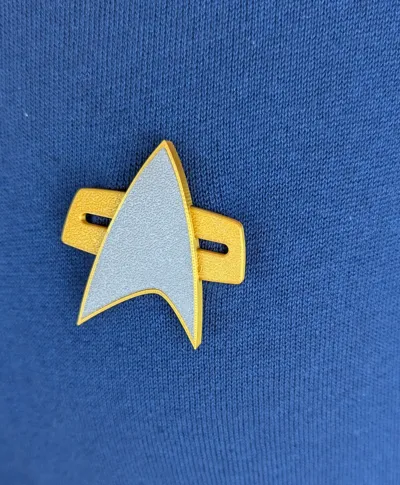
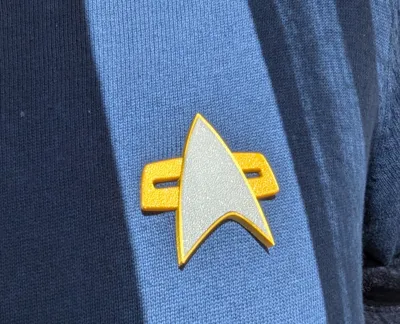
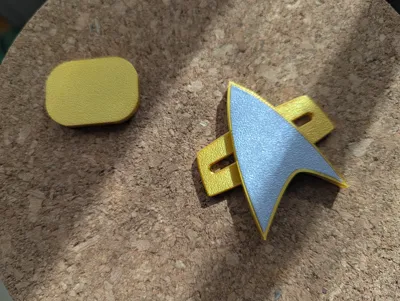
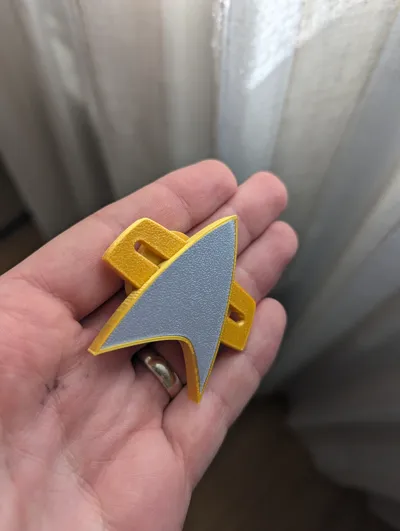
2370s-2380s insignia - Voyager and DS9
You will find profiles with each insignia, if I tried to jam them all in one profile, that would be… messy.

**********************
Like I said, not much of a collection…but!!
I will be doing them all. It takes time to research the size, shape, design it, test the fit and find the best angle and settings to print them. When possible, I will use the face down method, meaning the best possible finish. This collection is meant for FDM printing, so if there is any discrepancy with the original design, strangely oriented or painfully slow; it is there to ensure it will come out looking the best using FDM printers.
I am using years (months) of my extensive (mediocre) experience (or lack thereof) to do everything, so all you have to do is load up the correct filament and press print. I am tuning the speed and orientation for use with silk filaments and a 0.2 nozzle, however you will still be able to use a 0.4 nozzle without any issues, but a 0.2 will really bring out the details.

…ok not the same franchise, but I couldnt resist!

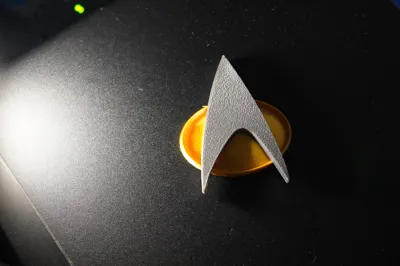
As you can see, silk filaments sometimes leave an outline on the first layer (if you know how to get rid of, I would very much like to know!) The 0.2 nozzle is so small its barely seen.

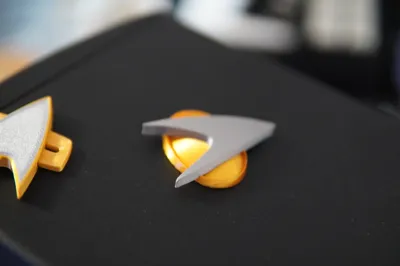
Another issue is the corners, even arachne didnt help here. The arc is simply too sharp. However, this is an extreme close up, looking at it from 40 cm away, you dont even see the hole. If you just want to have something fun to wear, its perfectly fine.

It is outfitted with 6 gridfinity magnet holes, since those are the ones most commonly used. I used it and it has potent sticking power. If you need more, simply glue more or tell me what size you would like, and I will do my best to accommodate you.
More badges are coming, with the next one being the oh-so-pain-in-the-rear Discovery badge, that is curved and was generally a nightmare to design. Would you like to know more?

last one I swear
GENERAL INFORMATION ON ADDITIONAL PROFILES:
Late 2240-2250s insignia “Discovery”: This one is 95% there, I hand sculpted this one using references so some curves are not quite there yet, but I wanted to put it up because I feel its close enough. Different departments and appropriate ranks are on their way, soon as I get it perfectly sculpted.
2340s-2360s insignia “The Next Generation”: After dozens of prints trying to get it to print at a 45' angle, I threw in the towel and gave up… on that idea! I came up with a mold that will turn a boring flat star…

Into a curved one! Detailed instructions in the profile description.

Boost Me (for free)
Thanks!
Edit:
Ooops, I forgot the instructions!
Once you have the pieces printed you will need some super glue for the magnets and the pieces themselves.

Beer time! Chug that beer (or Bloodwine!) and put it upside down, put a drop of super glue. With a filament strand, dip it and transfer it to the holes.

Ensure that the polarity of the magnets is correct! Get one of those fancy magnet pens people designed… I should really get one of those..

Do the same for the other side! If you need more gripping power, stack extra magnets and glue them on the pin that's under your clothes.
Other models you may want to check out :)

License
You shall not share, sub-license, sell, rent, host, transfer, or distribute in any way the digital or 3D printed versions of this object, nor any other derivative work of this object in its digital or physical format (including - but not limited to - remixes of this object, and hosting on other digital platforms). The objects may not be used without permission in any way whatsoever in which you charge money, or collect fees.
Comment & Rating (36)