
Aqara wireless mini switch estop button skin
Print Profile(1)
Bill of Materials




Description
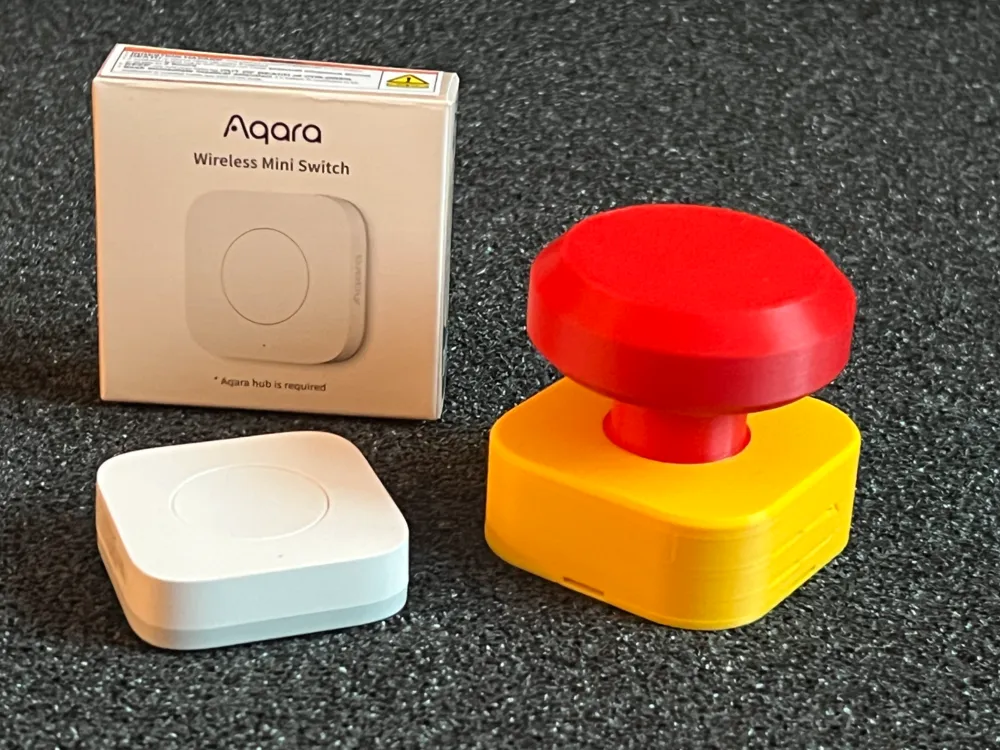
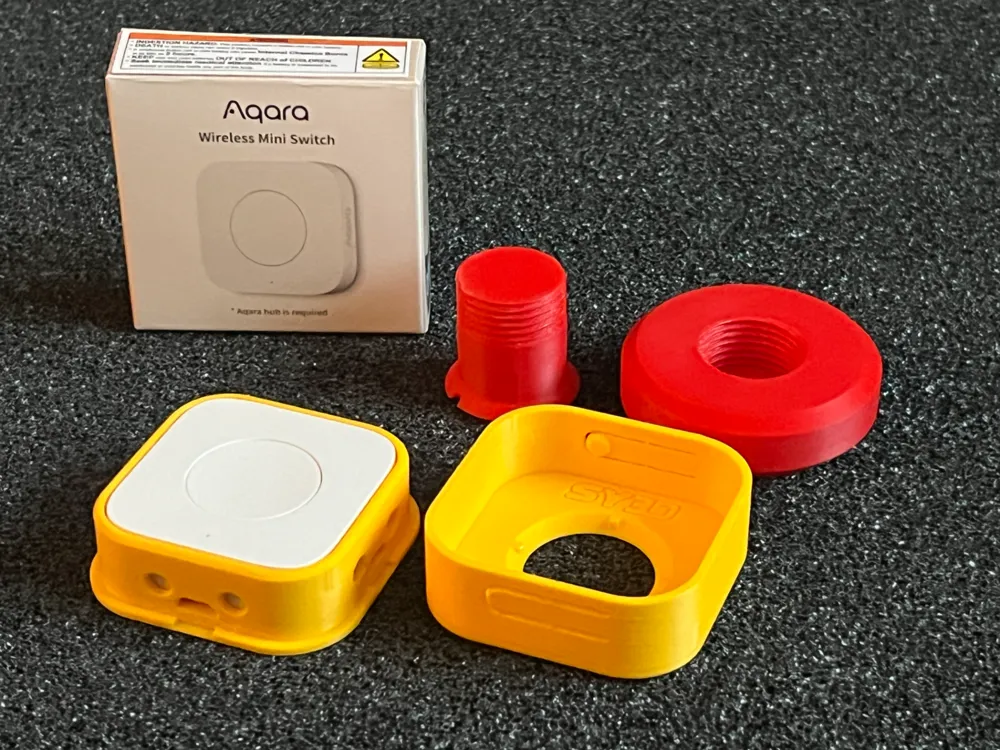
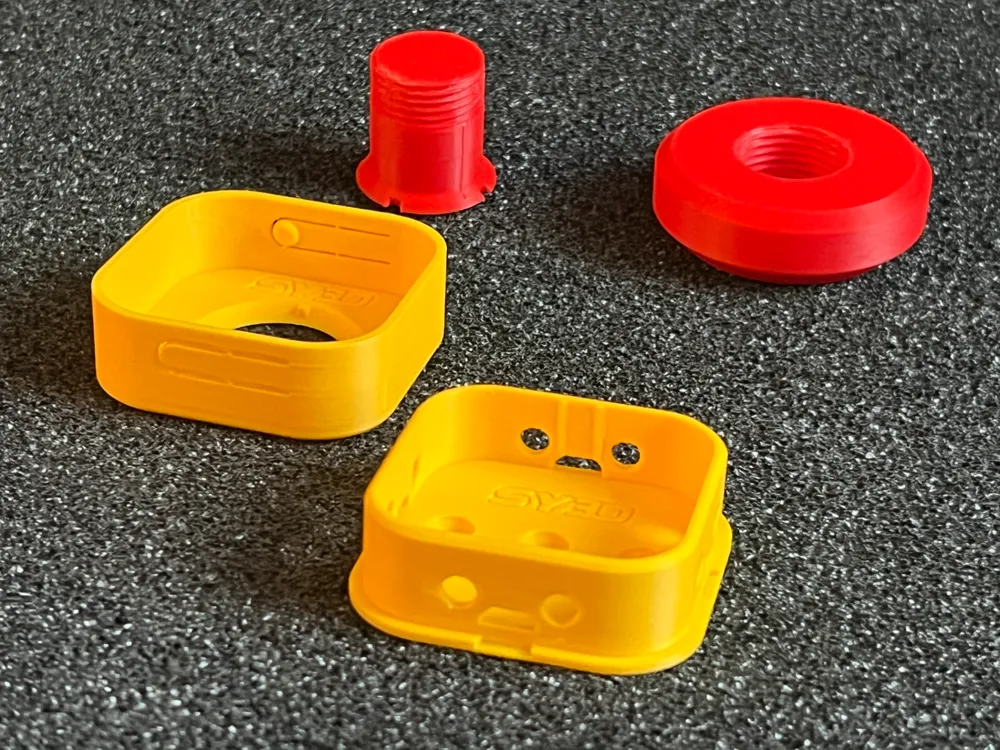
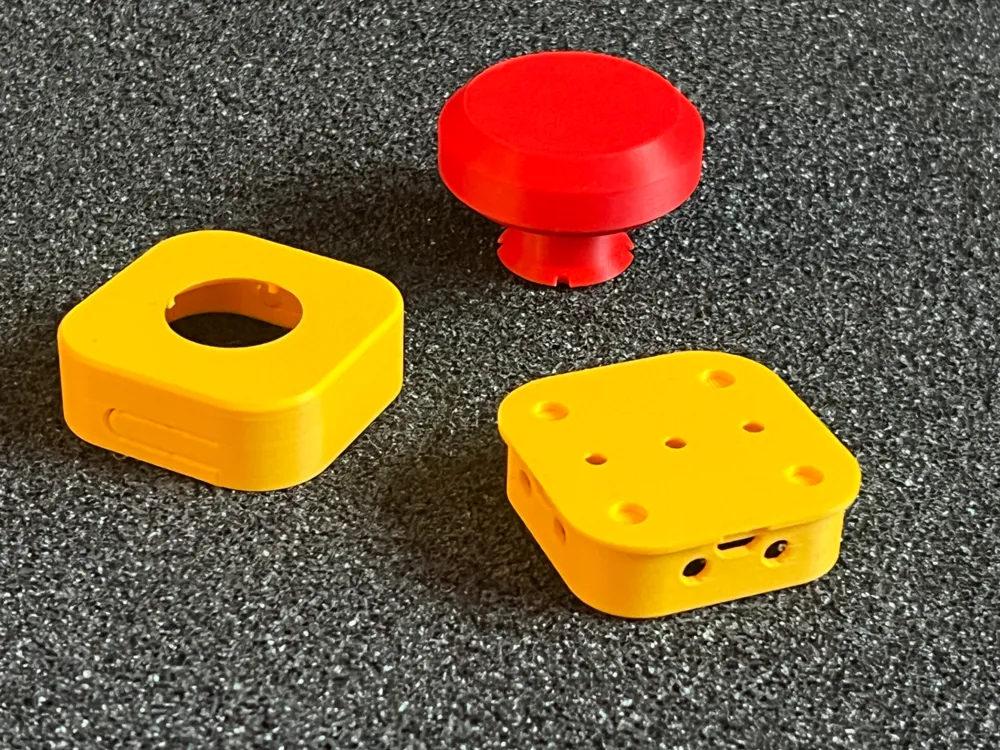
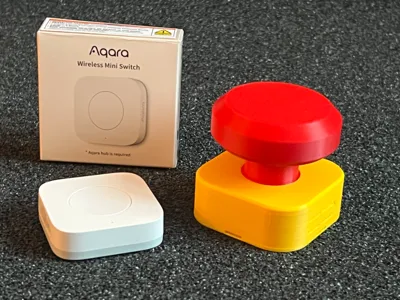
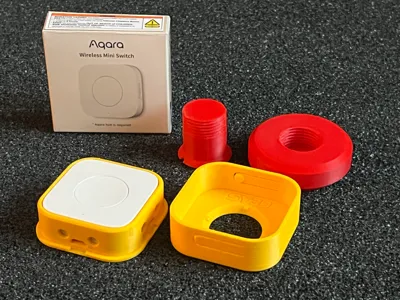
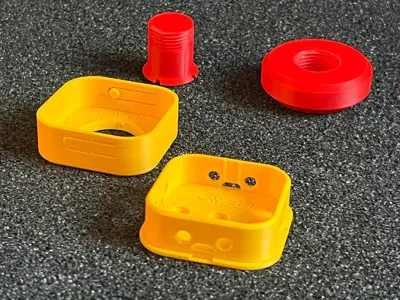
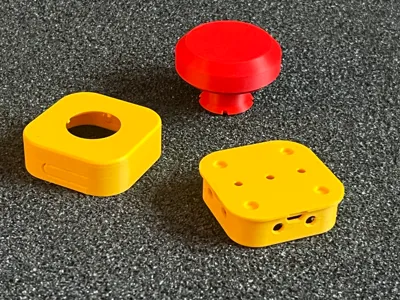
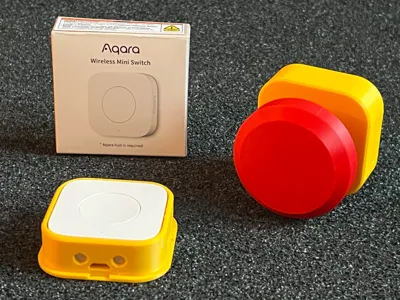
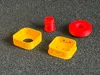
Complete kit of 4 parts to transform your Aqara wireless mini swich into a funny Emergency Stop (E-Stop) button look alike.
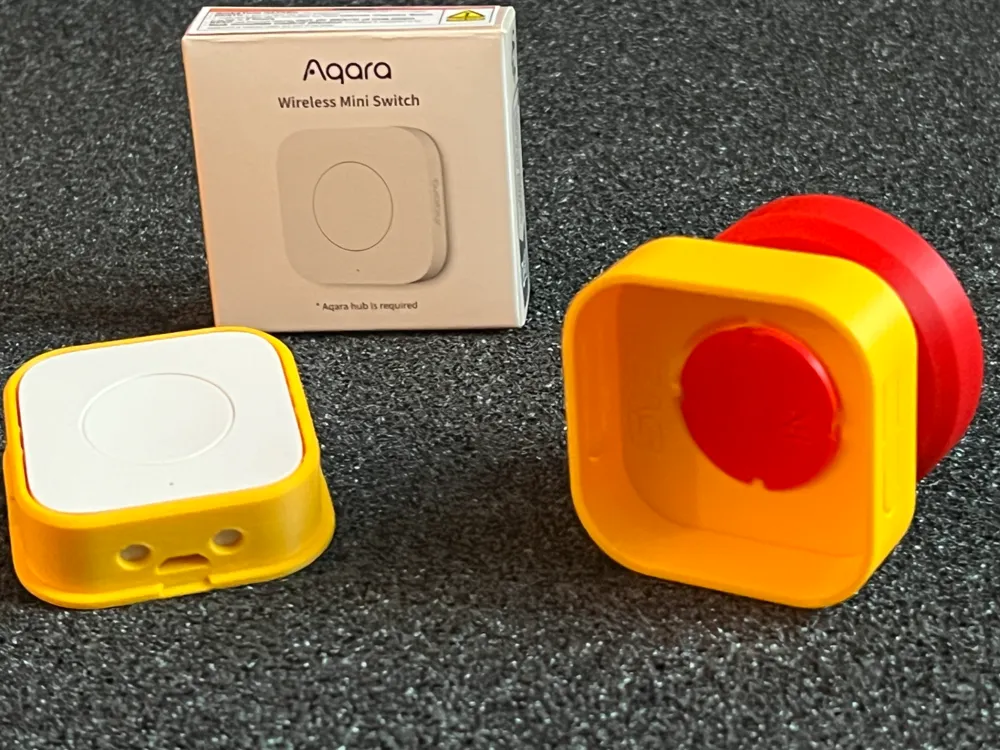
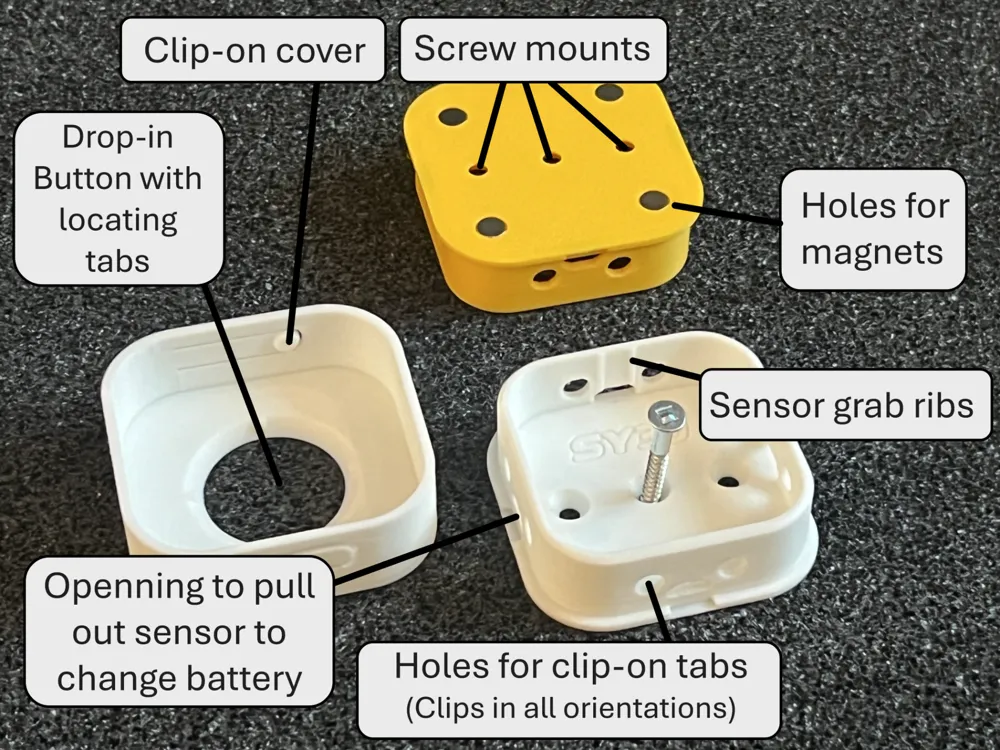
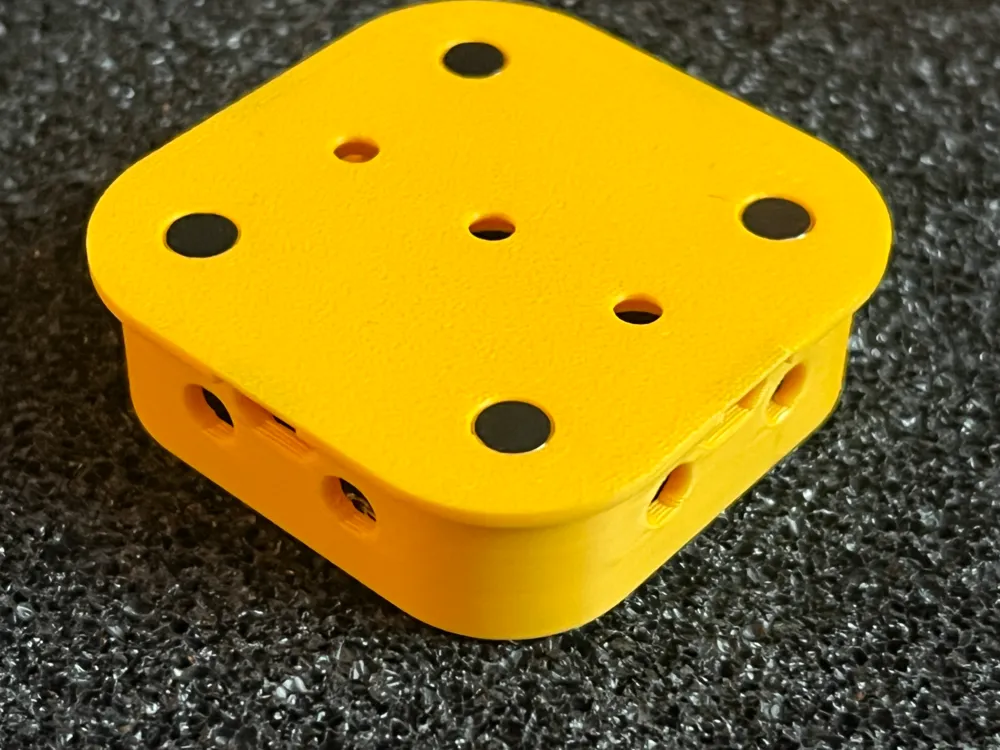
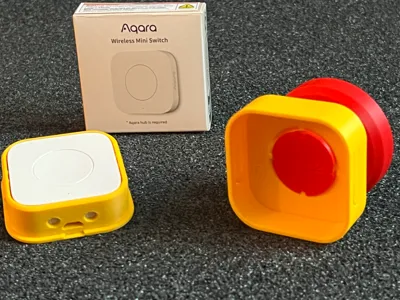
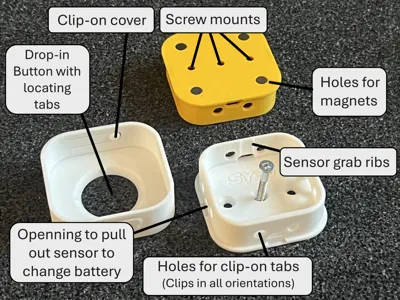
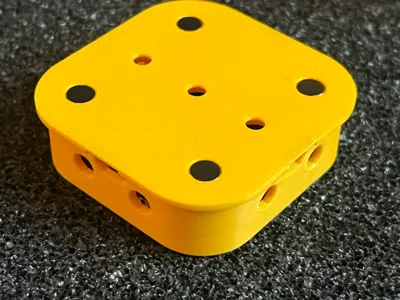
The e-stop case skin can be surface or wall mounted with screws or equipped with magnets. The top case is clip-in, no special hardware required. This base is a snug fit for the Aqara switch body, but the red button will not be tight in the hole or on the switch. The button is designed a tiny bit smaller to avoid false triggers and will wiggle after assembly, this is by design, to accomodate in the variability of printers and materials to avoid pushing on the trigger and help the button release. You can use a little piece of shim like tape if this wiggle is critical for you. For a better Aqara body fit, leave the foam in the back of Aqara button.

Wall Mounting : No.6 screws. Holes for the screws are 4mm).
Magnets (optionnal) : 4 x magnets (6x2mm round magnets, same as Gridfinity)
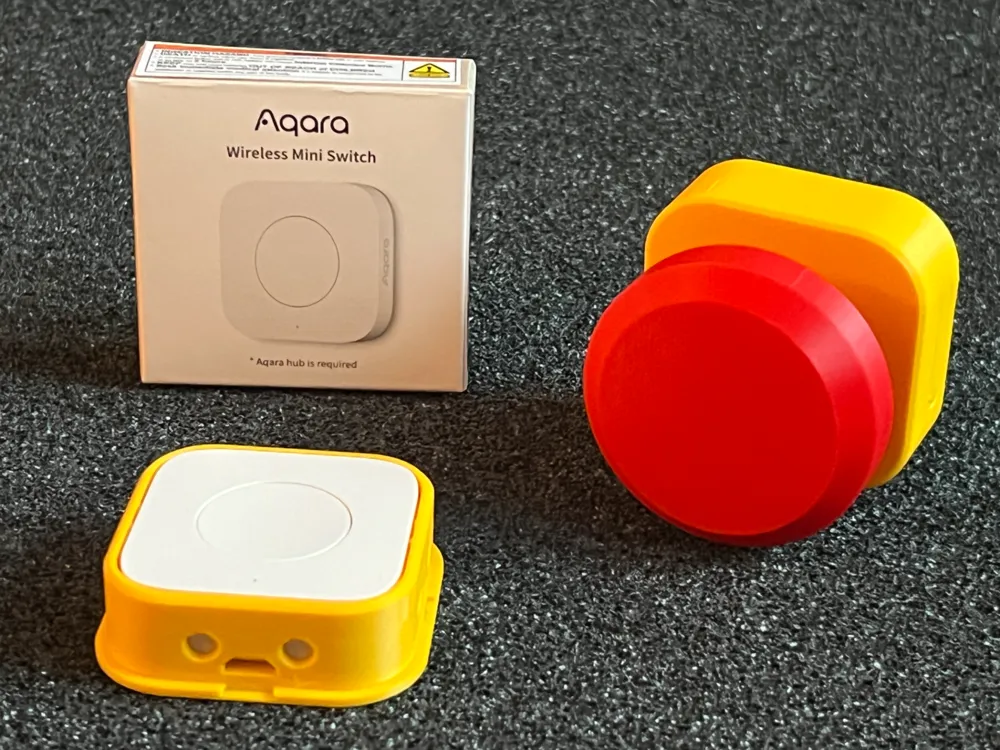
Fit for button model : Aqara Wireless Mini Switch 3-Way Control Button for Smart Home Devices (Compatible with Apple HomeKit).
Part number : WXKG11LM / Requires the AQARA HUB via Zigbee Connection.
Shown in Bambu Labs Sunflower Yellow and Red PLA.
Boost Me (for free)
Do you like it ? Say Thank You with a ** boost ** It is FREE !
Printing: No support required, ready to print. The print profile is "by Objects" to reduce color changeovers, but you can do it in 2 plates if you don't have an AMS.
Assembly :
- Insert the Red button shaft in the top cover hole and hold it with your thumb using the the 4 tabs to prevent rotation
- Screw the large red Knob on top of the shaft. Threads should be a little tight at first to ensure a good hold.
- Insert your sensor in the base
- Hold the button in place in the 4 locator pins and clip the cover. The cover can be pushed in all directions, there are holes in the base no matther where you push the cover.
- Side retainng tabs : The very fine little plastic strings that support the side pressure tabs are design to break (this is by design). You can ignore them, that are place to allow the print with overhangs. Its normal if they break.
- To remove the sensor, side pockets allow you to insert a flat screwdriver to lift the sensor out.
Licence and terms of use :
When you download the files, you understand and agree that this content is licensed under a Standard Digital File License.
You can :
(✔) Personal use : Download the digital file(s) for free and print 3D parts from the digital file(s) for your own use.
You cannot :
(X) Sell parts : manufactured from the digital file(s) or any derivative of the digital file(s), no matter how the parts are made, how many parts are made. This also prohibits you from selling parts made from the Digital file(s) on sites such as eBay, Etsy, FB marketplace or any other location.
(X) Share the digital file(s) or resell them.
Liability disclaimer and use:
This model is abviously for fun only, do not use this for a real E-Stop.
By downloading the digital file(s) and making a 3D printed derivative object from it, you agree that you're doing it at your own risk and understand the limitations of 3D printed parts. The digital file(s) are not a product and the design do not give any express or implied warranty that, any product made from the digital file(s), will work or perform in a certain way.
License

You shall not share, sub-license, sell, rent, host, transfer, or distribute in any way the digital or 3D printed versions of this object, nor any other derivative work of this object in its digital or physical format (including - but not limited to - remixes of this object, and hosting on other digital platforms). The objects may not be used without permission in any way whatsoever in which you charge money, or collect fees.


Comment & Rating (56)