
Cap Button Propeller


Print Profile(7)


Description
Description
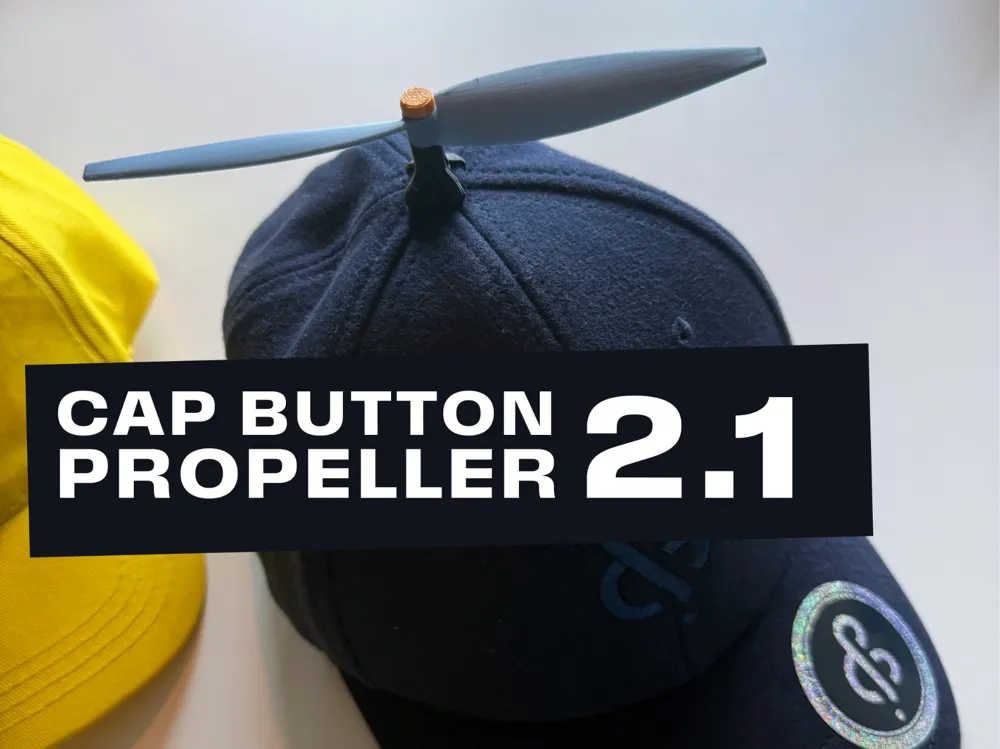
At long last; after collecting feedback from this fantastic community, it's now here!
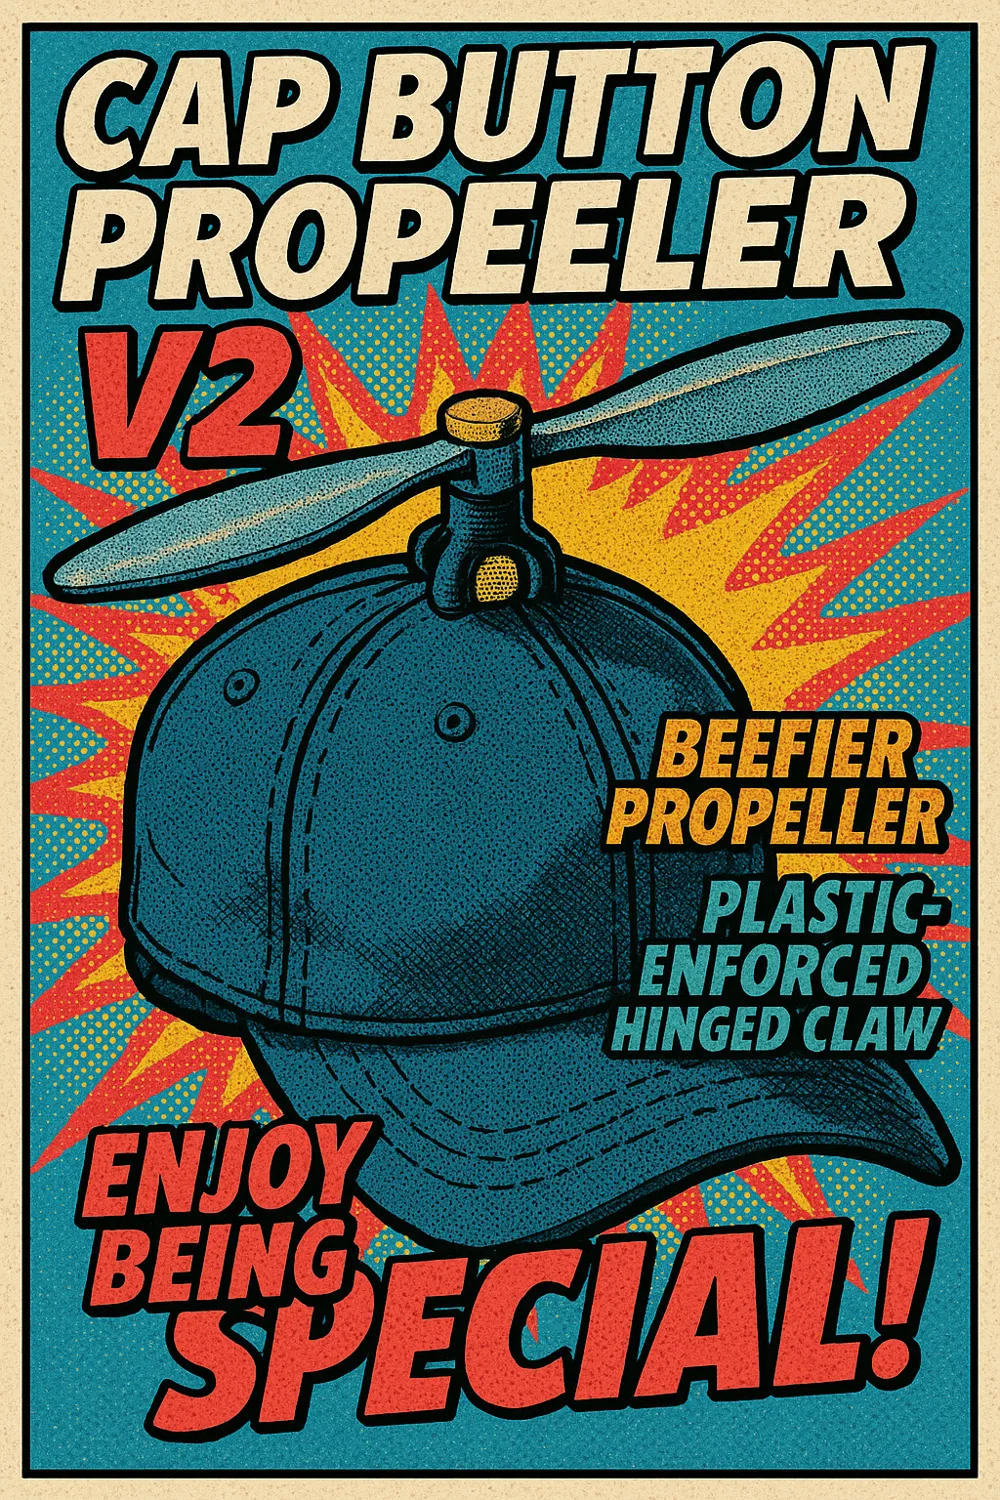
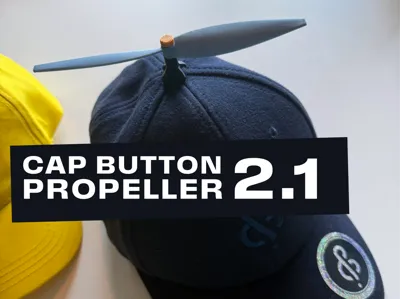
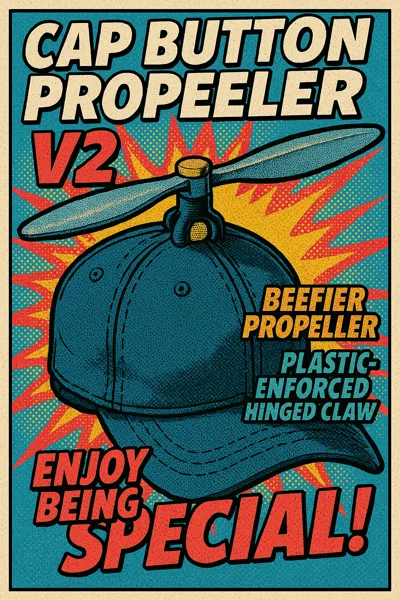
The second version of the high fashion accessory - the Cap Button Propeller V2!
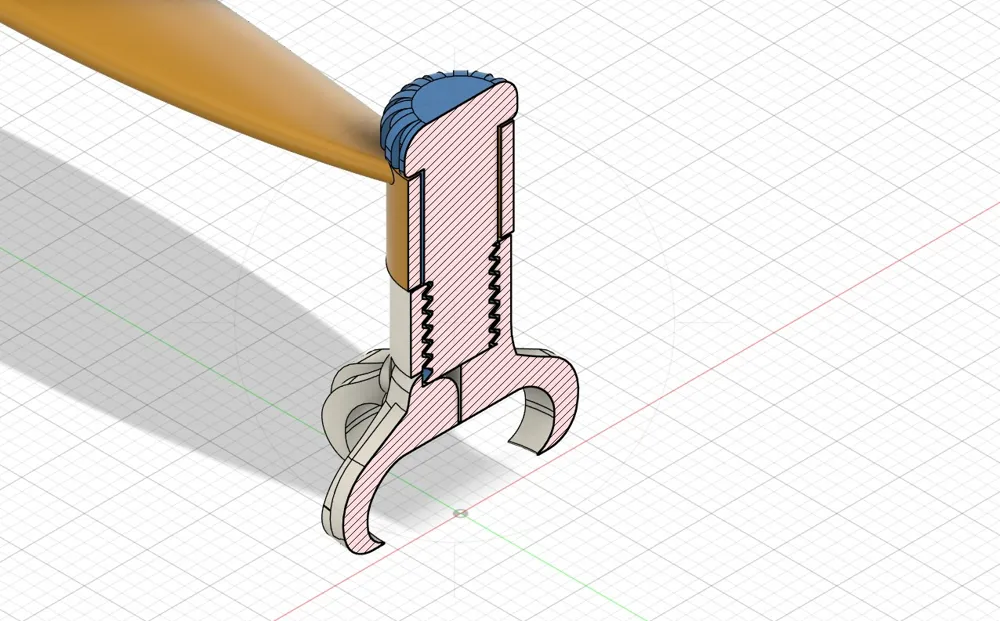
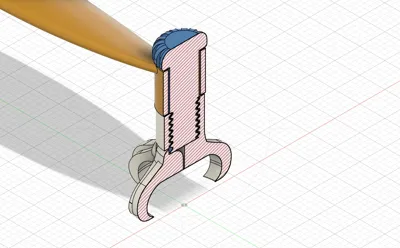
- While the first version had a static mounting mechanism prone to breaking, the new version has had it claws enforced with some more plastic, one of the claws is also hinged for a better mounting experience!
- The propeller is a bit beefier as the previous version sometimes broke when removing the supports. The added weight also seems to improve spinning.
- The screw has a new clock crown design for better grip.
Instructions:
- After successful print - screw the screw in and out a few times to make assebly on cap easier.
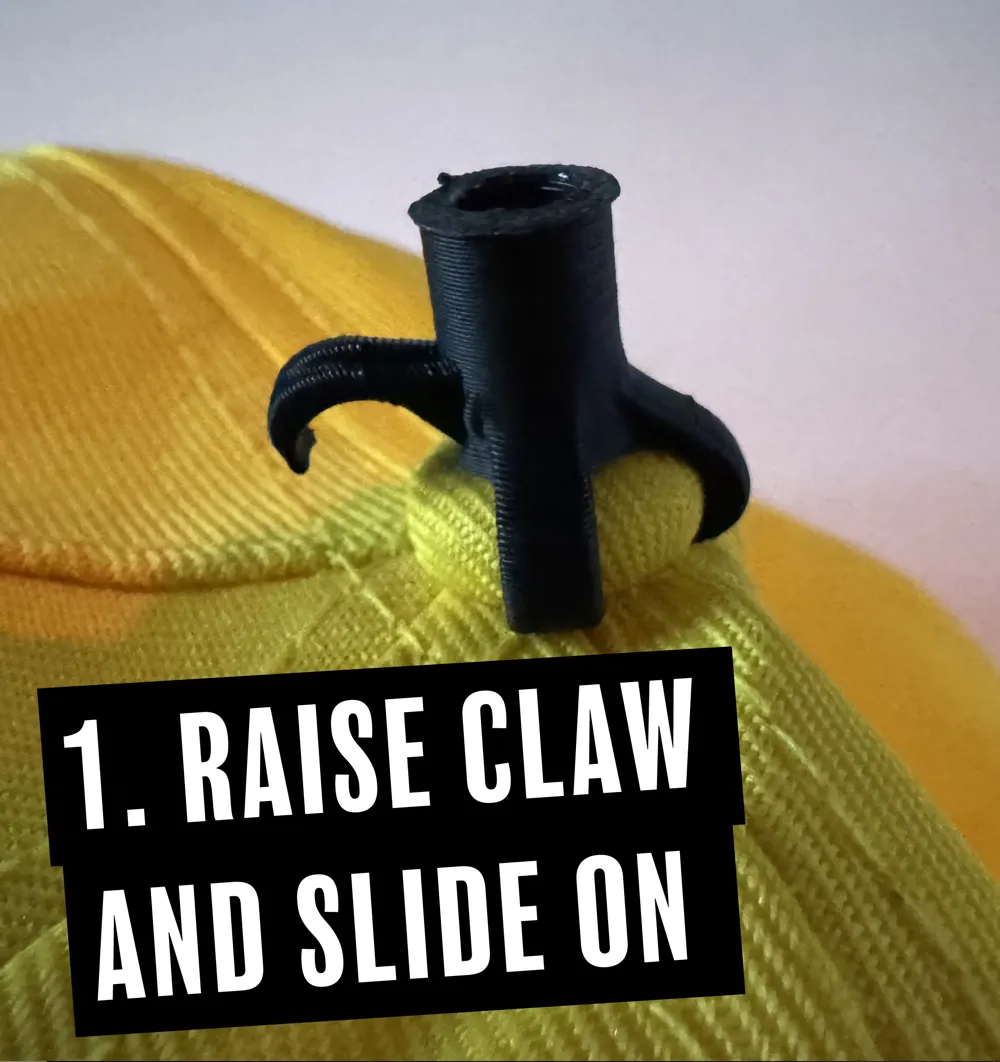
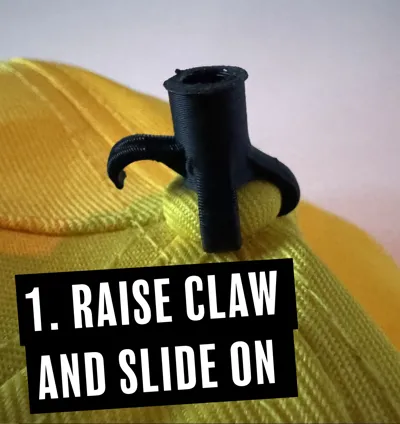
- Loosen the hinged claw, as it's a small model, the tolerances are tight. Put it on the edge of a table and use some force to loosen it - It should fold outward.
- Find your special occasions cap.
- Fold the hinged claw out and slide the mount onto the cap button.
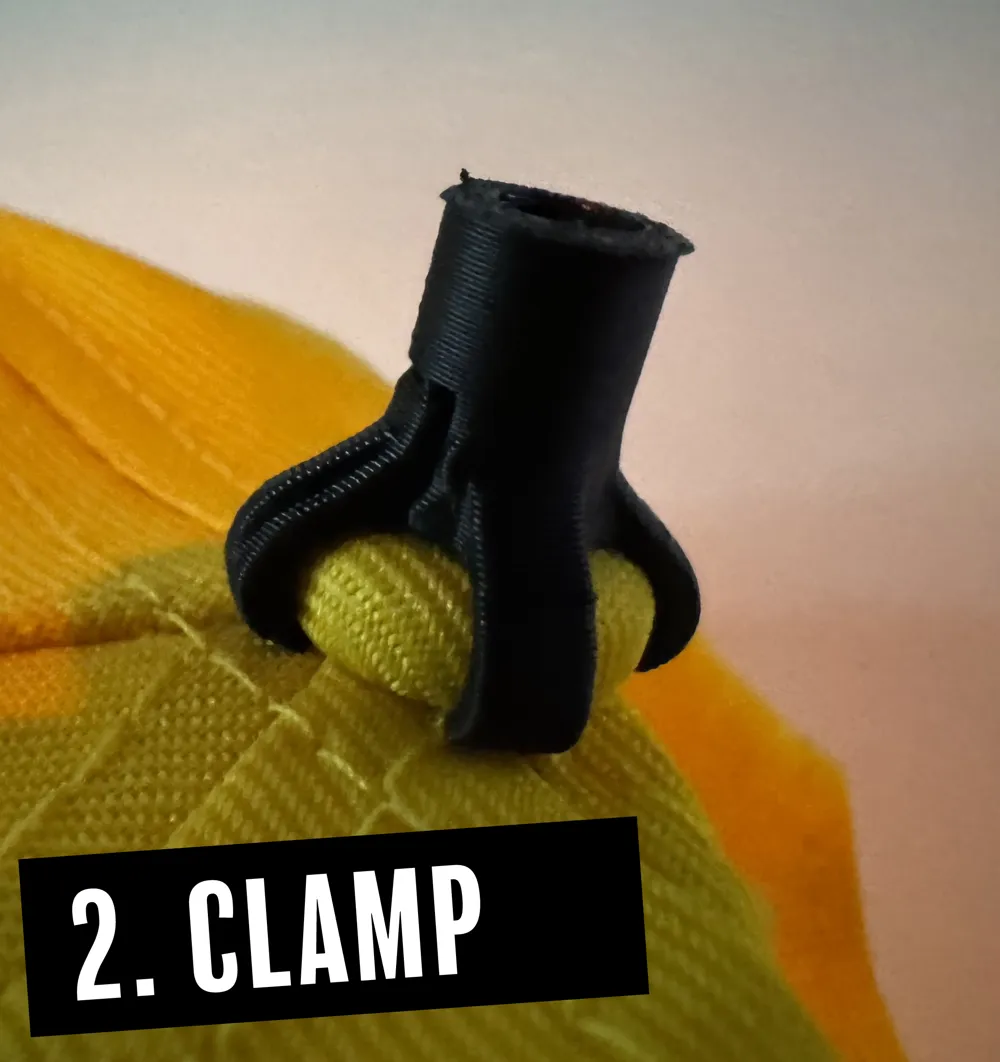
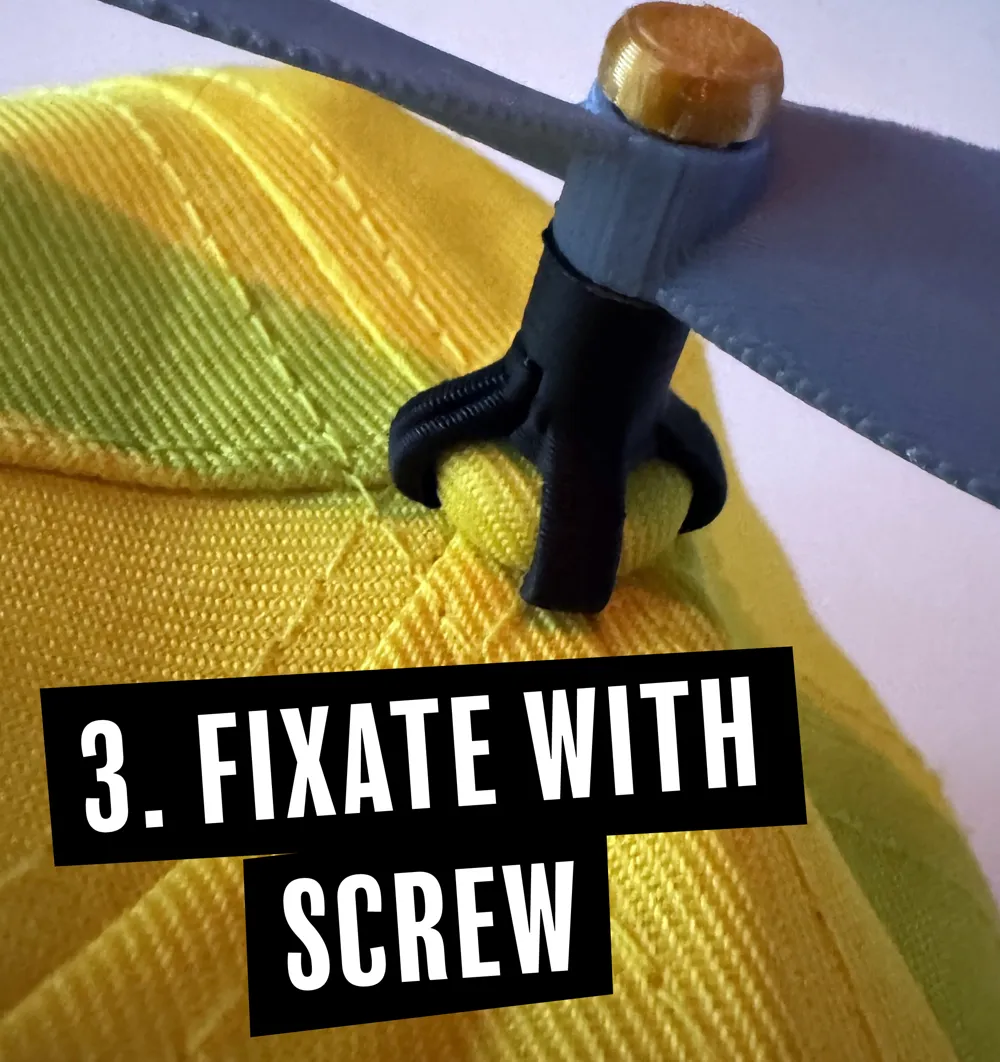
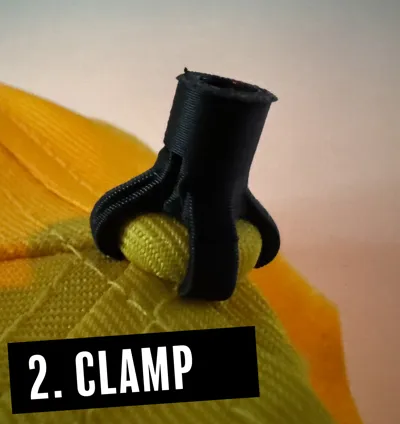
- Push the hinged claw inwards so that it clamps the button.
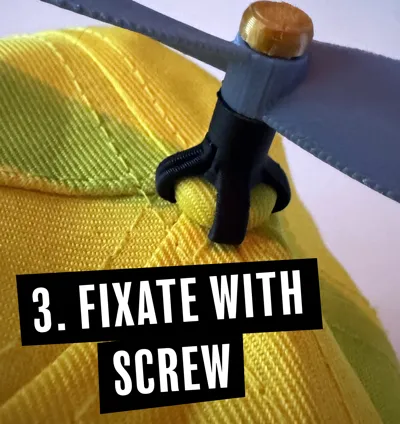
- Put the screw through the propeller.
- Screw the propeller onto the mount, all the way down - this secures the hinged claw.
- Enjoy!
💡Going on a date?
The propeller edges might come out a bit jagged, if you want to look your best you can go over the edges gently with a sand paper. Move the sanded edges quickly (so it doesn't get burn marks) over an open flame in order to restore the shine.
Boost Me (for free)
I greatly appreciate any feedback and try to reply and solve issues when applicable. Also feel free to boost if you like the model.
License

You shall not share, sub-license, sell, rent, host, transfer, or distribute in any way the digital or 3D printed versions of this object, nor any other derivative work of this object in its digital or physical format (including - but not limited to - remixes of this object, and hosting on other digital platforms). The objects may not be used without permission in any way whatsoever in which you charge money, or collect fees.


Comment & Rating (939)