
RetroStash - A Lockable Retro Cassette Container

Print Profile(2)







Description
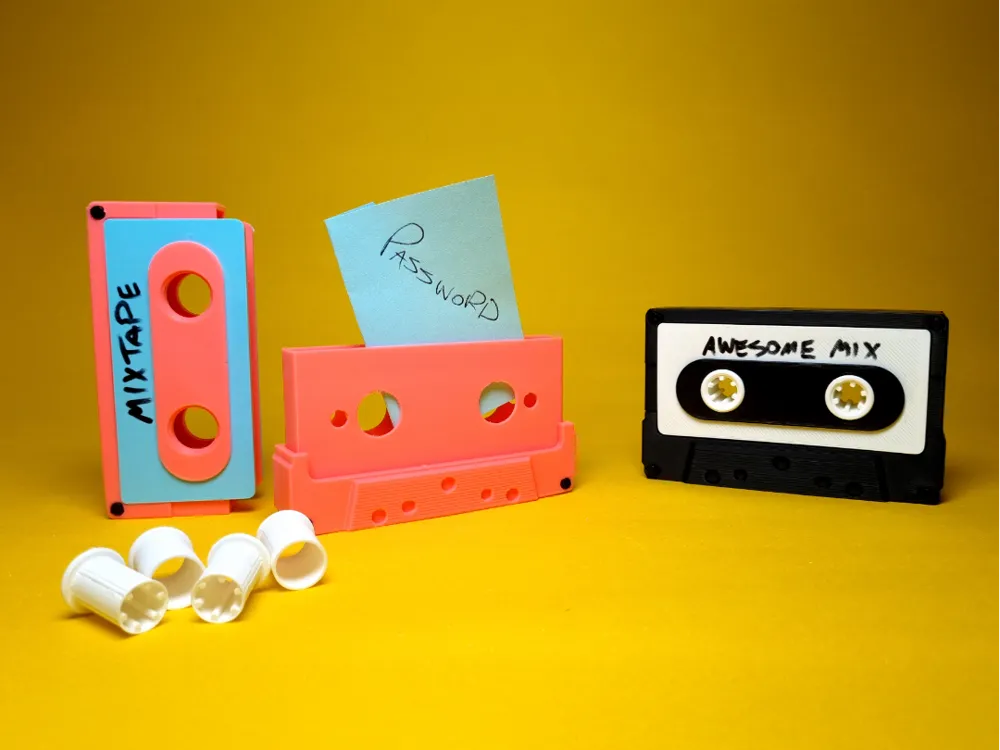
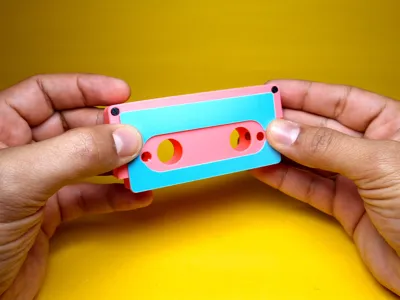
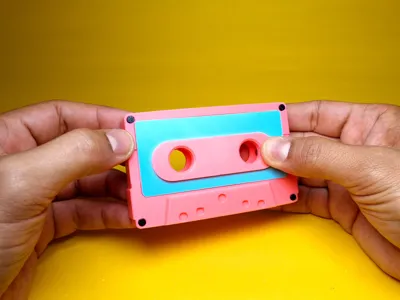
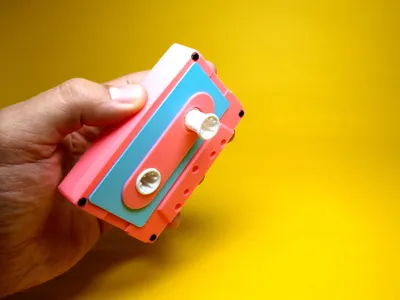
RetroStash - A Lockable Retro Cassette Storage Container
Product Description
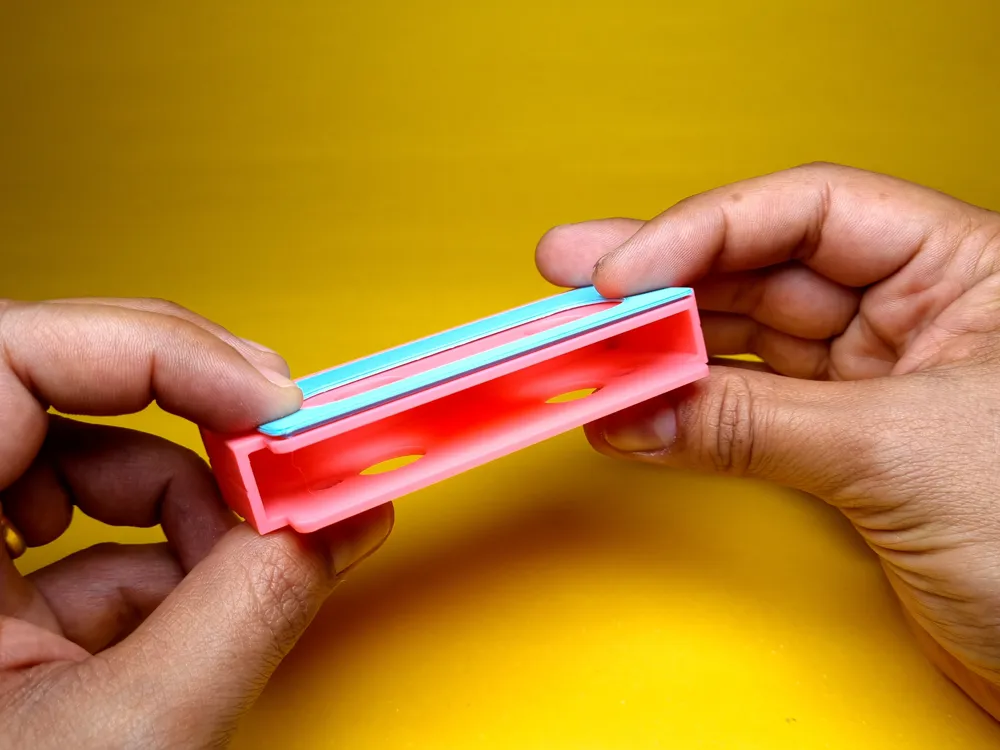
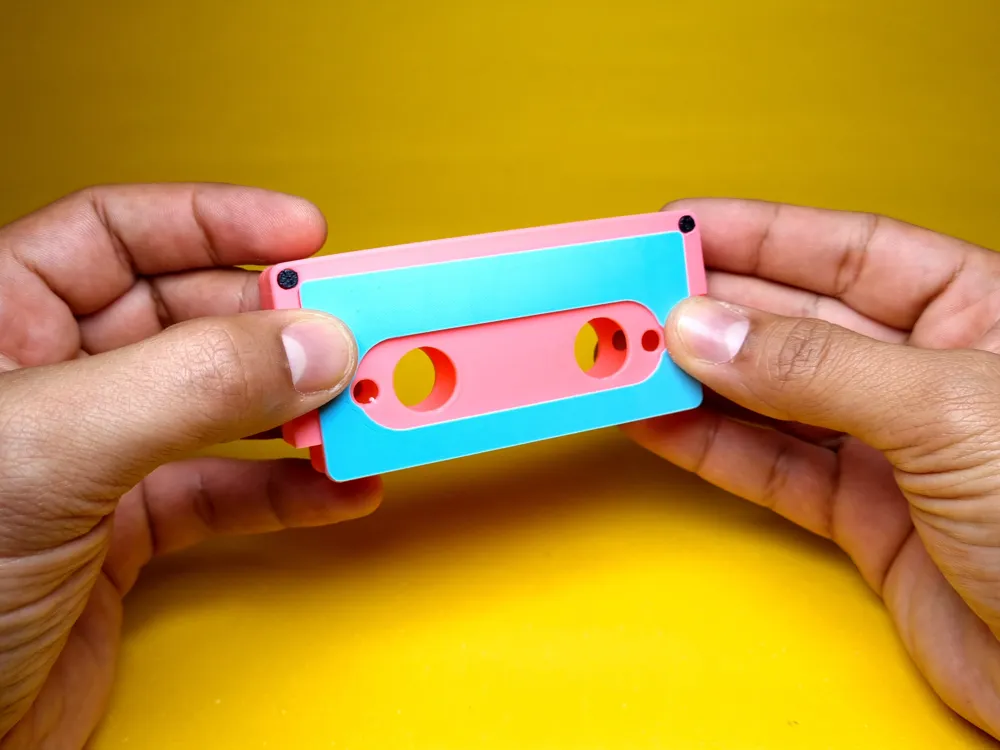
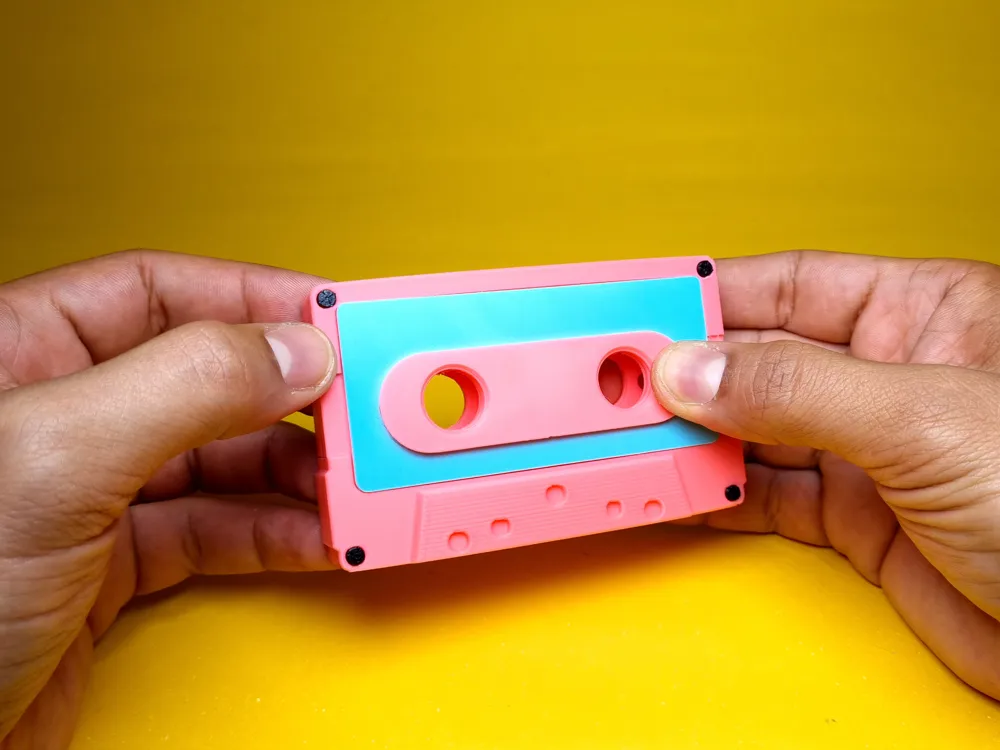
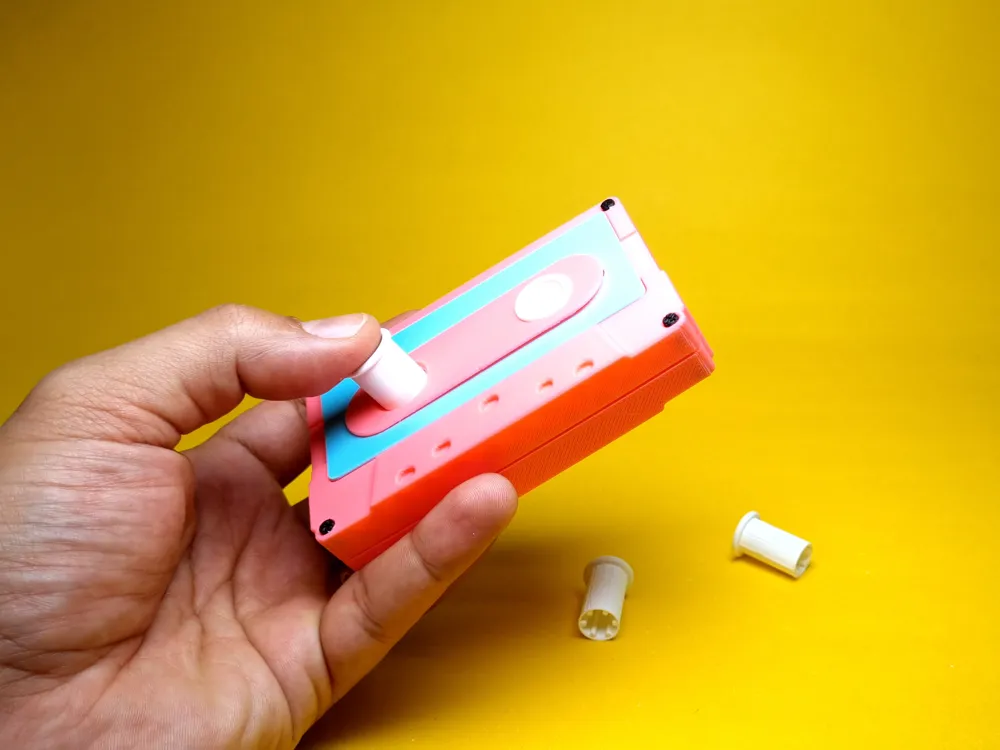
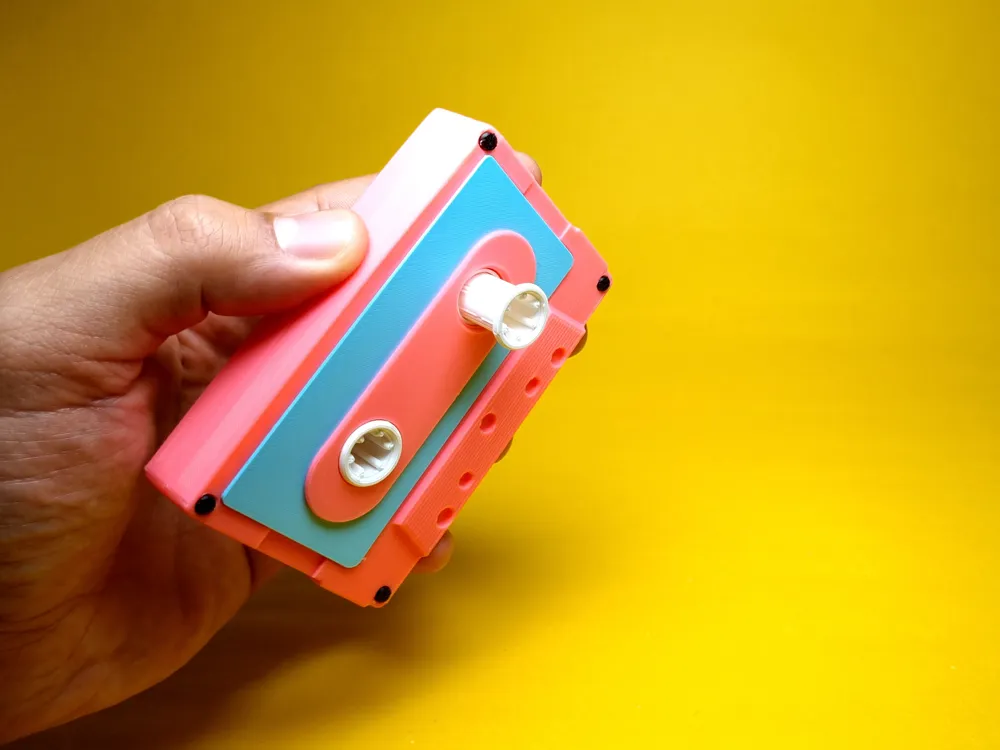
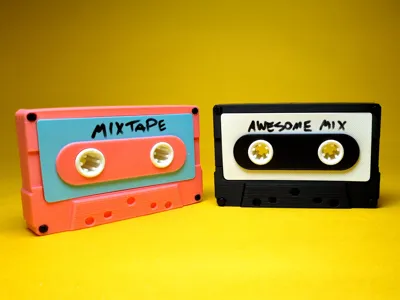
The RetroStash is a nostalgic lockable container inspired by the iconic cassette tape design. This cleverly designed box features a seamless two-part body that locks together securely, while the rollers serve as a fun, fidget-friendly addition. The rollers freely rotate for added tactile engagement, but their clever integration through the two-part body enables the locking mechanism to function effectively.
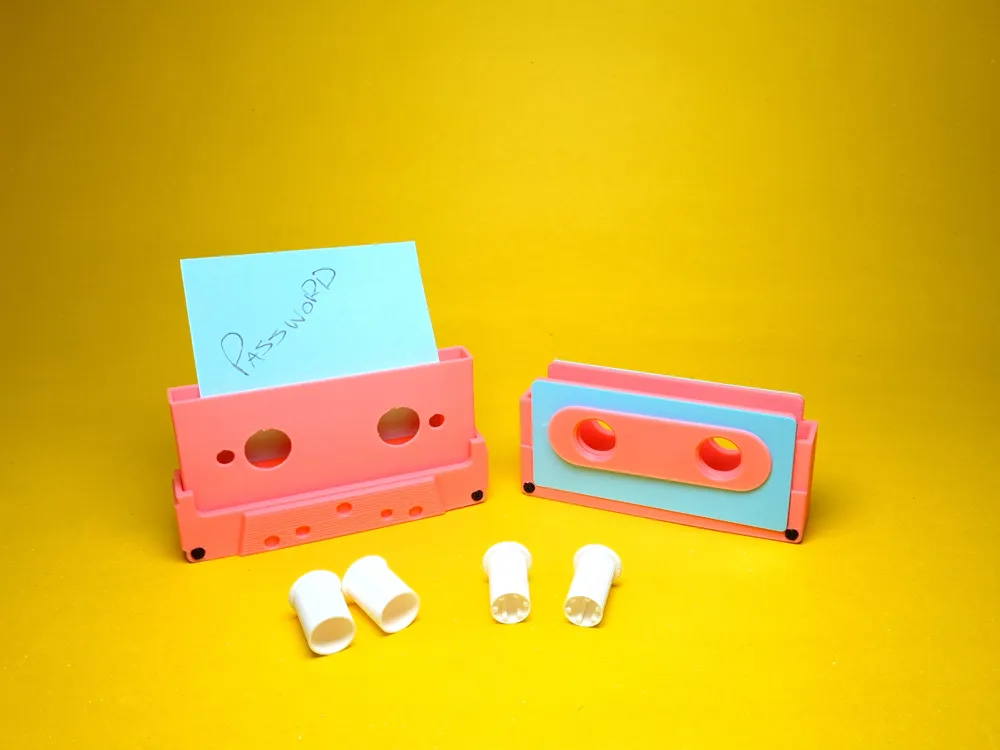
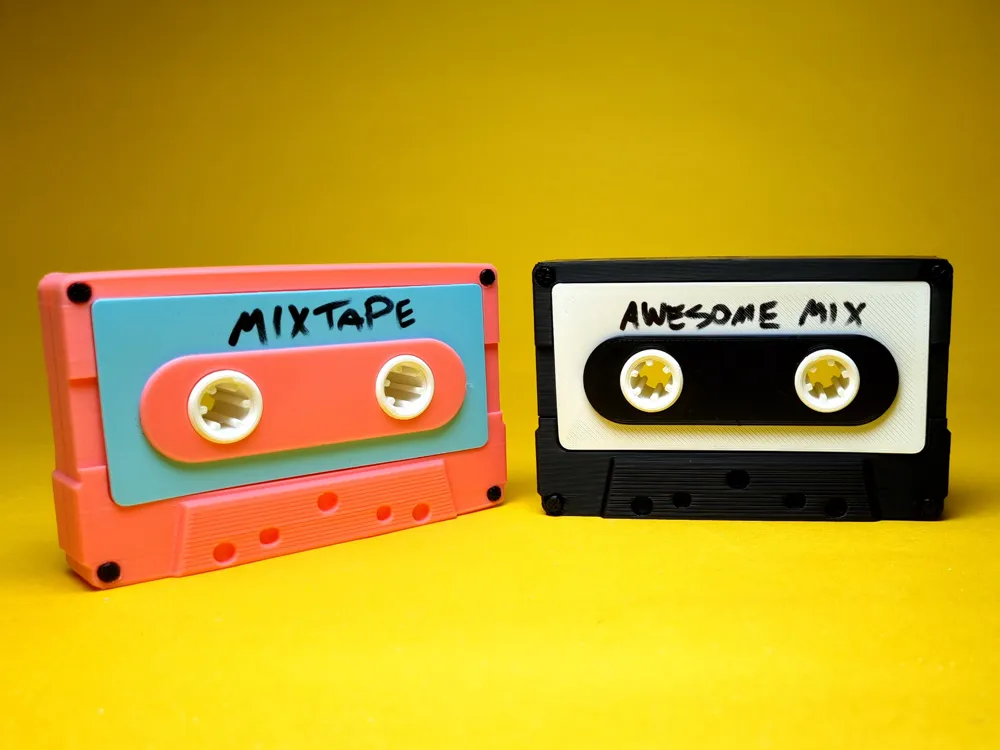
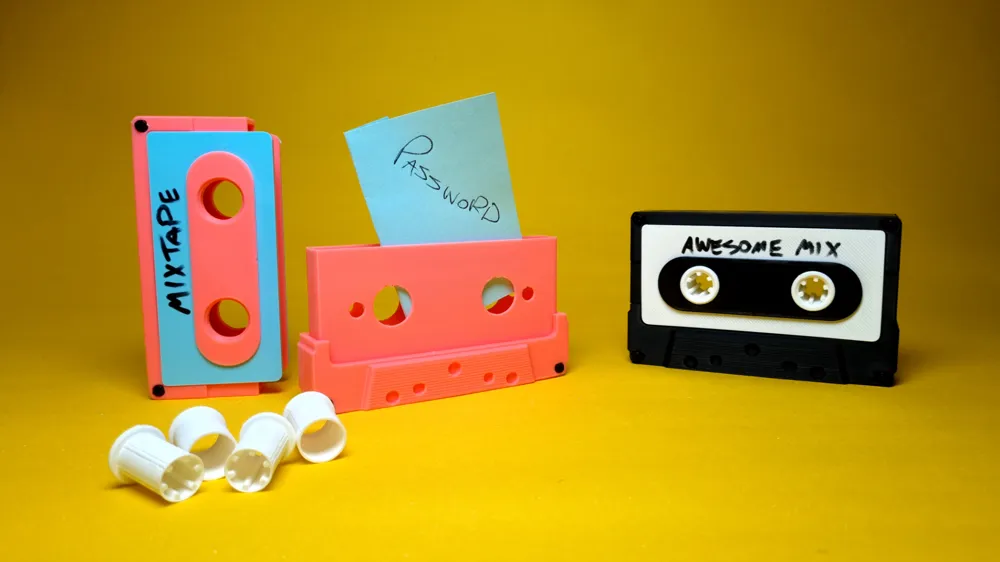
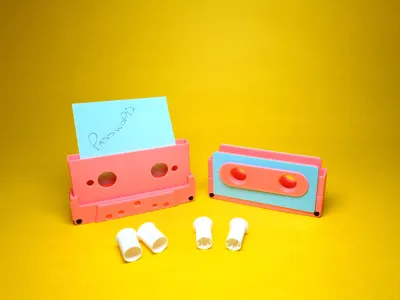
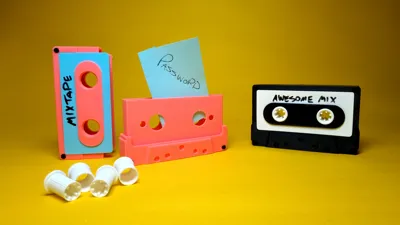
Perfect for storing small objects, sentimental notes, crypto wallet seed phrases, or love letters (bringing back the mixtape vibe), this container merges retro aesthetics with practical design. The RetroStash also includes a dedicated label area for customization, allowing you to add a personal touch – either handwritten or pre-printed.
Printing Instructions
- Material: PLA or PETG works great. Use PETG for added durability if the container is subject to frequent use.
- Layer Height: 0.2mm recommended for optimal detail and durability.
- Supports: Not required – the model is designed for support-free printing.
Assembly Instructions:
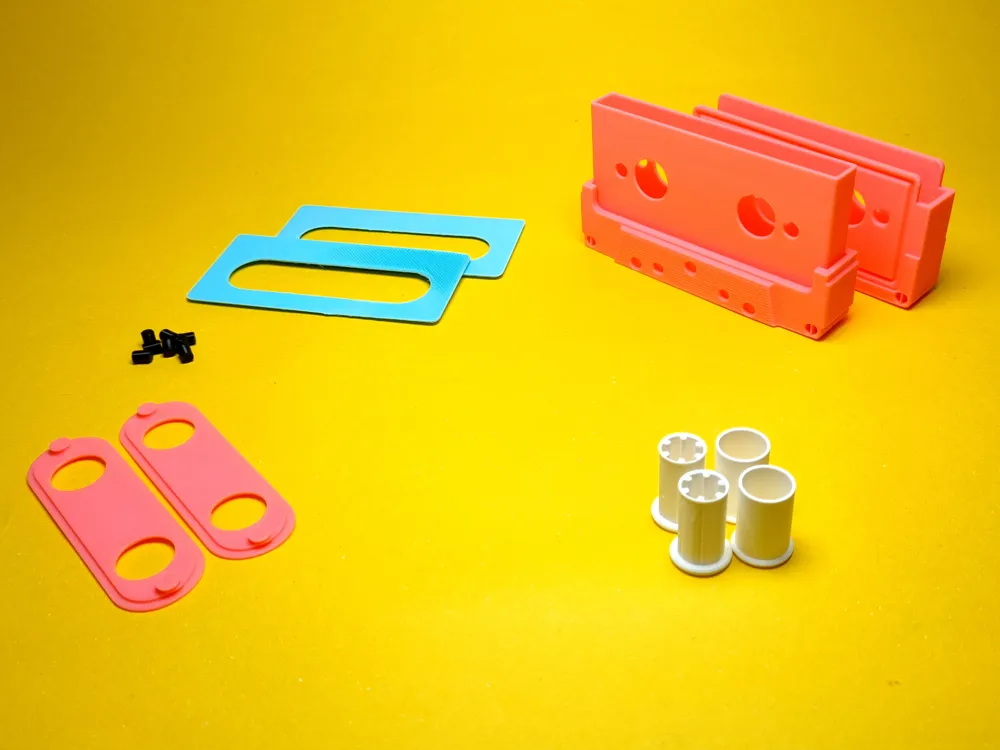
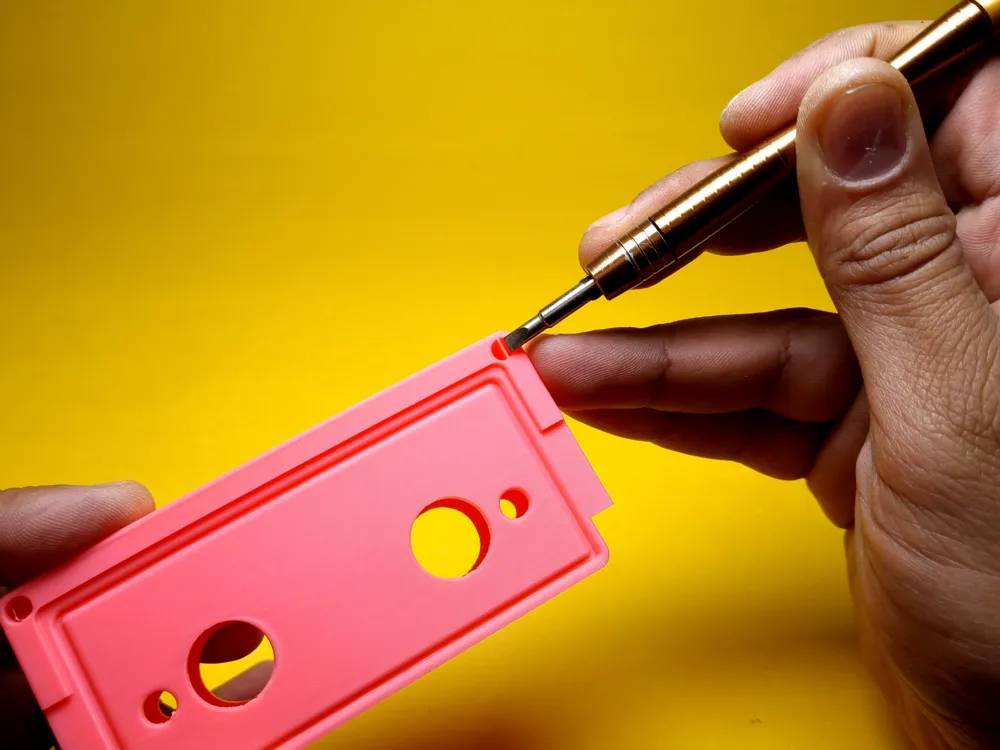
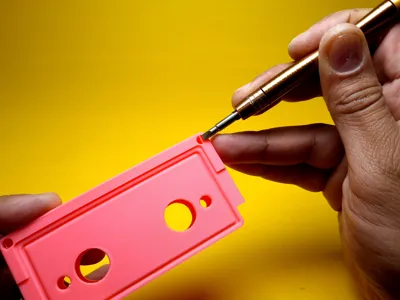
- Prepare the Shells:
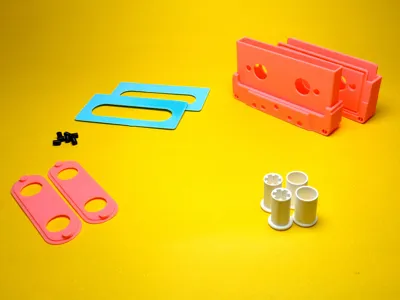
- Clean the screw holes on both cassette shell parts using a small flat screwdriver to ensure proper assembly.
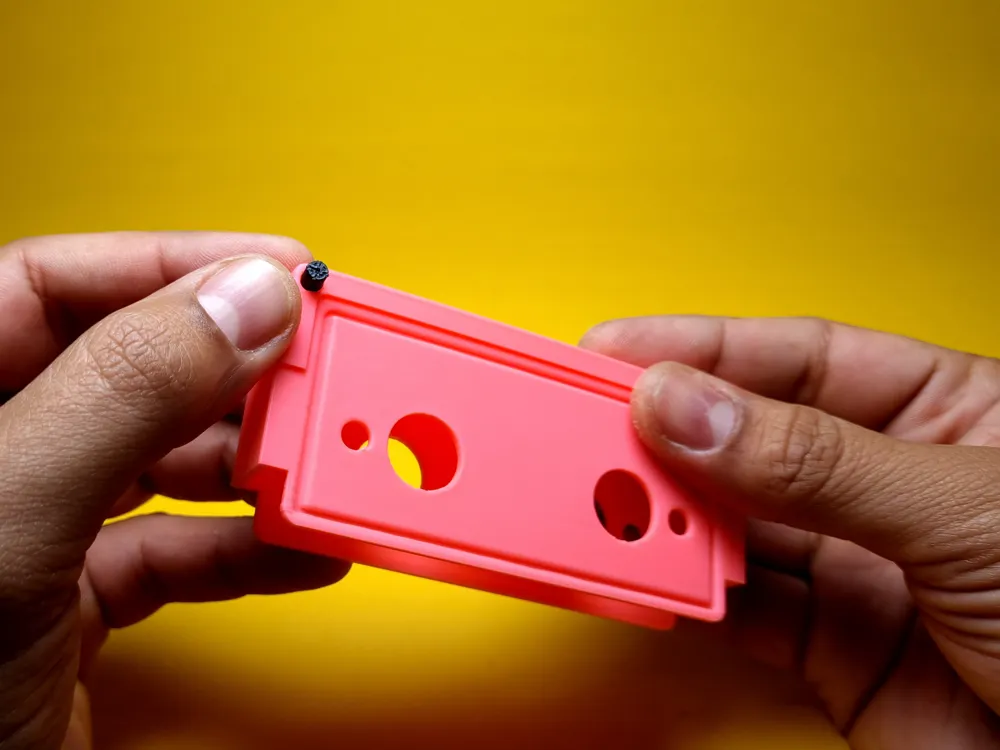
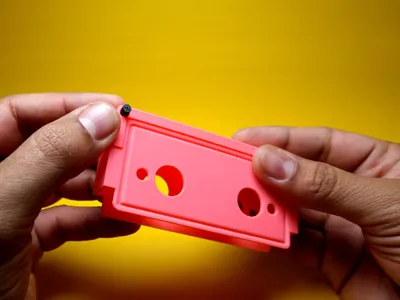
- Insert Screw Models:
- Push the screw models into their designated slots on each cassette part. These are designed as push-and-lock based on tolerance. If the fit feels loose, you may add a small amount of glue for extra security.
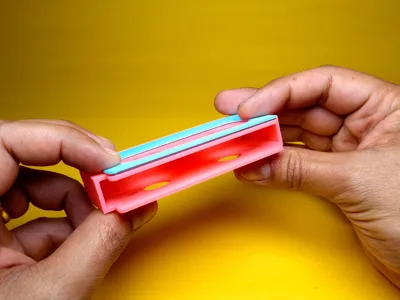
- Assemble the Shells:
- Assemble the two cassette shell parts together to form a rigid structure - This ensures stability for attaching the label panel and center panel.
- Attach the Panels:
- Slide the label panel onto the cassette and then snap on the center panel on top. Ensure the center panel’s notch is facing the bottom to align it correctly with the cassette.
- Personalize the Label:
- Use a fine-point marker (I used an M-size Sharpie) to write on the label panel if desired.
- Insert Your Stash:
- Place your personal items, love notes, or small valuables inside the cassette.
- Assemble the Rollers:
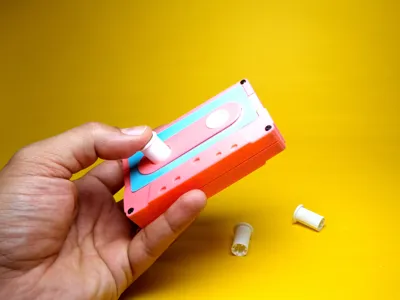
- Slide the rollers into their slots on the cassette. These rollers are designed to slide into each other through the cassette shell.. Snap together the two parts of each roller to form a complete piece.
- Enhance Roller Grip (Optional):
- If the rollers feel loose, you can gently heat the outer roller part while assembled, then squish it slightly to improve the grip between the parts.
- Final Assembly:
- Once the rollers are in place, your cassette is fully assembled. To open it, simply remove the rollers and separate the two cassette parts to access your hidden stash.
Boost Me (for free)
Support the Innovation!
Membership
Start Selling This Design
------------------------------------------------------------------------------------------------------
Every model is originally designed from scratch, rigorously 3D printed, and thoroughly tested to perfection by Omri Hillel. All rights reserved. Unauthorized duplication, modification, or commercial distribution without a proper license is strictly prohibited.
License

You shall not share, sub-license, sell, rent, host, transfer, or distribute in any way the digital or 3D printed versions of this object, nor any other derivative work of this object in its digital or physical format (including - but not limited to - remixes of this object, and hosting on other digital platforms). The objects may not be used without permission in any way whatsoever in which you charge money, or collect fees.


Comment & Rating (7)