
Circular Saw Narrow Rip Guide Attachment

Print Profile(1)

Description

All Compatible Lightbox Frames & Mounts Available Here!
🛠️ Recommended Gear
Check out my Amazon Storefront by clicking here!
Bed Adhesion (Fix First Layer Issues) Magnets (for optional mounts)
Recommended LED Light Strips Battery Powered LED Light Strips Double Sided Tape for Lens: Optional
Custom One-Off Designs Available - CLICK HERE
Printing tips are located at the bottom of this listing
___________________________________________________________________________
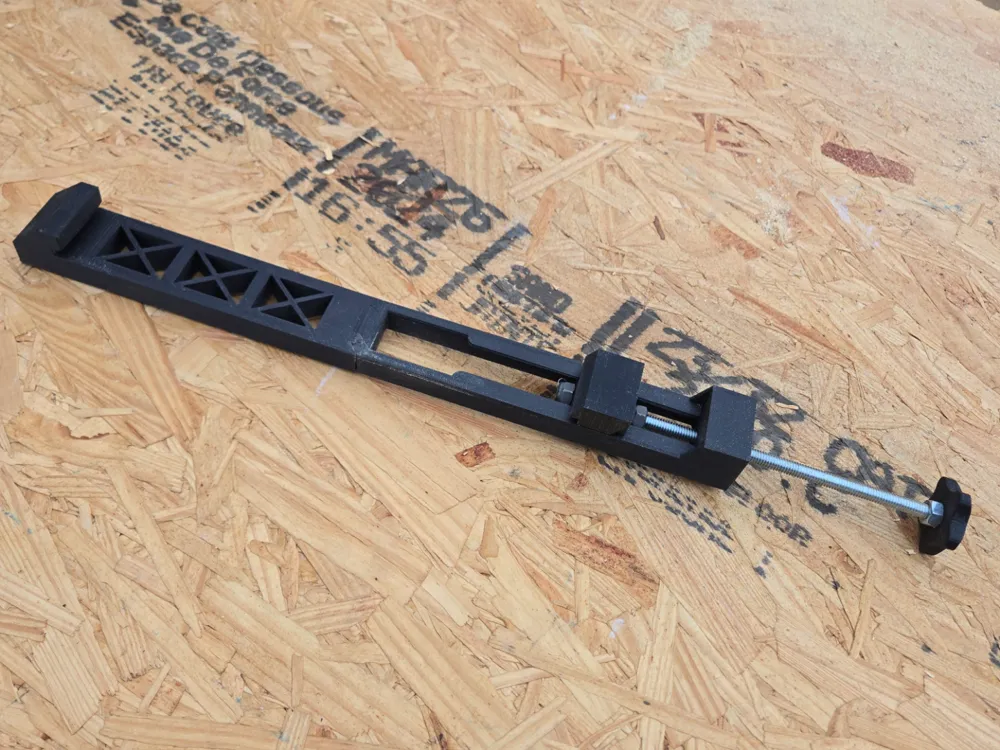
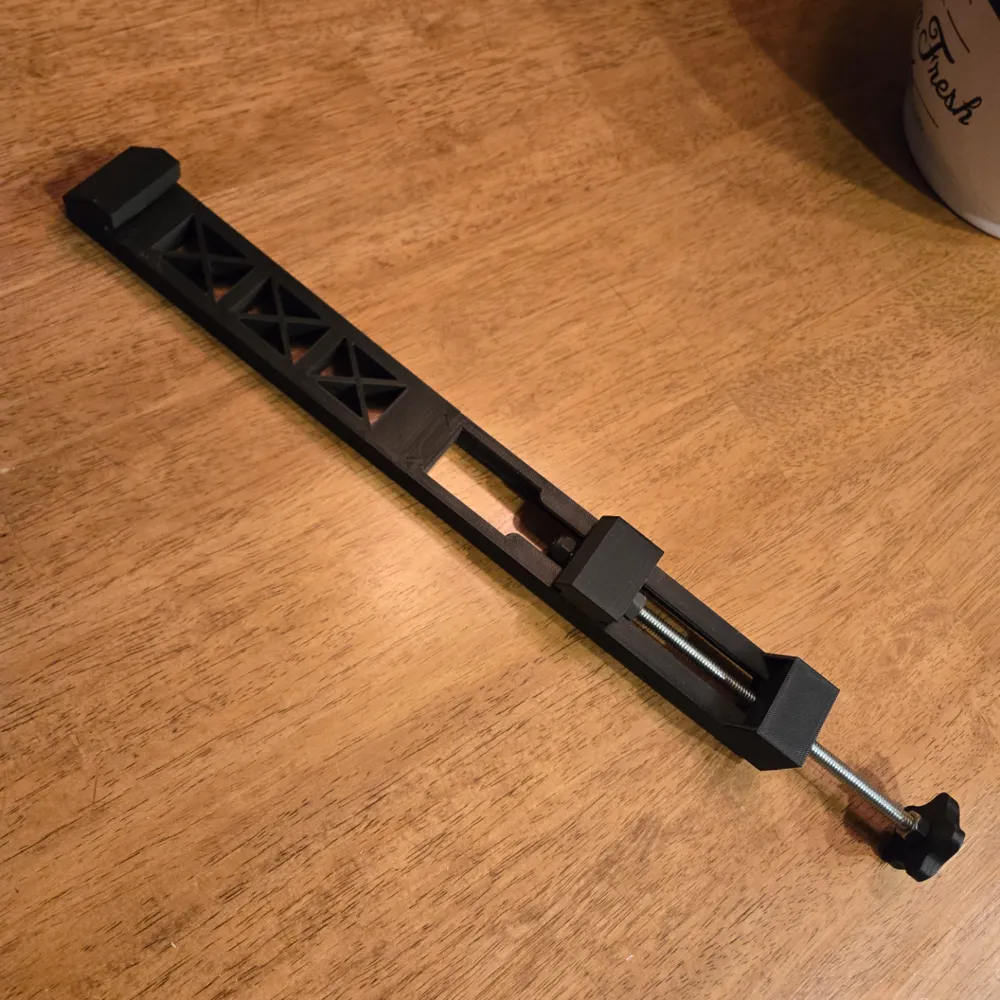
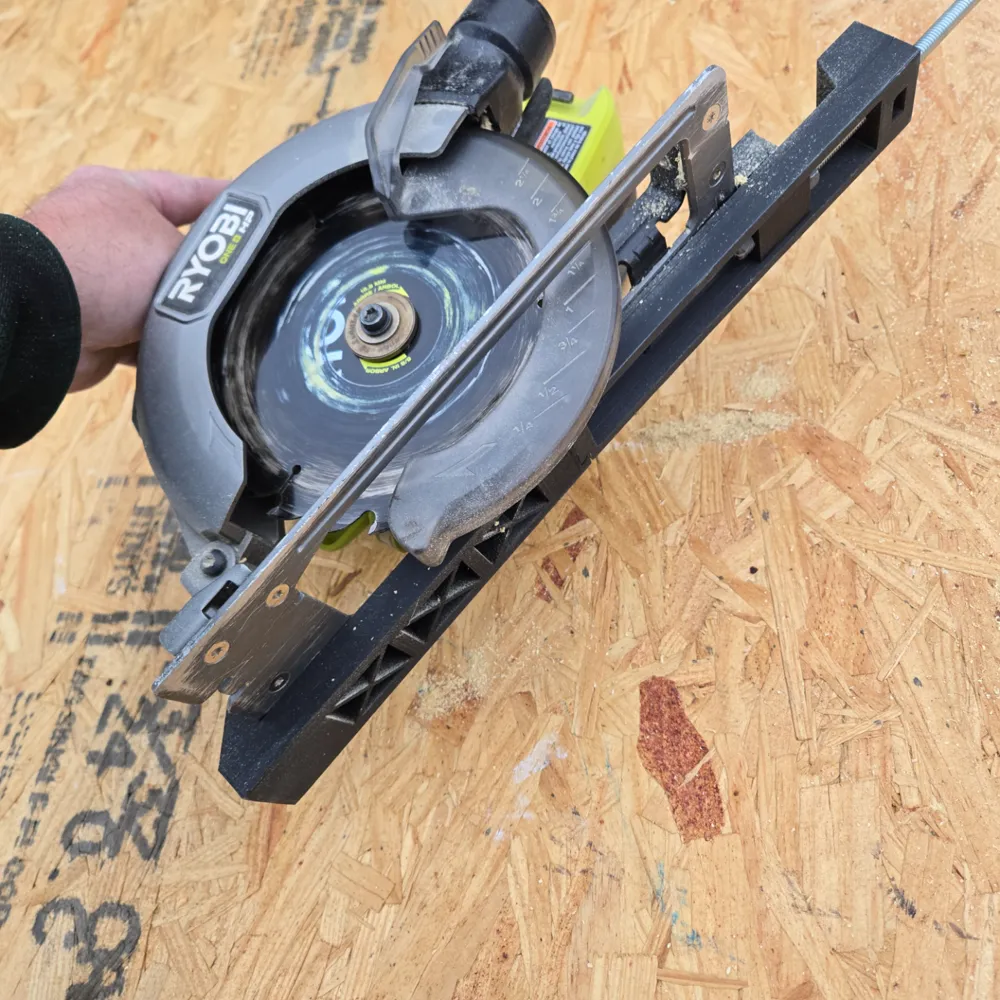
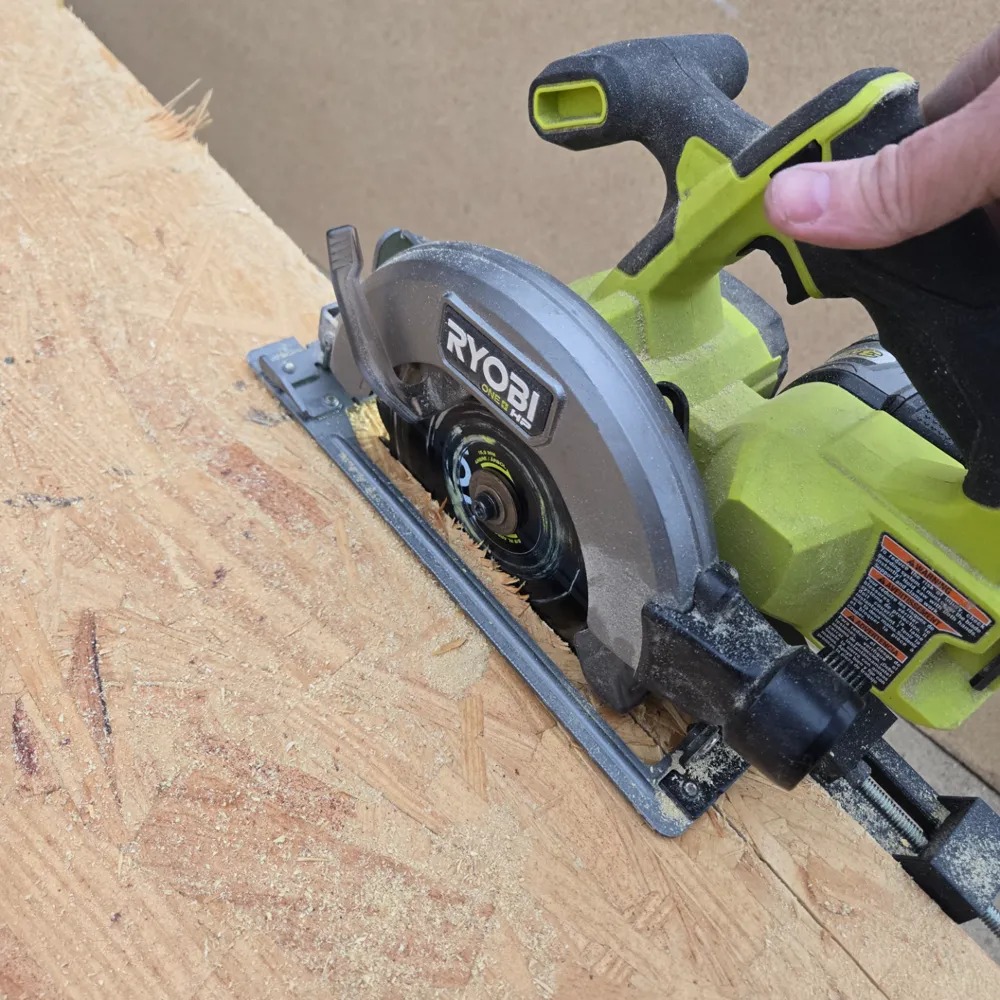
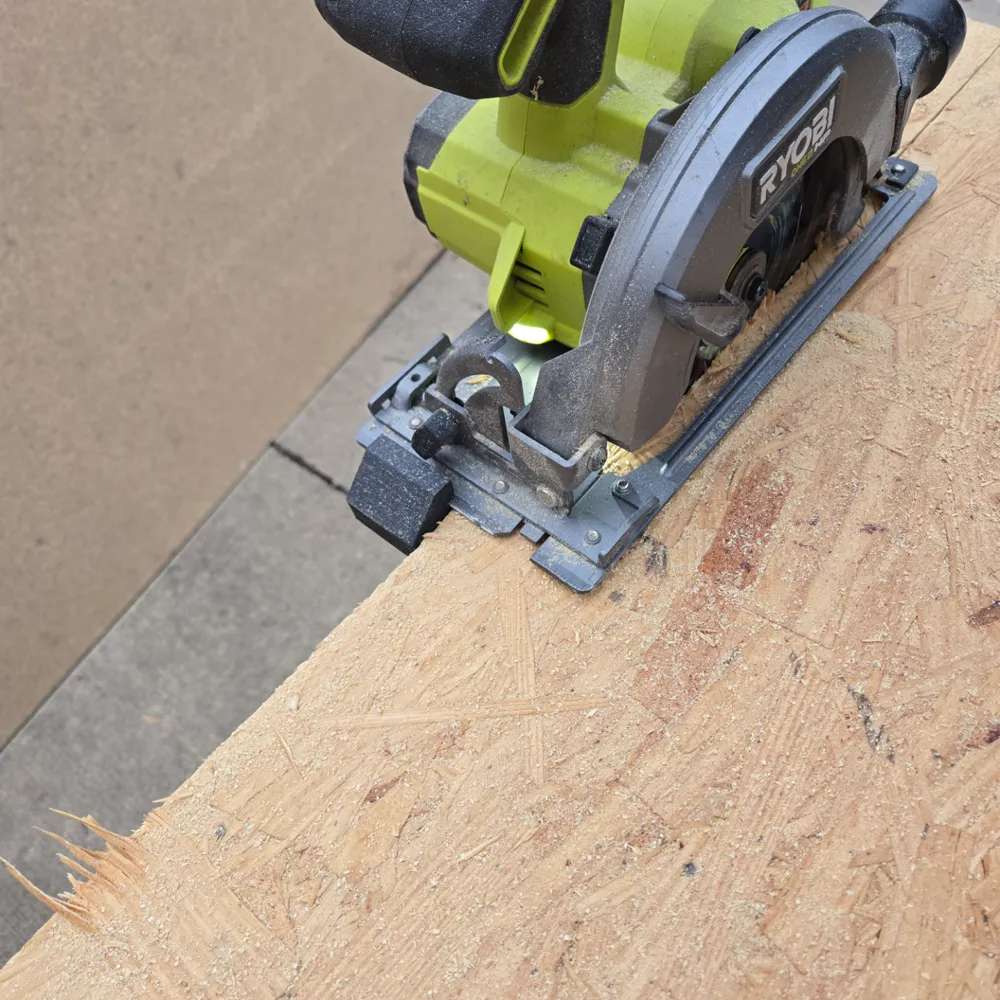
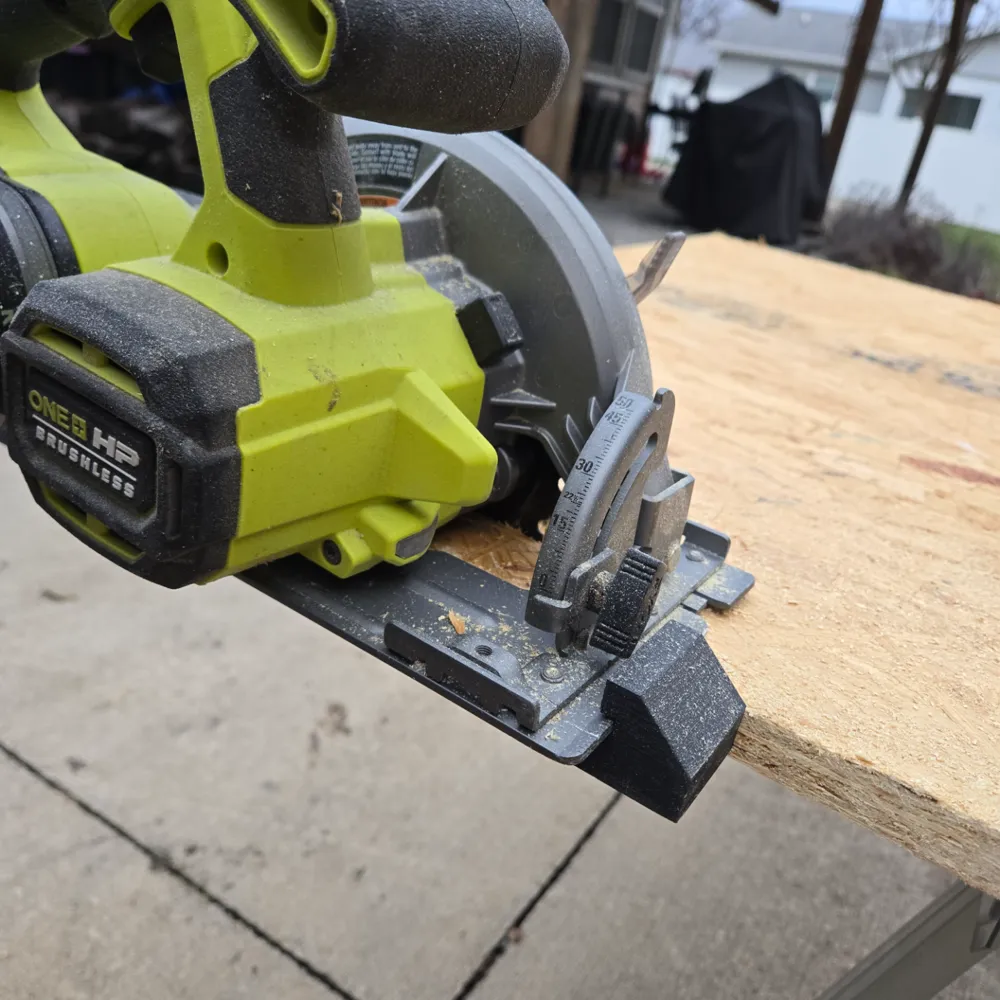
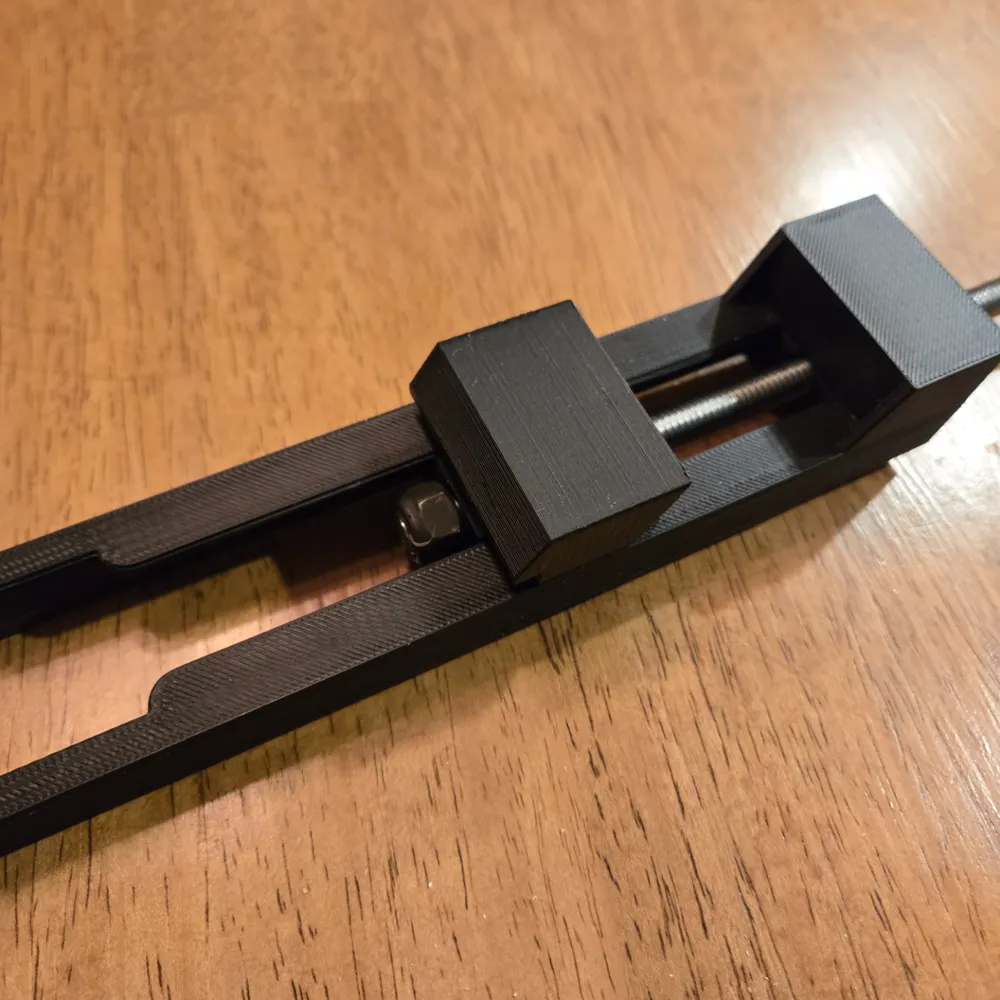
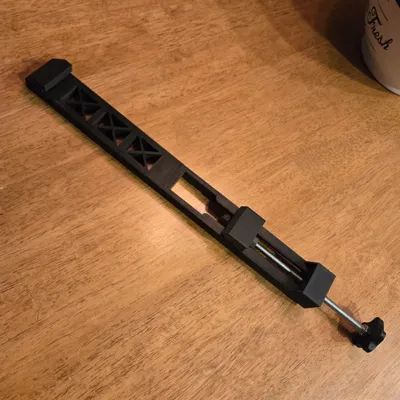
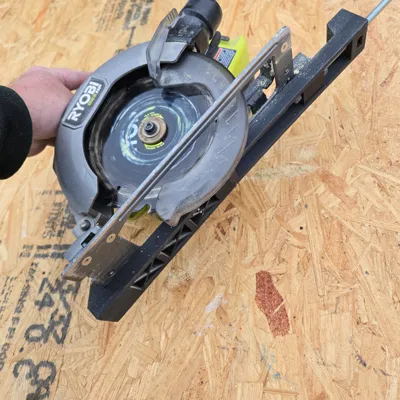
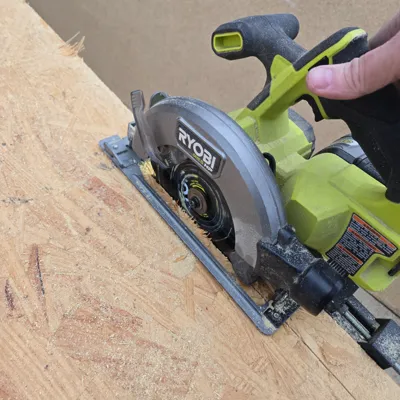
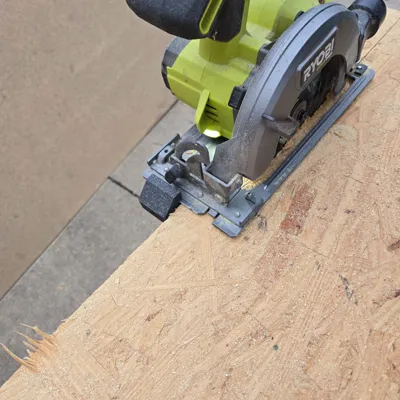
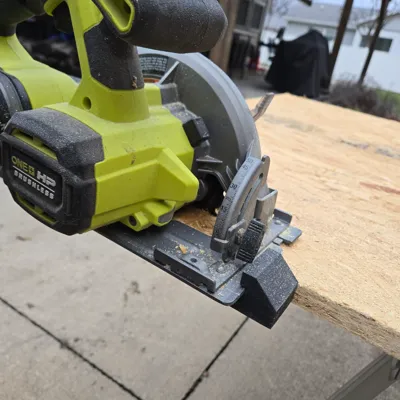
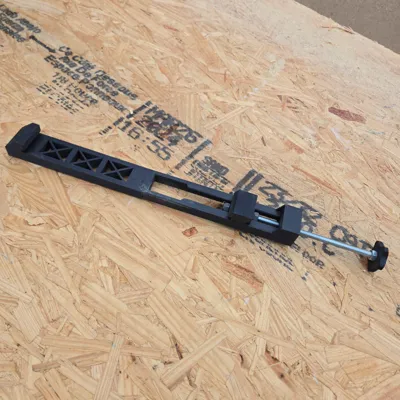
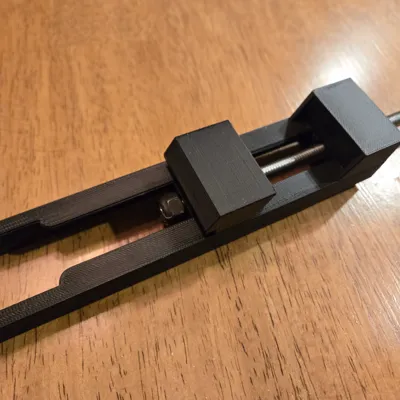
Quick and easy, adjustable circular saw rip guide.
Adjustable for just about any circular saw, attaches in seconds and allows you to rip narrow strips off easily. No more making marks and clamping down levels to get that straight edge when cutting up to a couple of inches off.
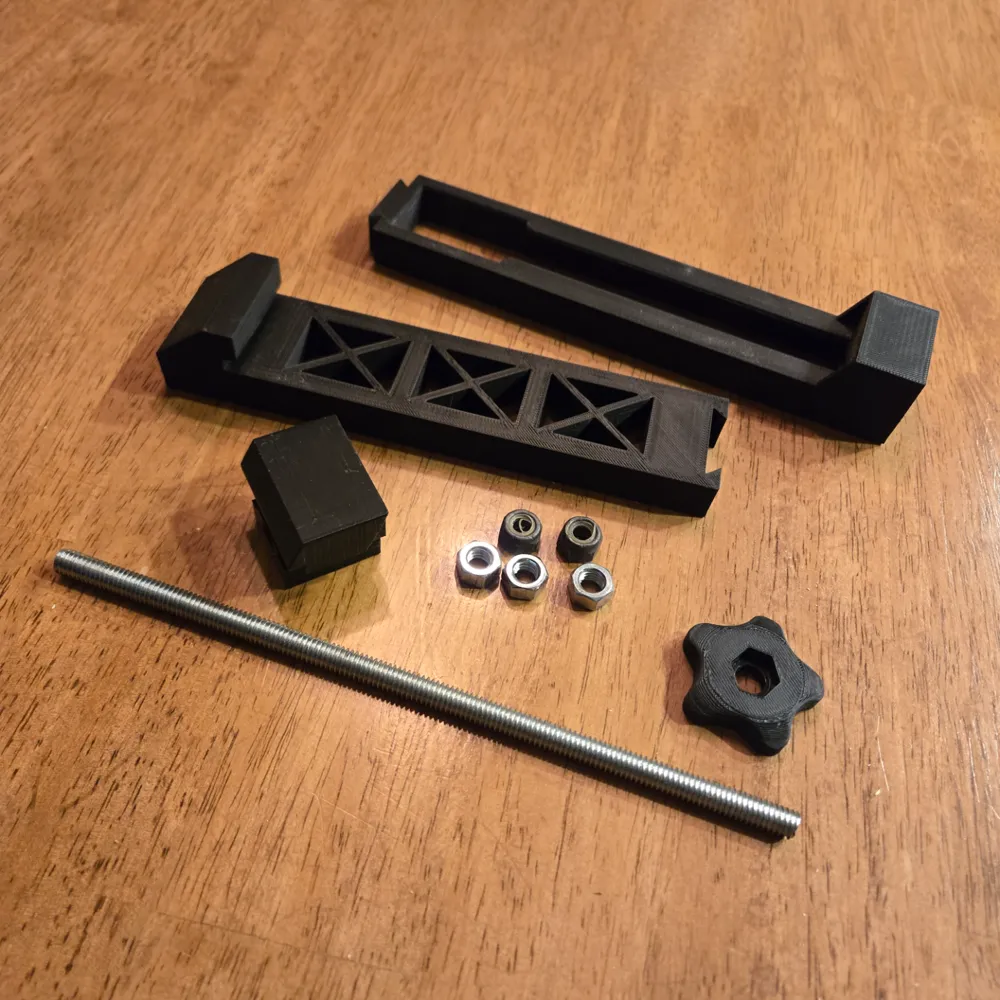
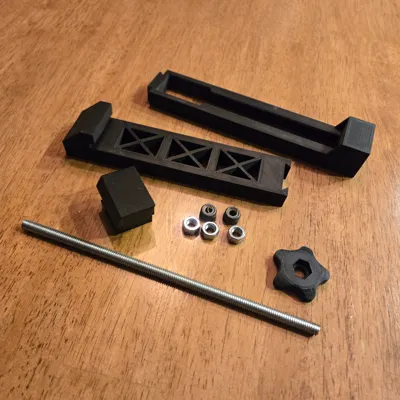
Beyond the 3d printed items you will need the following hardware (available at your local hardware store, or if you are like me, was tucked away in a drawer in the garage).
Hardware Needed:
3 – 5/16-18 nut
2 – 5/16-18 nylock nuts
1 – 8” section of 5/16-18 all thread
Assembly Instructions:
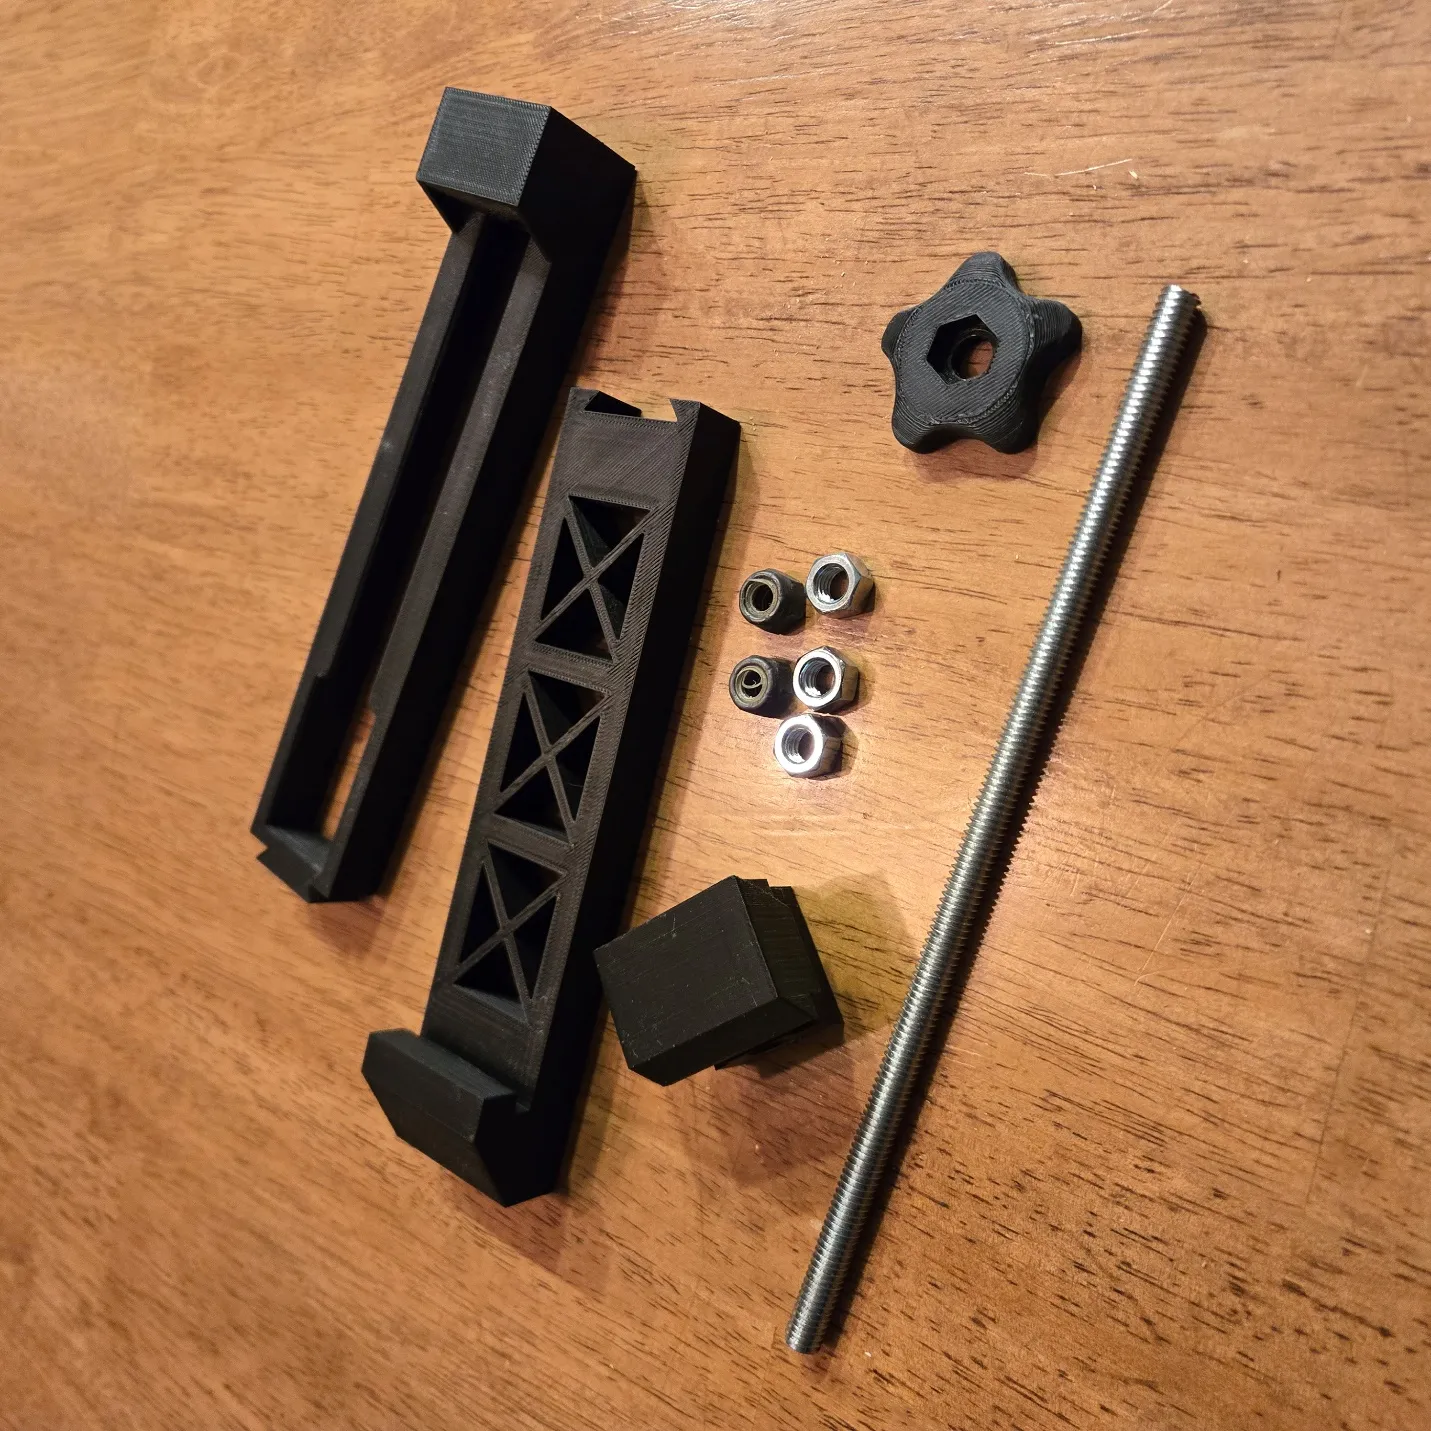
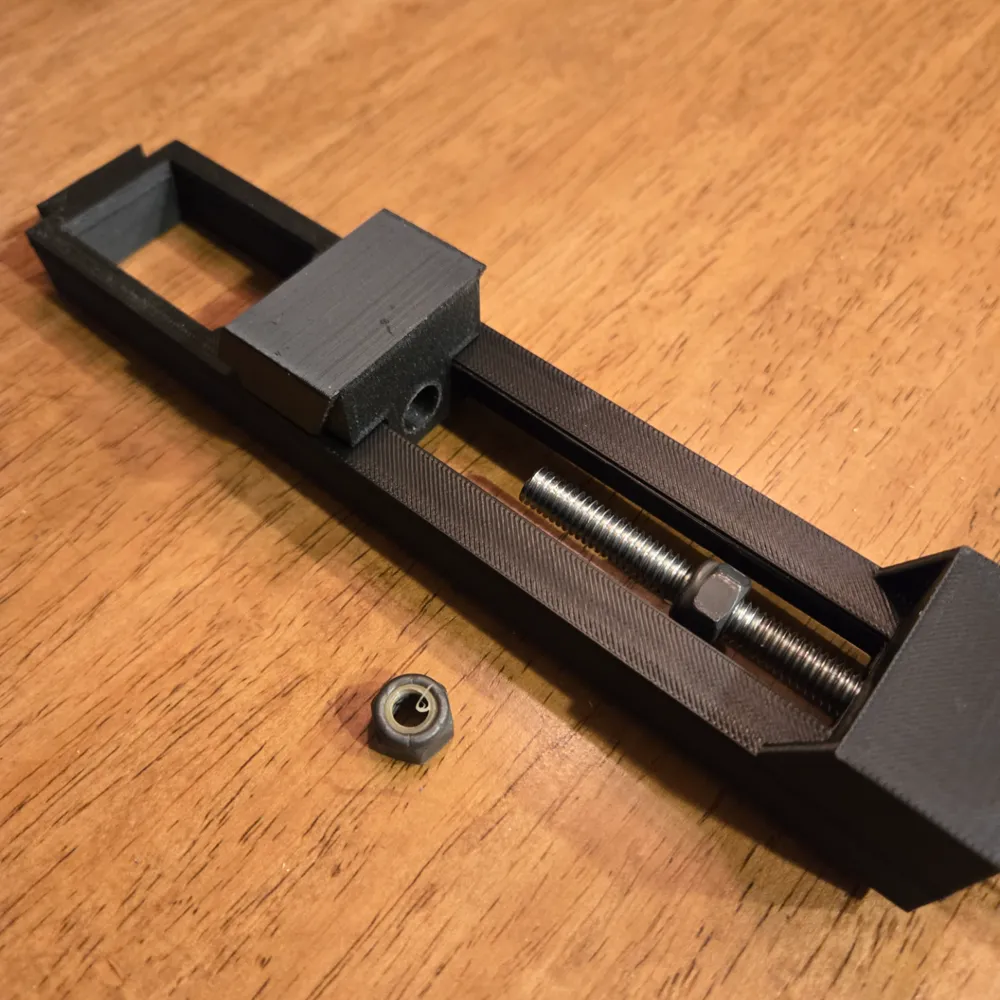
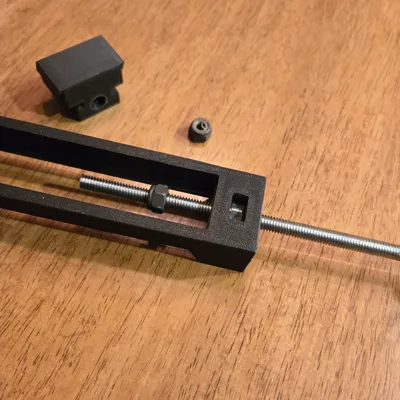
You should have everything pictured here when starting.
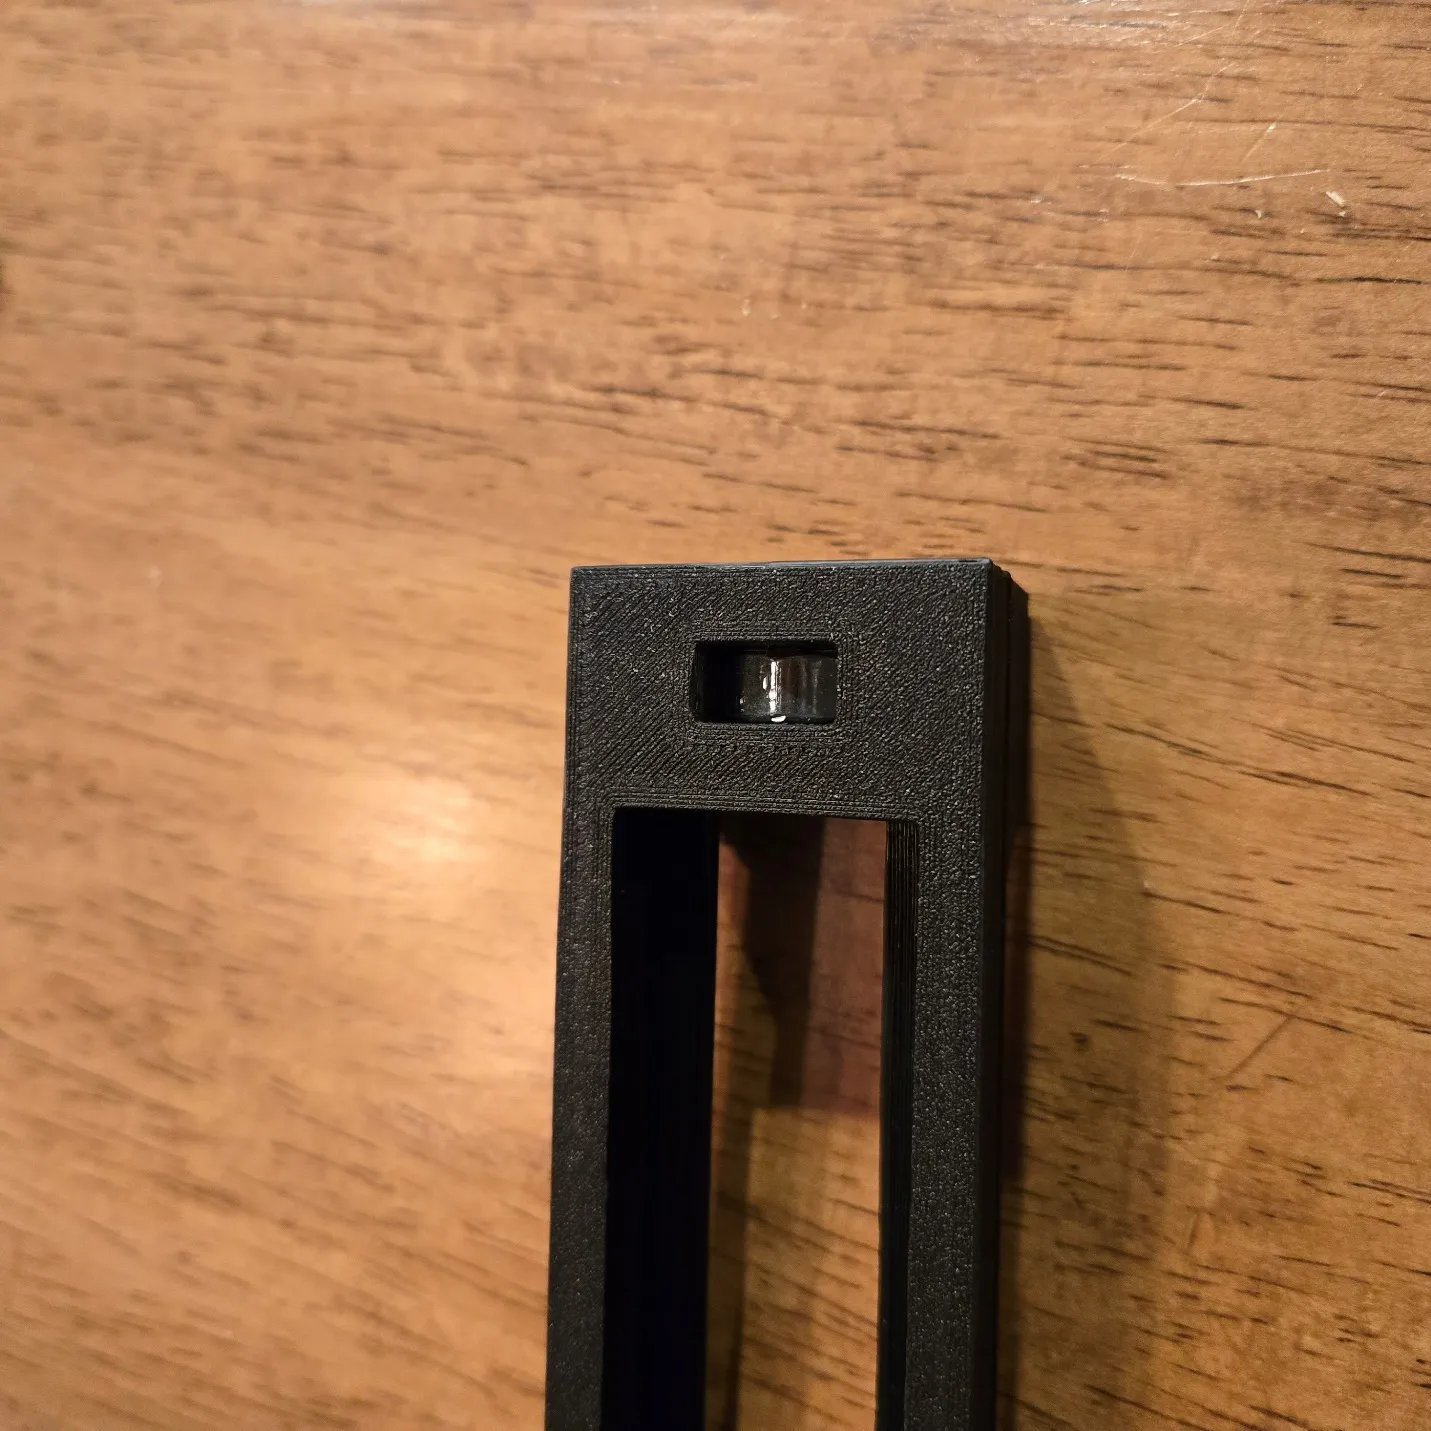
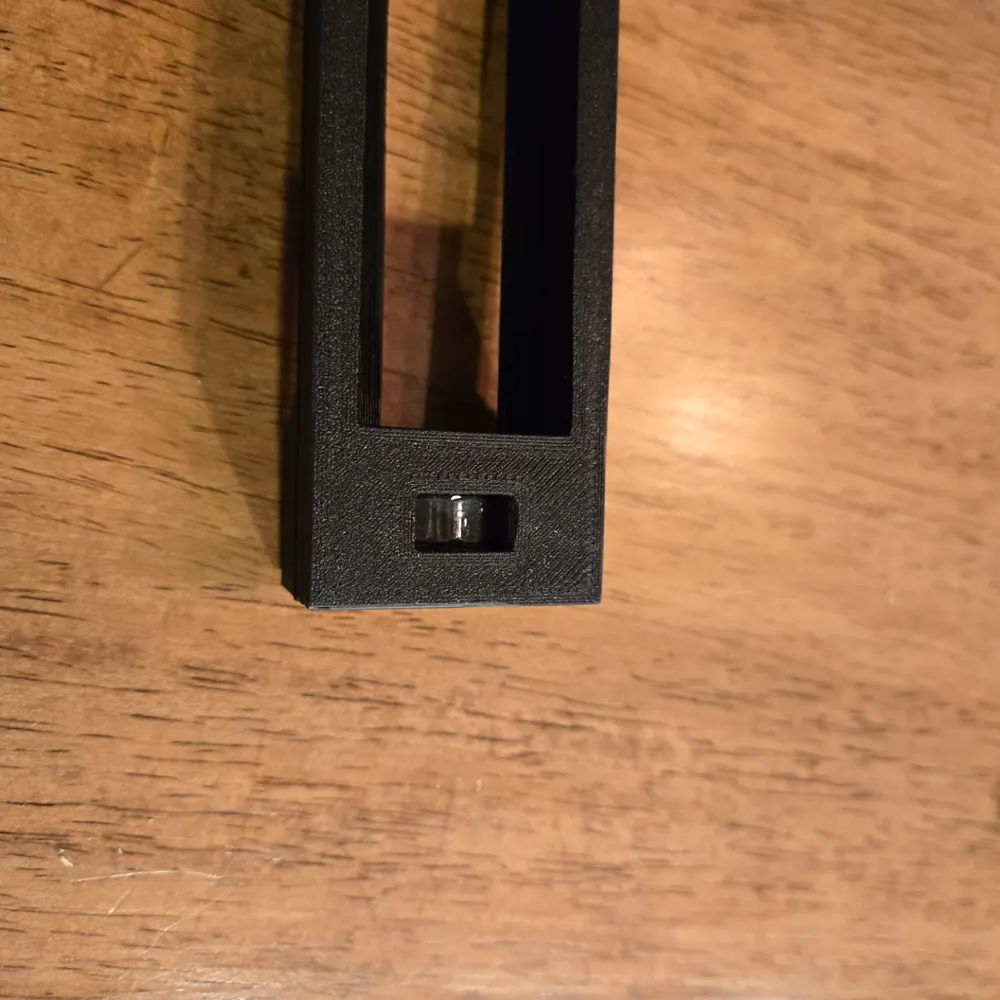
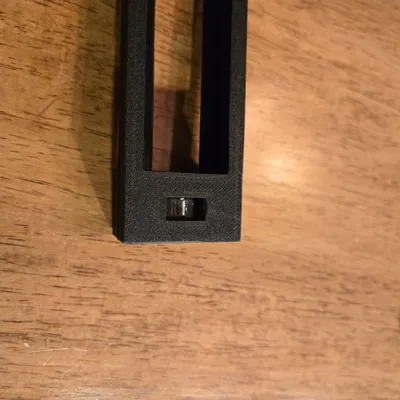
Start by placing one of the 5/16-18 nuts into the cutout in Base1 as pictured (be sure to seat it all the way in order for it to be lined up with holes)
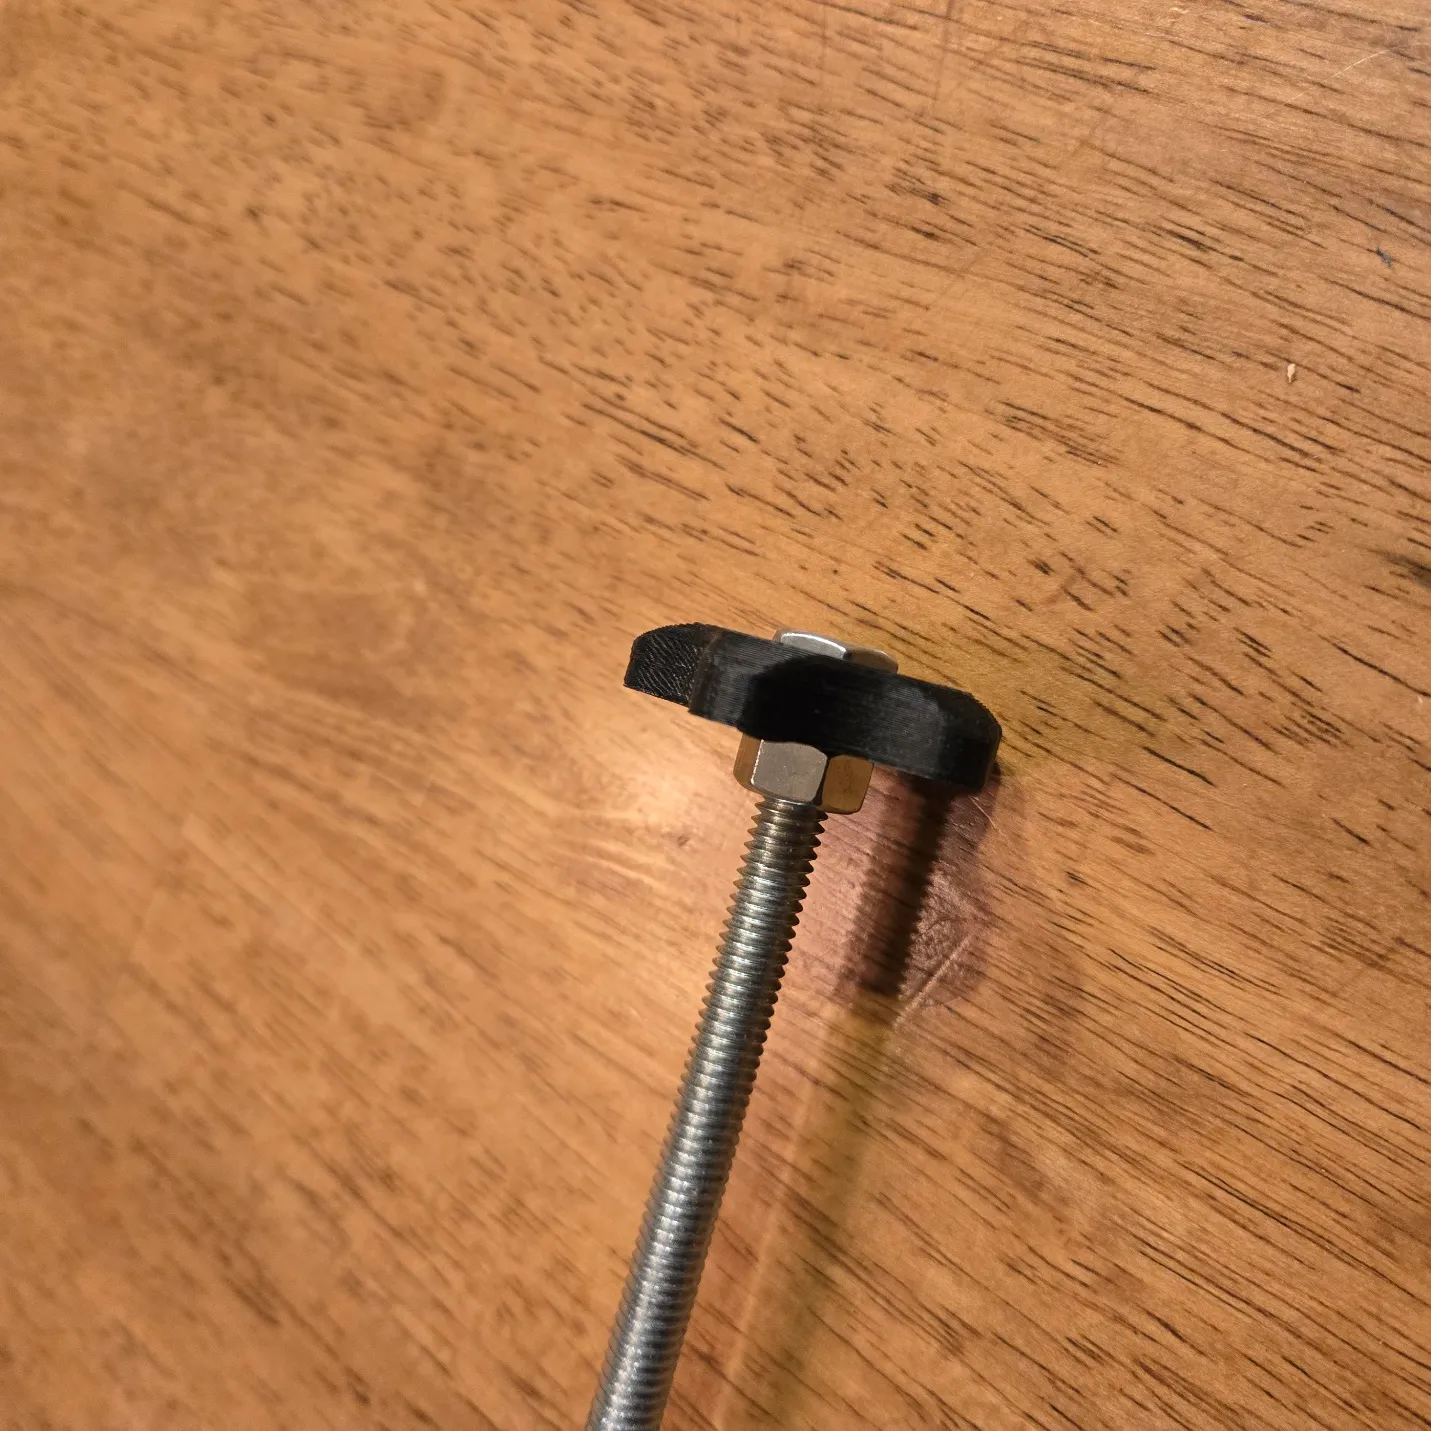
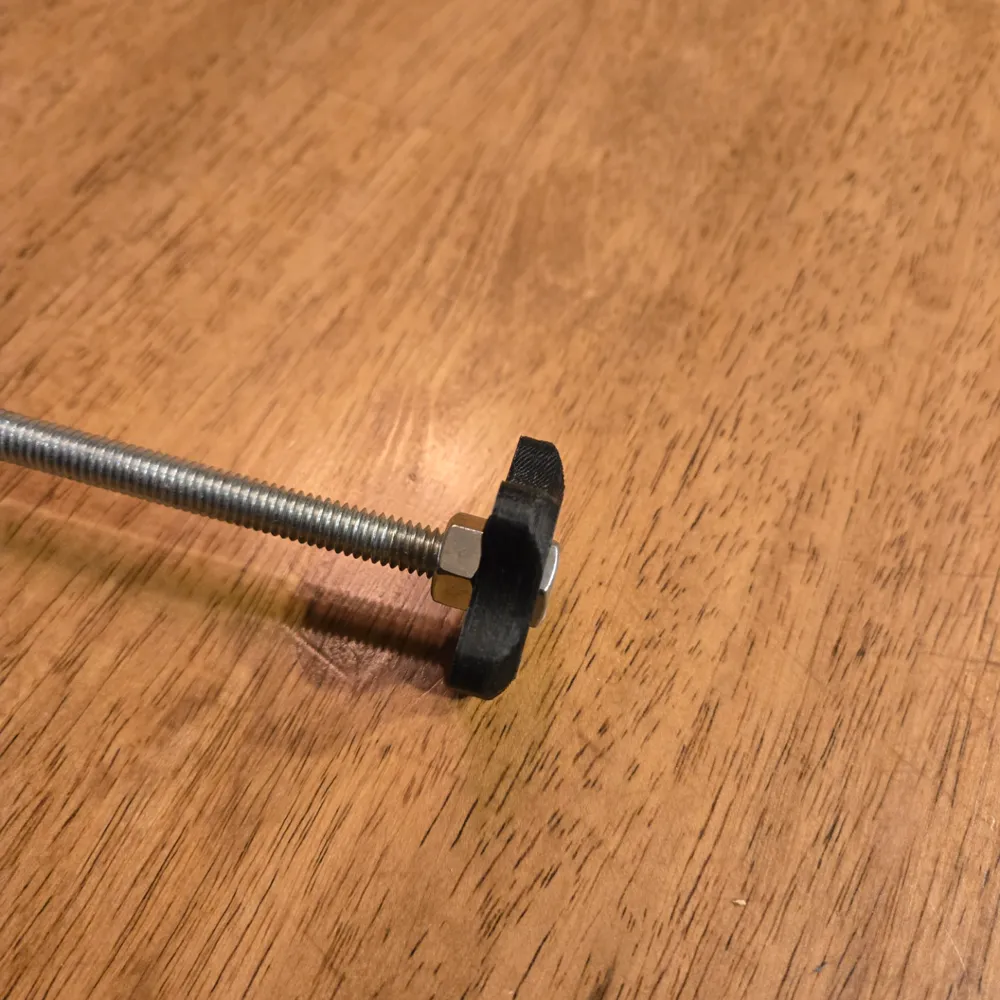
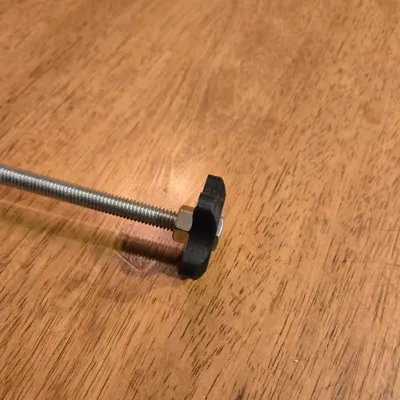
Next you will place one of the 5/16-18 nuts into the knob, then thread your all-thread to be flush with the top of the nut. Once that is complete, you will thread the 2nd 5/16-18 nut up to the knob and using a wrench snug it down against the knob.
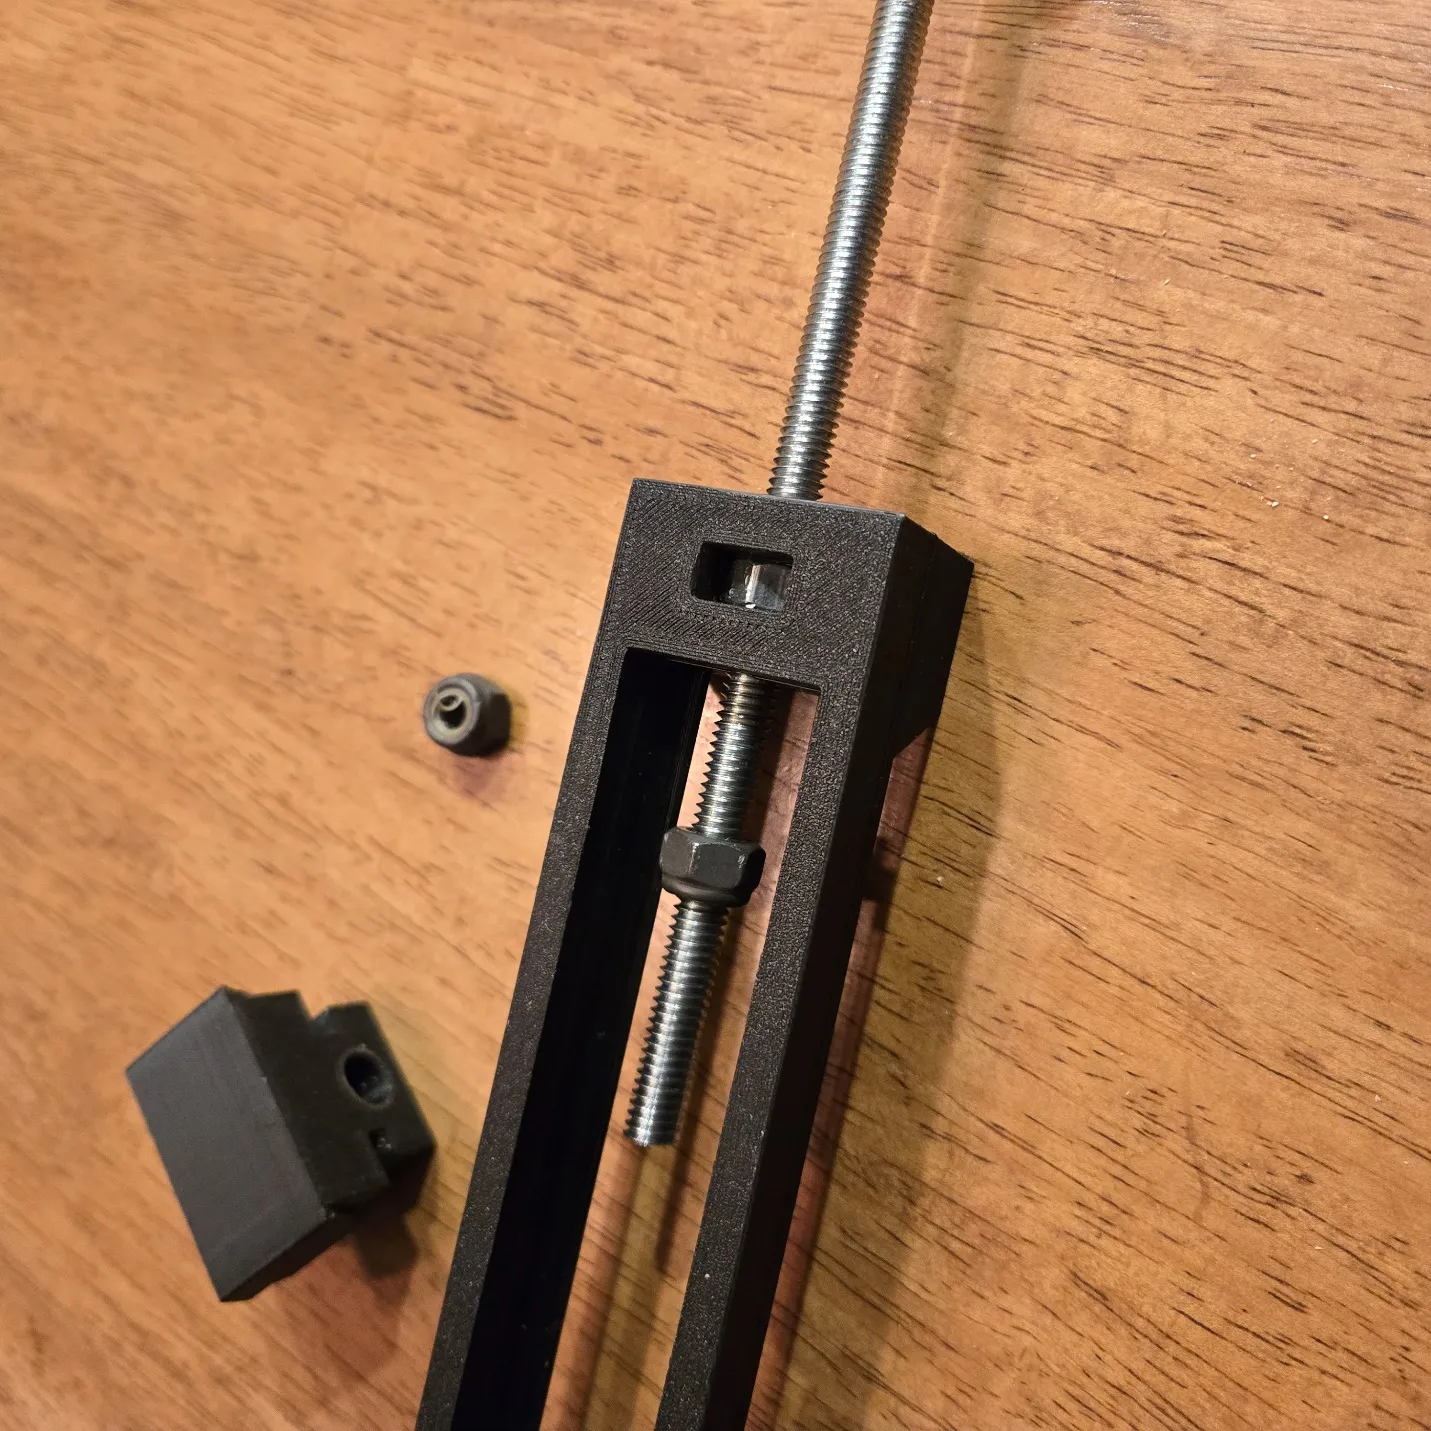
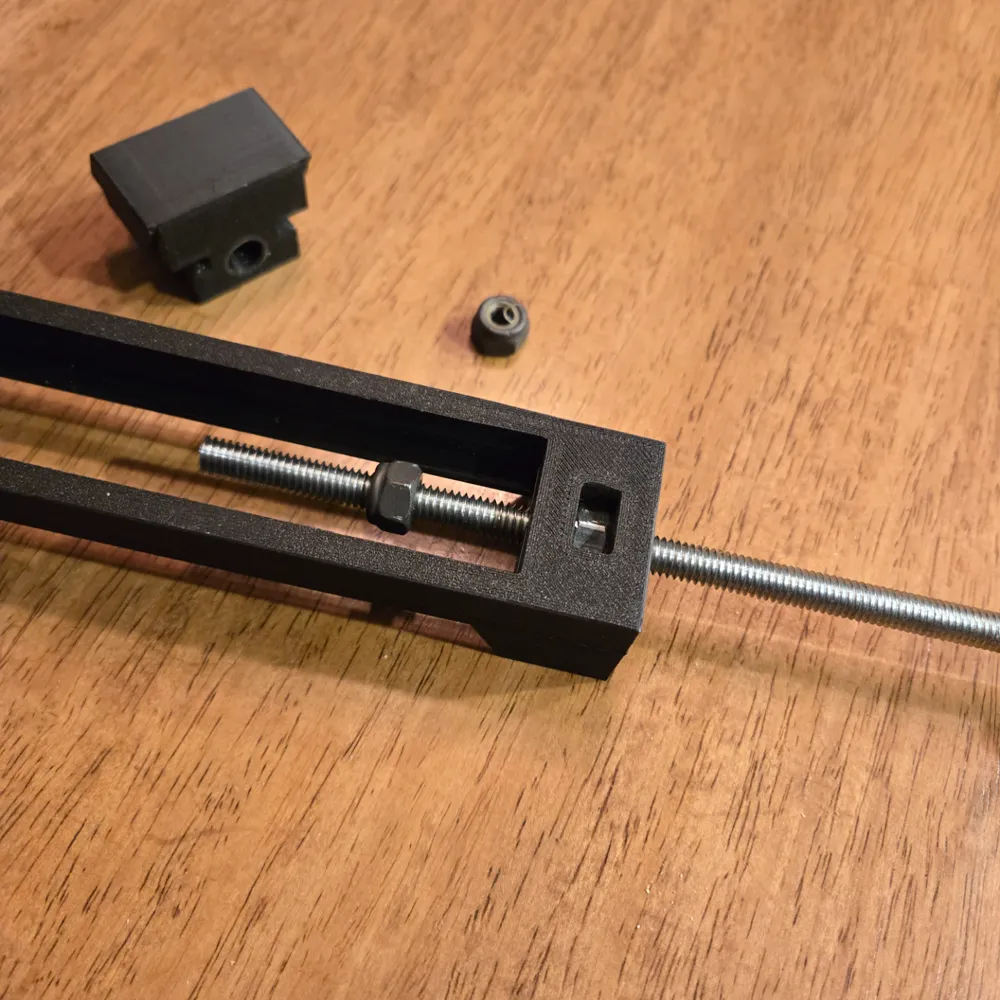
Next, thread your section of all thread through the nut in Base1 and place a 5/16-18 nylock nut on the end. You will want to use an open end ½” wrench to hold the nut while you thread it roughly 2” onto the all-thread.
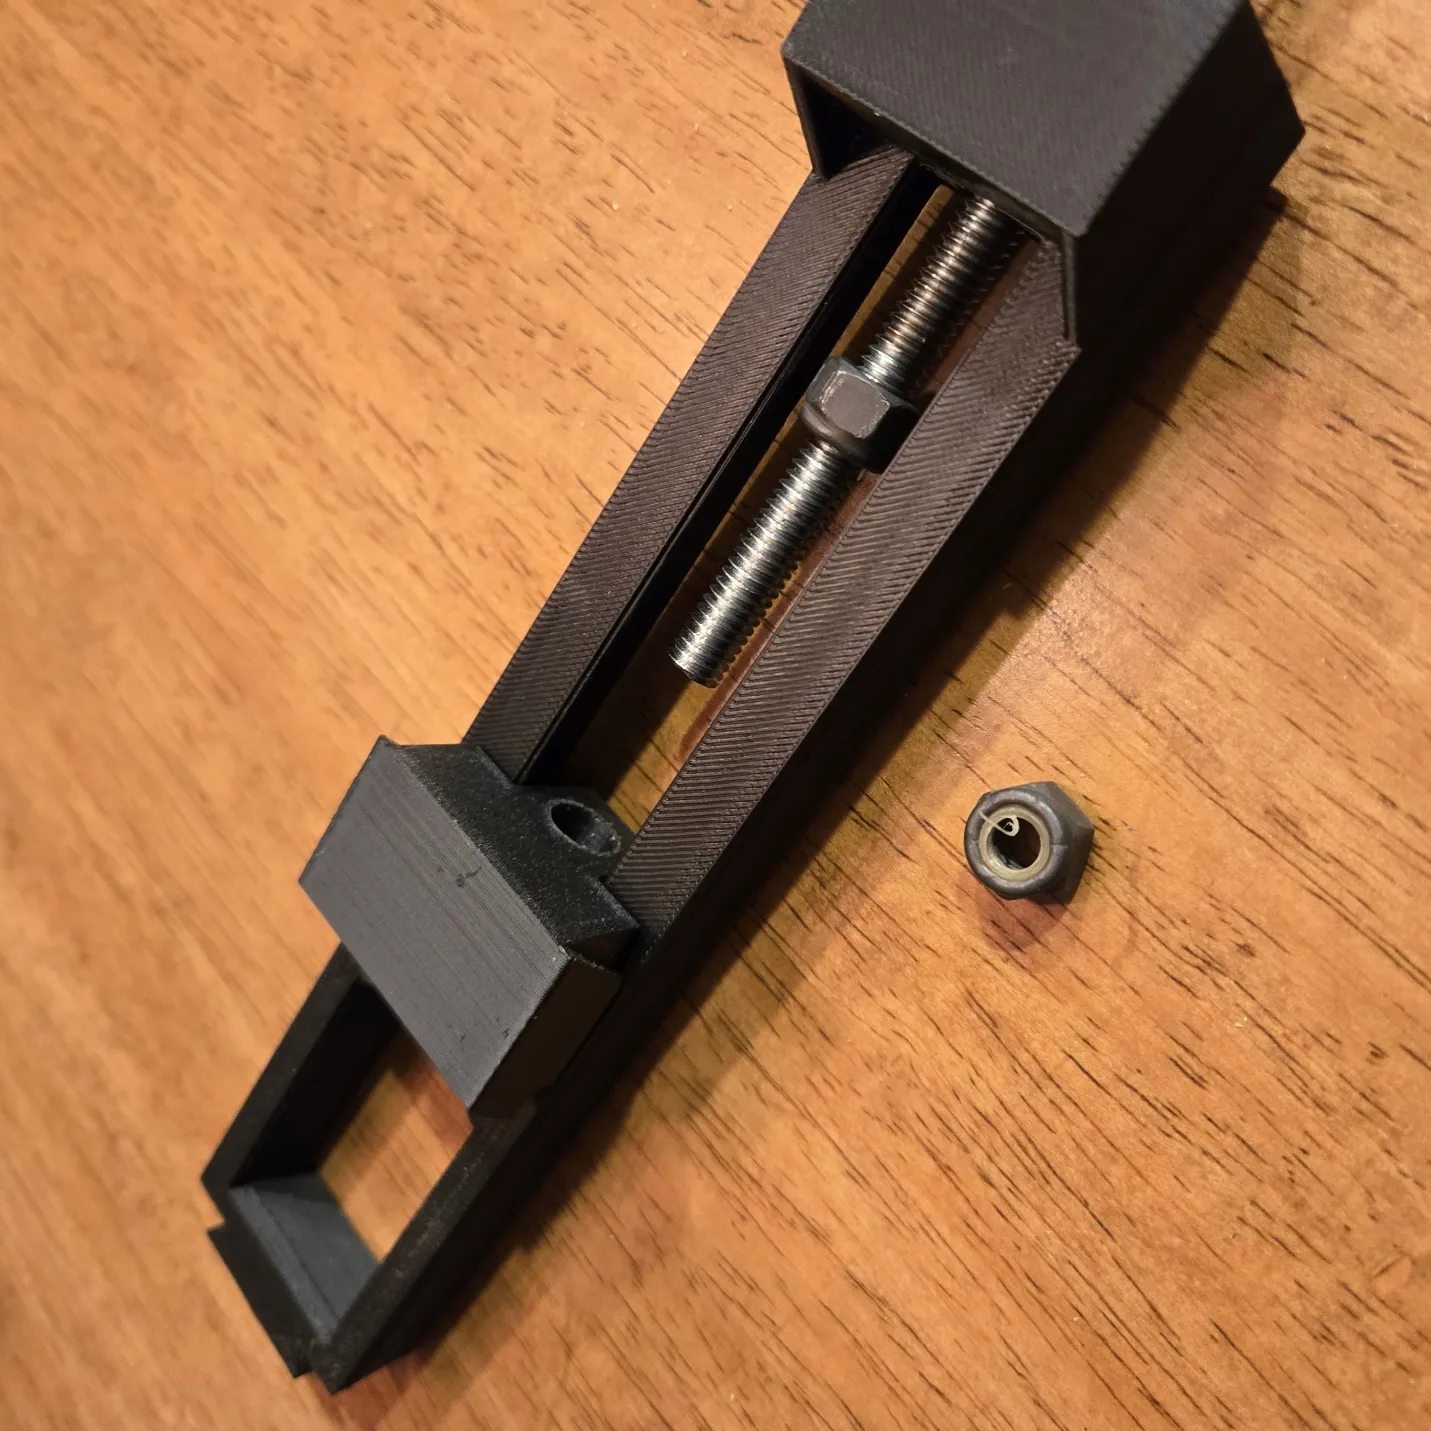
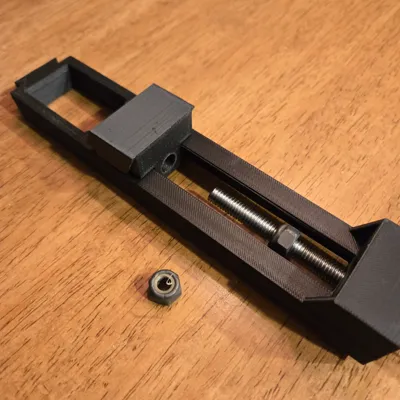
Now place the Sliding Clamp into the track and onto the all-thread.
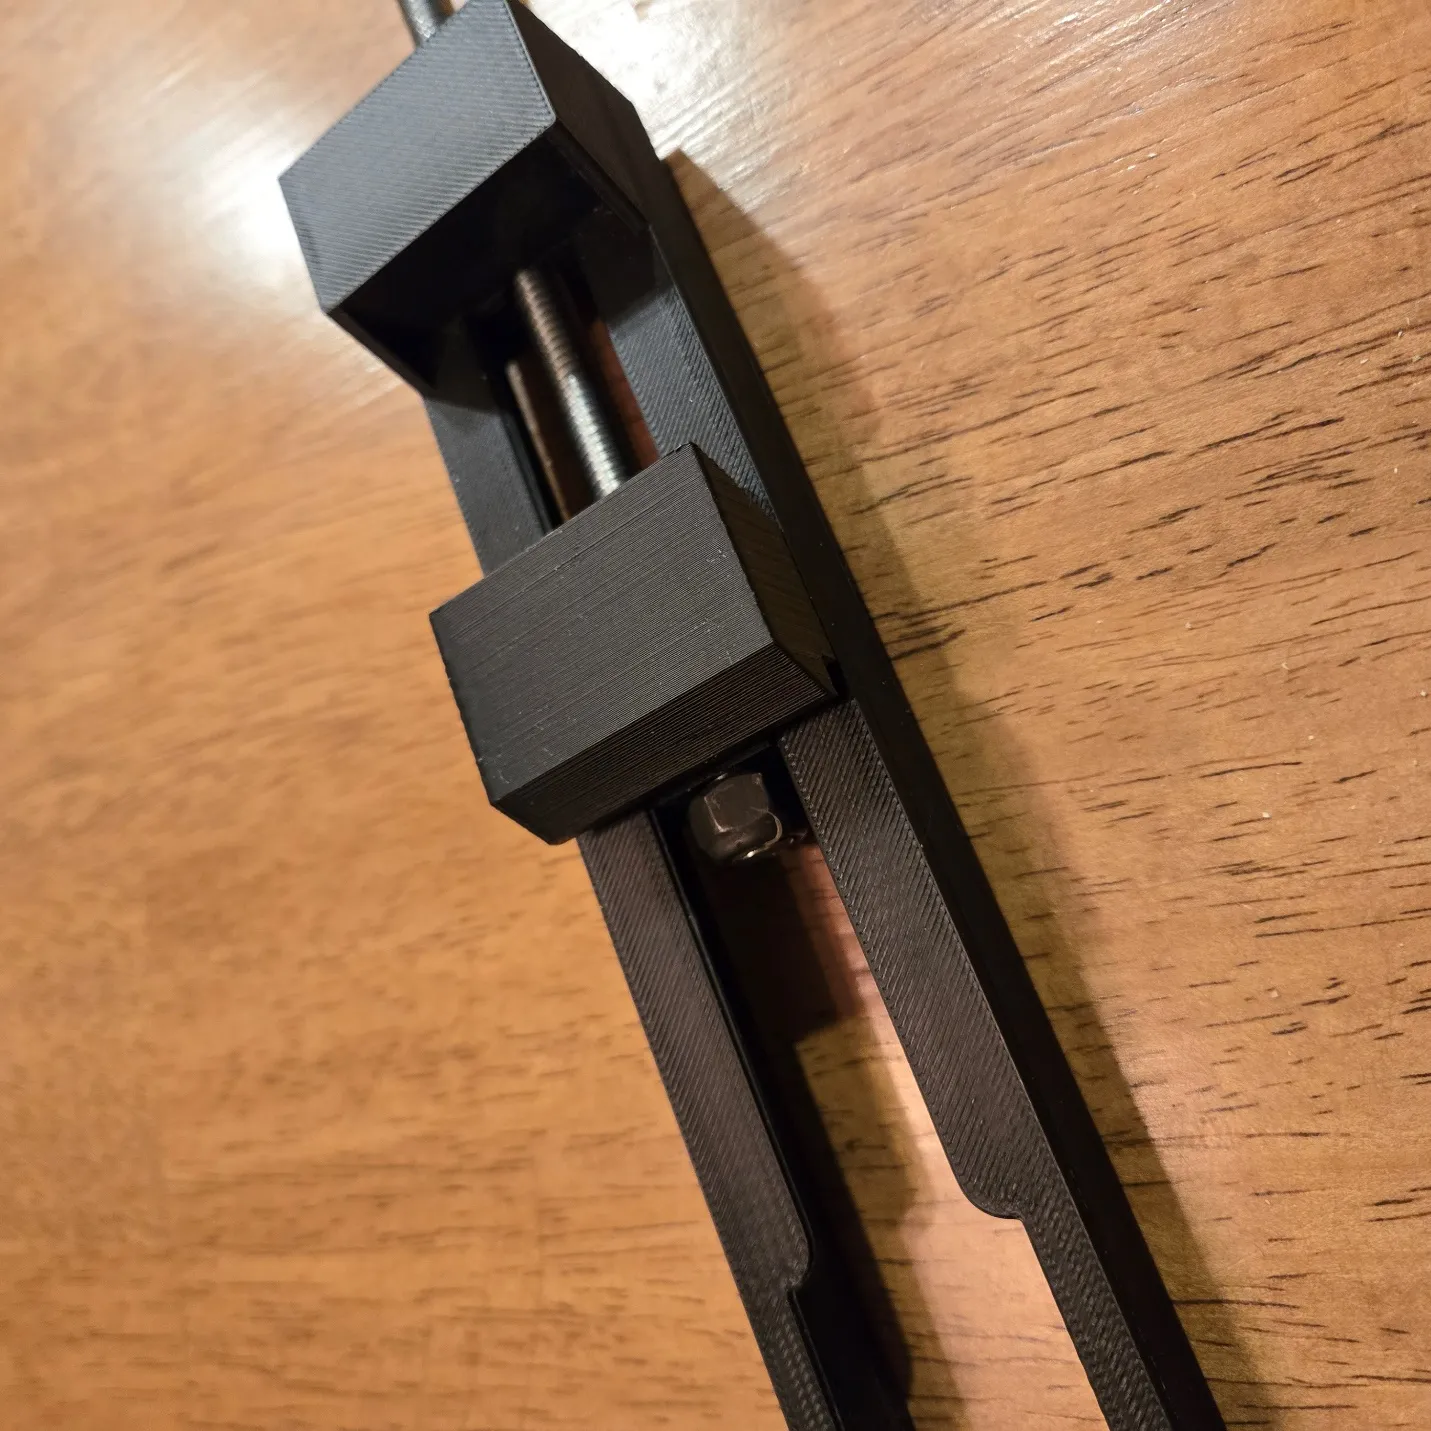
Next, you will apply the second 5/16-18 nylock nut onto the end of the all-thread as shown. Once you have it in place, you can then adjust the first nylock nut to be against the back of the Sliding Clamp but do not tighten it. You will want this to spin freely in the block.
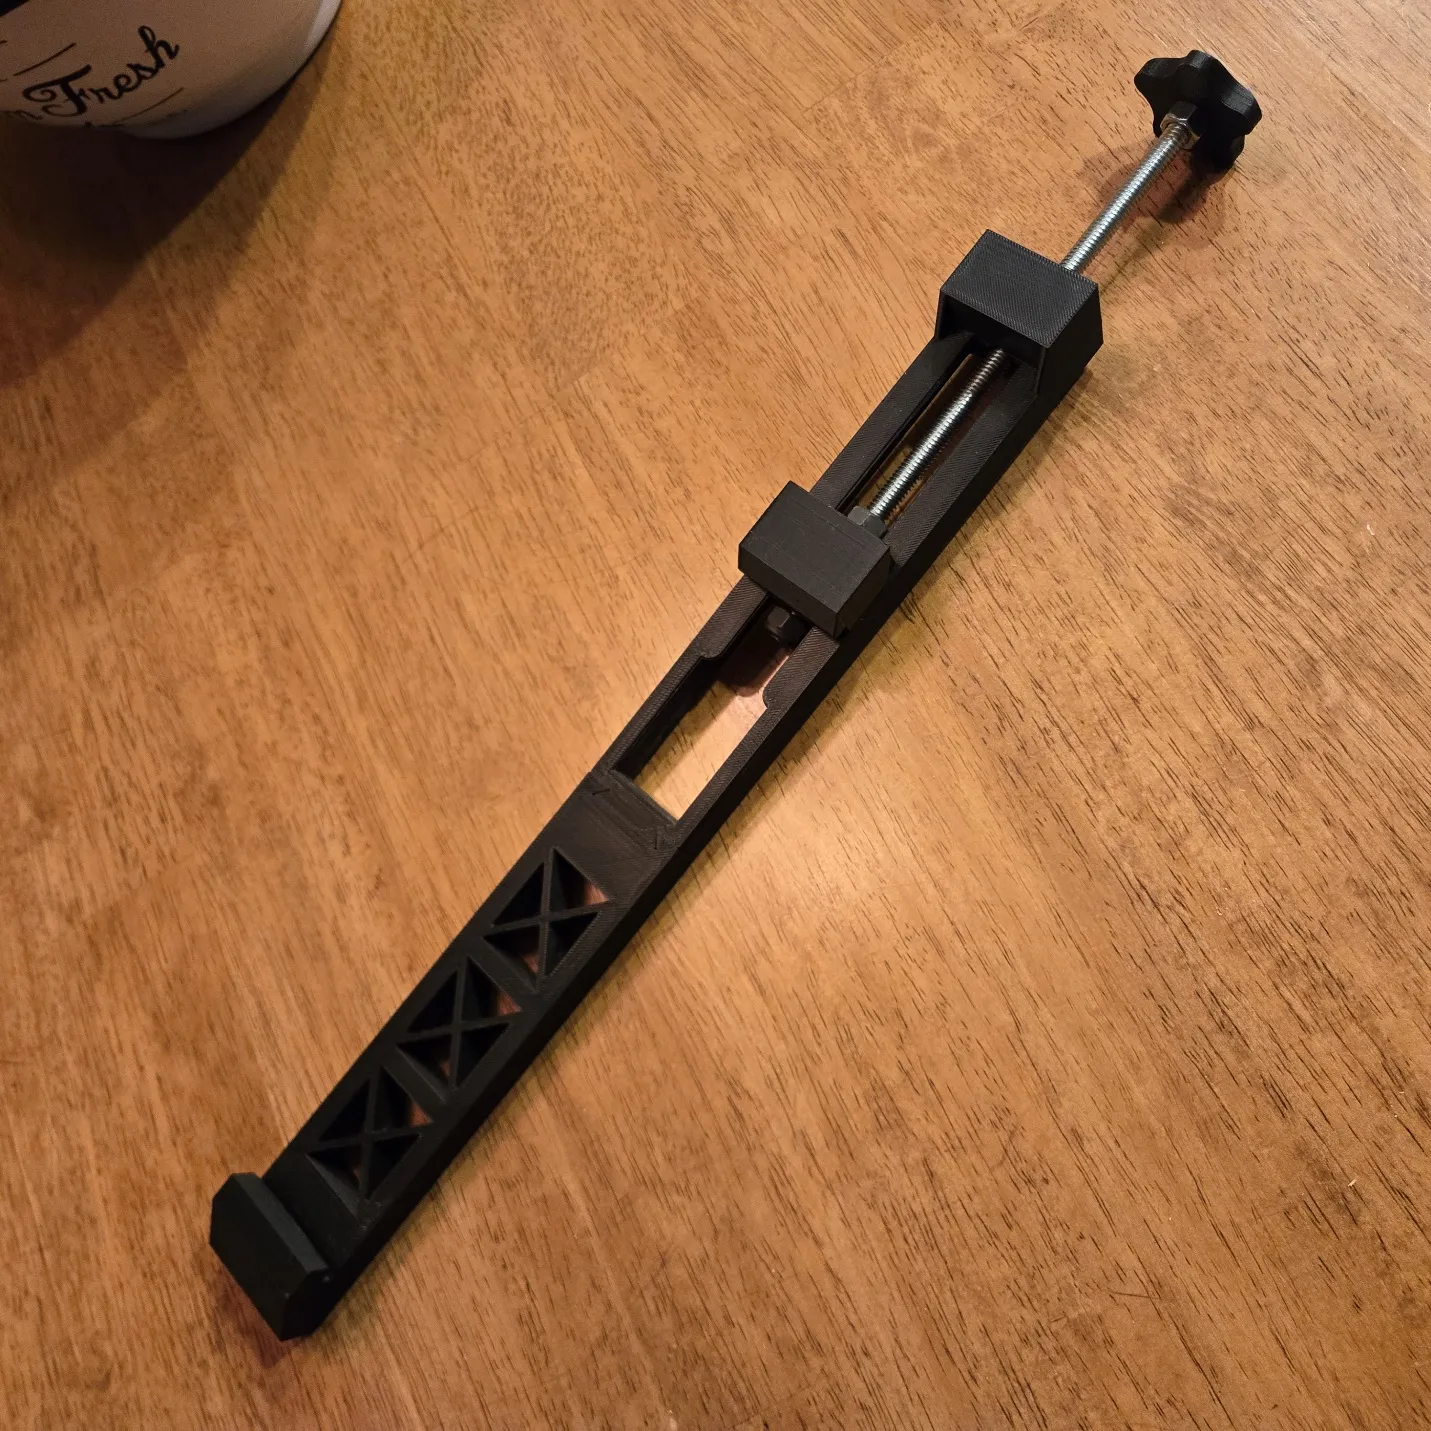
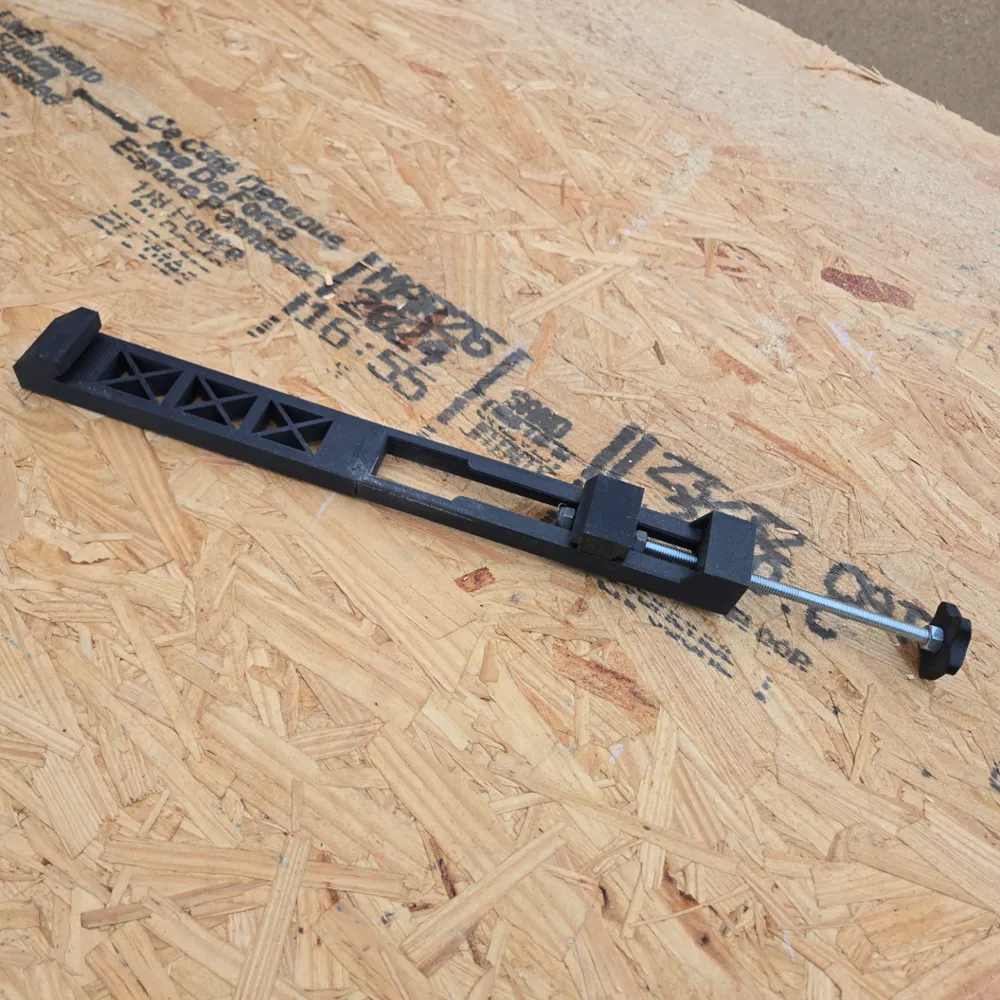
The final step is to attach Base2 to Base 1 using the dovetail section.
You are now ready to adjust the guide to your circular saw of choice.
_________________________________________________________________________________________________
Thanks for downloading from Chopper Originals.
If this print earned a spot on your printer and you’re out of Boosts, consider buying me a coffee ☕ to help support future designs and releases.

___________________________________________________________________________________
Affiliate Disclosure
Some links in this listing are affiliate links. As an Amazon Associate, I earn from qualifying purchases at no extra cost to you.
____________________________________________________________________________________
Having issues getting that first layer to flow and stick good? Follow these steps, it helps! ***If using an enclosed printer, be sure to remove the lid and leave door open to avoid heat creep***
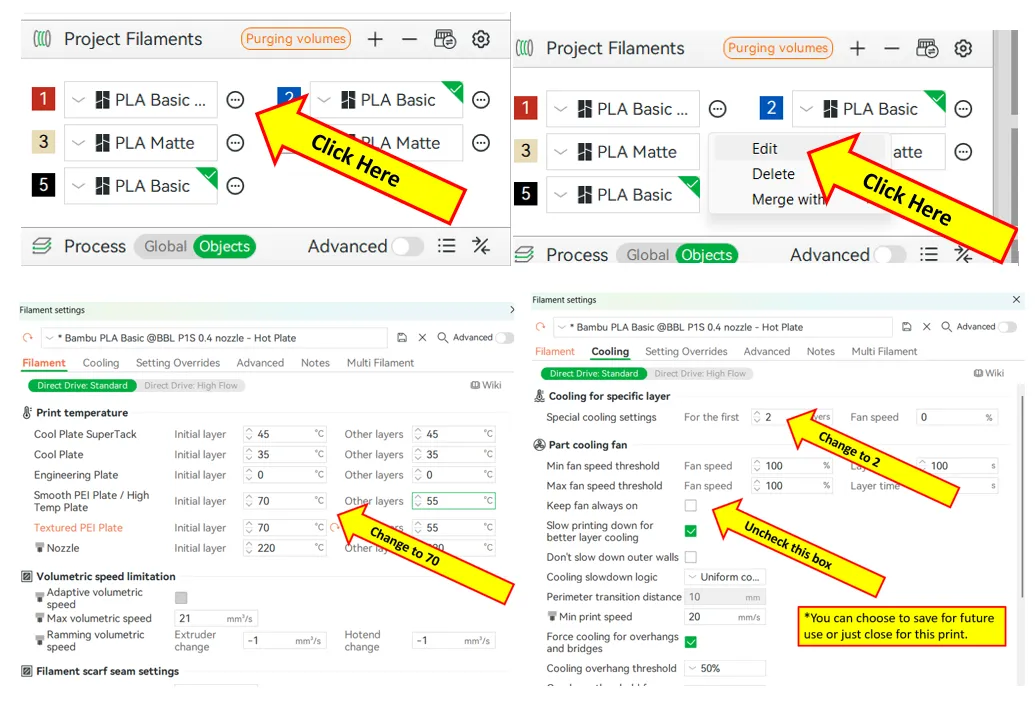
If using multiple brands/types of filament, you will need to save each as a Custom Filament setting. Otherwise the settings will change when your colors switch.
License

You shall not share, sub-license, sell, rent, host, transfer, or distribute in any way the digital or 3D printed versions of this object, nor any other derivative work of this object in its digital or physical format (including - but not limited to - remixes of this object, and hosting on other digital platforms). The objects may not be used without permission in any way whatsoever in which you charge money, or collect fees.


Comment & Rating (74)