Connecting rod piston engine lamp (LED kit001)


Print Profile(1)

Bill of Materials

Description
Boost Me (for free)
🙌 Thank you for visiting my creative world! Every boost you send me is much more than just a click: it's a real spotlight on my work, and a huge source of motivation to continue creating unique lamps, decorations, and objects. ✨ If you like what I do, a boost helps me to: -Gain visibility on MakerWorld -Create even more original models -Offer exclusive content to members 💡 A boost is a simple but super powerful support. 💖
Membership
✨ Welcome to my creative workshop! I design original, decorative, and customizable 3D printed lamps. Whether you're a fan of geek, retro, design, or artistic decor, you'll find something here to illuminate your space differently.
🔒 Important: Most of the models I offer are based on licenses belonging to their original creators. They are therefore intended for strictly personal and non-commercial use.
🍻 Want to use a model for commercial purposes?
I simply ask for a small gesture for the time invested in modeling:
💬 Buy me a virtual beer (€2.50 where I live!)
You can do so via PayPal right here ⬇️
🙏 Thank you for respecting the work, and for your support!
https://www.paypal.me/clairenteau
📝 Description:
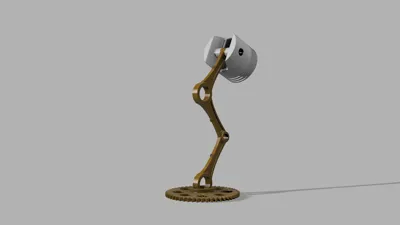
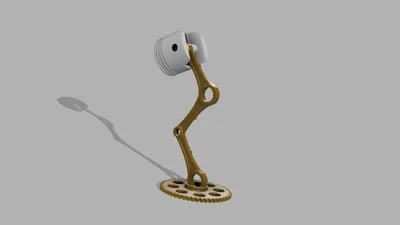
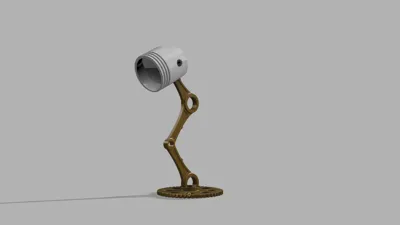
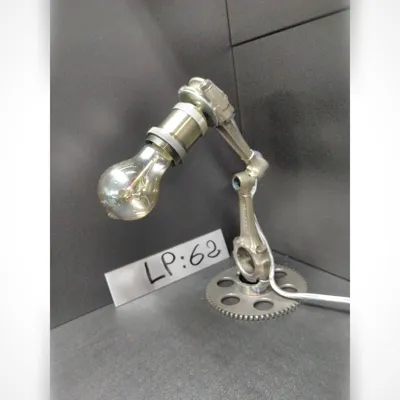
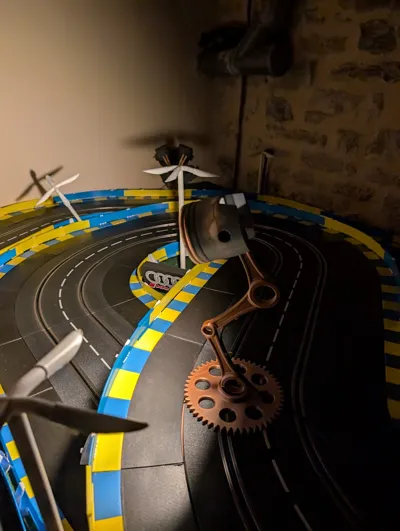
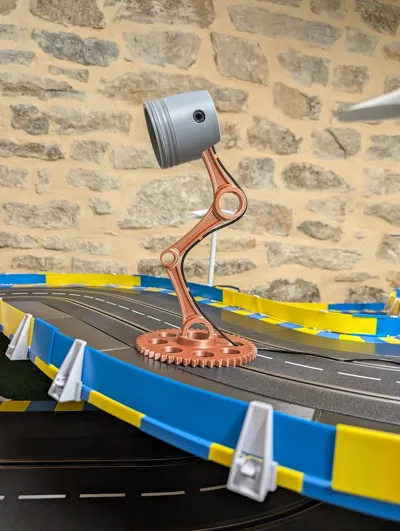
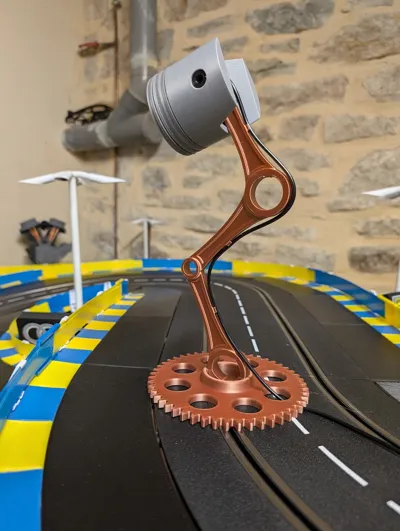
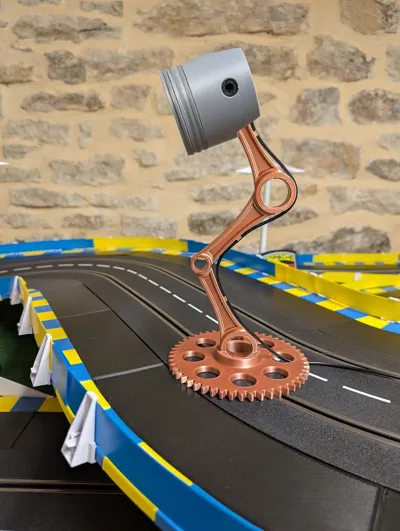
Industrial/mechanical style desk lamp – A unique creation made in several parts, specially designed to integrate the Bambu 001 lighting kit. ⚙️✨
Its design is inspired by an old project I made by welding connecting rods onto a sprocket, revisited here in 3D printing for a modern and customizable result.
With its industrial and mechanical look, this lamp brings an original touch to an office, workshop, or design decor space.
⚠️ Personal use only – decorative model not affiliated with any brand.

Assembly is very simple and quick,
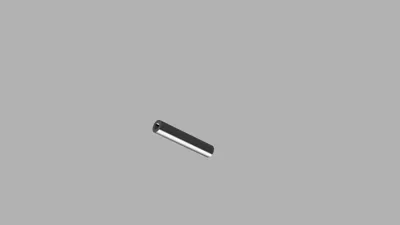
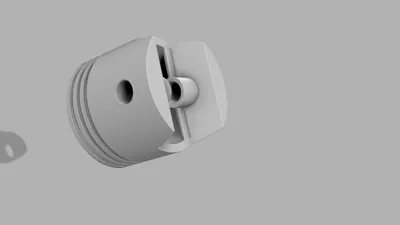
1*Insert the LED kit into the piston
2*Place the three segments
3*Place the piston on the connecting rod head
4*Insert the axle
This is my first "REALLY BIG" project, so feel free to give me your opinion on any potential flaws, comments, or finishes
🛠️ Tips for perfect adhesion in 3D printing:
Carefully clean your build plate before each print. Grease residue, dust, or fingerprints can affect adhesion and cause detachments.
Check build plate calibration: a well-leveled build plate ensures a uniform and well-adhered first layer.
Use an appropriate adhesion surface: depending on your material, apply a thin layer of glue stick, an adhesive spray, or a specific tape (e.g., Kapton, BuildTak).
Correctly set the build plate temperature to promote adhesion depending on the material used (PLA, ABS, PETG, etc.).
Reduce the printing speed of the first layer: a slower speed allows for better filament adhesion to the build plate.
Plan for a "skirt" or "brim" in your slicer to stabilize the first layer and limit warping.
License
You shall not share, sub-license, sell, rent, host, transfer, or distribute in any way the digital or 3D printed versions of this object, nor any other derivative work of this object in its digital or physical format (including - but not limited to - remixes of this object, and hosting on other digital platforms). The objects may not be used without permission in any way whatsoever in which you charge money, or collect fees.
Comment & Rating (2)