Goth Dildo Silicone Casting Mold Project


Print Profile(4)


Description
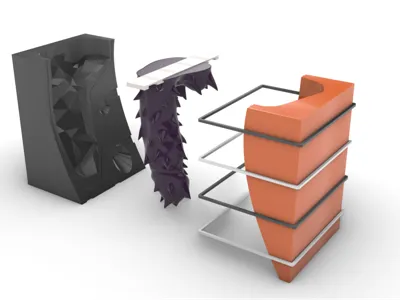
Step 1 - Print the 2 mold halves
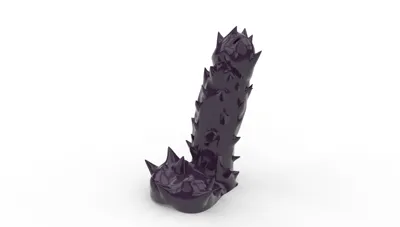
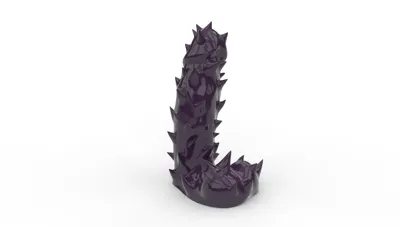
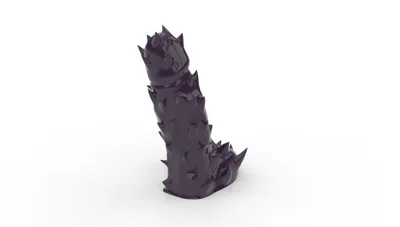
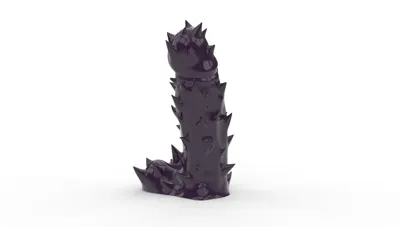
Step 2 - Print the Mold Plug (spiky model) in ABS, acetone vapor smooth and allow to degas
Step 3 - Use a tiny dab of superglue to hold the casting alignment standoff to the base of the spiky penis. There is only one correct orientation! This standoff is extremely important as it will keep the mold walls sufficiently thick in all areas and avoid the plug resting on a mold cavity wall.
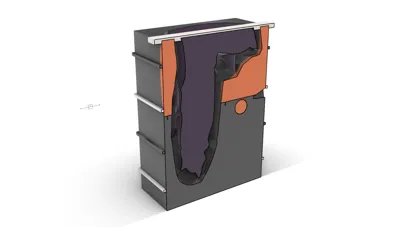
Step 4 - Place the spiky in one of the mold halves, and place the second mold half on top. Rotate upright, and slide 3 - 4 of the 4 Mold Frame Binders to ensure that the mold halves remain mated completely.
Step 5 - Add some flocking fibers to food grade platinum cure silicone, mix, degas under vacuum pressure if needed (likely). these fibers will get caught in the seam between mold halves and reduce the silicone leakage, while not affecting mold surface finish. (optionally you can use a thin bead of sulfer-free clay in the groove portion of the mold mating seam, such that the opposing half seals against the clay, skipping the fiber addition to silicone)
Step 6 - With the mold sealed , bound, and aligned, silicone mixed and degassed, cast the silicone in the mold cavity and allow to cure completely.
Step 6.5 Optional - after silicone is cured, pop off the alignment standoff and refill the small voids left with new silicone and allow to cure completely.
Step 7 - Separate Mold halves gently, using large flat-head screwdriver prying slots provided in 2 of the 4 the mold mating edges. Remove the silicone from the printed mold halves.
Step 8 - Make an incision in the silicone along the the “belly side” of the shaft, only as long as needed to completely release your mold plug. If helps to cut at an angle only half way through, then pry apart and cut the opposing angle to fully cut through, creating a “v” angled seam that self aligns on reassembly.
Step 9 IMPORTANT - Using mold release spray appropriate for silicone-to-silicone casting applications (Such as Mann Ease 200), splay out your silicone mold inside out without tearing it, and coat the mold as per release spray directions.
Step 10 - Reassemble your mold into the halves, and bind it together. inspect mold seam and adjust edges if needed to minimize seam scarring on your toy
Step 11 - Using a safe and very soft casting silicone, mica powders, acrylic paint, or silicone pigments, cast your new toy, allow to fully cure, then release from mold.
Step 12 - Wash diligently, avoid long term contact with any other silicone objects, avoid silicone based lubricants. Look up proper silicone toy care practices online if in doubt, or ask at a local adult toy shop if applicable.
Comment & Rating (0)