
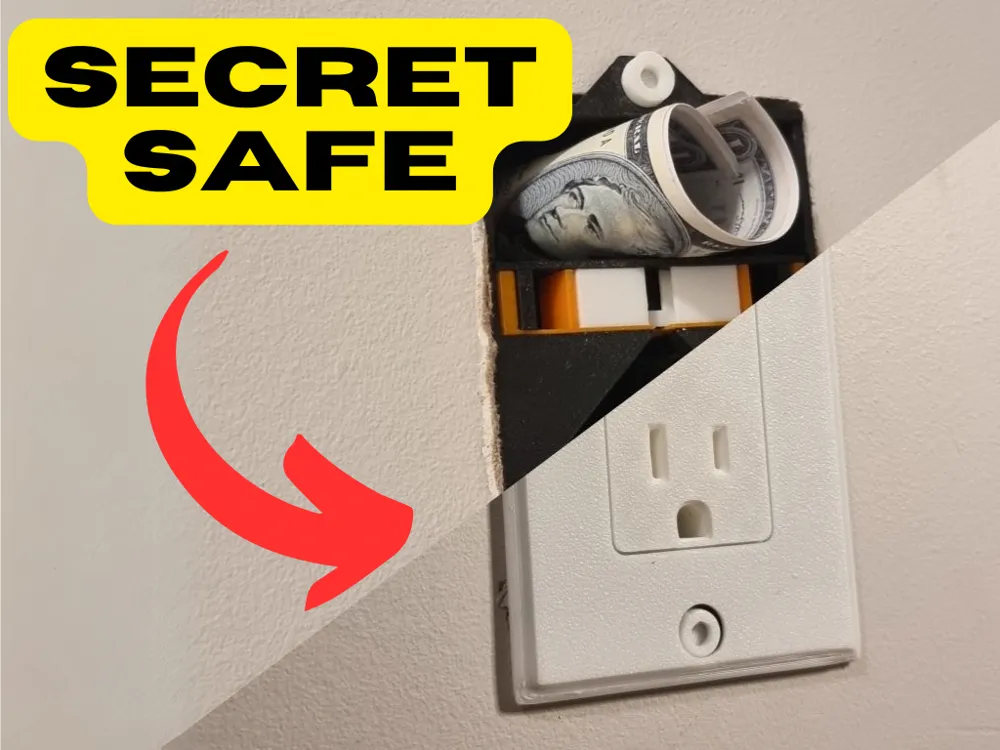
Secret Safe - Hidden Storage Vault - Power Outlet
Print Profile(1)

Description
Boost Me (for free)
I hope you have a wonderful day! :)
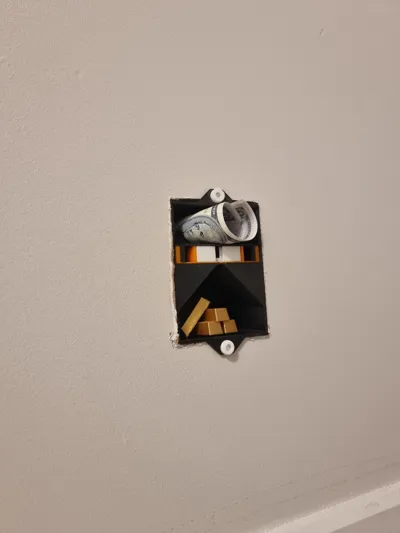
Hide in Plain Sight - 💵🔐👀
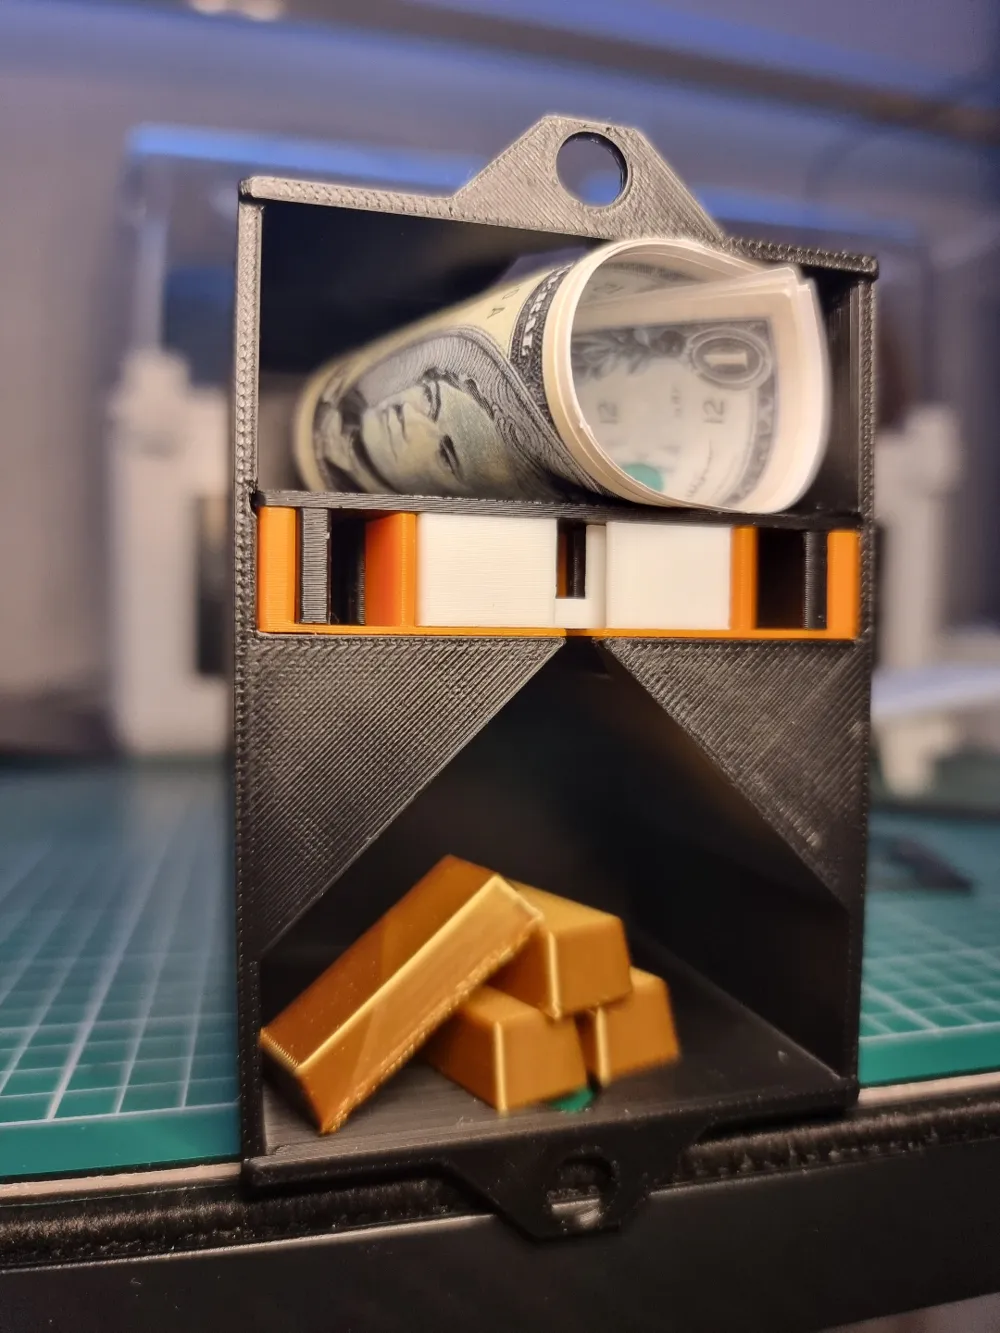
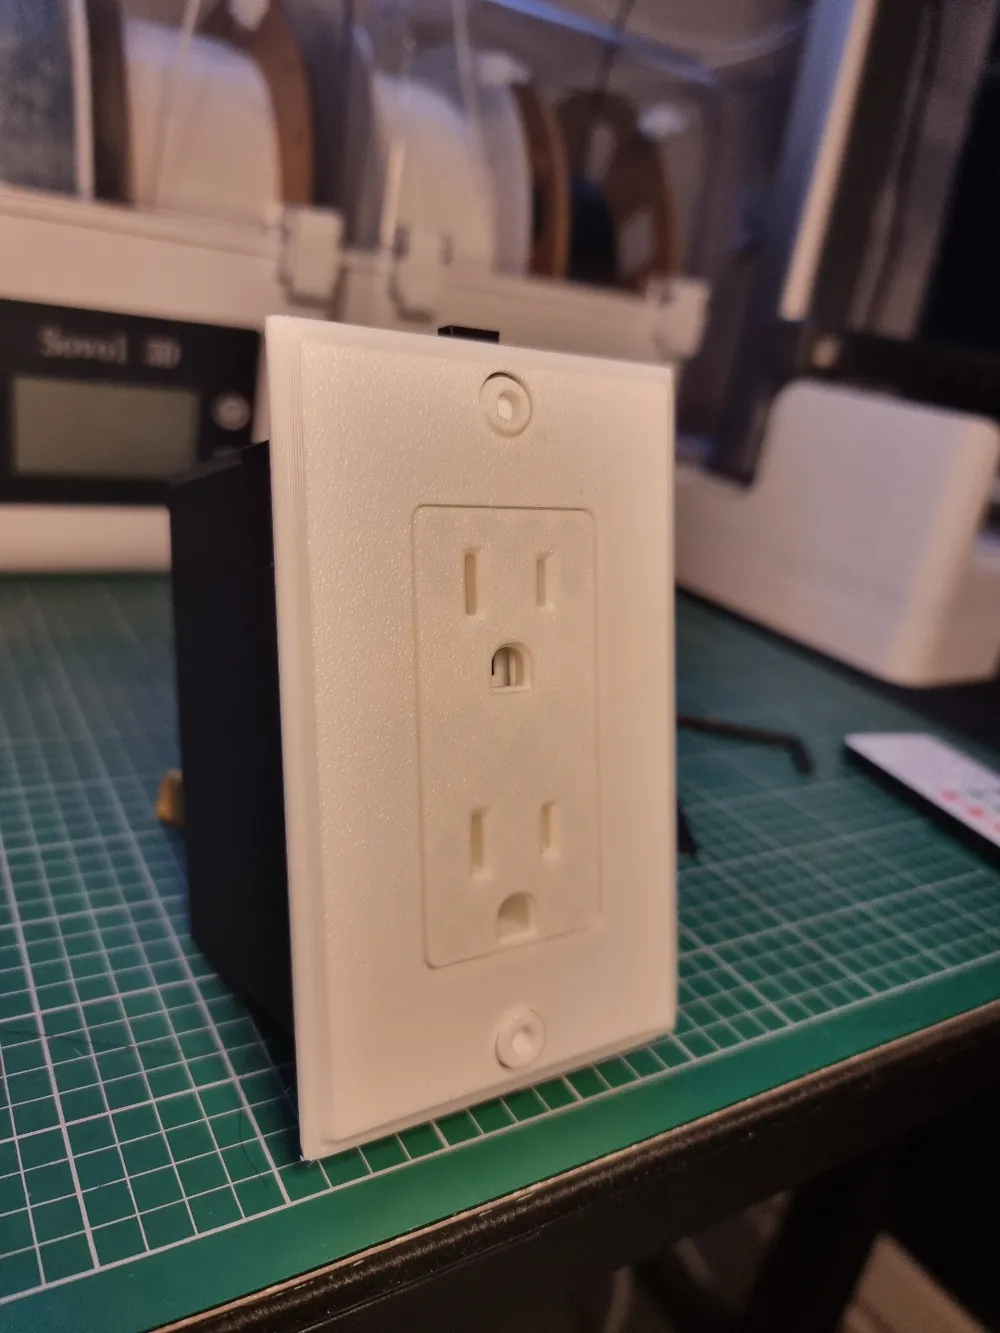
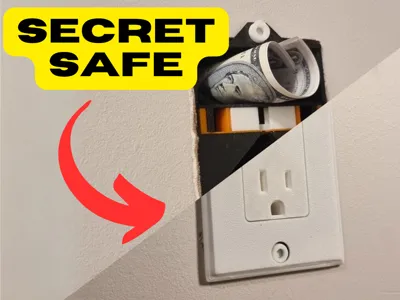
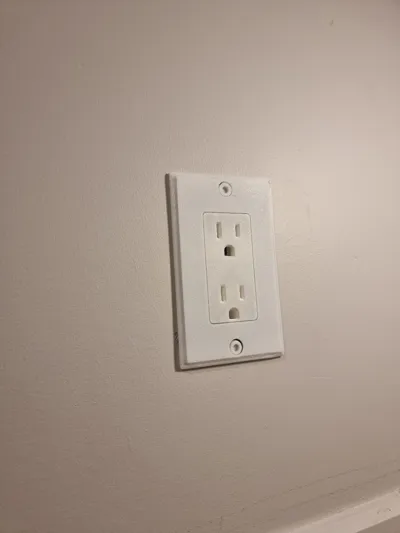
Introducing the "Outlet Vault" - the ultimate hidden safe that turns an ordinary power outlet into an extraordinary secret storage solution. This ingenious 3D-printed design is the perfect way to outsmart even the most cunning intruders 👤💰
Key Features:
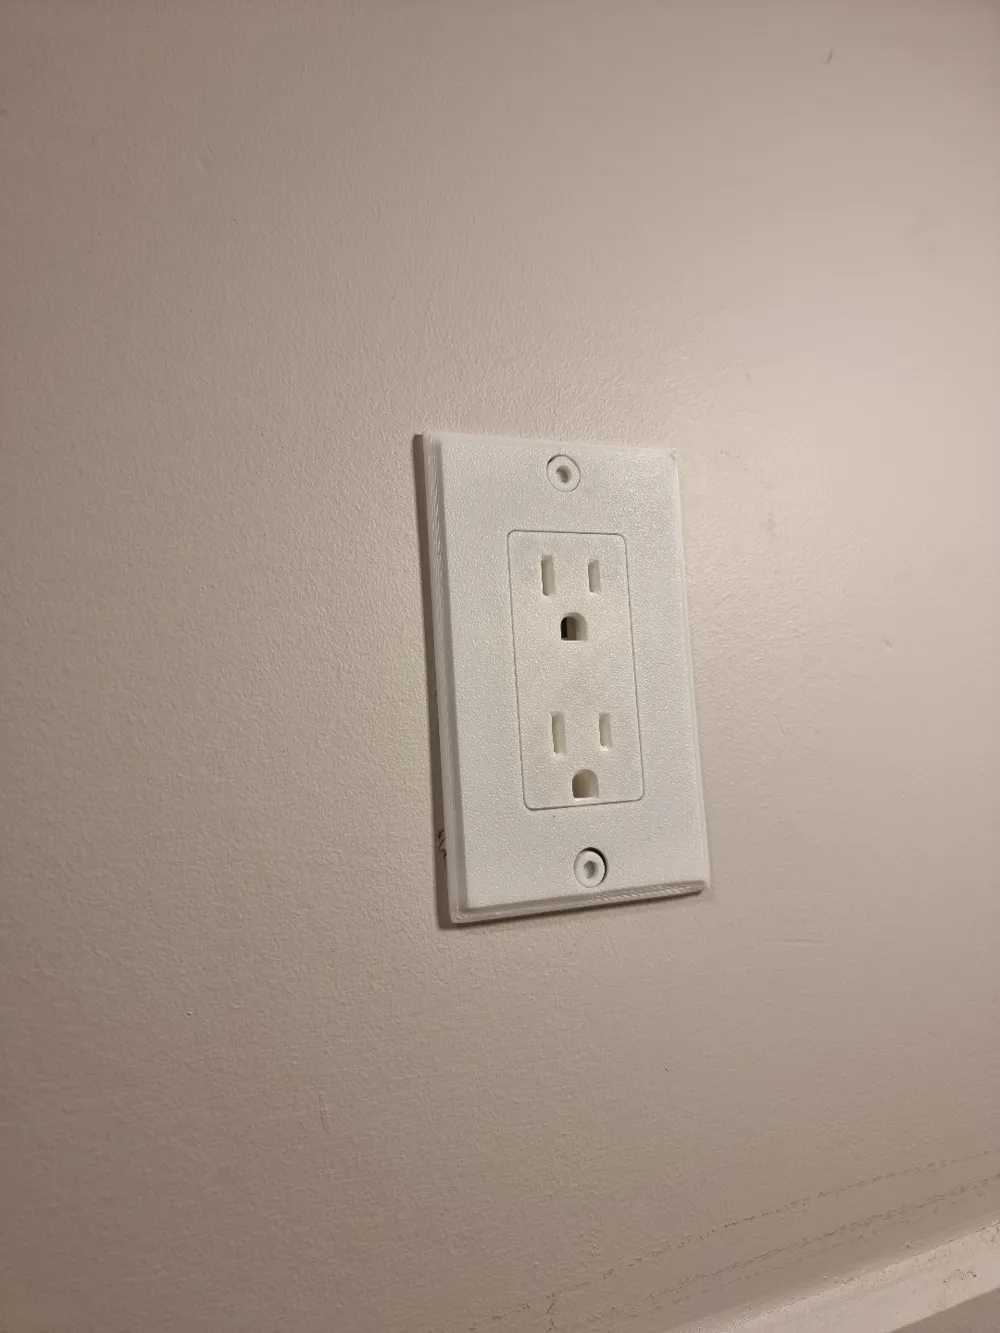
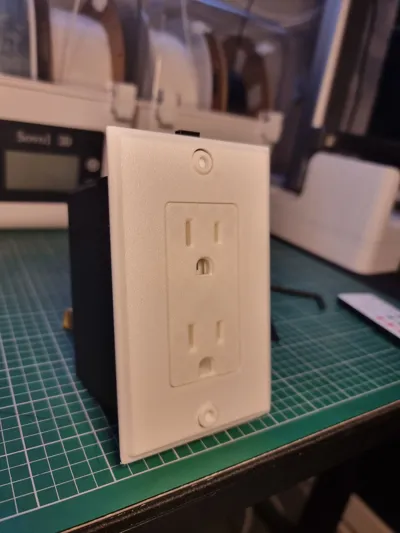
- Seamlessly blends in with standard NEMA power outlets
- Two-key security system for maximum protection
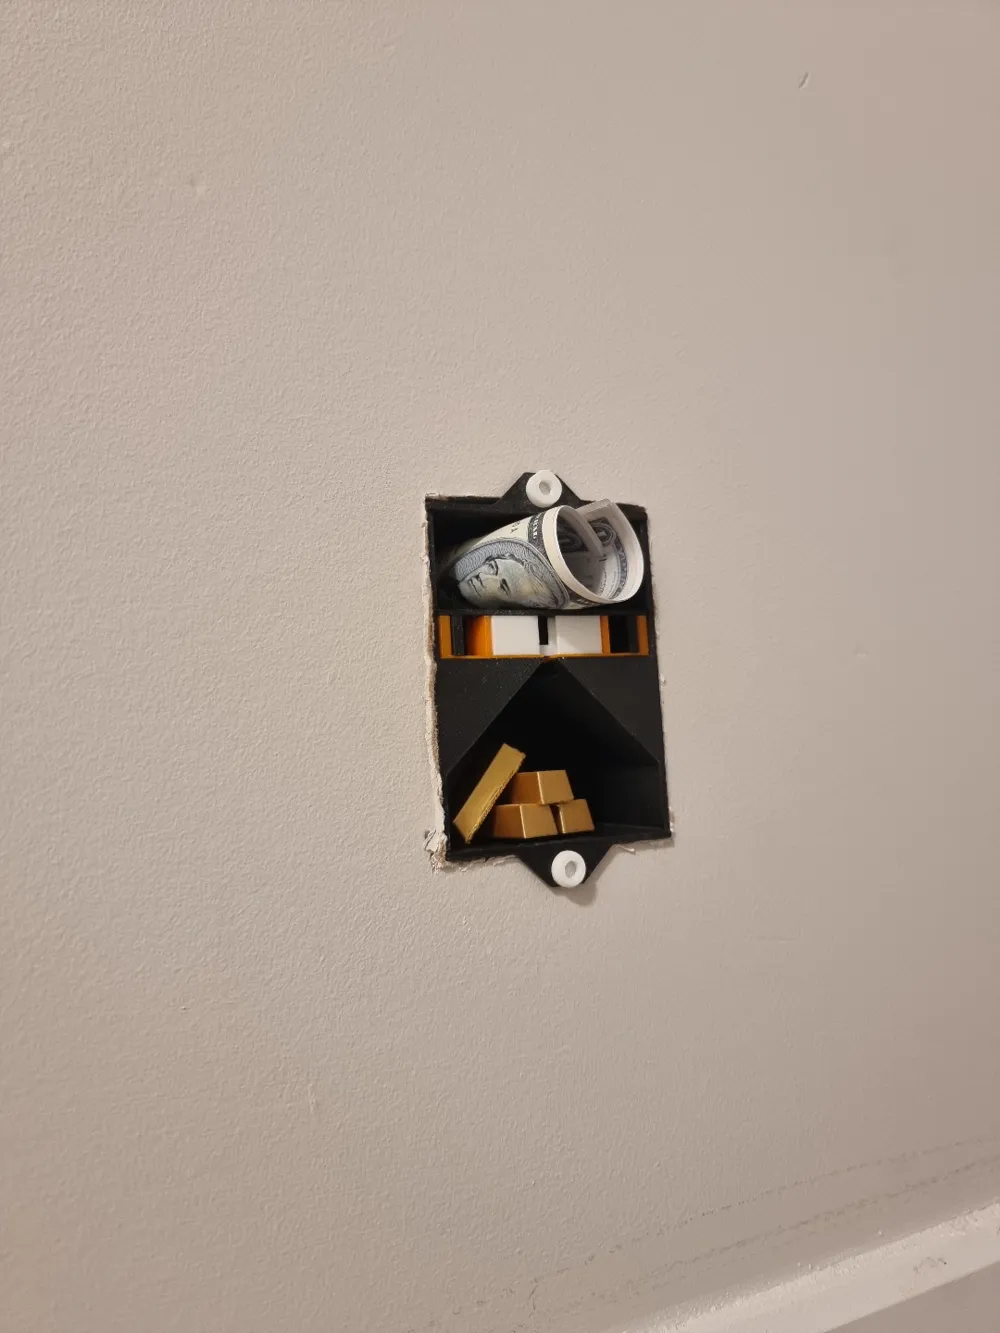
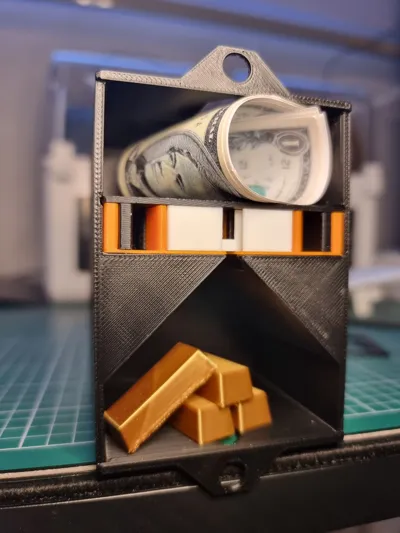
- Discreet storage space behind a convincing facade
- Perfect for hiding small valuables, emergency cash, or important documents
***** 100% Printed Parts! No Additional parts needed! ******
How It Works (Lock Mechanism)

The locking mechanism is based on a simple “mechanical” design where the system is locked if the left pin is pushed in all the way. To unlock the system, you simply retract the left pin, allowing the right pin to be pulled out.
Assembly
(The different colors in the following videos are for demonstrative purposes only)
Step 0
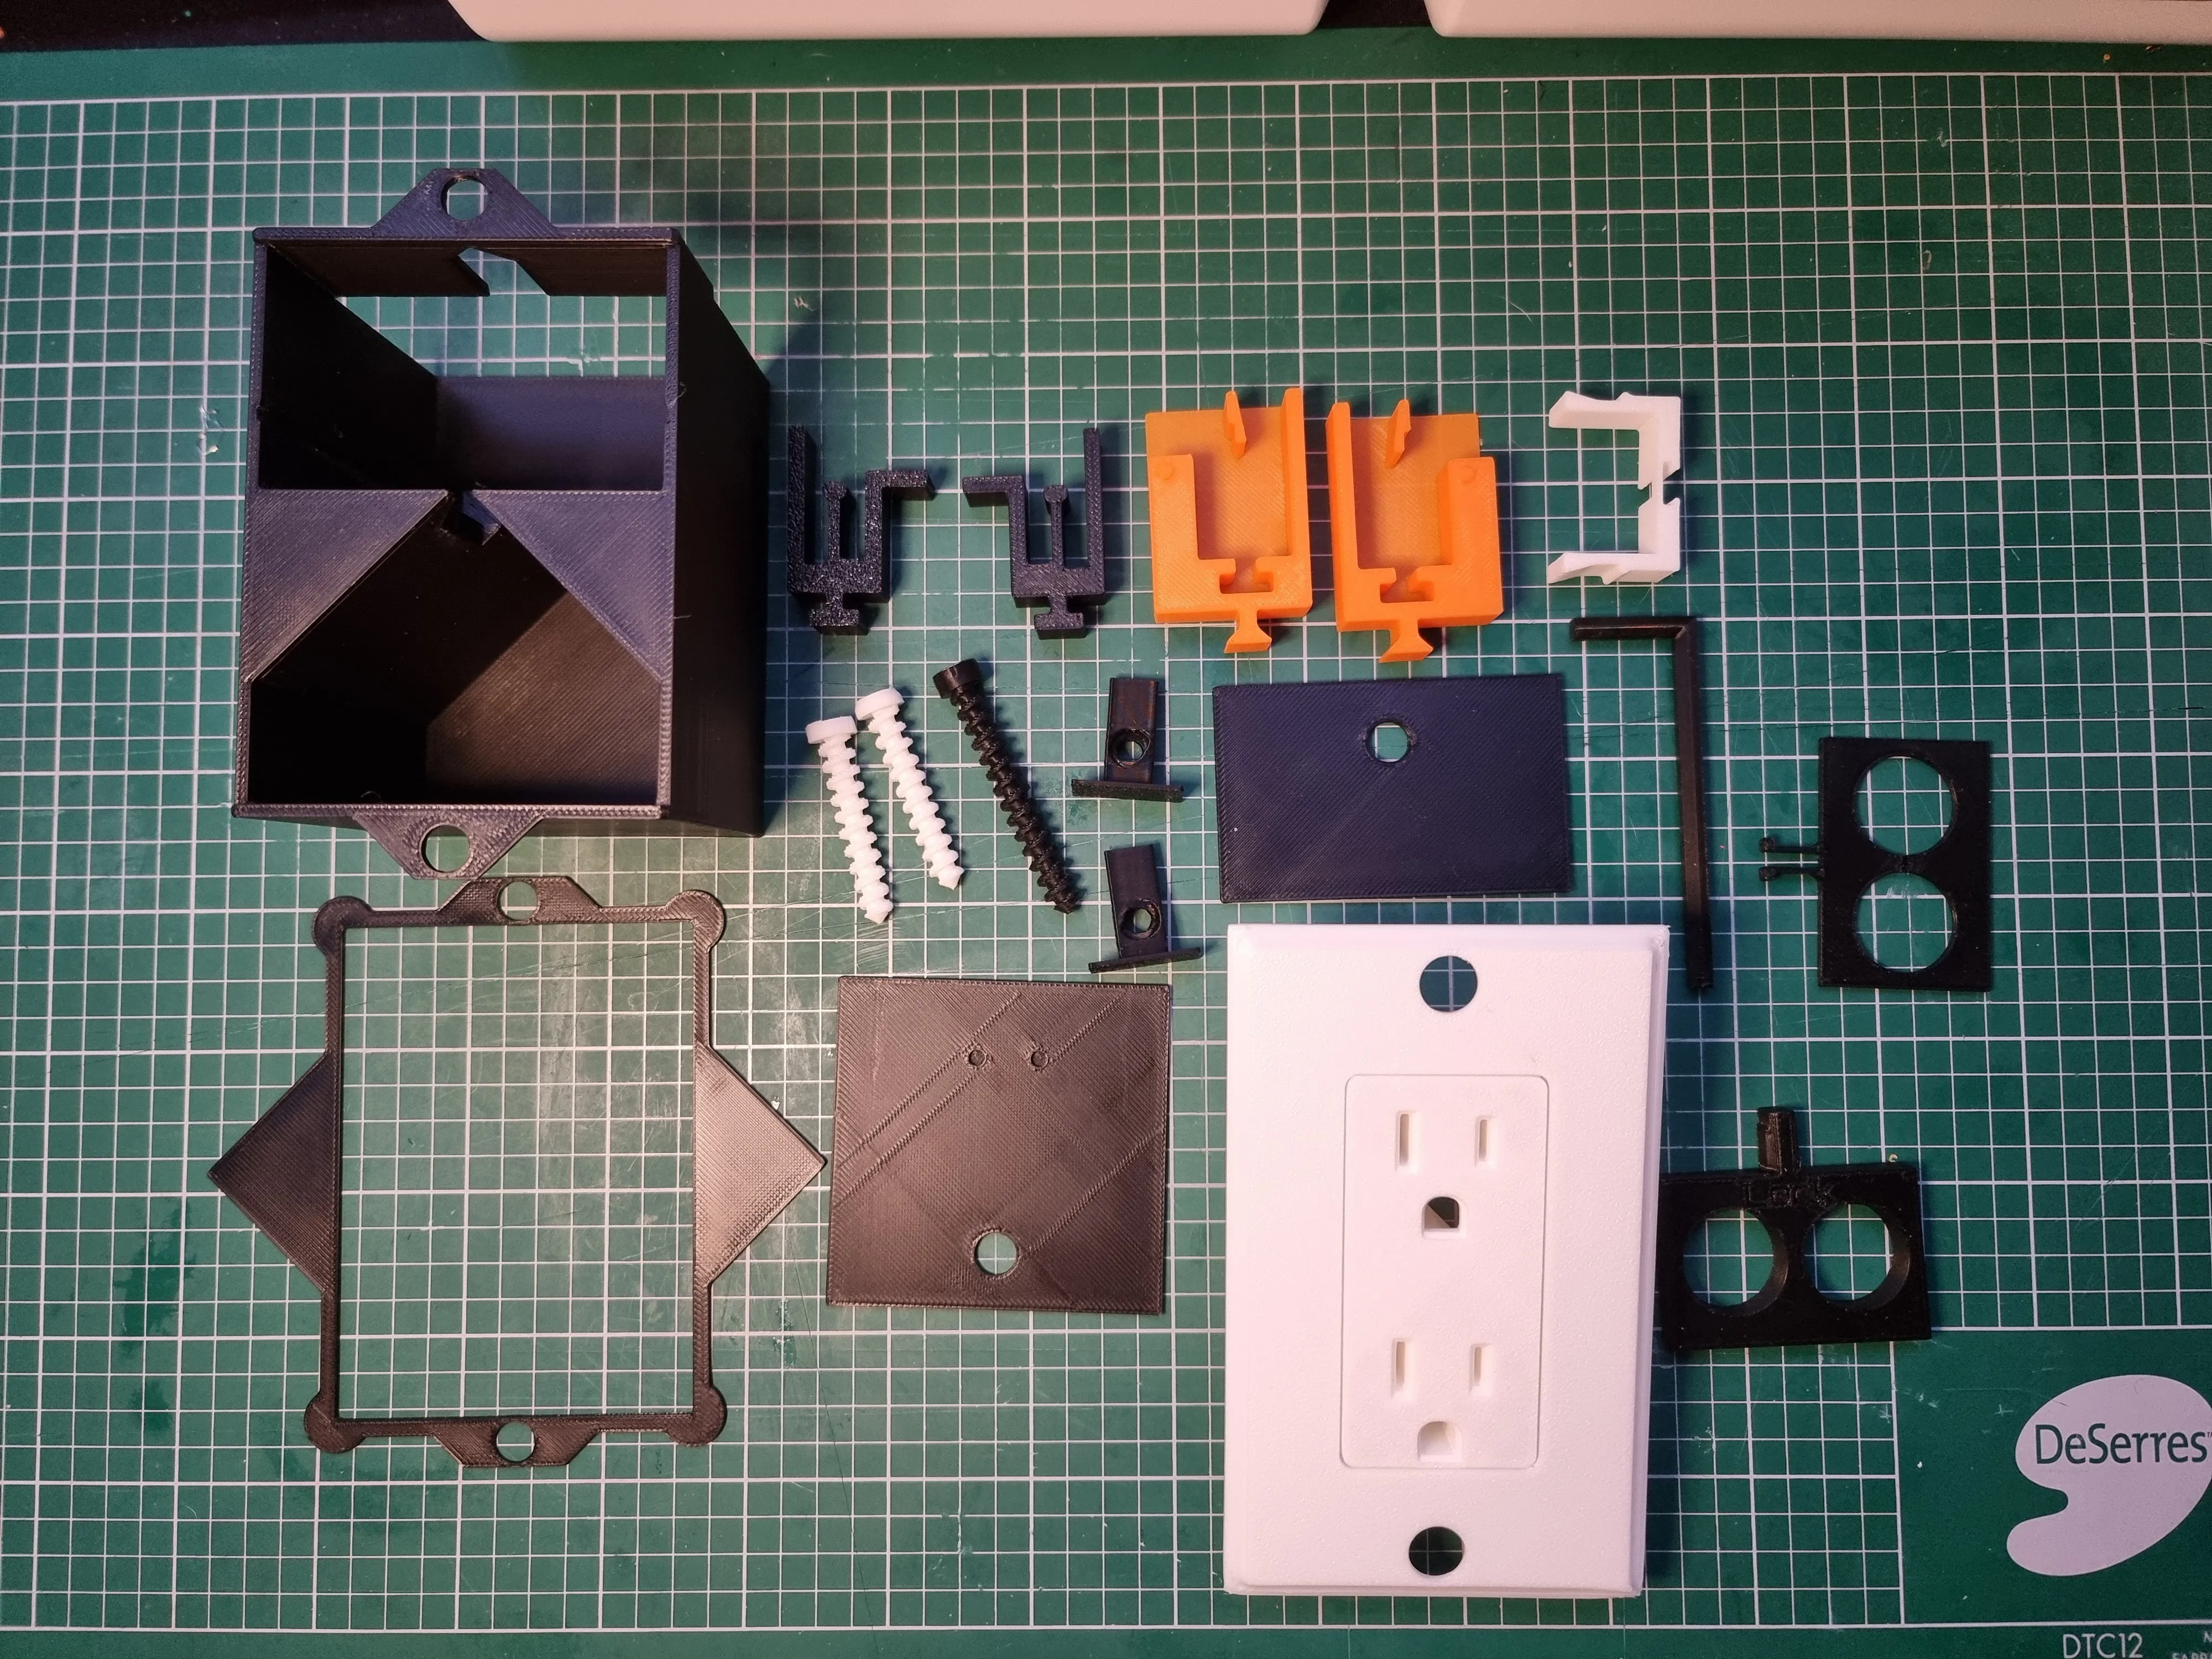
Once all the parts are printed, you should have these parts:
Step 1

Insert the “Pin” Part into the “Pin Housing”
Step 2
Insert the “Pin Housing” into the Box
Step 3

Insert the “Lock Mechanism” in between the two pin housings. IMPORTANT Make sure the middle “bridge/union” part is at the bottom

Step 4
Slide the “Hat/Ceiling” for the locking mechanism. IMPORTANT Make sure the two little indentations are facing down

Step 5
Place the Box Hat/Ceiling and hand-tighten.

Step 6
Place the "Wall Template" on the wall and secure it using painting tape

Step 7
Outline the inner edges of the template with a pencil

Step 8
Use a drill to make 3 holes. One hole for the top and bottom screw. 1 Hole for the jigsaw

Step 9
Remove the Template and use a Jigsaw (Or you can use a Oscillating Multi-Tool) and make the cut according to your traced lines.

Step 10
Use a Filer or Sand paper to adjust and align the hole according to the box dimensions

Step 11
Insert the Box into the hole until it's flush/secured to the wall

Step 12
Insert the 2 Threaded Mounting Points (Top and Bottom) and use the screw to tighten/lock the box to the wall. (You can use the allen Key)

You are done! Once the box is secured to the wall, you can push the Front Plate in and start locking/unlocking the safe as you need!
How To Use…
Locking

Unlocking
**(Optional)

There is some variability between certain printers. The tolerances might make it so that the “Unlock” Key slips when trying to unlock. If that is the case, you can use the Unlock Key + Stabilizer Key (see video below):
License

You shall not share, sub-license, sell, rent, host, transfer, or distribute in any way the digital or 3D printed versions of this object, nor any other derivative work of this object in its digital or physical format (including - but not limited to - remixes of this object, and hosting on other digital platforms). The objects may not be used without permission in any way whatsoever in which you charge money, or collect fees.


Comment & Rating (146)