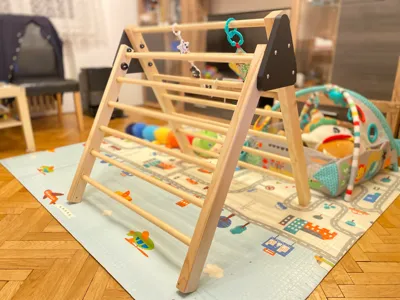
Pikler Triangle (Montessori)


Print Profile(3)


Description
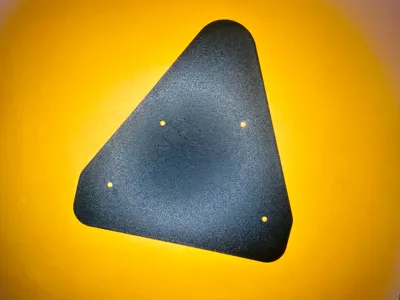
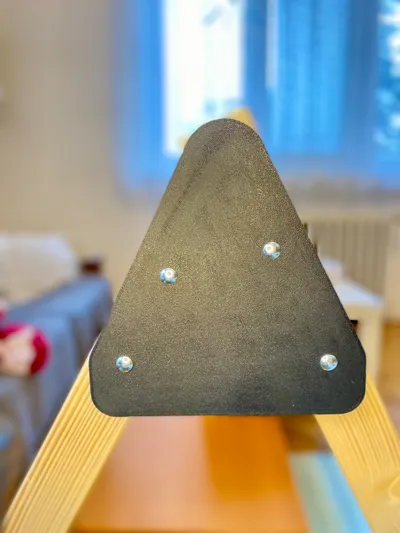
When I discovered how expensive Pikler triangles were, I decided to build one myself. I used the dimensions from the Montessori website but redrew all the schematics so everything would be in one place for easier reference. I printed the triangle from Bambu ABS-GF (instead of normal ABS) to keep the dimensional accuracy. All other parts are from Bambu PLA Basic.
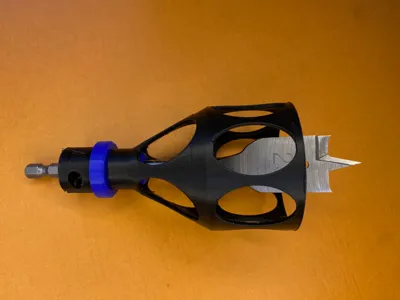
Even if you don’t have professional woodworking tools (like me), you can still assemble this project. To make it more accessible, I created 3D-printed rulers and an angle guide to help measure hole spacing and depth accurately. Also you should print drill stop-depth guide, I used this one: https://makerworld.com/en/models/783395#profileId-730576
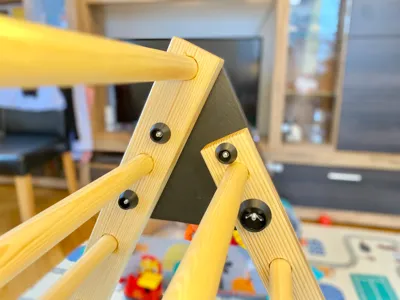
The wood I used was spruce. However, I would recommend using harder wood for the rods. The rods are glued in with Herkules glue. I was worried that it might not be enough and considered screwing everything together, but just the glue holds the rods very securely.
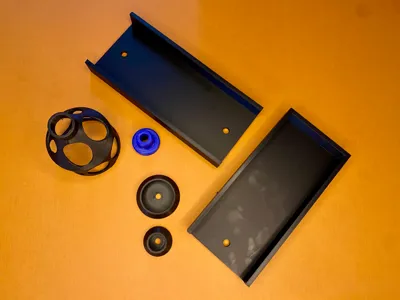
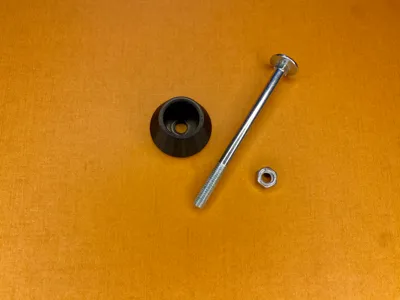
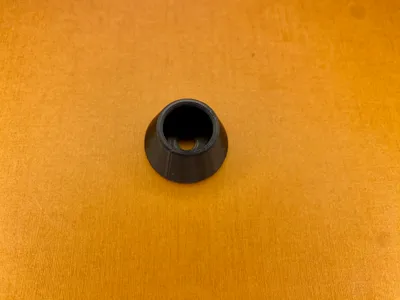
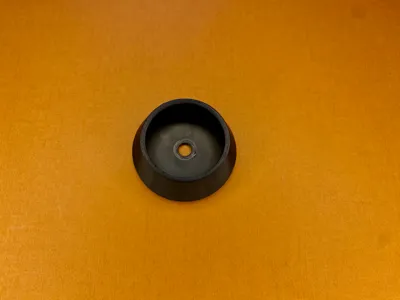
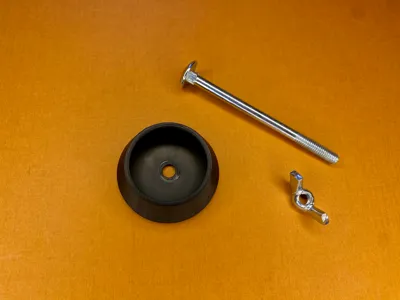
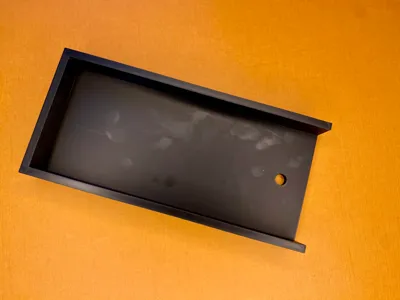
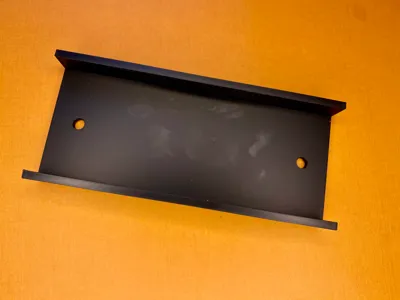
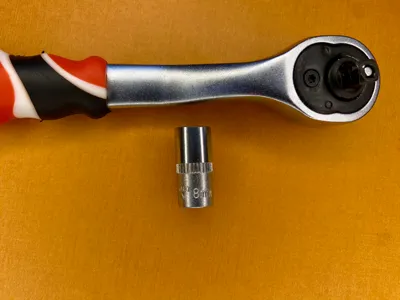
I used eight flat M5 screws with nuts. Each nut is hidden under a protective cover, which also acts as a washer (and stops kids from unscrewing it without a socket hex wrench). I also added two wing nuts to make disassembly and storage easier.
Bill of Materials (BOM)
- 60x40x810 mm wood plank (2x)
- 60x40x915 mm wood plank (2x)
- 25x800 mm wood rod (13x)
- M5x70 screw (8x)
- M5 Nut Din 934 (8x)
- M5 wing-nut (2x, optional)
Disclaimer
This is a DIY project that you build at your own discretion. While I’ve done my best to provide accurate instructions and details, I cannot take responsibility for any mistakes, accidents, or injuries that may occur during assembly or use. Always ensure proper supervision and prioritize safety when children are using the Pikler Triangle.
Happy printing!
License
You shall not share, sub-license, sell, rent, host, transfer, or distribute in any way the digital or 3D printed versions of this object, nor any other derivative work of this object in its digital or physical format (including - but not limited to - remixes of this object, and hosting on other digital platforms). The objects may not be used without permission in any way whatsoever in which you charge money, or collect fees.
Comment & Rating (2)