
Mystery Vault

Print Profile(3)


Description

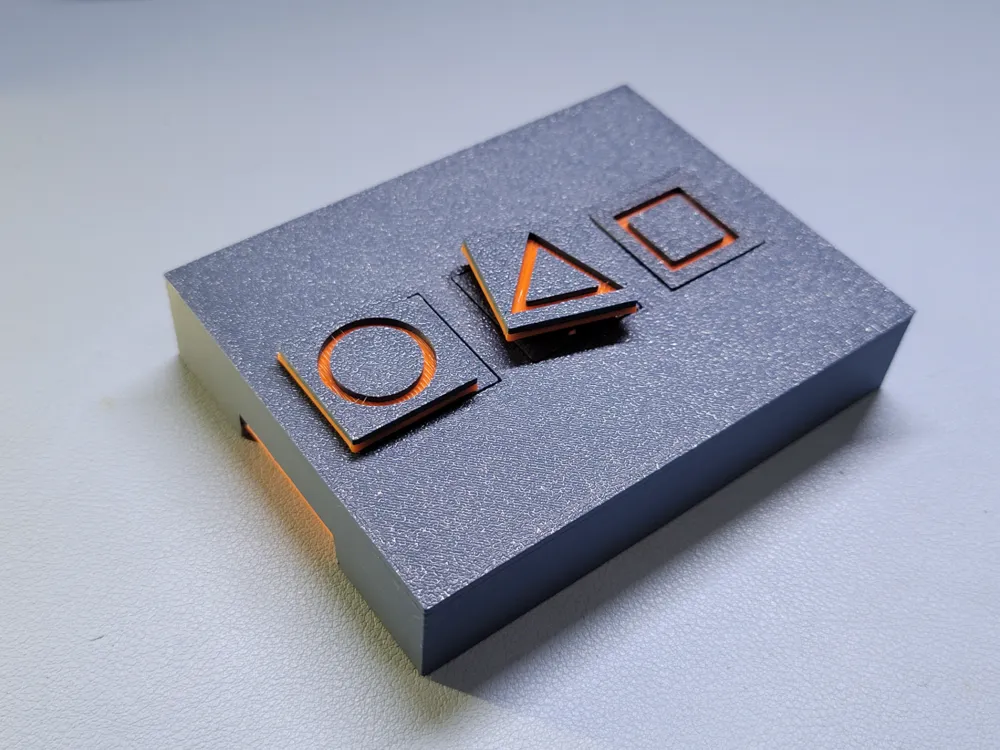
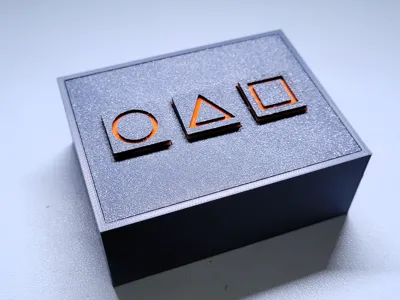
Welcome to the 3D Printing Mystery Vault, an innovative interactive experience designed for people who love puzzles and technology. This vault is more than just a storage solution, it also includes physics elements such as gears, levers, etc. It's a challenge that invites you to use your problem-solving skills and creativity to unlock its secrets.
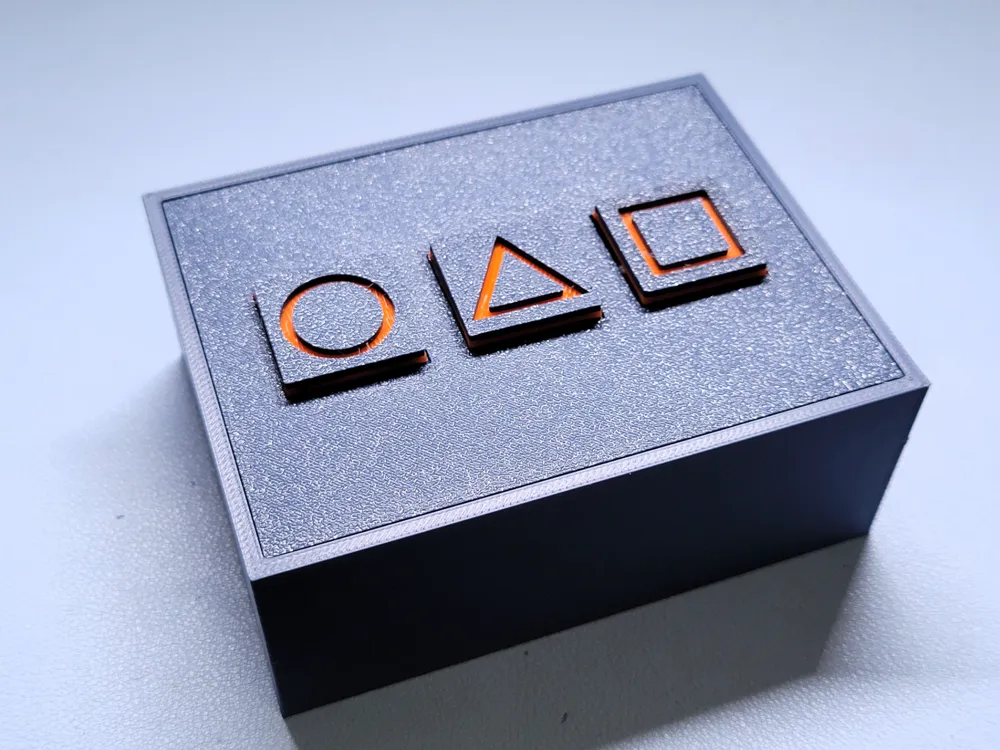
The Mysterious Vault is a unique 3D printed structure that blends art and engineering. Very easy to print and assemble. It is like a metaphorical treasure chest that contains valuable items or information that can only be accessed through a series of actions.
Unlocking the Vault
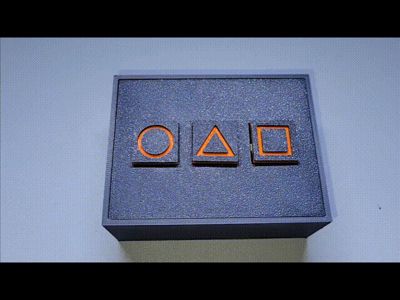
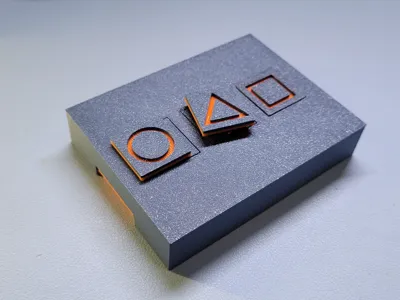
To unlock the Mystery Vault, participants must complete three distinct actions.
Pull-Push-Turn
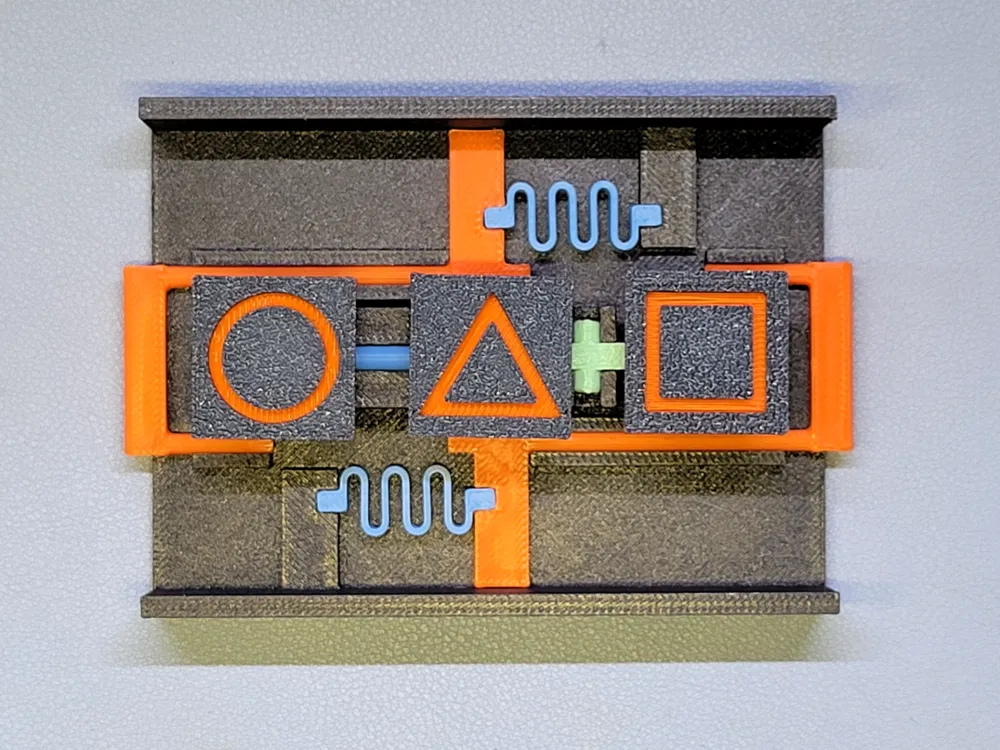
See pictures and watch the GIF to see how it works.
Printing Instruction
All components is arranged into 3 plates
Chassis and Parts – PETG is preferred but PLA is also ok. Use strong structure profile to print.
Cover and Base – PLA
Button - PLA
Assembly Instruction
Chassis
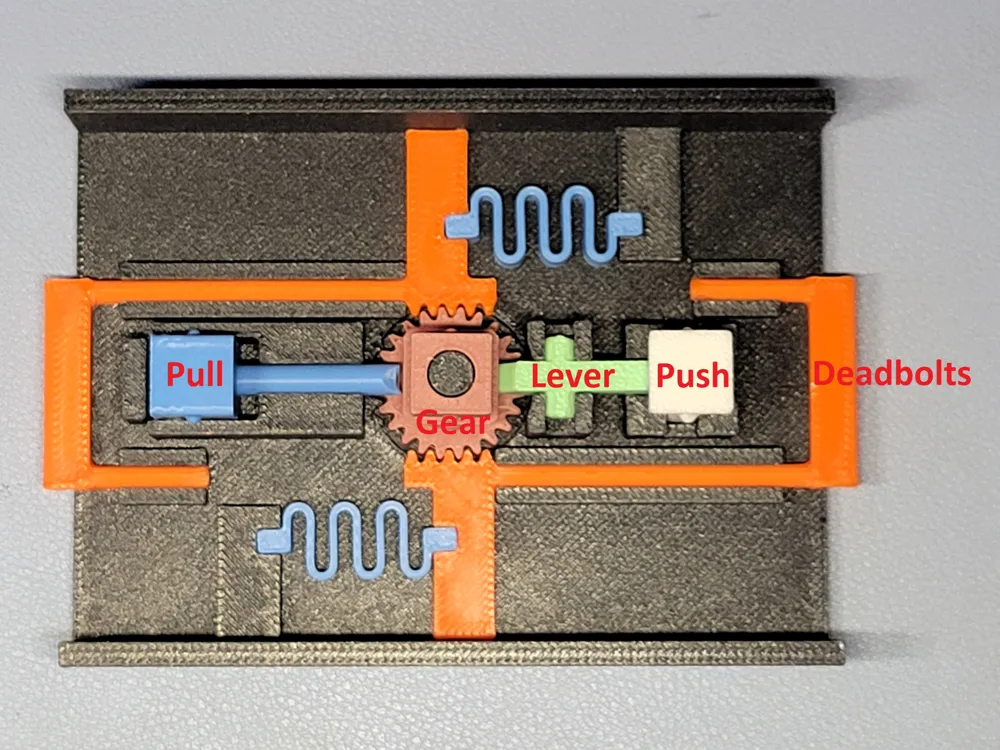
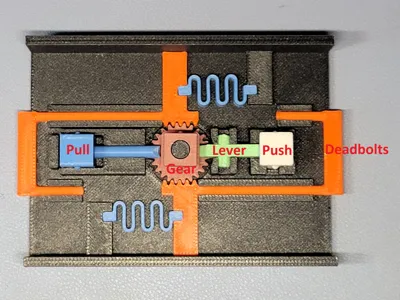
- Insert the two [Deadbolts] into the rails, then pull them aside in the lock position
- Insert the [Gear] in the middle of the Chassis
- Insert the [Pull] to the slot and pull it aside until it hit the wall
** If it is difficult to insert the [pull] into the gap, you can trim the edges of the gap slightly. The tightness was deliberately designed as it was used to indirectly lock the [Push] element, and with the introduction of Push-Lock, that tightness is no longer required. - Pull the [Gear] a bit upward, insert the [Lever] to its concave. With the flat surface facing up, push the [Lever] into the joints
- Insert the [Push] to the slot, push it to the base with some force. The [Gear] will be pulled up by the [Lever]
- Push back the [Gear] and the [Push] will be sat to the locked position.
- Pull the [Pull] toward the [Gear].
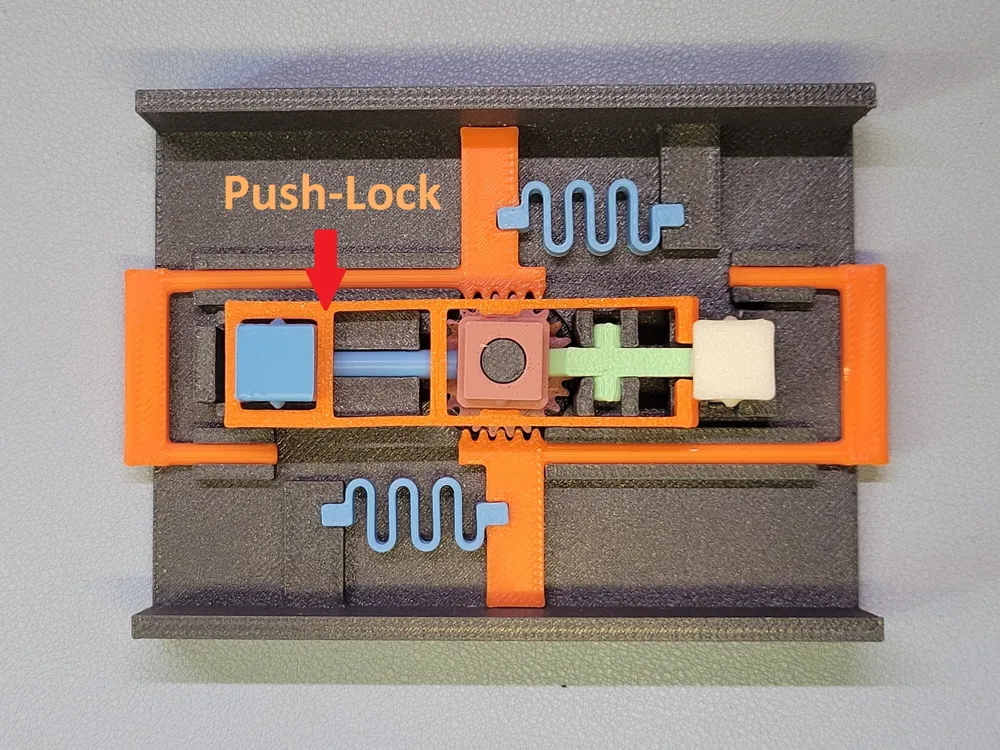
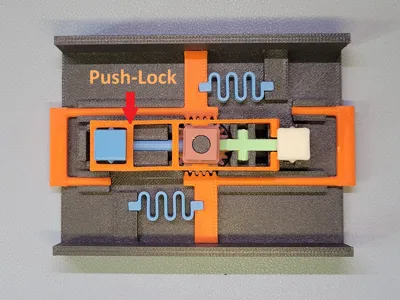
- ** Insert the Push-Lock over the [Pull], [Gear] and [Push]
- Insert the two [Spring] ** This is optional, depended if you want the auto close feature.
- The installation of the Chassis was done.
Cover and Base
- Using the above Unlocking procedure to test the Pull-Push-Turn operation
- If the operation is ok, cover the Chassis with the [Cover]. The largest opening of the [Cover] is on top of the [Push] component.
- Unlock the [Cover] body and insert it to the [Base]
- The Vault is now closed
Button
- Insert the 3 Buttons to the [Pull], [Gear] and [Push] slot
Please also see the following assembly video created by Kiyosan which provides a very detailed step-by-step installation process.
Have Fun!
Changelog
2025-01-30 *** Emergency Update ***
I mistakenly uploaded incorrect stl and print profile. The correct version has been uploaded, please download again. If you have already printed the parts, you only need to reprint the [Chassis Only].
Big thanks to @cmille34 for spotting this bug.
2025-02-04 *** Improvement ***
Some users have reported back to me that the caps on those buttons come off easily, especially the center button. I uploaded another set of tighter buttons in my print profile, please download it if you have similar issues.
2025-02-22 *** Preventive update ***
One user reported that when he used the box as packaging for a birthday gift, the recipient forcefully pressed the middle button when trying to open the box (which should be really hard). The Chassis slides from the Cover onto the box. This rare problem is solved by increasing the thickness of the container walls. The print profile has been updated with this new setting. You don't need to reprint the box, but please download a new profile for next printing.
2025-02-22 *** Mechanical Improvement
A new component has been added to the Chassis module to improve the locking mechanism of the [Push] button. This upgrade is optional but highly recommended.
Before this add-on, when the box was closed, you could still able to push the [Push] button down a little, even if the [Pull] button was in the closed position. After adding this push lock component, the [Push] button will be locked until [Pull] is opened
2026-06-14 *** Improvement
After collecting valuable feedback from the community, I’ve reworked the Chassis and Deadbolts to fix minor issues encountered during installation.
Here are the key improvements:
- Tight button is now set as the default button.
- Significantly easier to insert the [Push] into the slot.
- Reduced risk of gears getting stuck.
- Improved overall structure and stability of the Deadbolts.
Boost Me (for free)
If you like this vault, I'd be grateful for a boost. I worked really hard on this and your boosts really help me keep going and inspires me to create more cool stuff for you. Enjoy and have a great day!
License

You shall not share, sub-license, sell, rent, host, transfer, or distribute in any way the digital or 3D printed versions of this object, nor any other derivative work of this object in its digital or physical format (including - but not limited to - remixes of this object, and hosting on other digital platforms). The objects may not be used without permission in any way whatsoever in which you charge money, or collect fees.


Comment & Rating (301)