
Click Vault - No Glue/Support/Hardware
Print Profile(1)

Description
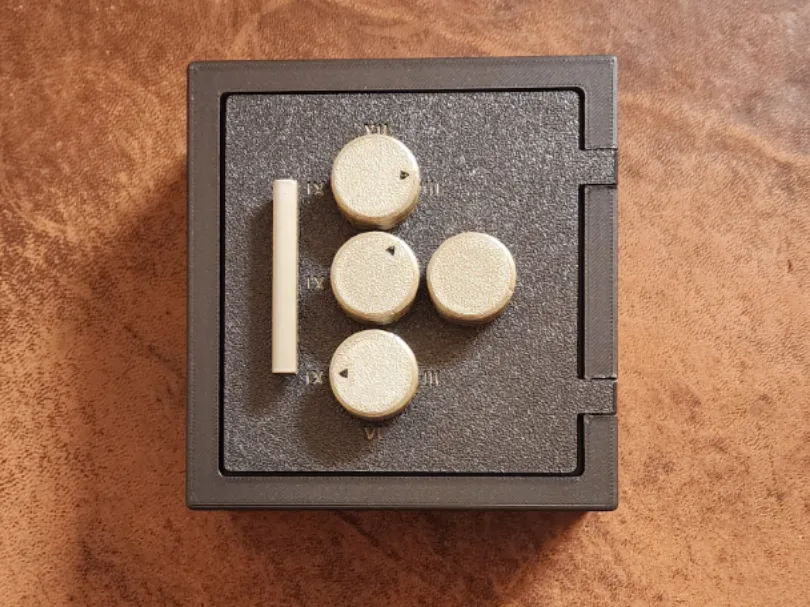
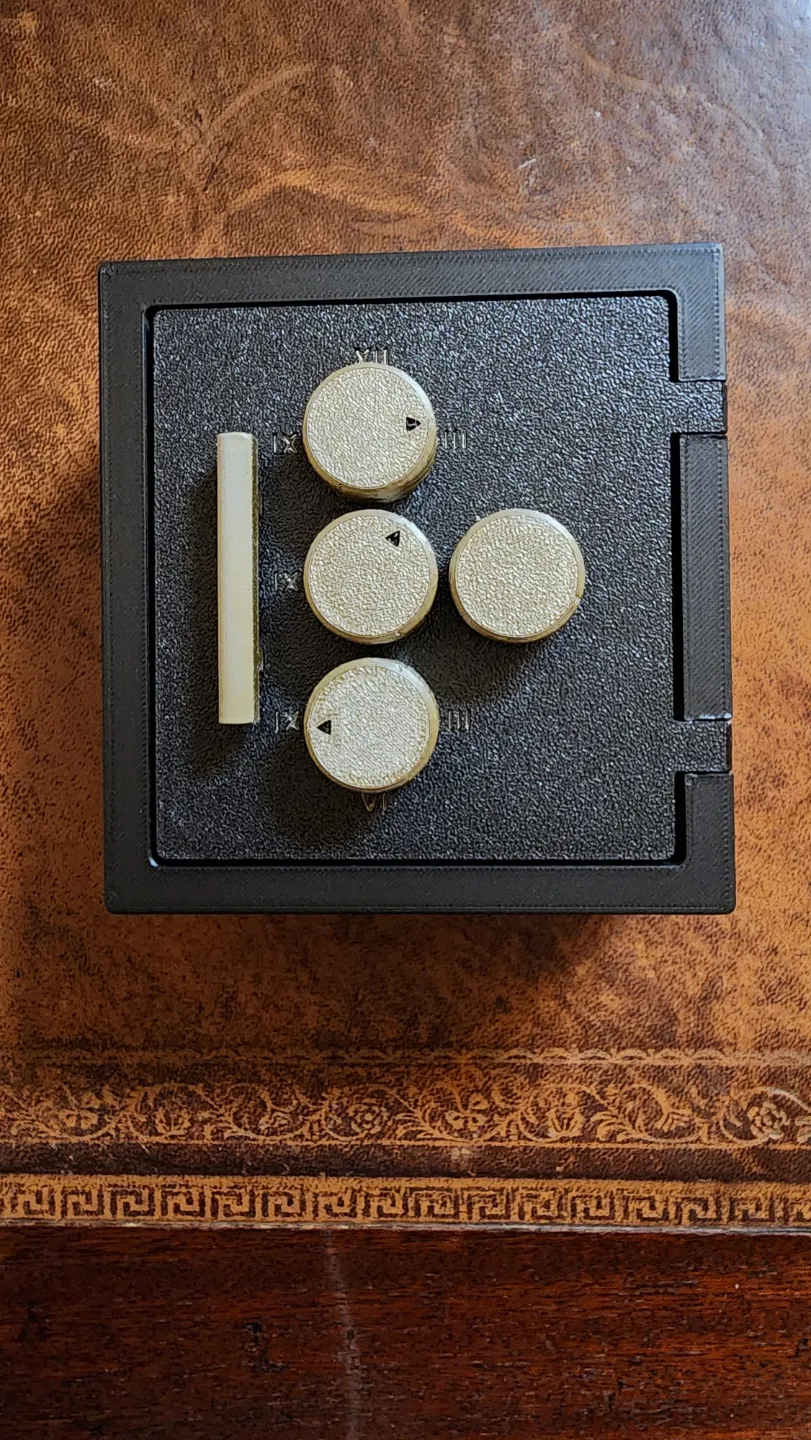
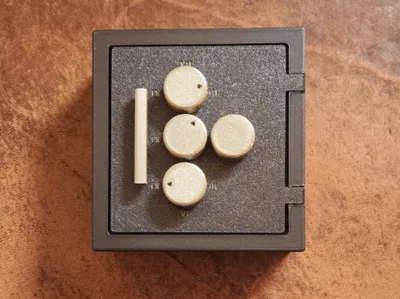
“Click” Vault - (it's A lot less than 10 hours - I included a smaller and larger safe body. Pictured in the assembly instructions below is the smaller body)
Assembled size
Small is ~ 114mm Wide x 120mm Tall x 56mm Deep
Large is ~ 114mm Wide x 120mm Tall x 81mm Deep
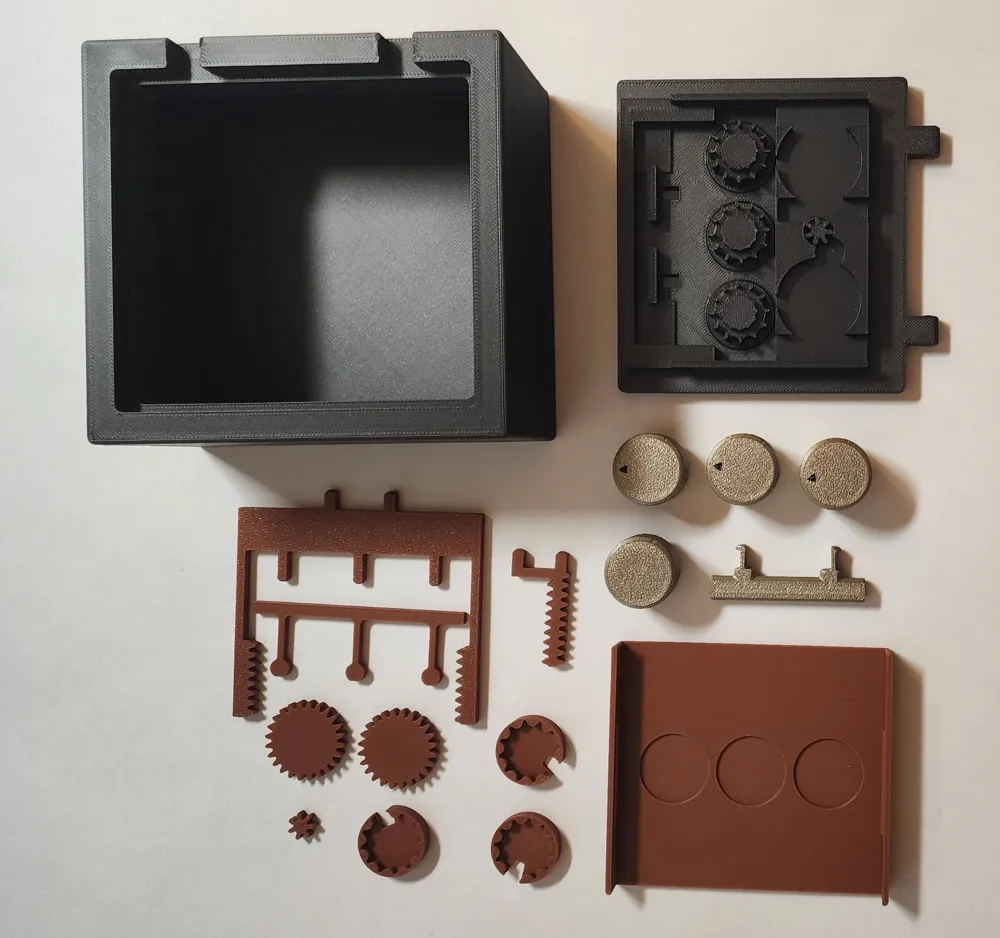
No Supports, glue, or hardware required.
Boost Me (for free)
Like this? Please show some love and boost! Thanks!
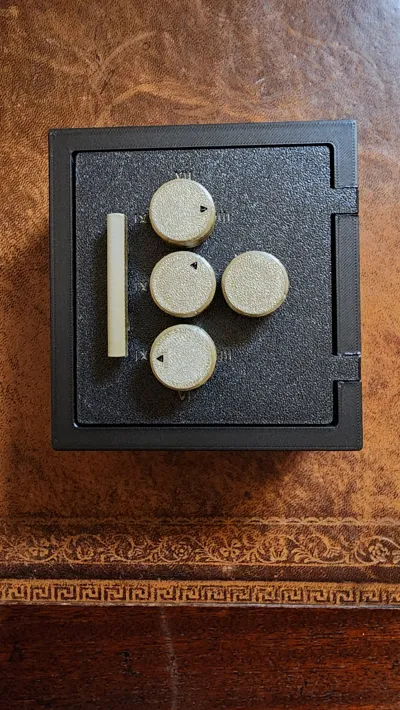
The Click Vault is opened by counting clicks from top center or paying attention to the directional arrows. Inspired by a clock face there are 12 detent positions for each dial. Almost a cross between a safe and a fidget spinner there is audible and tactile feedback at each position.
There are 1728 user-settable combinations. You can either memorize the number of clicks from the top for each dial, or treat each dial like a clock face, and memorize the “time”.
** UDATED 1/26 **
Apparently I'm bad at the makerworld uploading, and my prior attempt at updating the 3mf file didn't work so have re-uploaded it and confirmed it is now the correct plates. On 1/24 I had only managed to update the 3mf if you chose to “Download cad/stl files” but NOT if you chose “Download 3mf” or “Open in bambu studio”.
** UPDATED 1/24/2025 **
1) Changed small lockbar, door, door cover and small gear geometry slightly to reduce gear slippage/alignment.
2) Added small handle instead of knob for locking control and moved tall and blank dial controls to a different plate as optional prints.
- no changes to Body, Large gear, dials, click bar, or large lockbar.
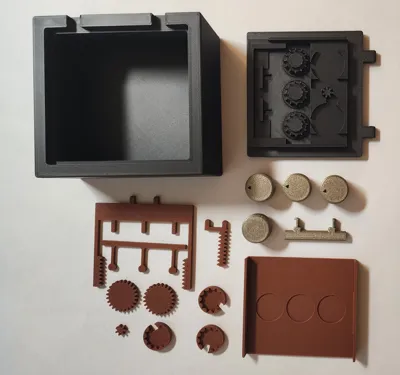
No supports, glue, screws or other hardware is required for assembly.
Assembly is easy (I put a lot of steps to be really clear, but it is VERY simple to assemble and can be fully reverse dis-assembled (assuming its unlocked).
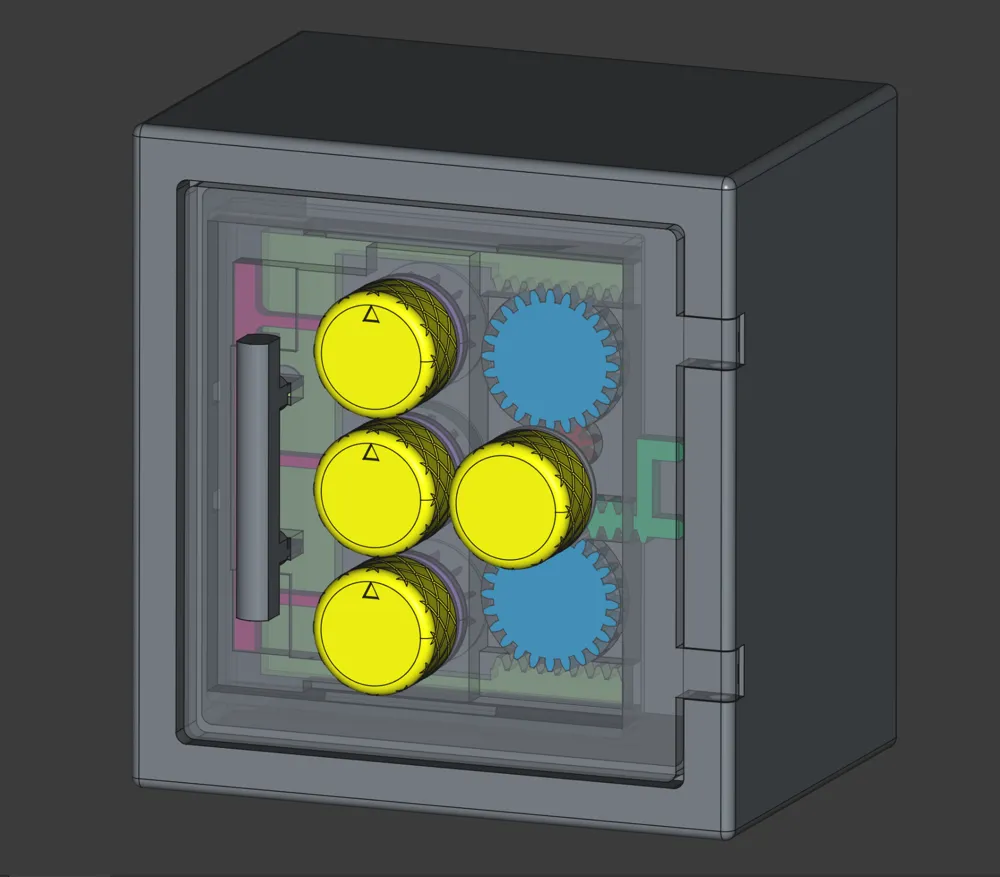
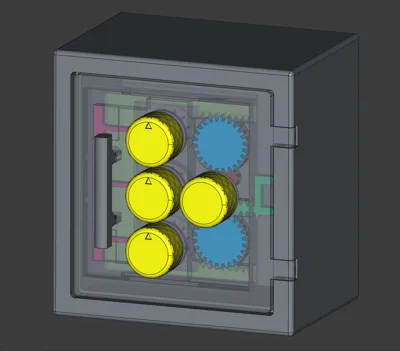
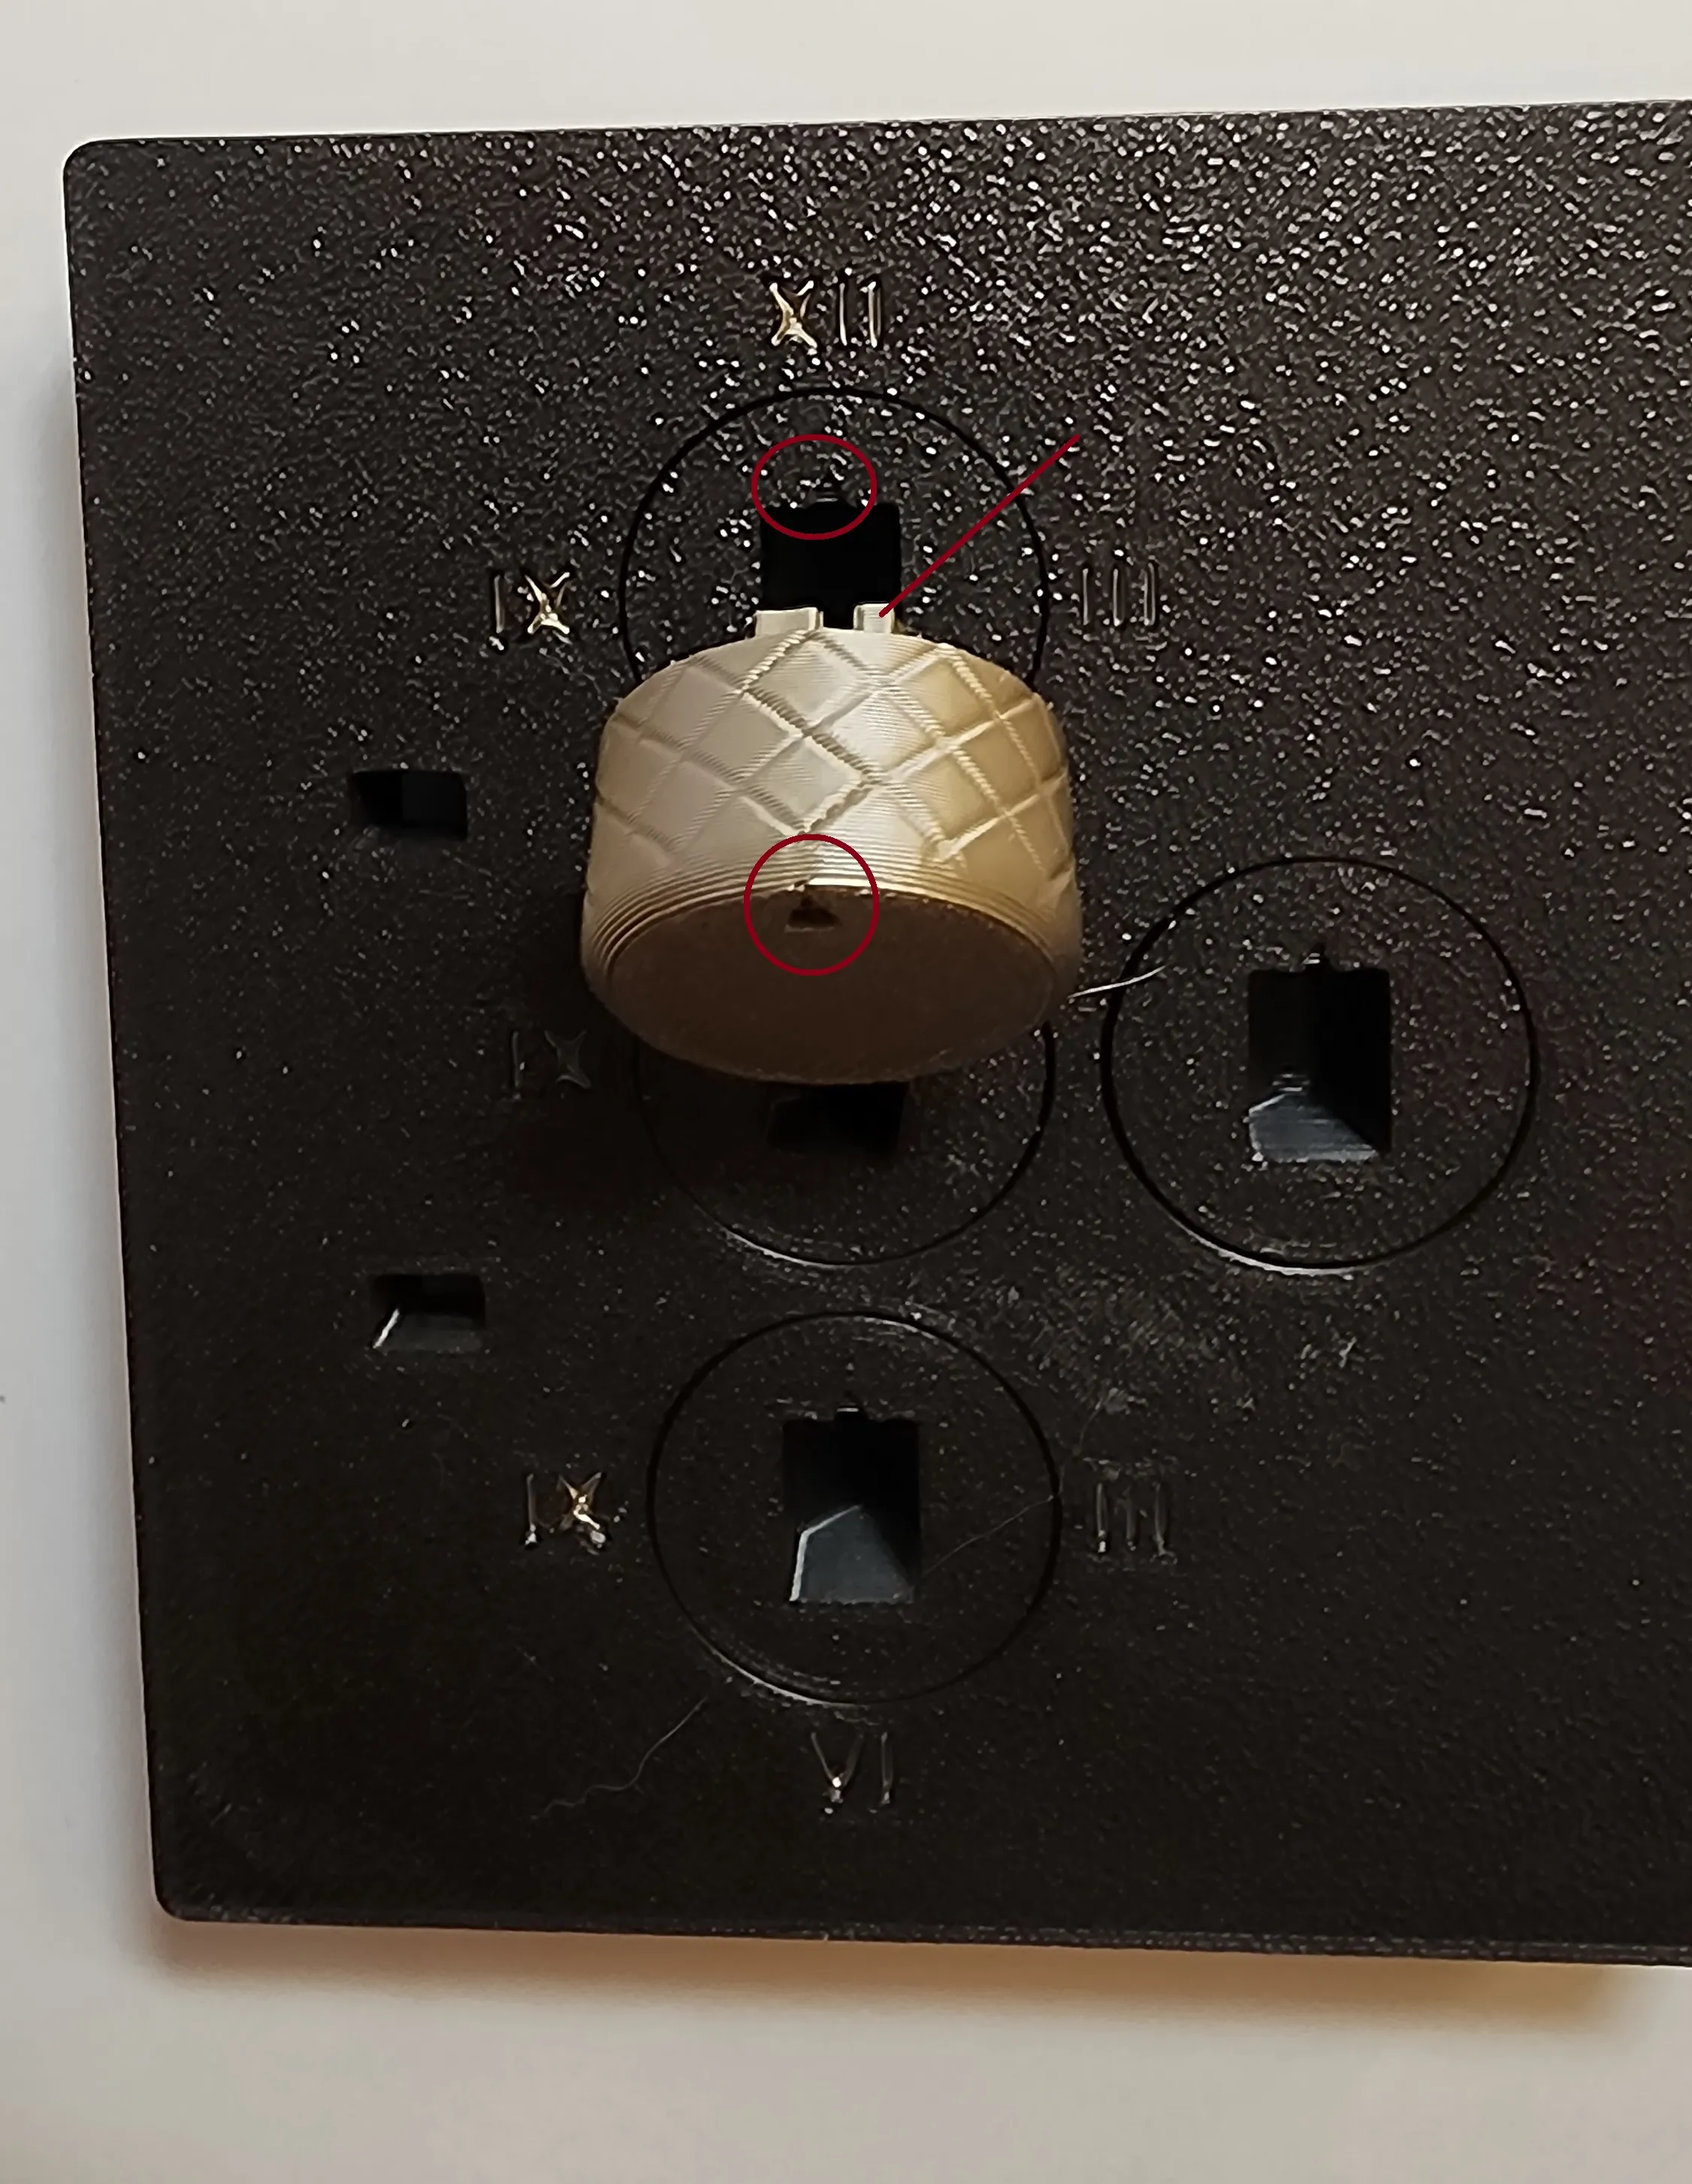
- Snap the door hardware (handle, three indicator dials, and the unlocking dial. The three indicator dials go vertically in a line. There are three variants of the dials: Short with and indicator, Tall with an indicator, and short with no indicator. The connection point is the same for all the dials so you can mix and match but I strongly recommend indicator dials in a vertial line, Short-Tall-Short, and the blank to the right (the right is what unlocks/locks the bars when the correct code is entered). The tall one is beneficial in the middle as it can be hard to get your fingers around it (if you have adult sized fingers) but aesthetically i like 3 short indicators. Note the orientation - there is a TINY witness mark triangle on that should be aligned with the triangle on the dials - as the thinner arm has the detent that clips in place. If you get it backwards, it will work but the dials wont be clipped in as securely. INstall All 4 dials.
Flip the door over, and press the clicker into place
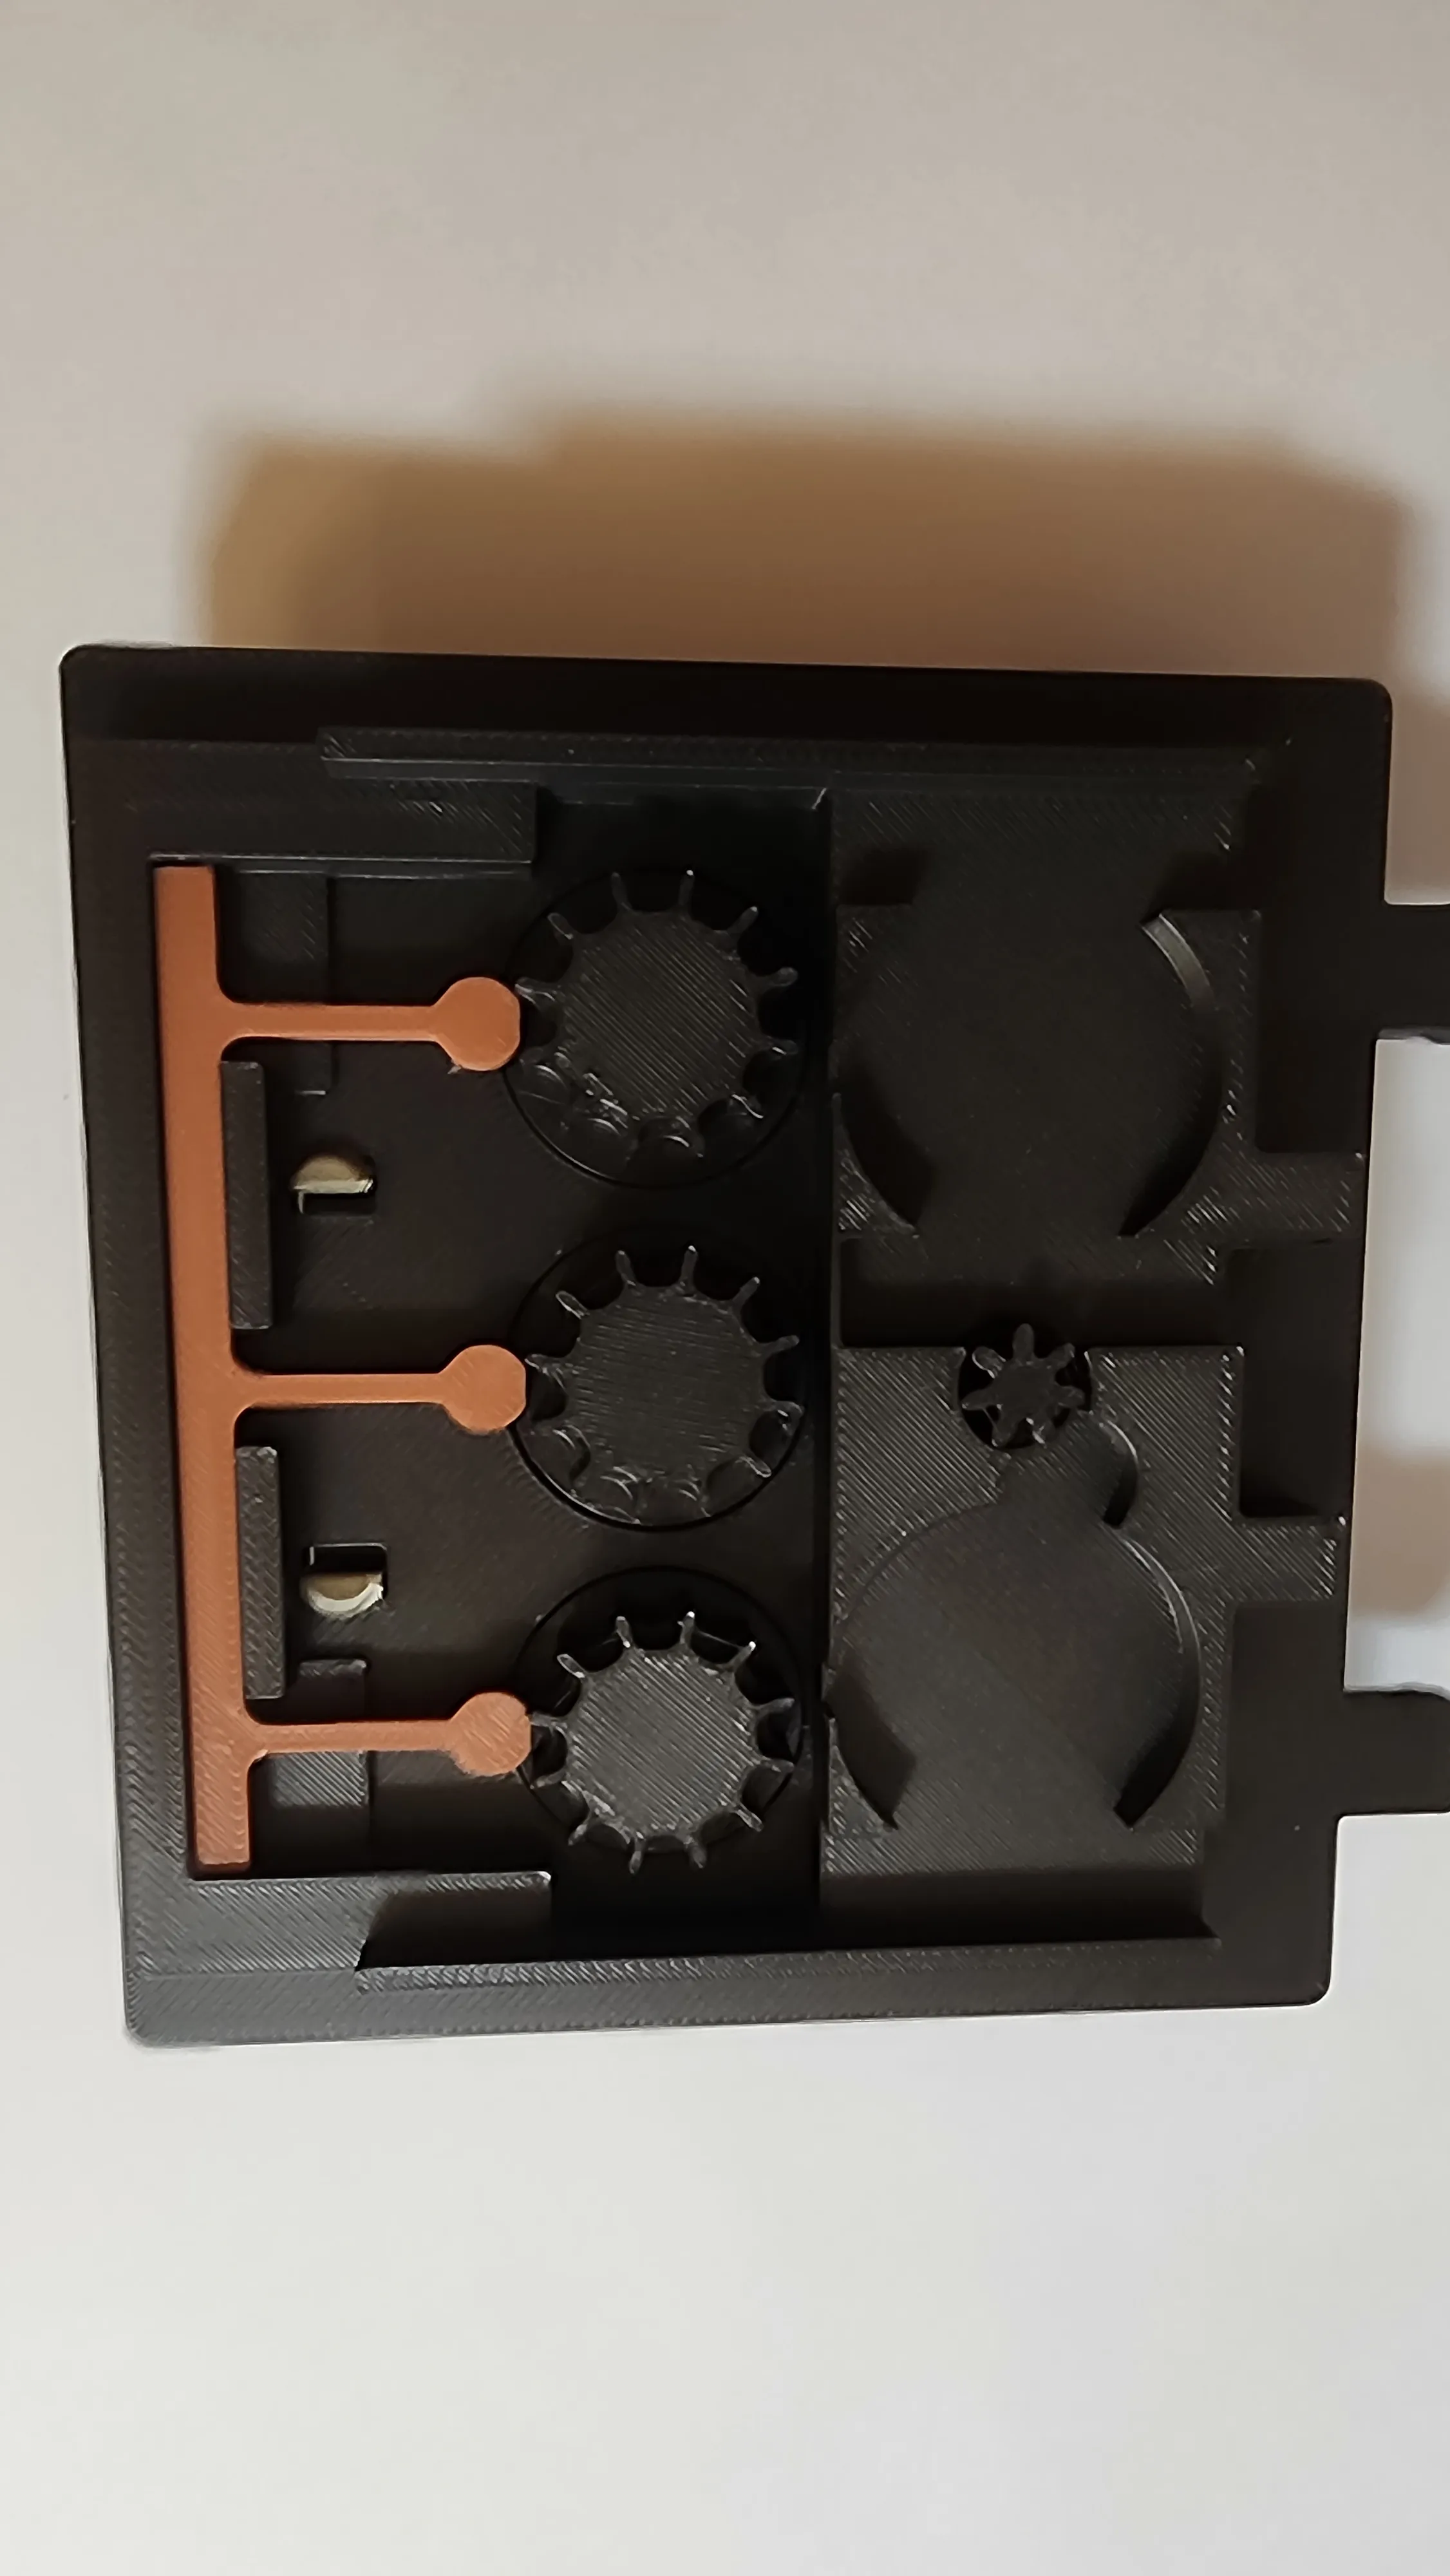
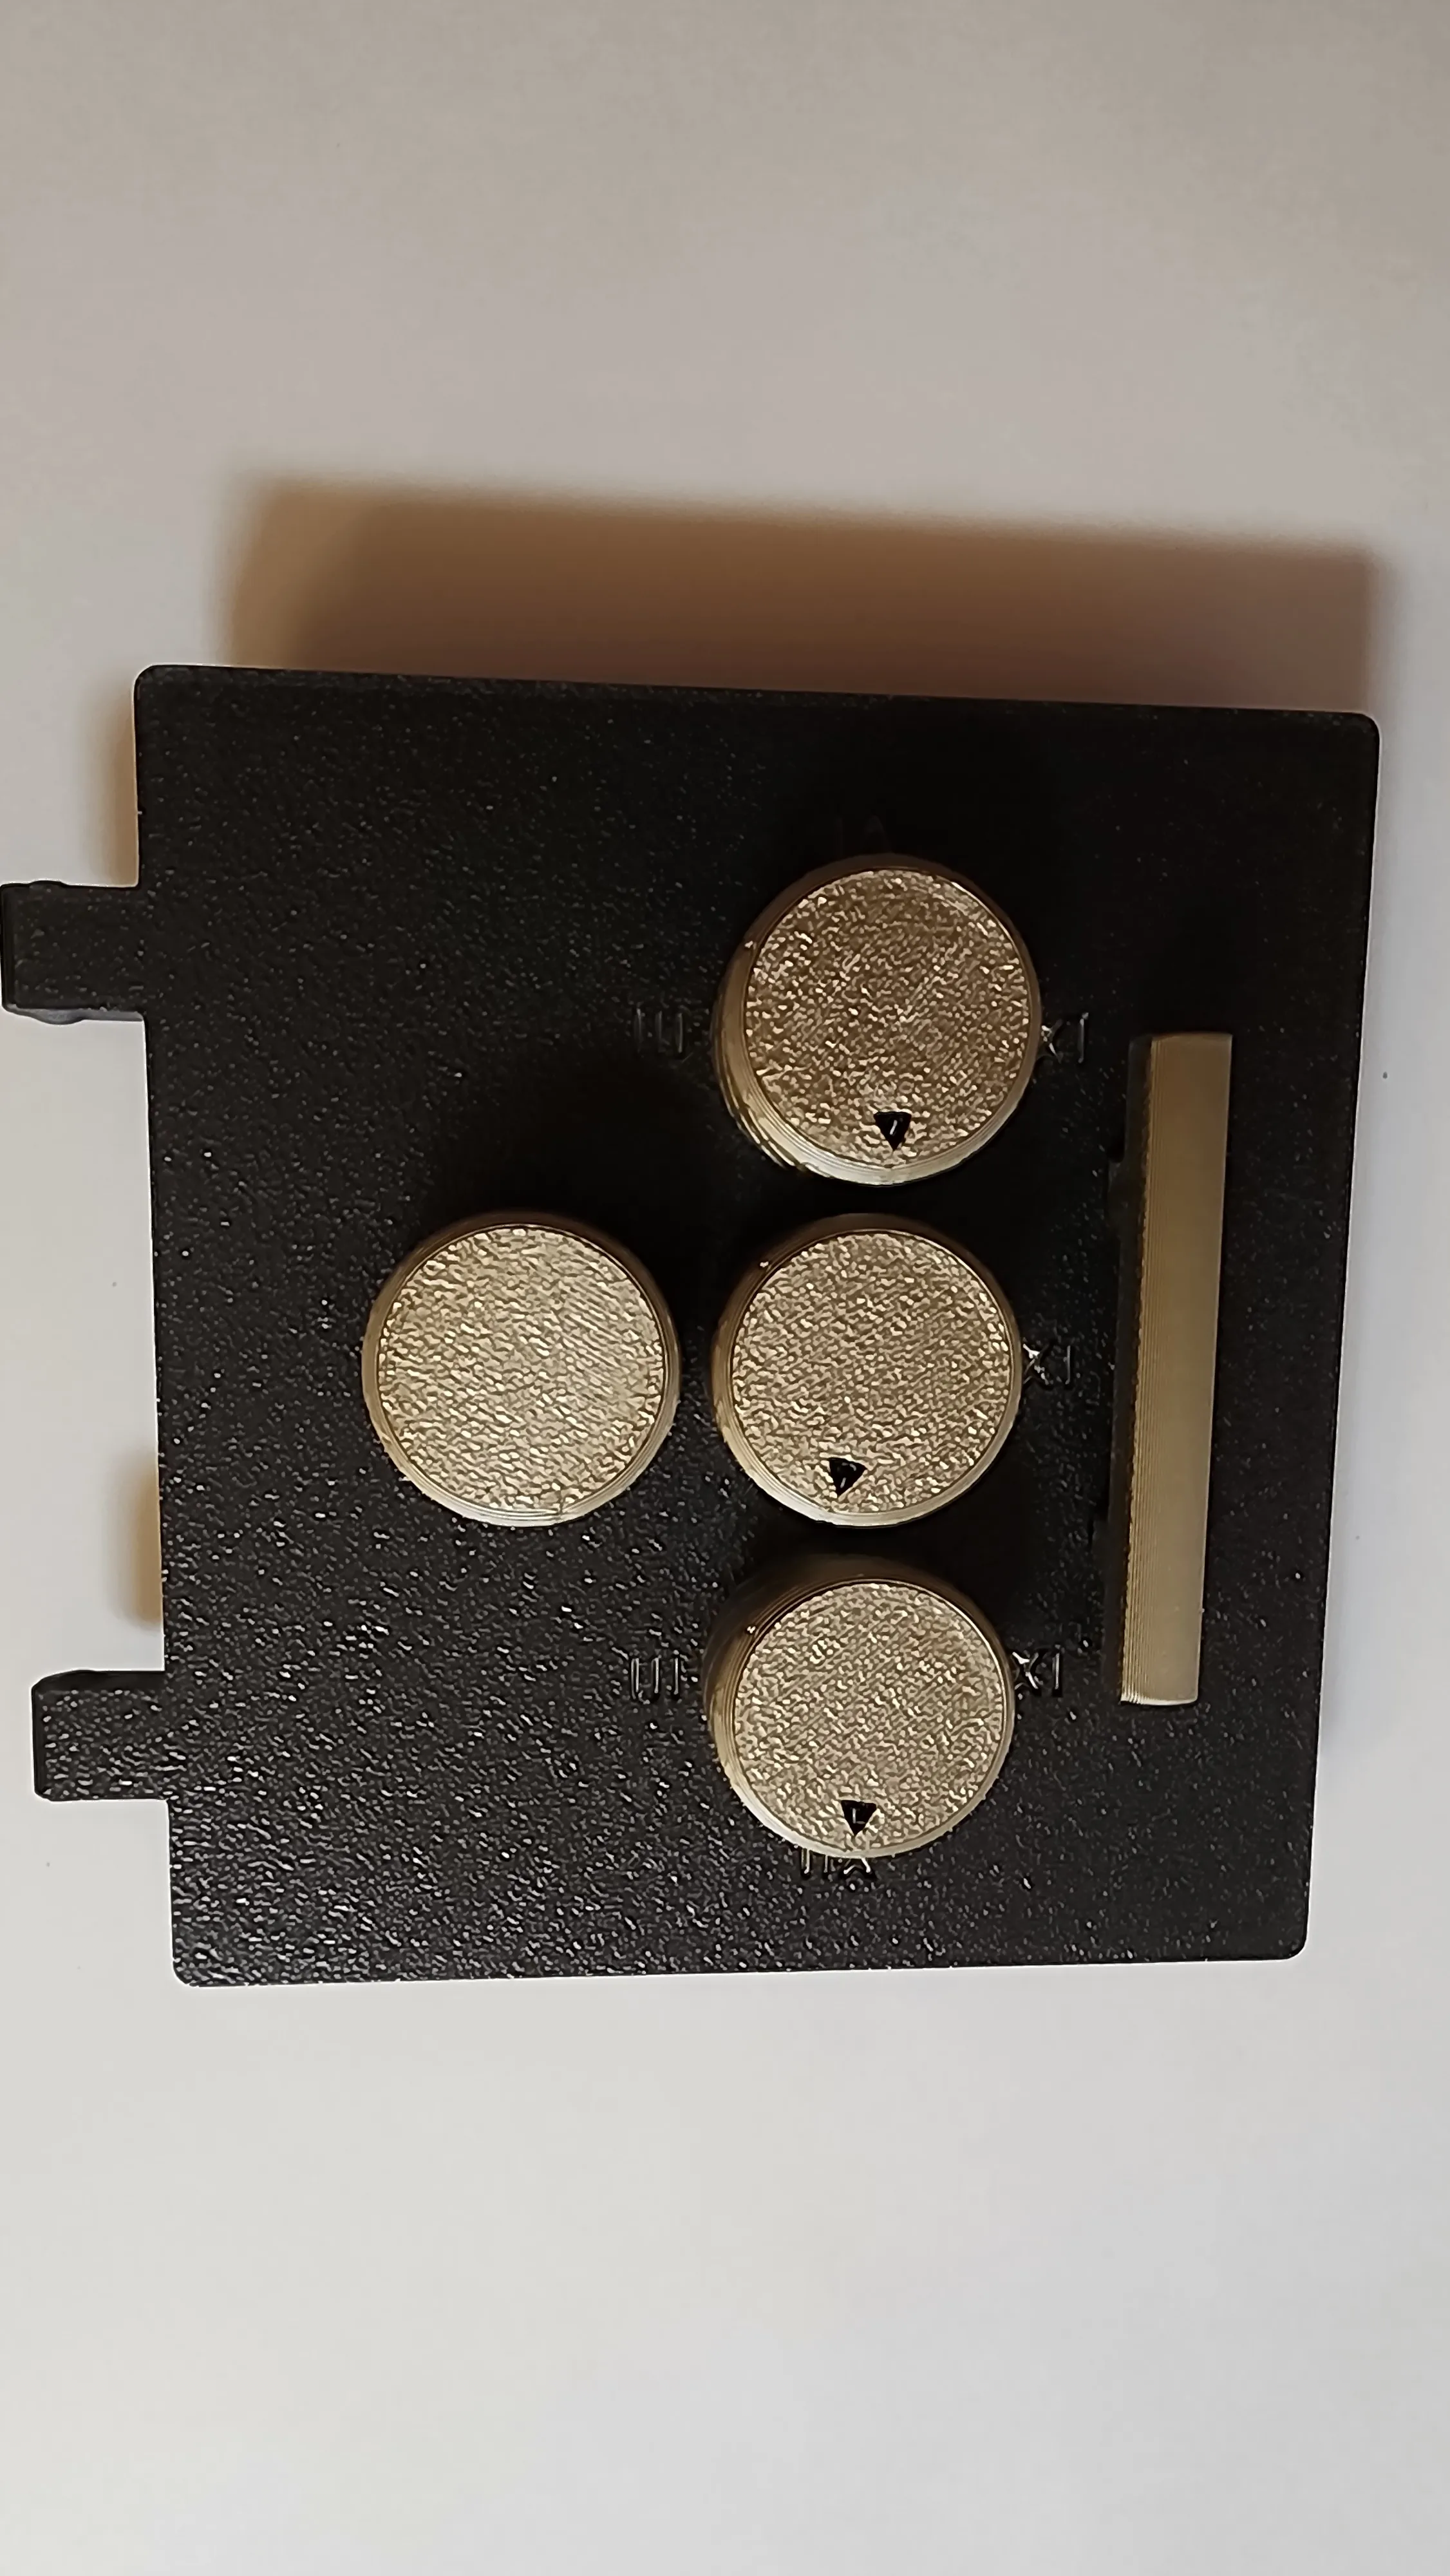
While holding the click bar in place, turn the door over again, and turn the knobs to your desired combination. Here for example I have it set to 3-1-9:
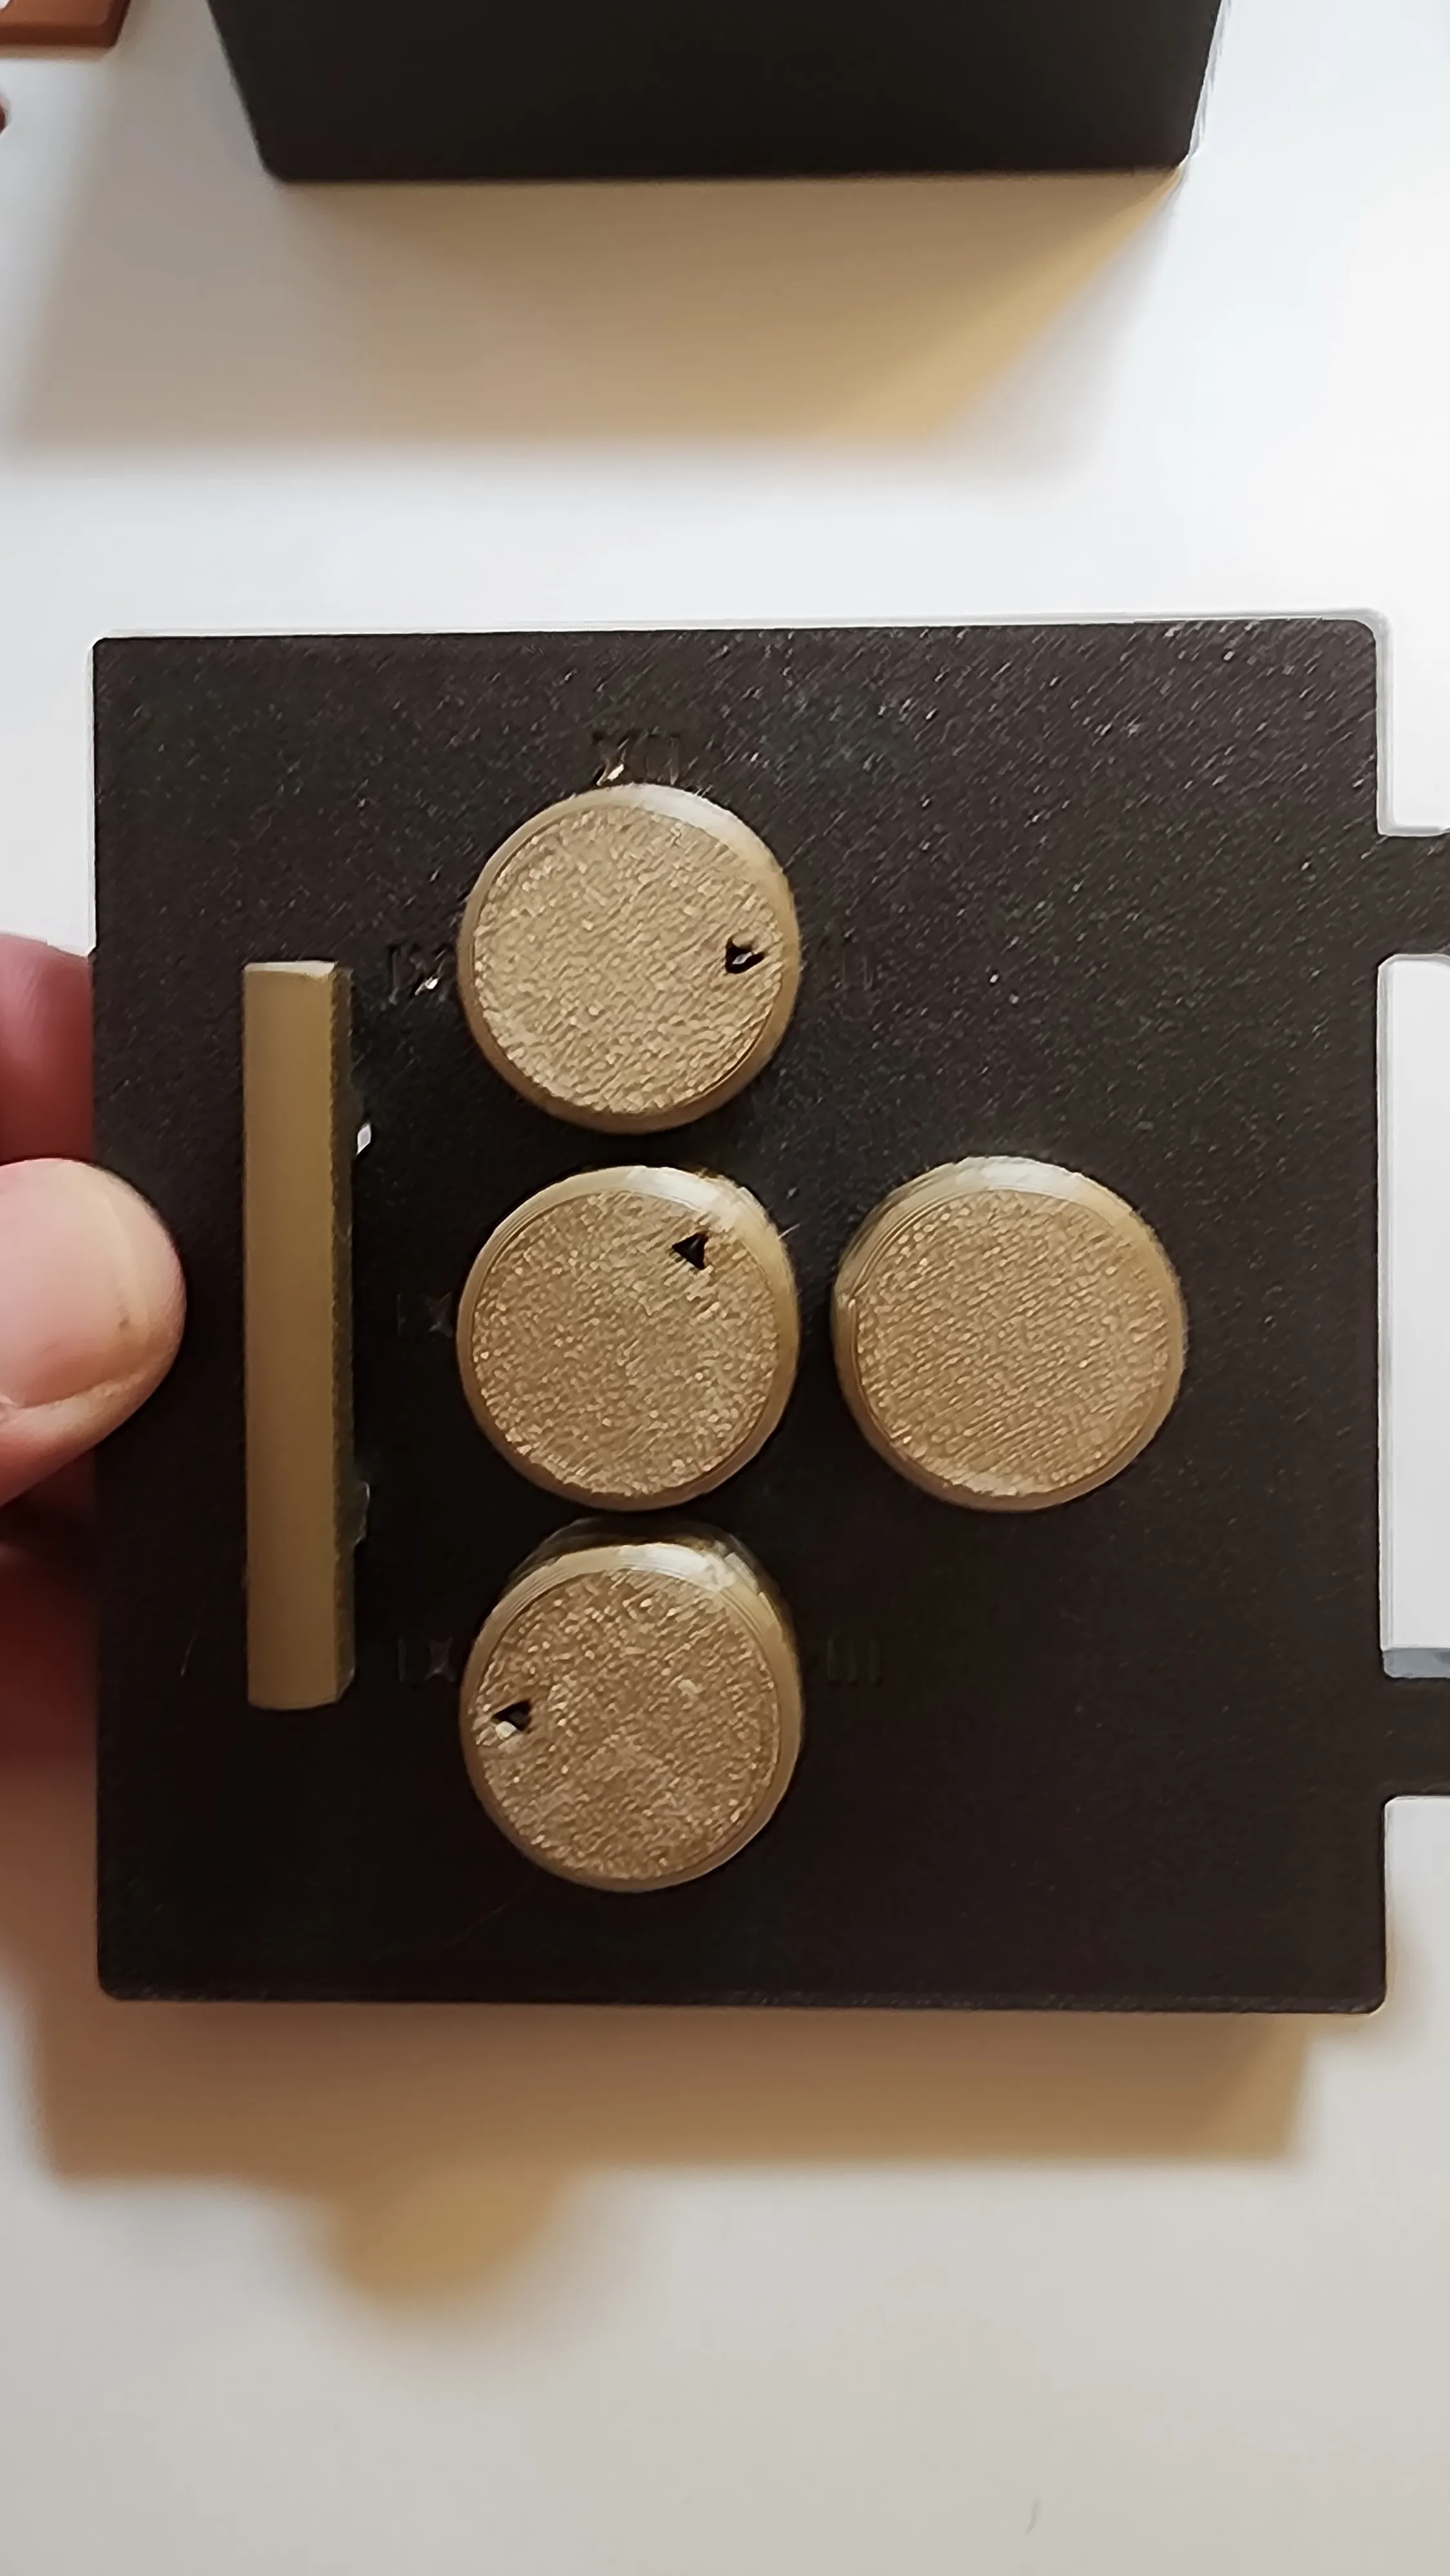
Without changing the dial position again, flip the door back over and place the dial caps on each wheel
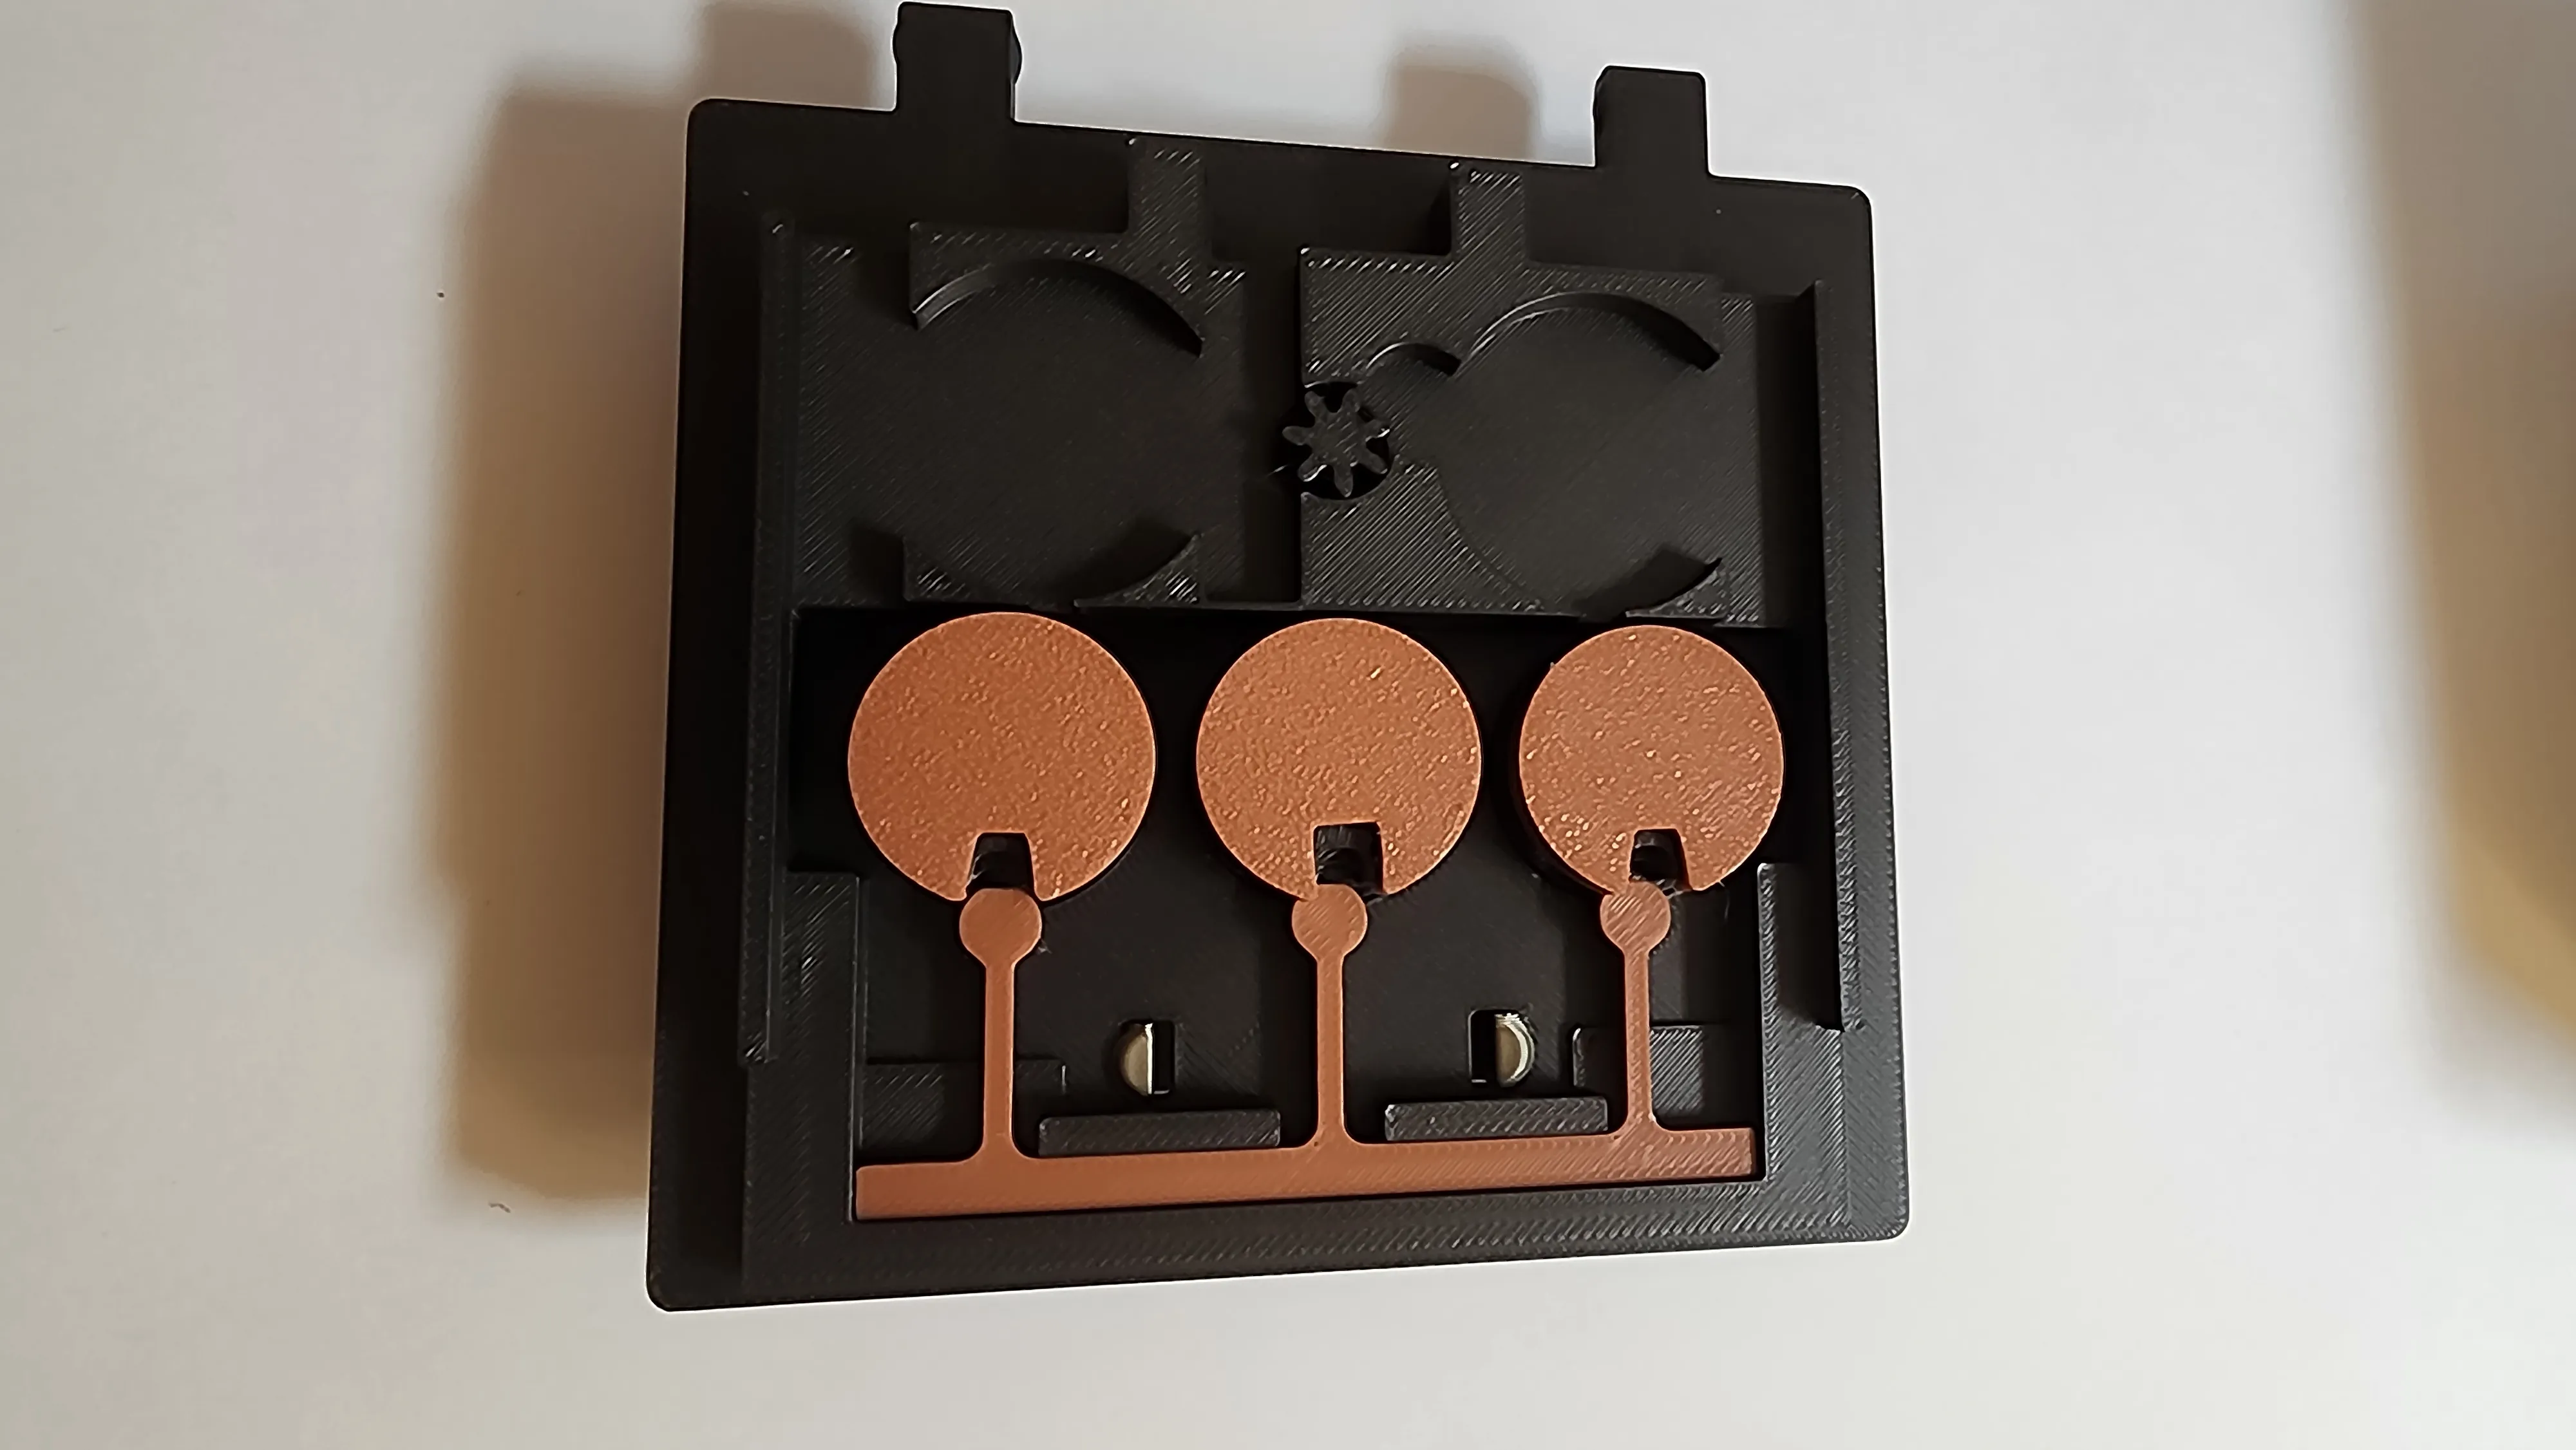
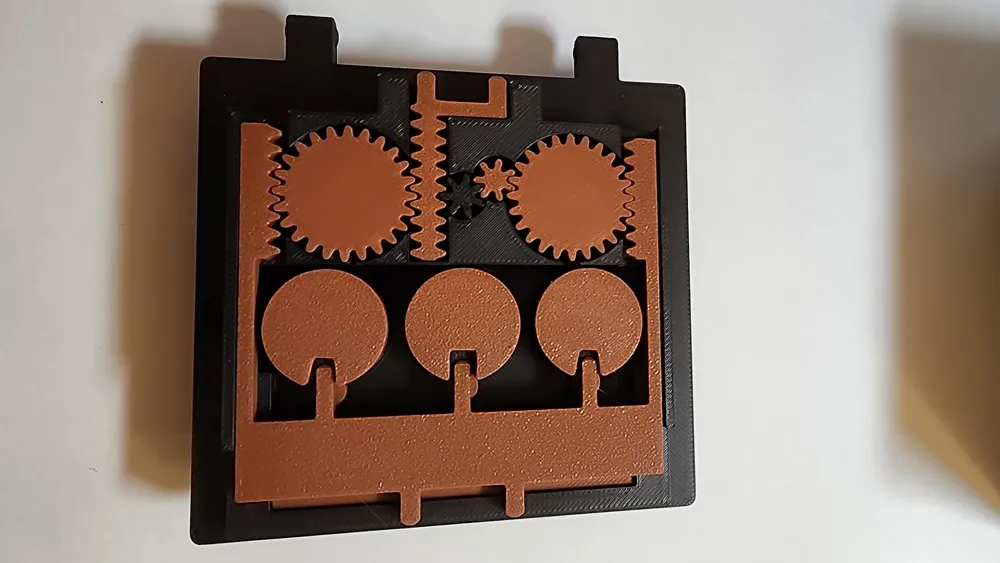
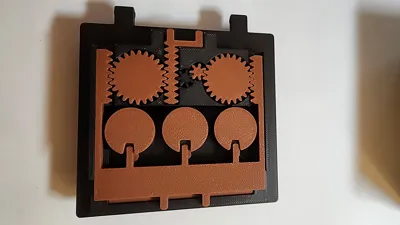
Install all the remaiing gears and locking bars: BE SURE THE LOCKING BARS ARE FULLY RETRACTED INTO THE DOOR as shown in the picture.
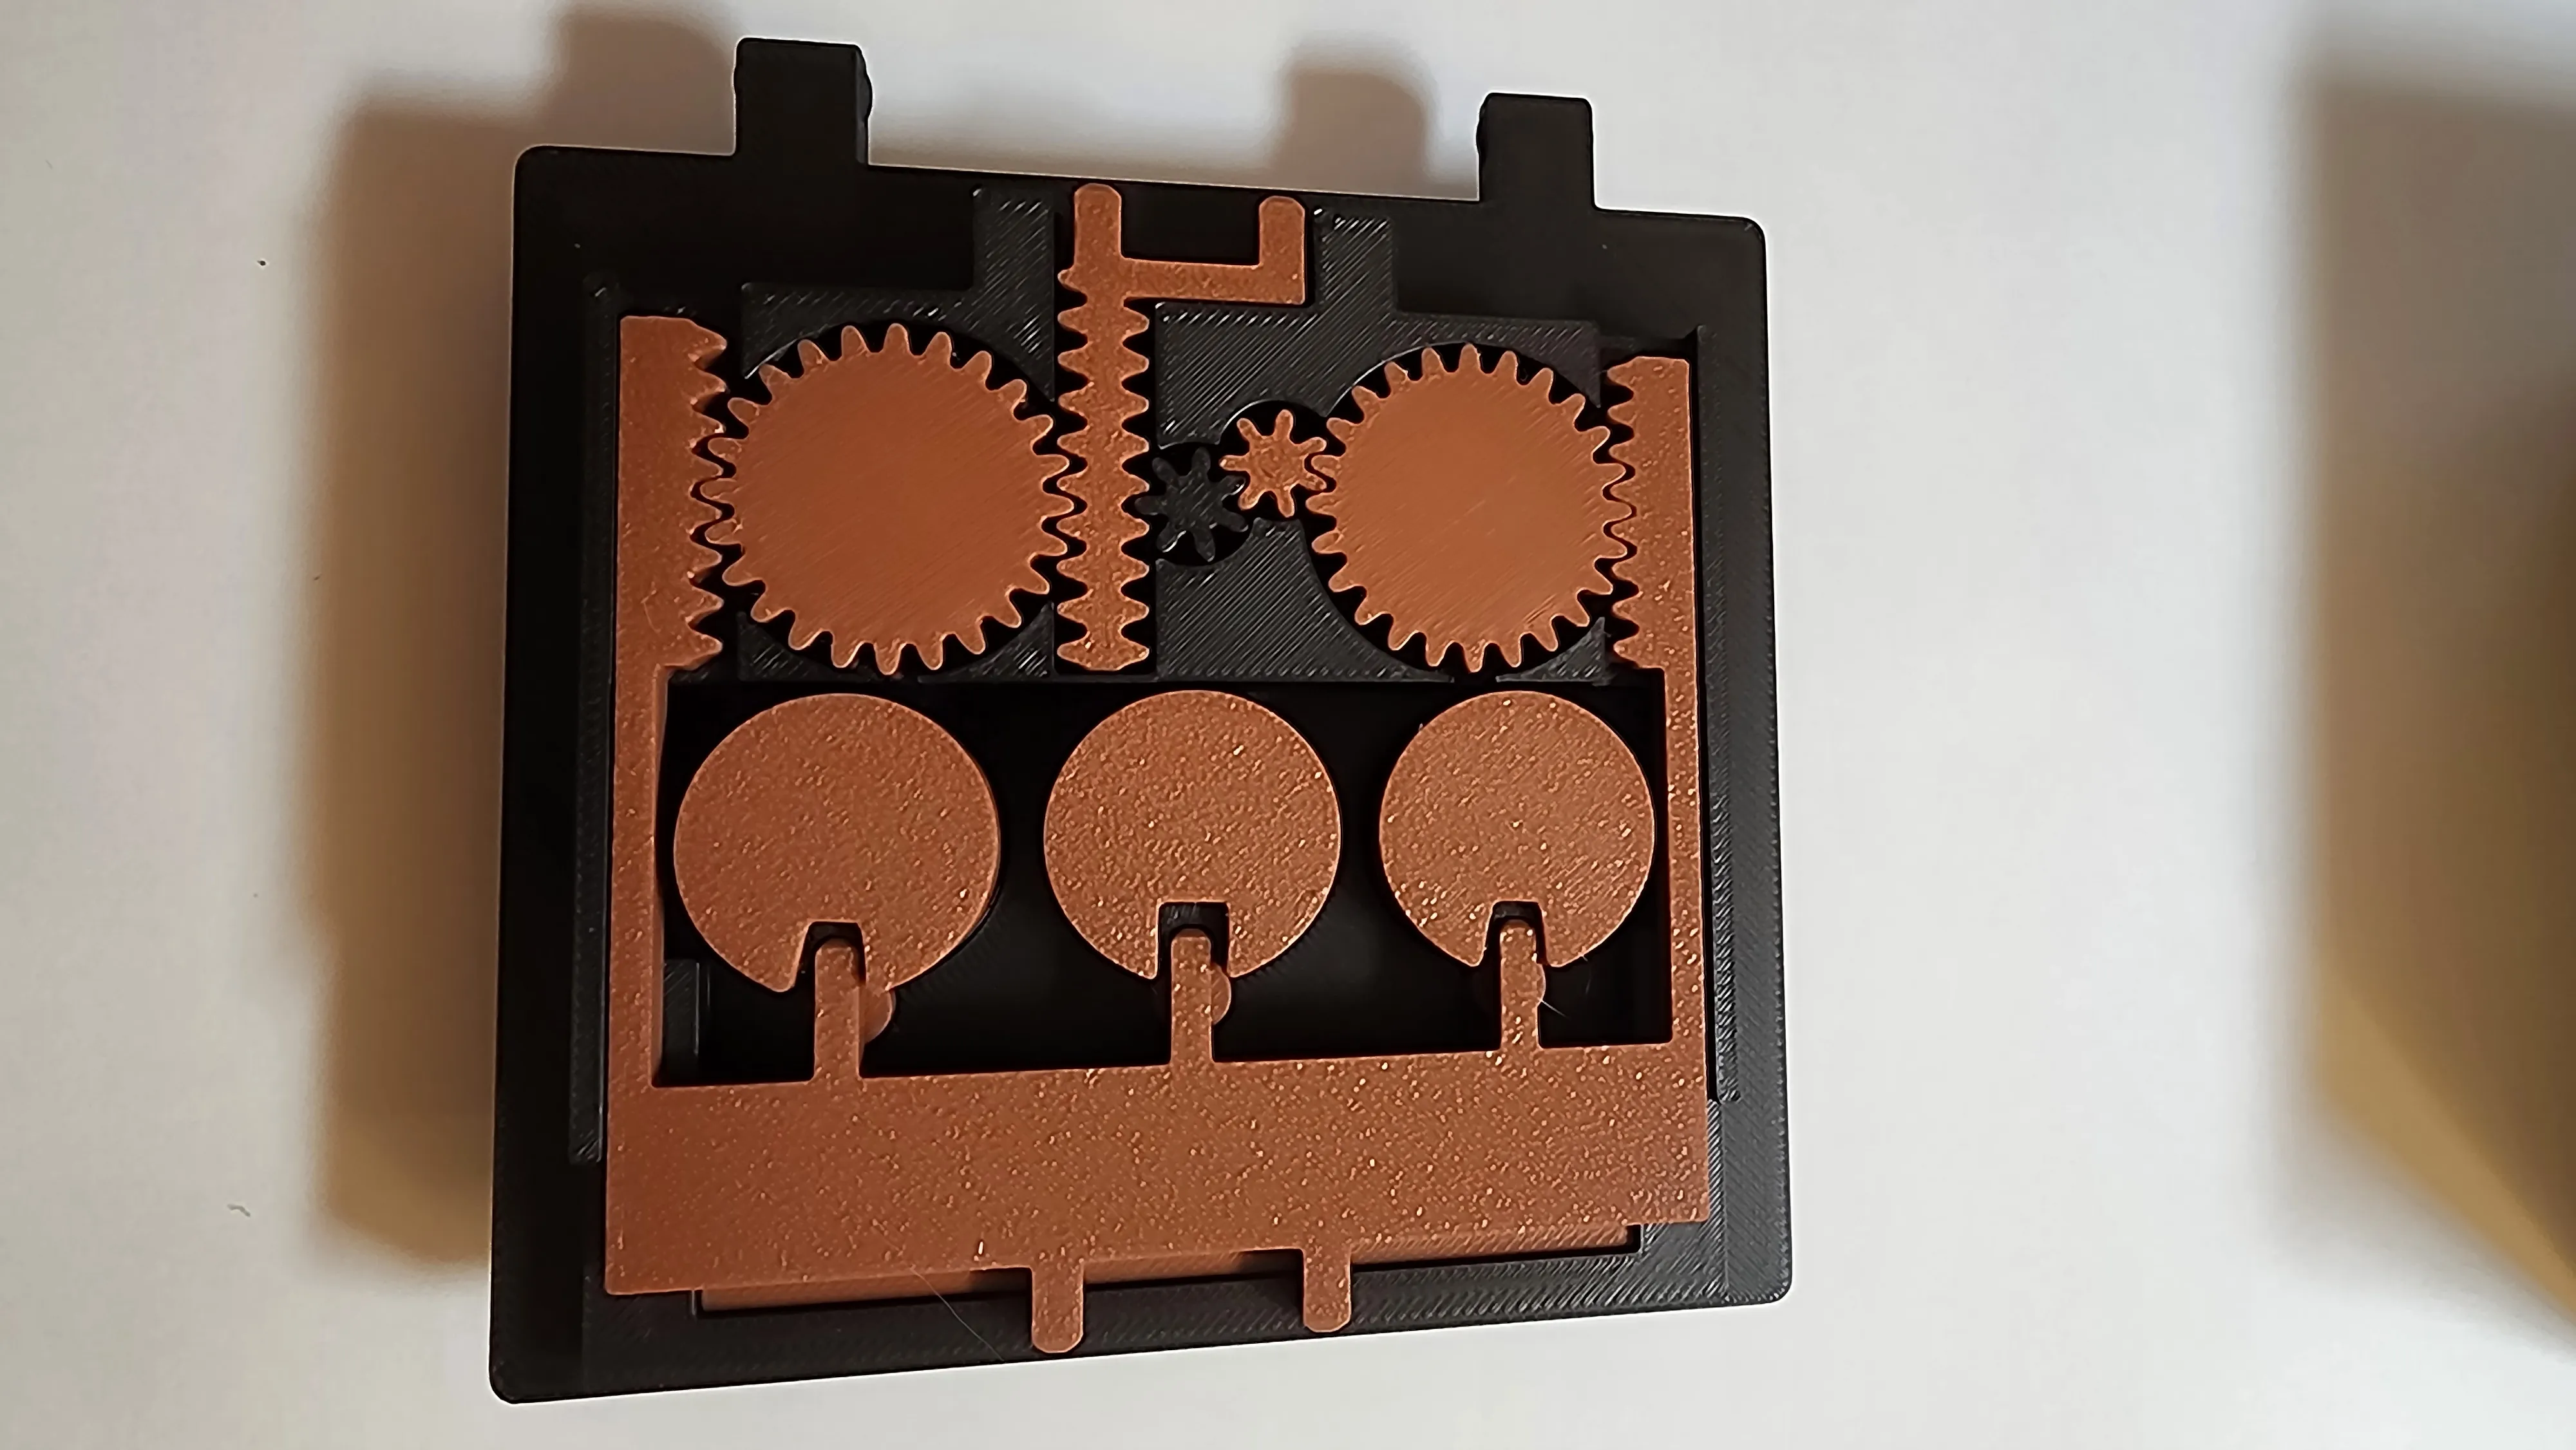
- Snap the cover on to hold everything in place. Note that there are small witness marks on the underside of the cover that should go on the same side as the hinges
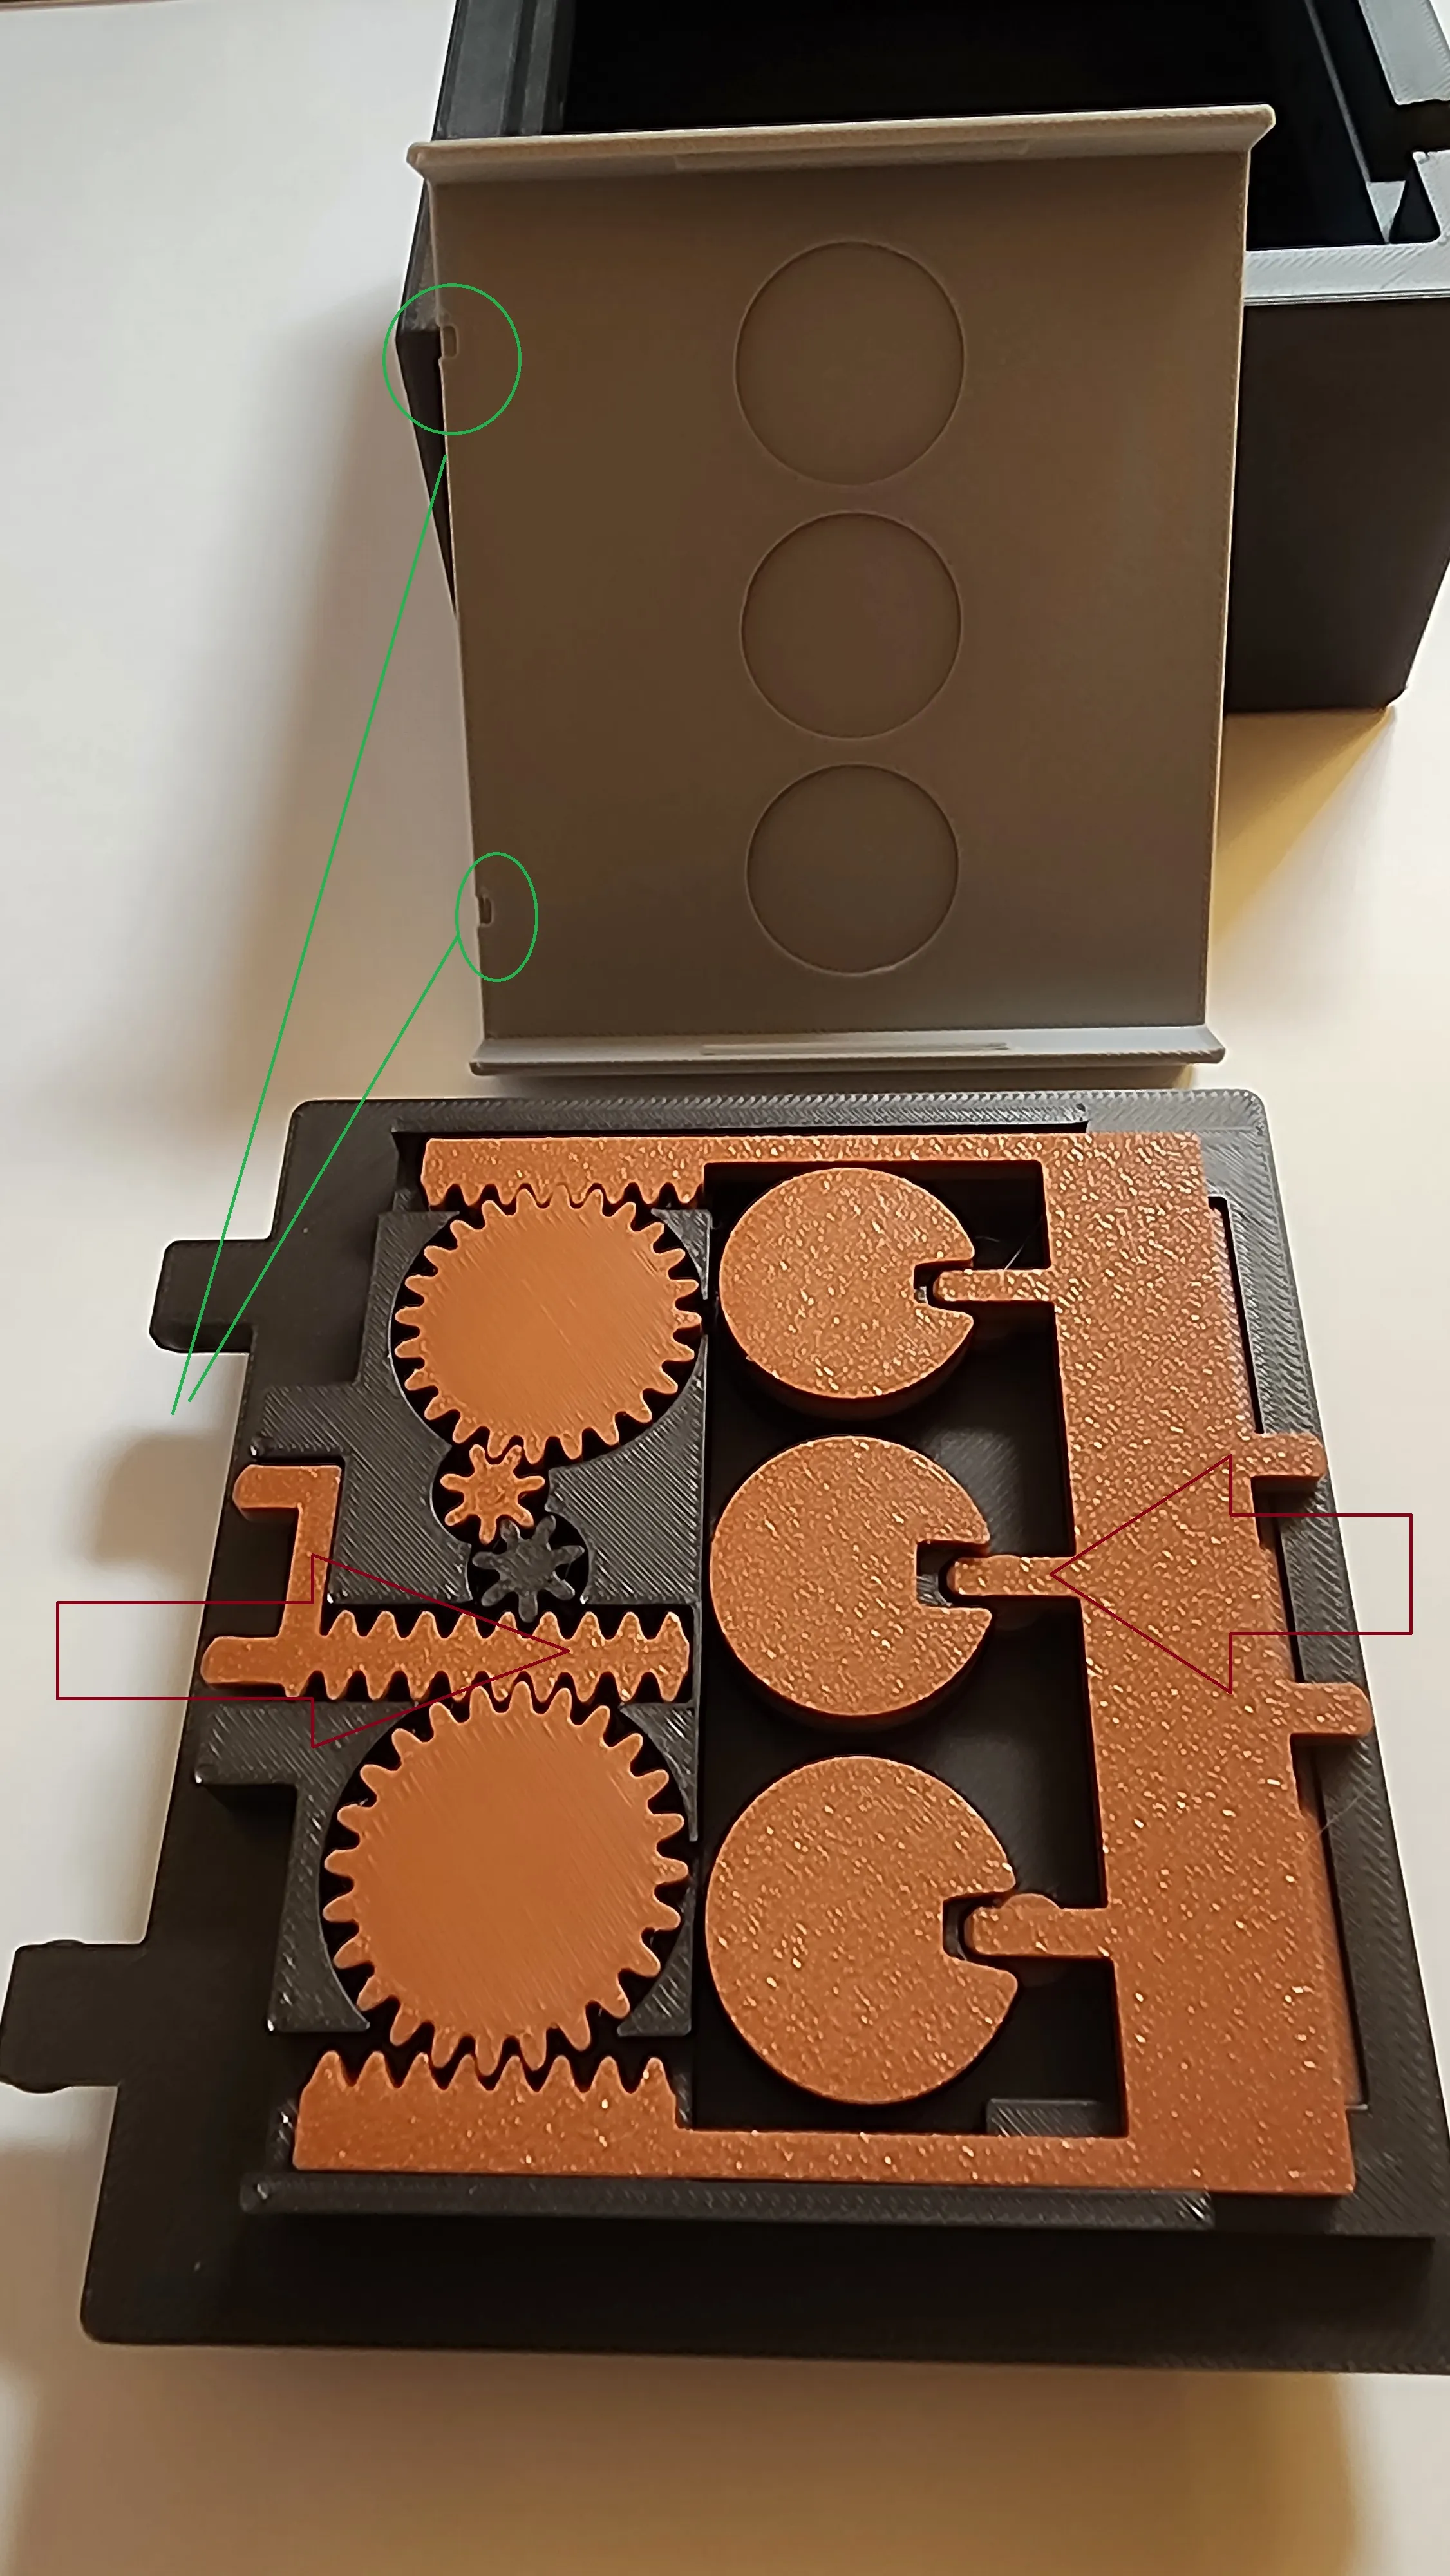
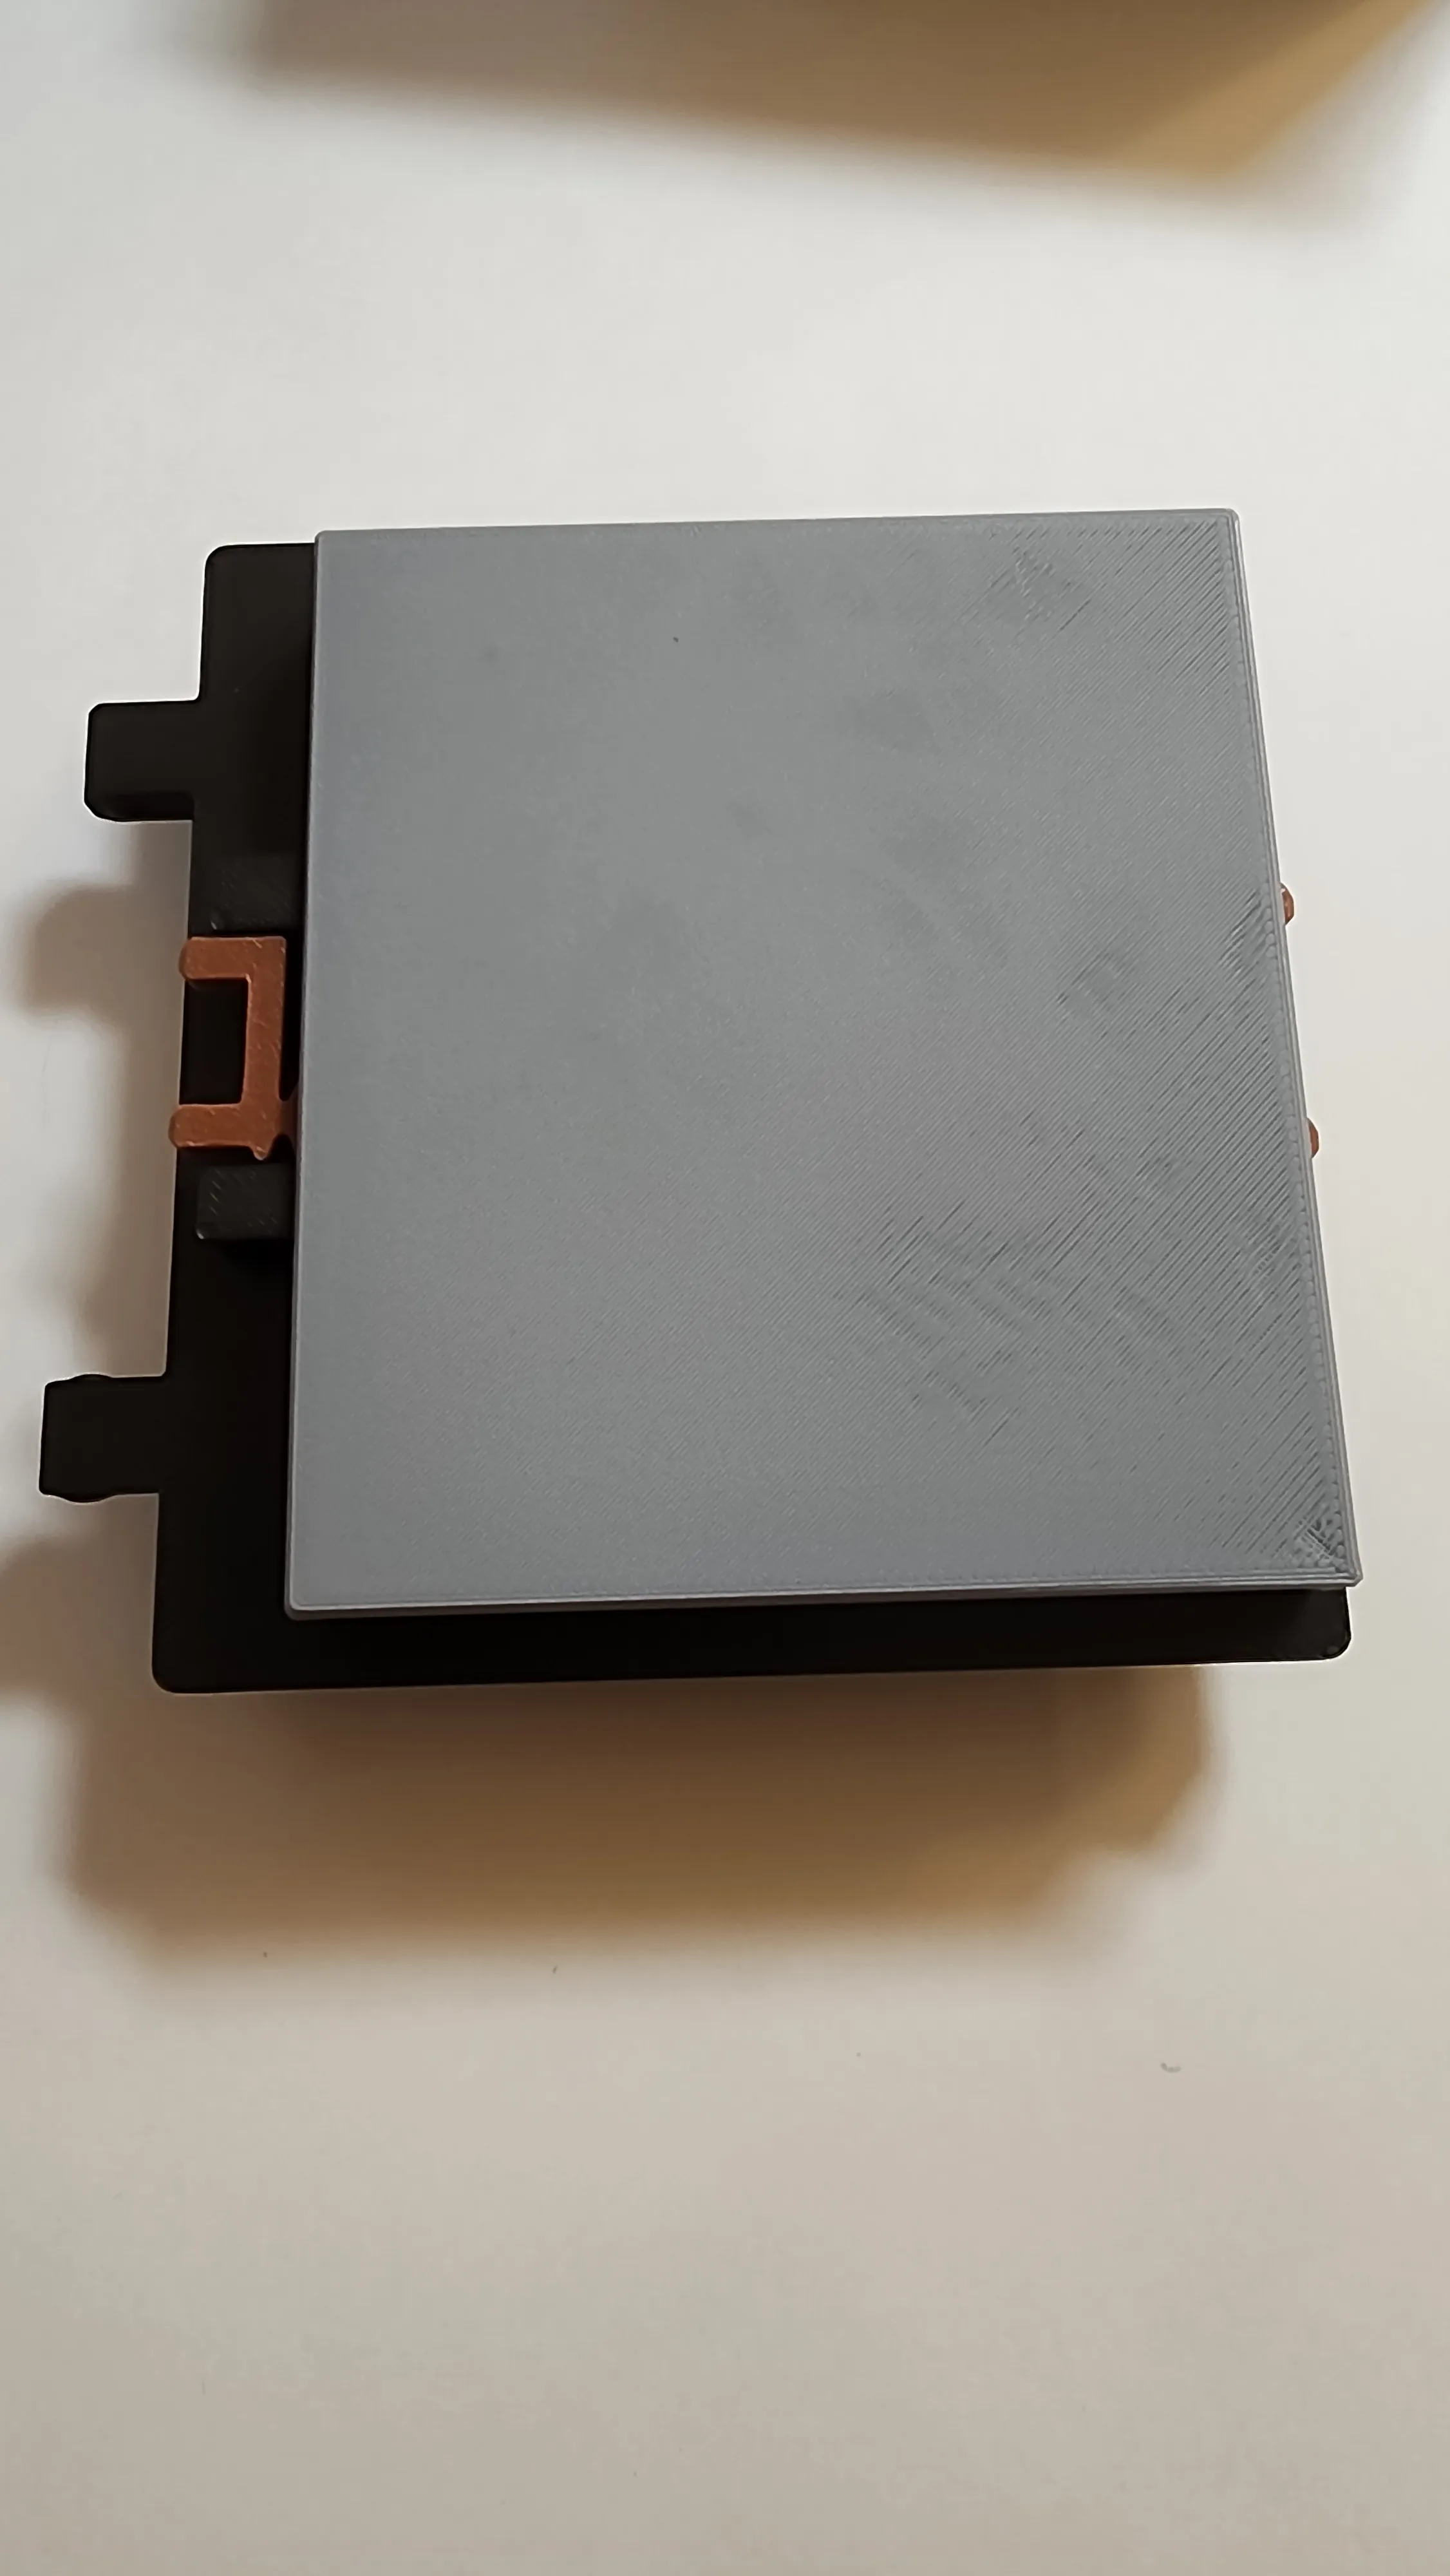
Place the safe door into the safe body, and snap the hinges in place. Its easy to do with the heel of your hand
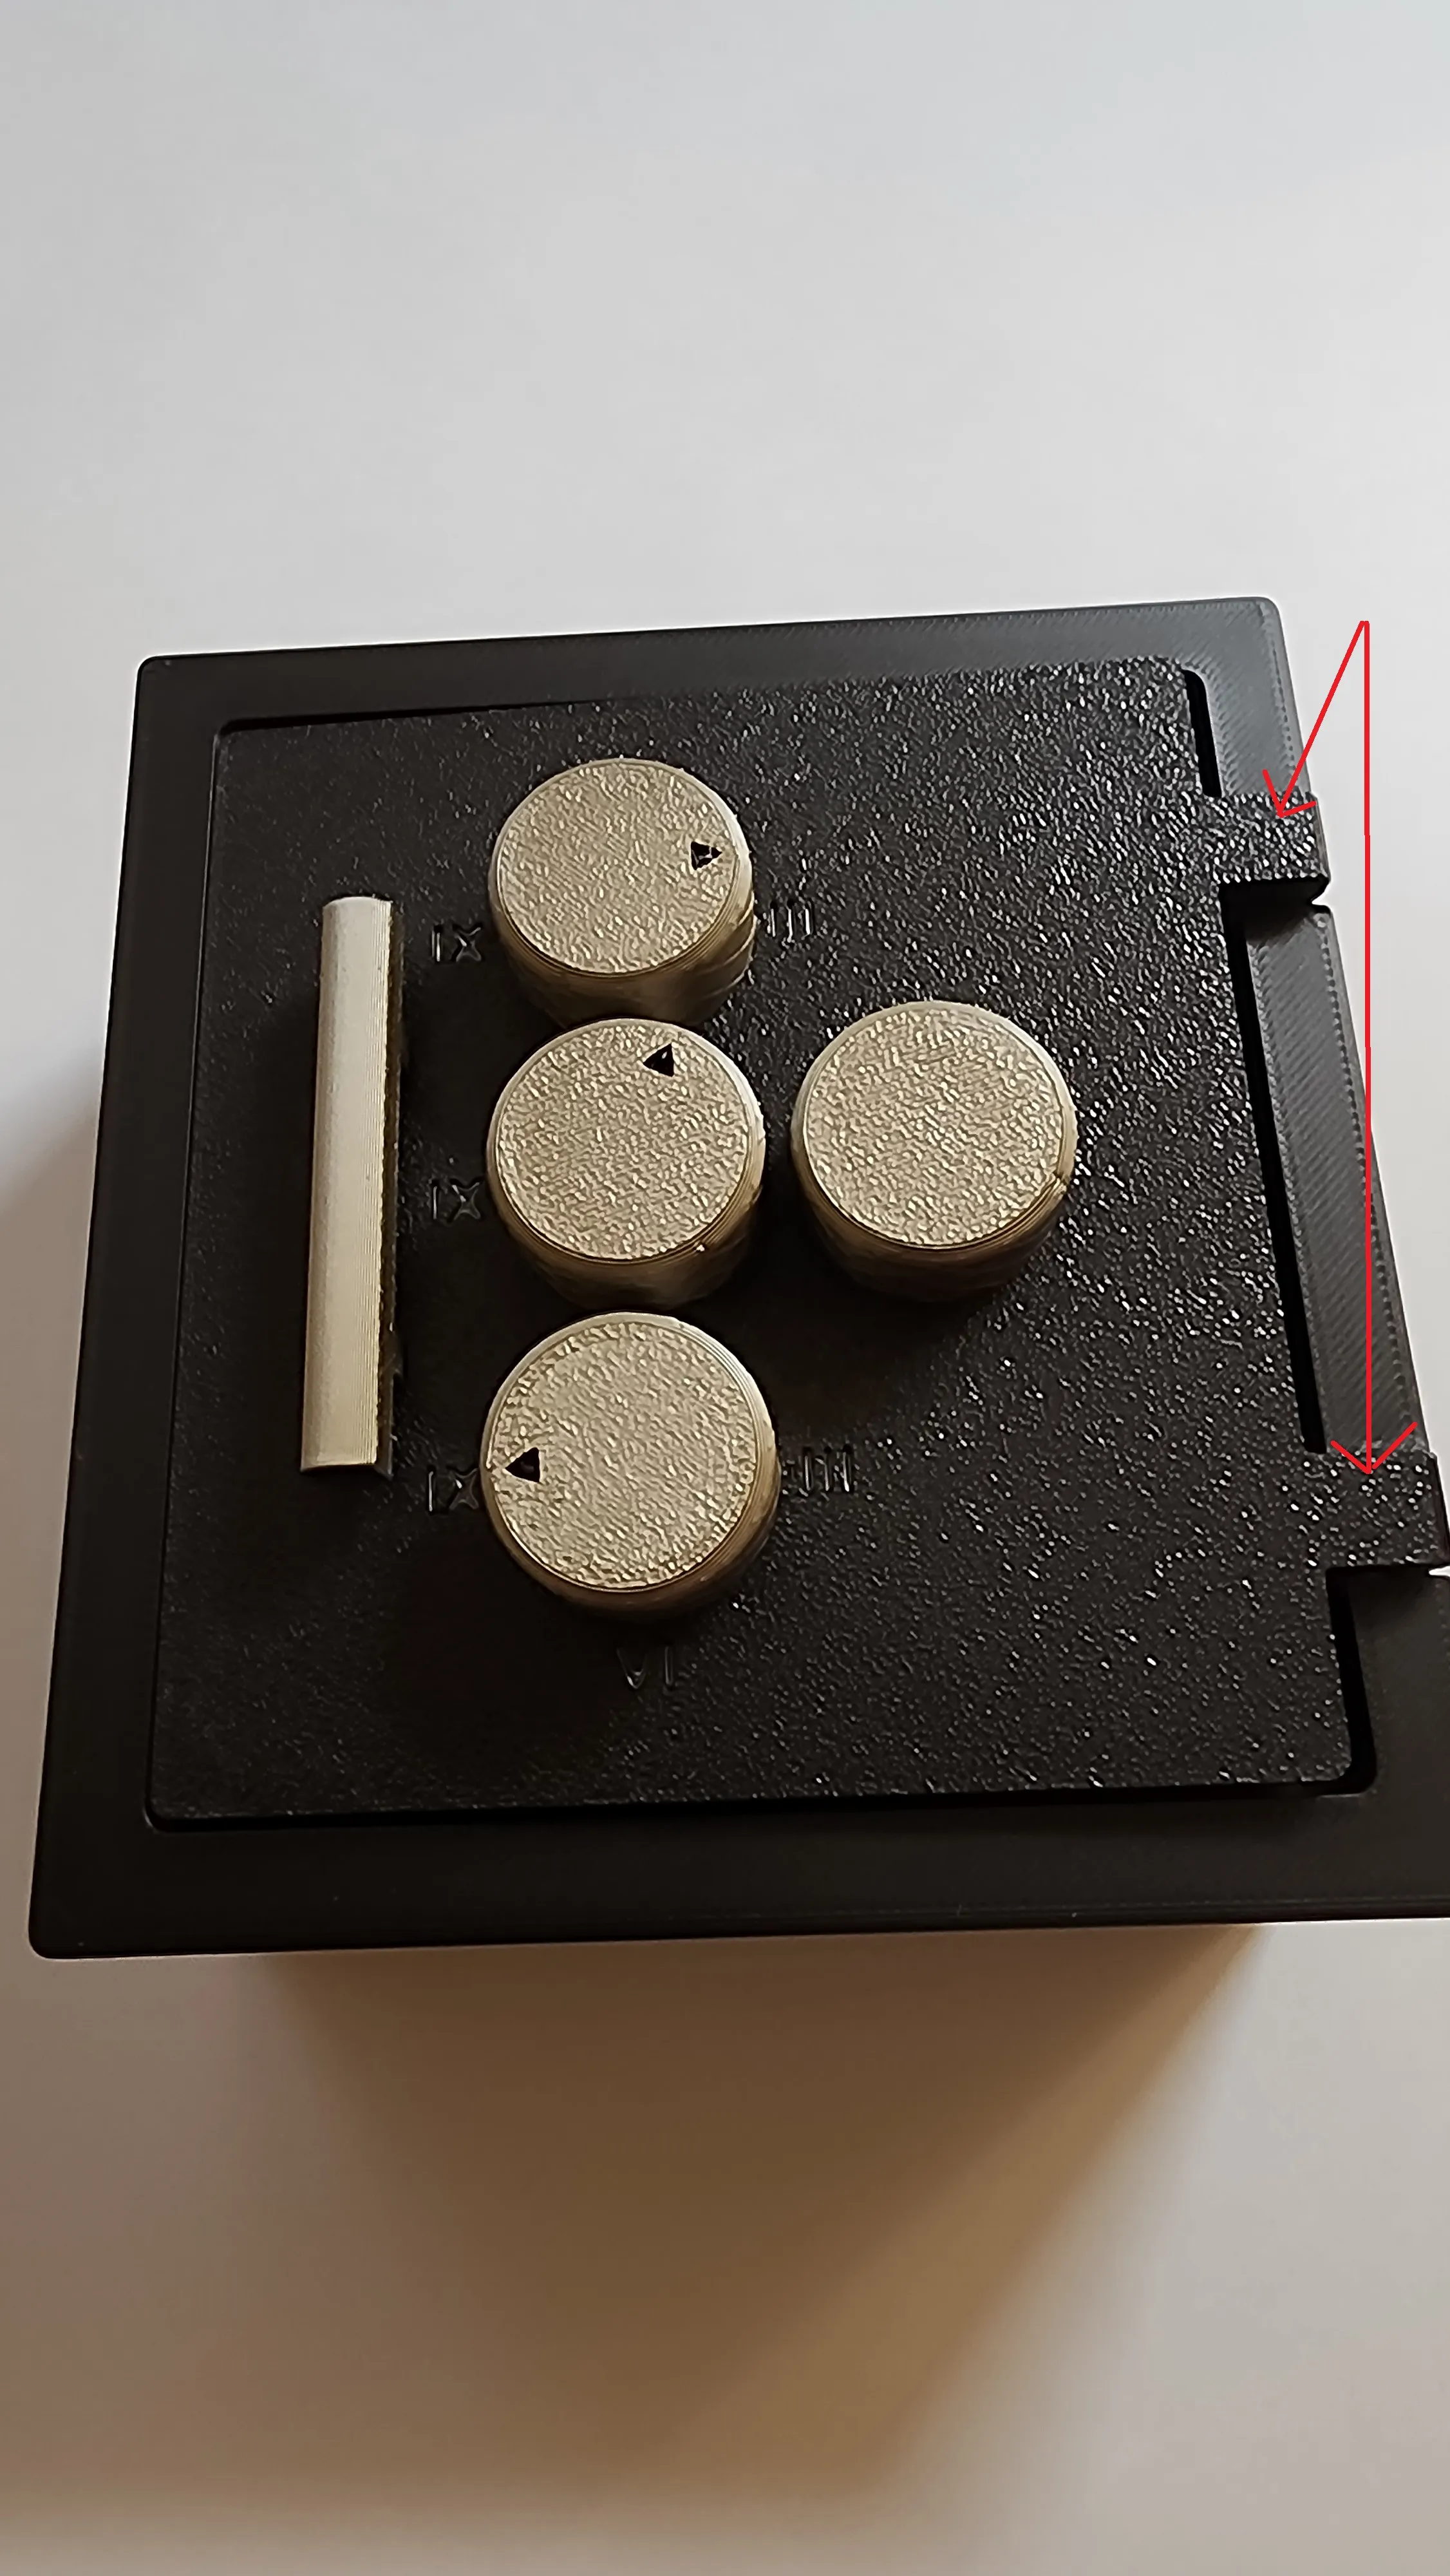
You can now lock the safe using the wheel closest to the hinge, then spine the dials to fully lock it.
License

You shall not share, sub-license, sell, rent, host, transfer, or distribute in any way the digital or 3D printed versions of this object, nor any other derivative work of this object in its digital or physical format (including - but not limited to - remixes of this object, and hosting on other digital platforms). The objects may not be used without permission in any way whatsoever in which you charge money, or collect fees.


Comment & Rating (4)