Spandek - Corrugated Mounting Blocks & Flanges


Print Profile(5)


Description
These models are part of the Corrugated Iron Collection
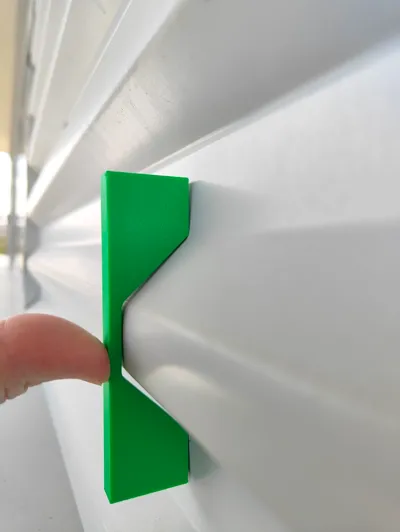
Spandek is a more angular variation on corrugated sheet metal - a square-corrugated profile.
This makes attaching lights or switch plates to it complicated. Normally a carpenter would need to be involved and make something from wood. Not being a carpenter I made a backing plate for some lighting with 3D printing and painted them to match.
Models
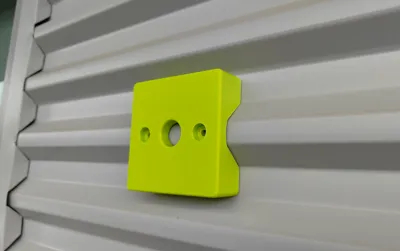
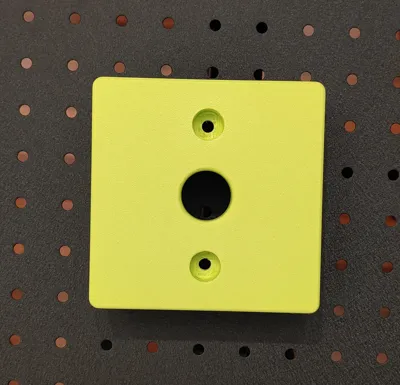
There are two models, one (100x100mm) is blank with only a center pass-through hole and the other (102x102mm) includes 2x mounting holes for roofing screws.
Test Print
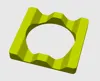
If you flip the model on its side with the profile shaped edge down, and stop the print at about 5 mm, you can use it as a template to check the profile matches your Spandek, without wasting an entire print, if the scaling needs adjusting.

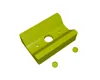
Mounting & screws - If you are using the plate on a wall or roofs exposed to rain, put a generous bead of silicone or polyurethane sealant around the mounting holes on the back of the plate before screwing down. For locations where you will drill or drive screws through the backing plate you must add 100% infill so screws don't rip out or collapse the model. In this case I have added 2x 100% infill modifiers. These yellow cylinders are not printed, they will instruct Bambu Lab to make the model solid where they intersect it. If you need extra holes, better to use a negative cylinders as shown here.

Custom Options
If you would like this in a different size or shape - please message me and I will see what I can do.
Painting
You can paint your print. In this case, the light fixture you can see in the main photo, is made from the base green block you can also see in the photos. Most standard color metal sheeting will have matching spry-paint at your local hardware store. 3 coats for solid coverage and I was done. It's been sitting outside for 12 months as I write this, and looks as good as new. PLA has also stood up to the task.
First things first
This was my first project, designed in Autodesk Fusion with no prior experience with either 3D modelling or 3D printing. It's the second project I printed, the first being a scraper from the installed projects. It was the perfect place to start as it was all simple geometries. If you haven't designed anything yourself yet, I can recommend Fusion, the free trial allows you to use it for non-commercial purposes without a subscription. The only downside is you can only save 10 projects in the cloud at a time, but you can save locally, so not a real problem.
License
You shall not share, sub-license, sell, rent, host, transfer, or distribute in any way the digital or 3D printed versions of this object, nor any other derivative work of this object in its digital or physical format (including - but not limited to - remixes of this object, and hosting on other digital platforms). The objects may not be used without permission in any way whatsoever in which you charge money, or collect fees.
Comment & Rating (14)