
Dummy 13 Gun Cabinet
Print Profile(2)


Description
Boost Me (for free)
Please boost and rate the model if you want to see more from me!
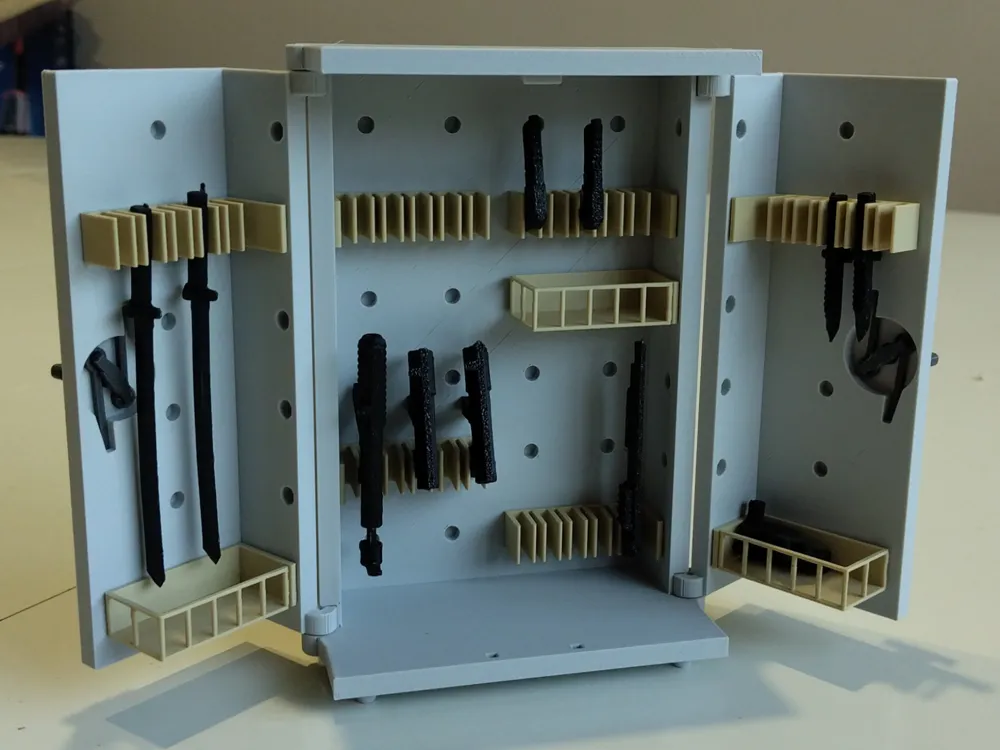
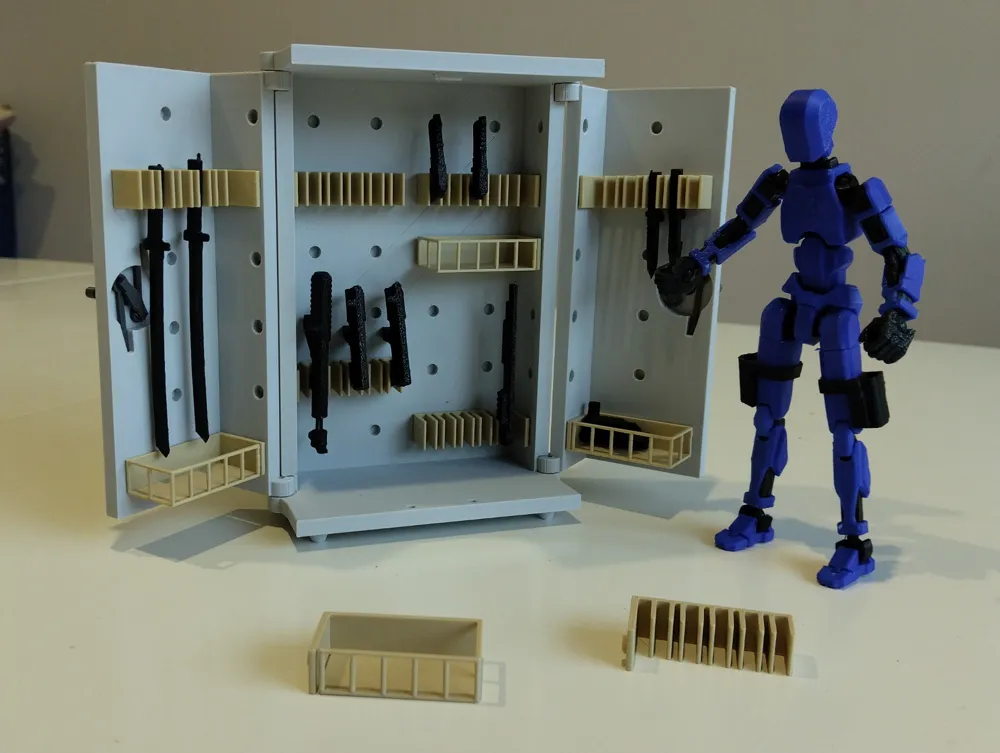
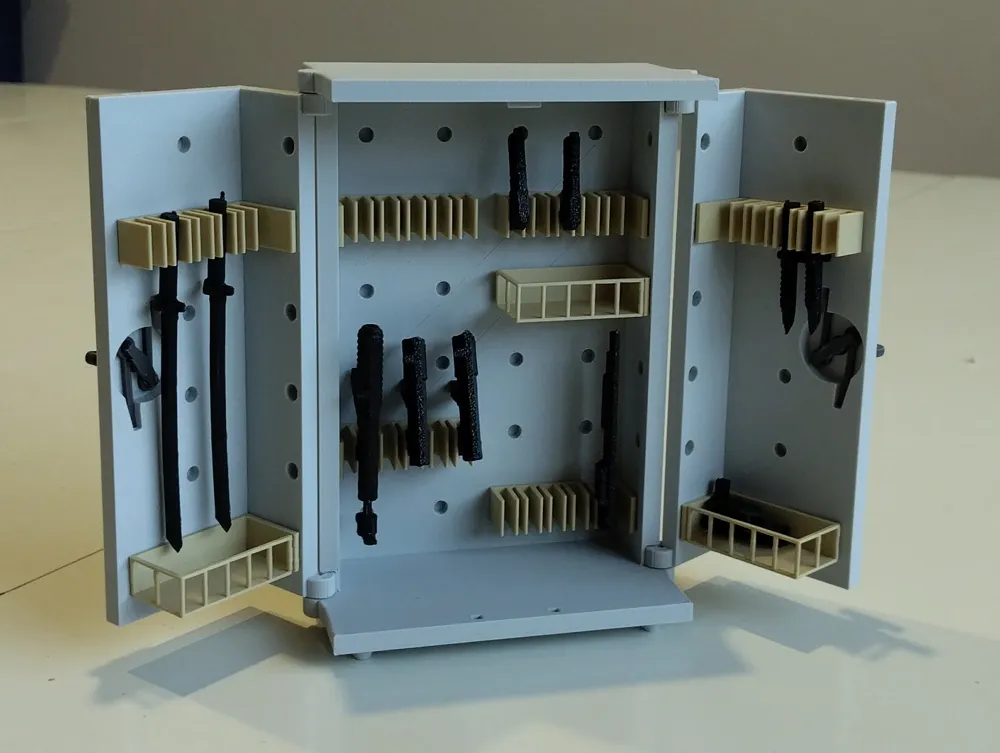
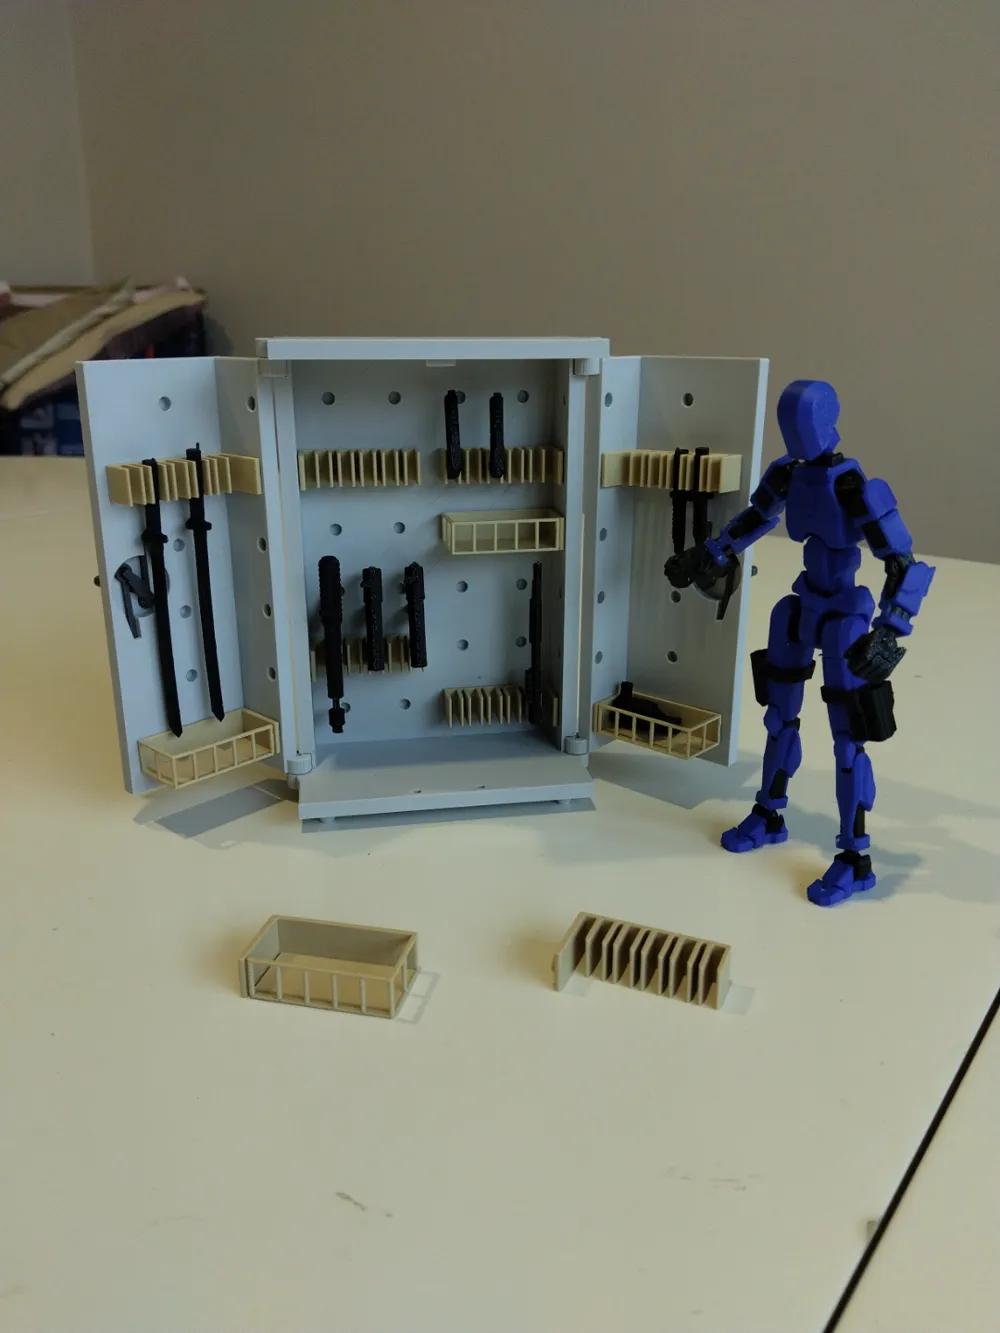
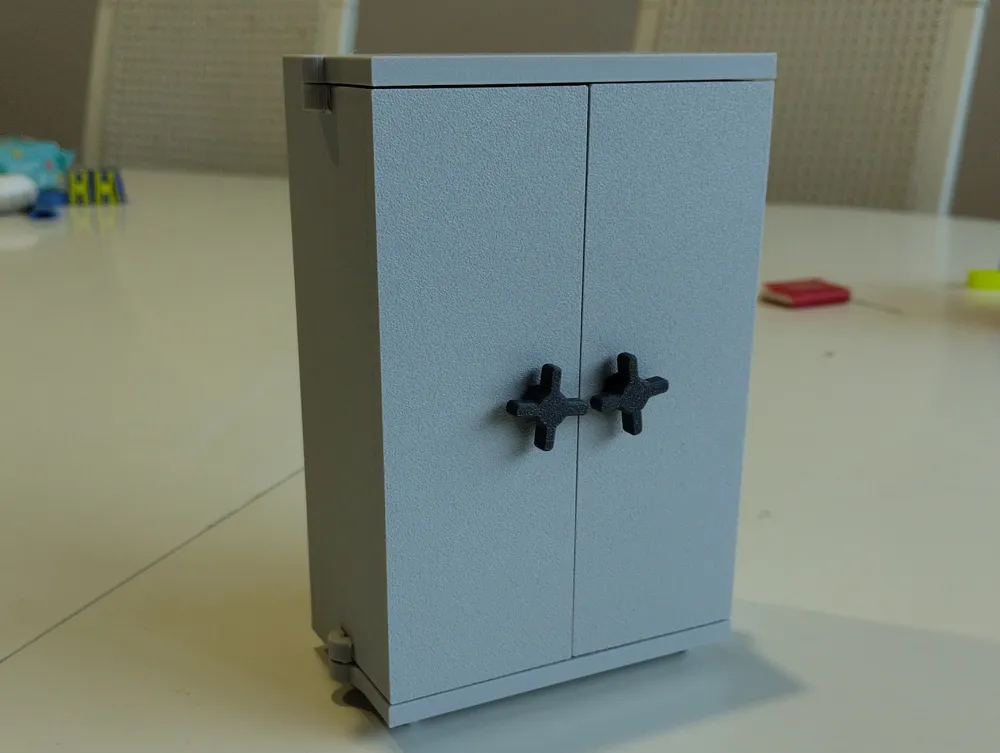
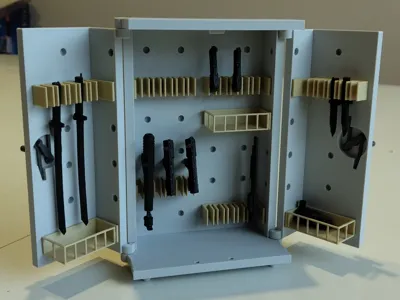
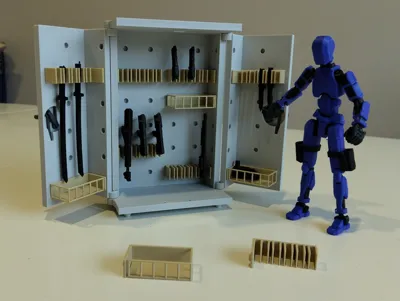
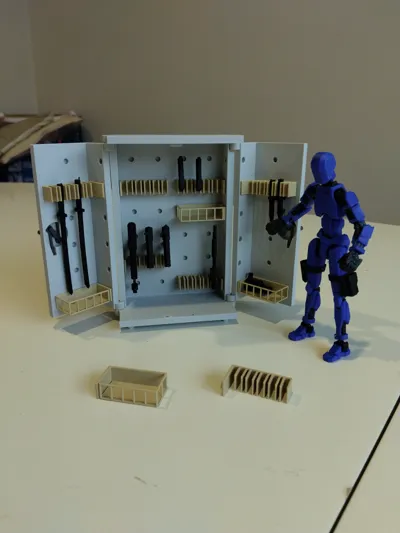
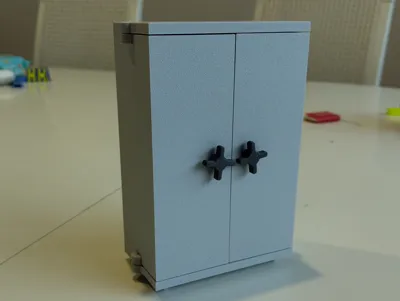
This is a gun cabinet for Dummy 13, with working door locks. I created it for a friend who is a child minder, and who wanted somewhere for the children to store Dummy 13 weapons when they were done playing for the day.
The weapons are not included, but the ones in the image are available here. Most similar weapons should fit, as the gun racks are designed to take things that fit Dummy 13's hands.
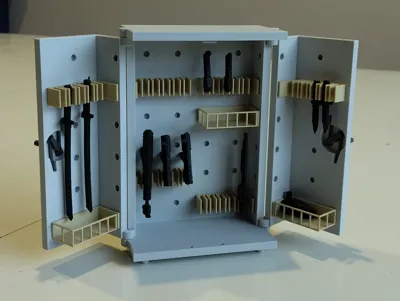
The cabinet can be configured to your taste, in terms of racks and shelves, as they simply clip in to place.
Printing:
I've included a profile for larger printers, along with one specifically for the A1 Mini. I printed in PLA, although I suspect the racks would be better in PETG, so that they maintain their grip on the weapons over time.
Assembly:
First take two locking bars and insert them in to a door as shown below (you may need to wiggle them a bit to get them to go in, but the holes are clear, as can be confirmed by inserting them from the top or bottom of the door):
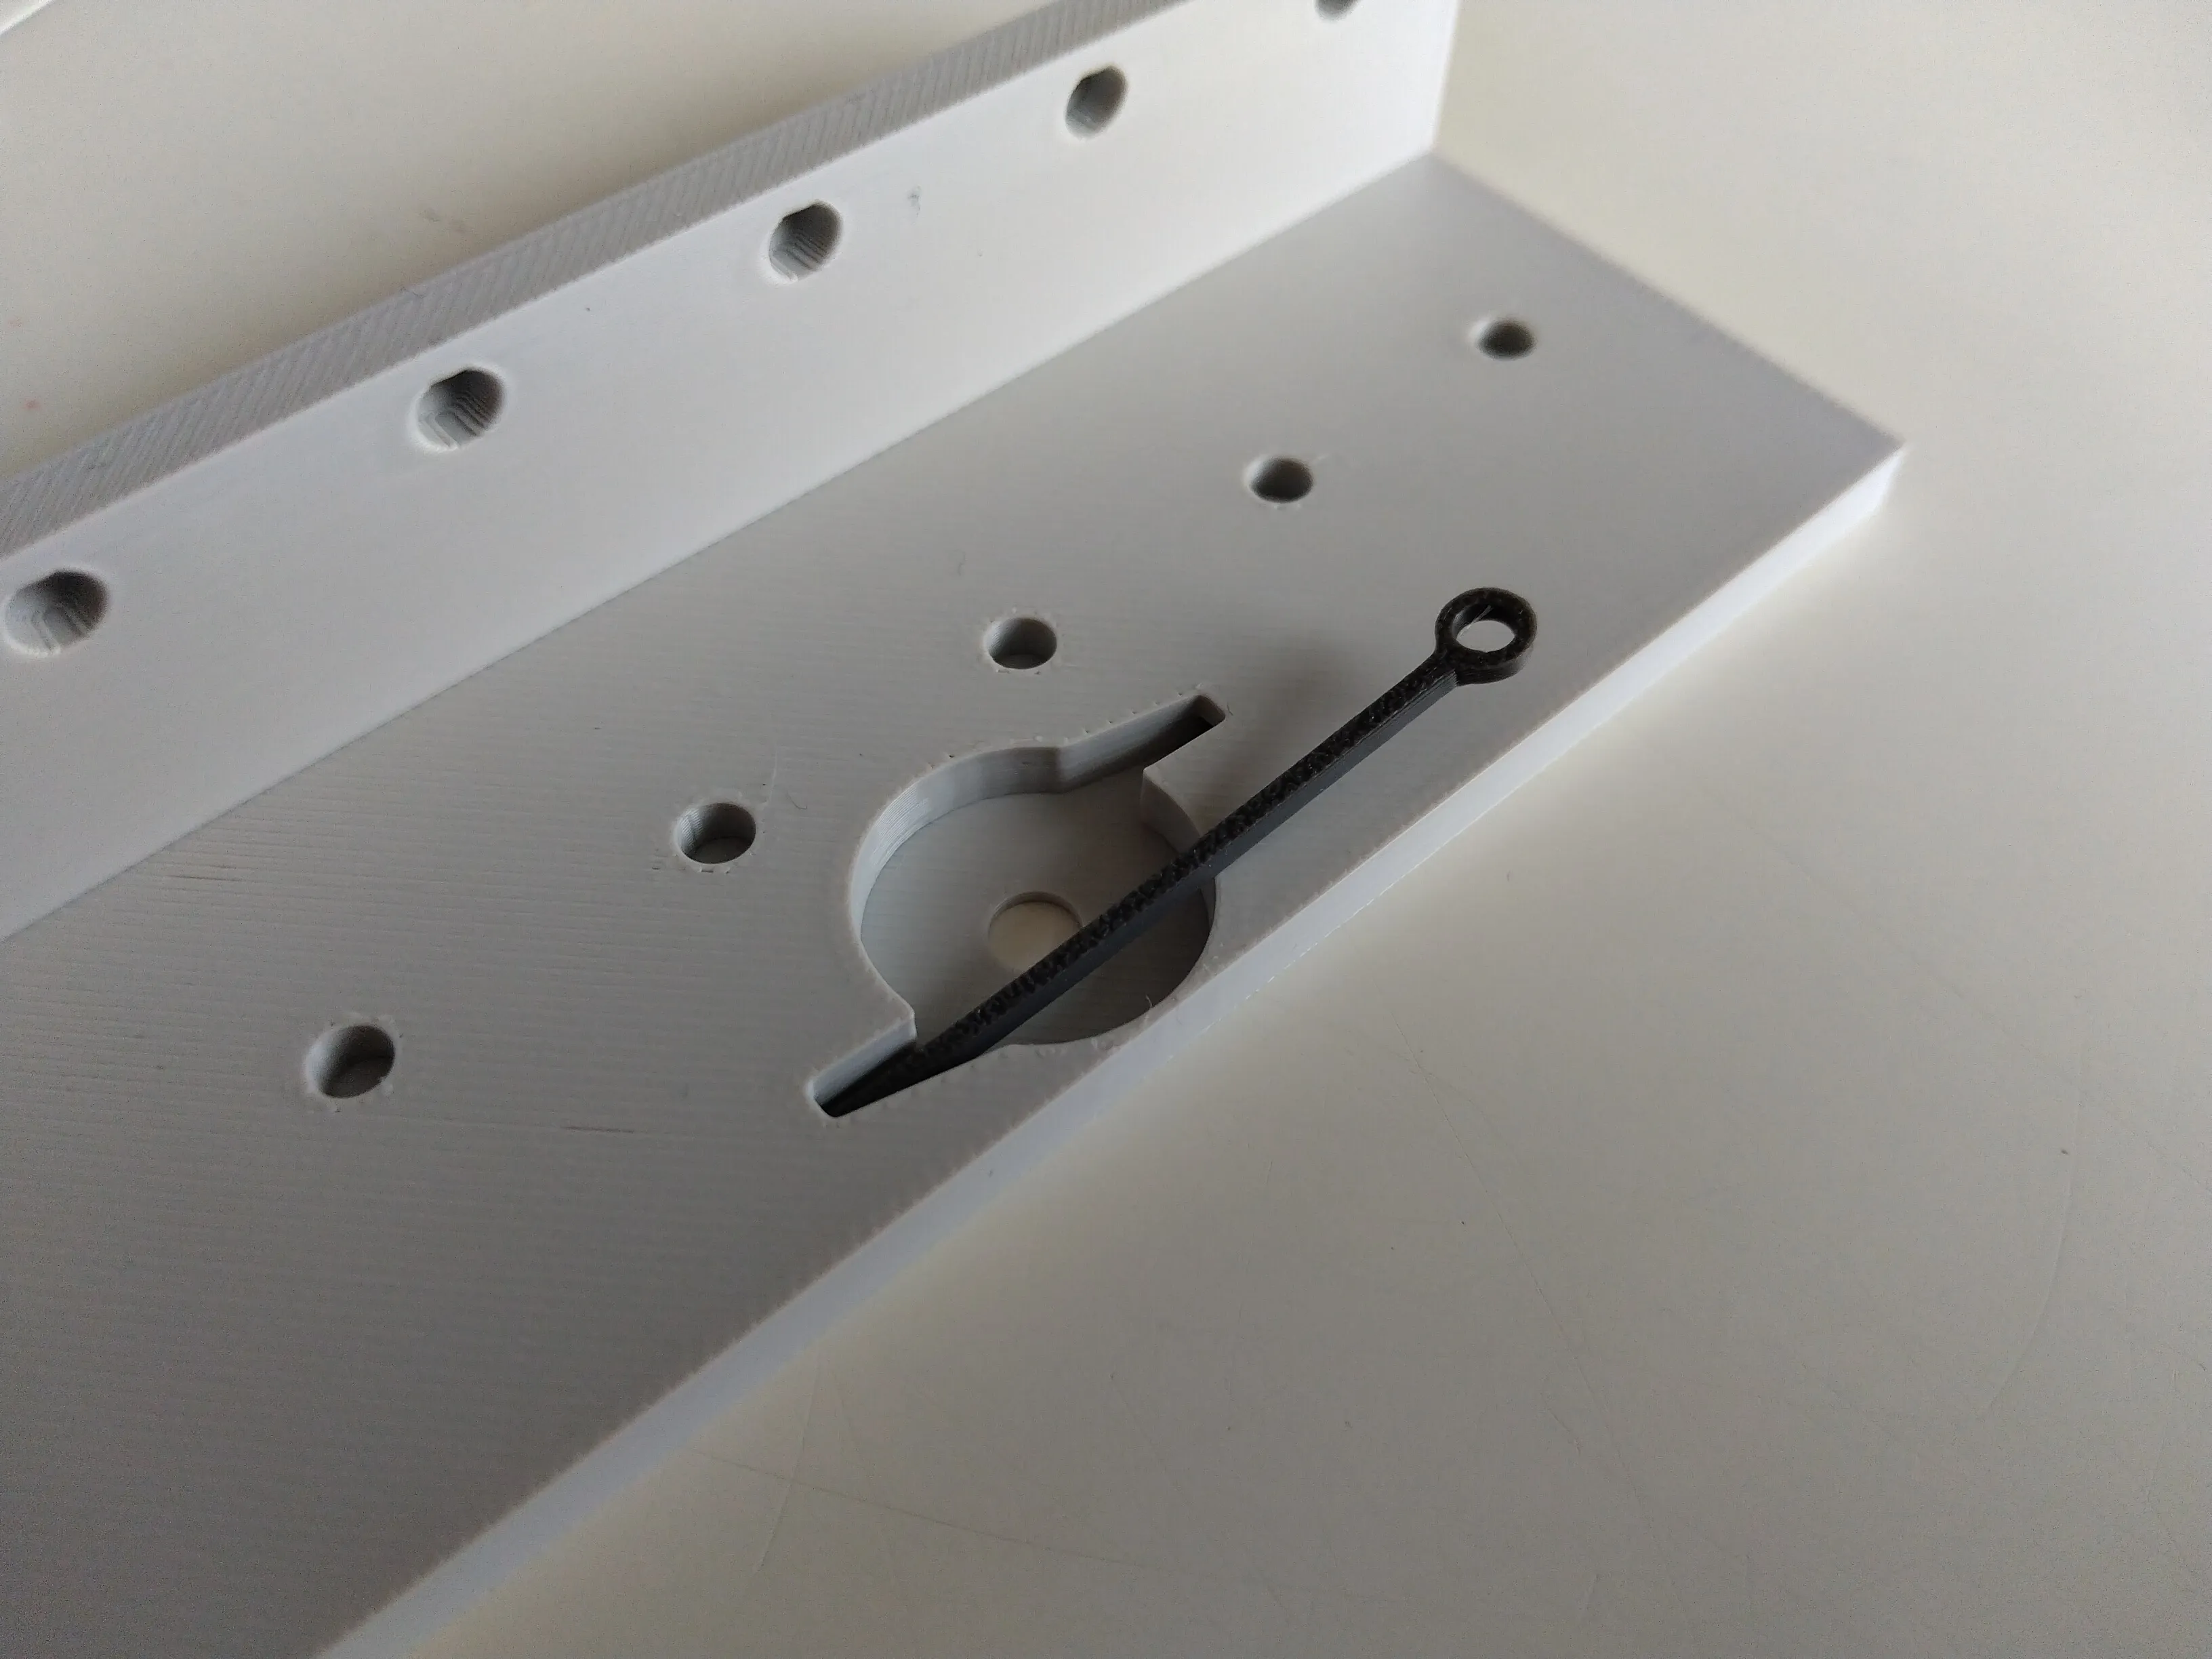
Position the two bars as shown below:
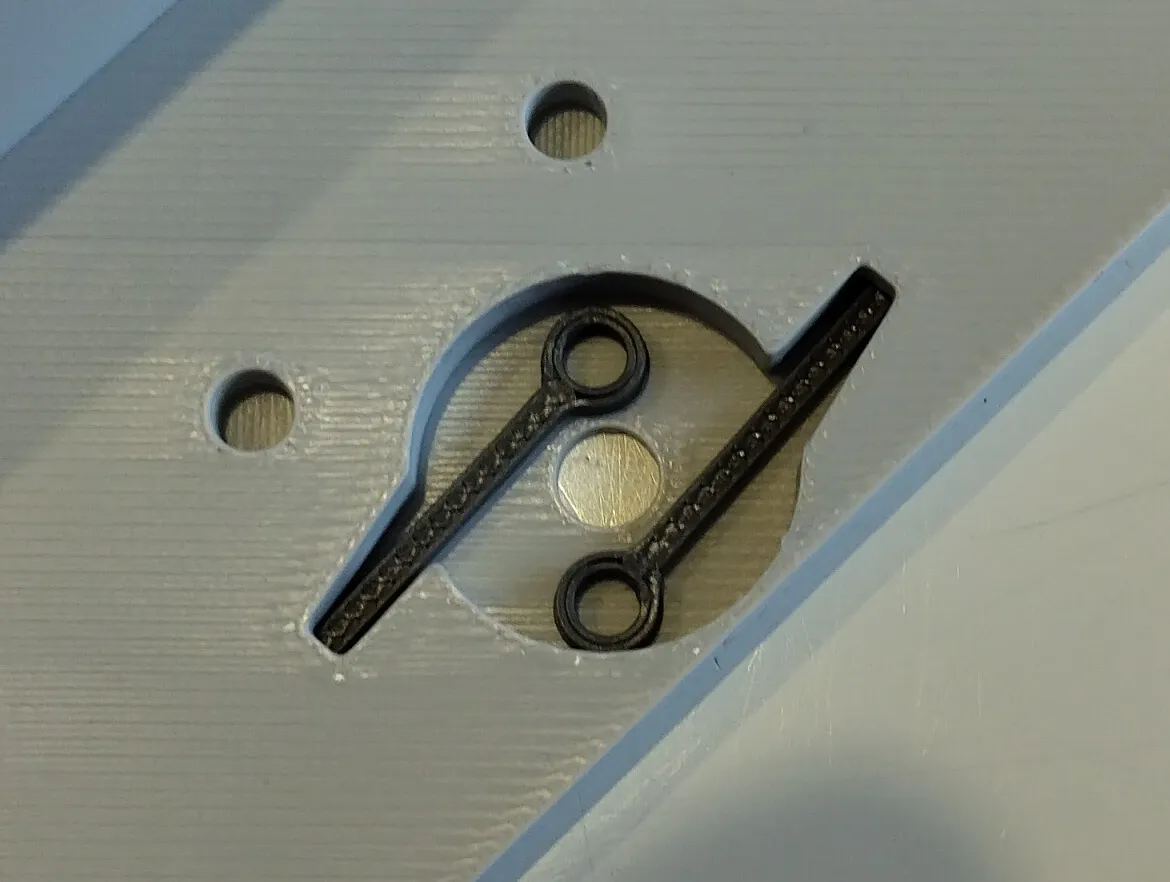
Next drop the rack in to place such that the handle shaft goes through the hole and the ends of the rack engage with the holes in the ends of the locking bars. (NOTE: there is a single layer of support under the ends of the rack that engage with the locking bars; be sure to remove this support and check the ends of the rack rotate freely in the locking bar holes):
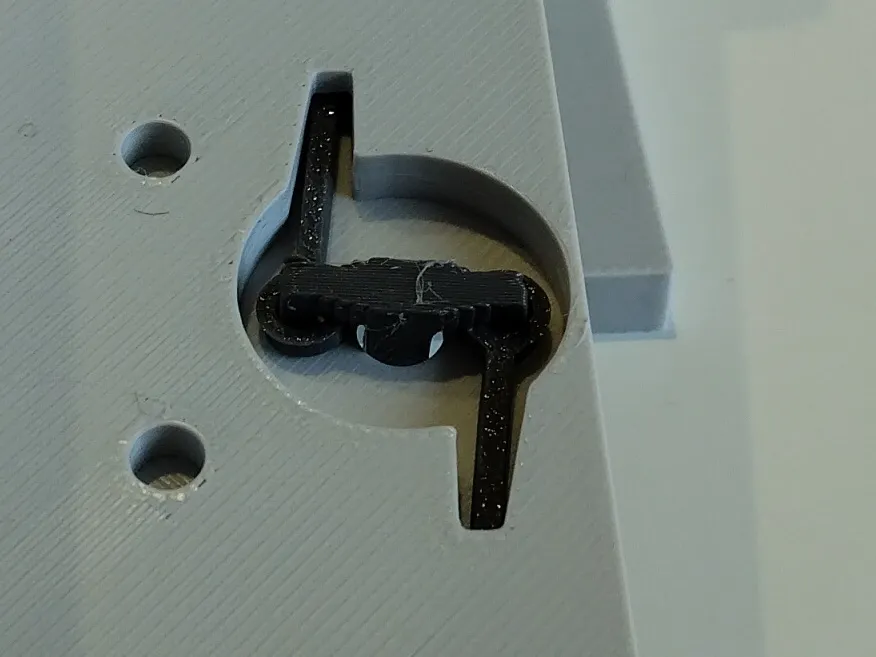
Now, while holding the rack in place, push the handle on to the end of the shaft. It's a tight fit, so some force is needed, but it does go on.
Repeat for the other door.
Next identify which is the left-hand and which is the right-hand door from the image below:
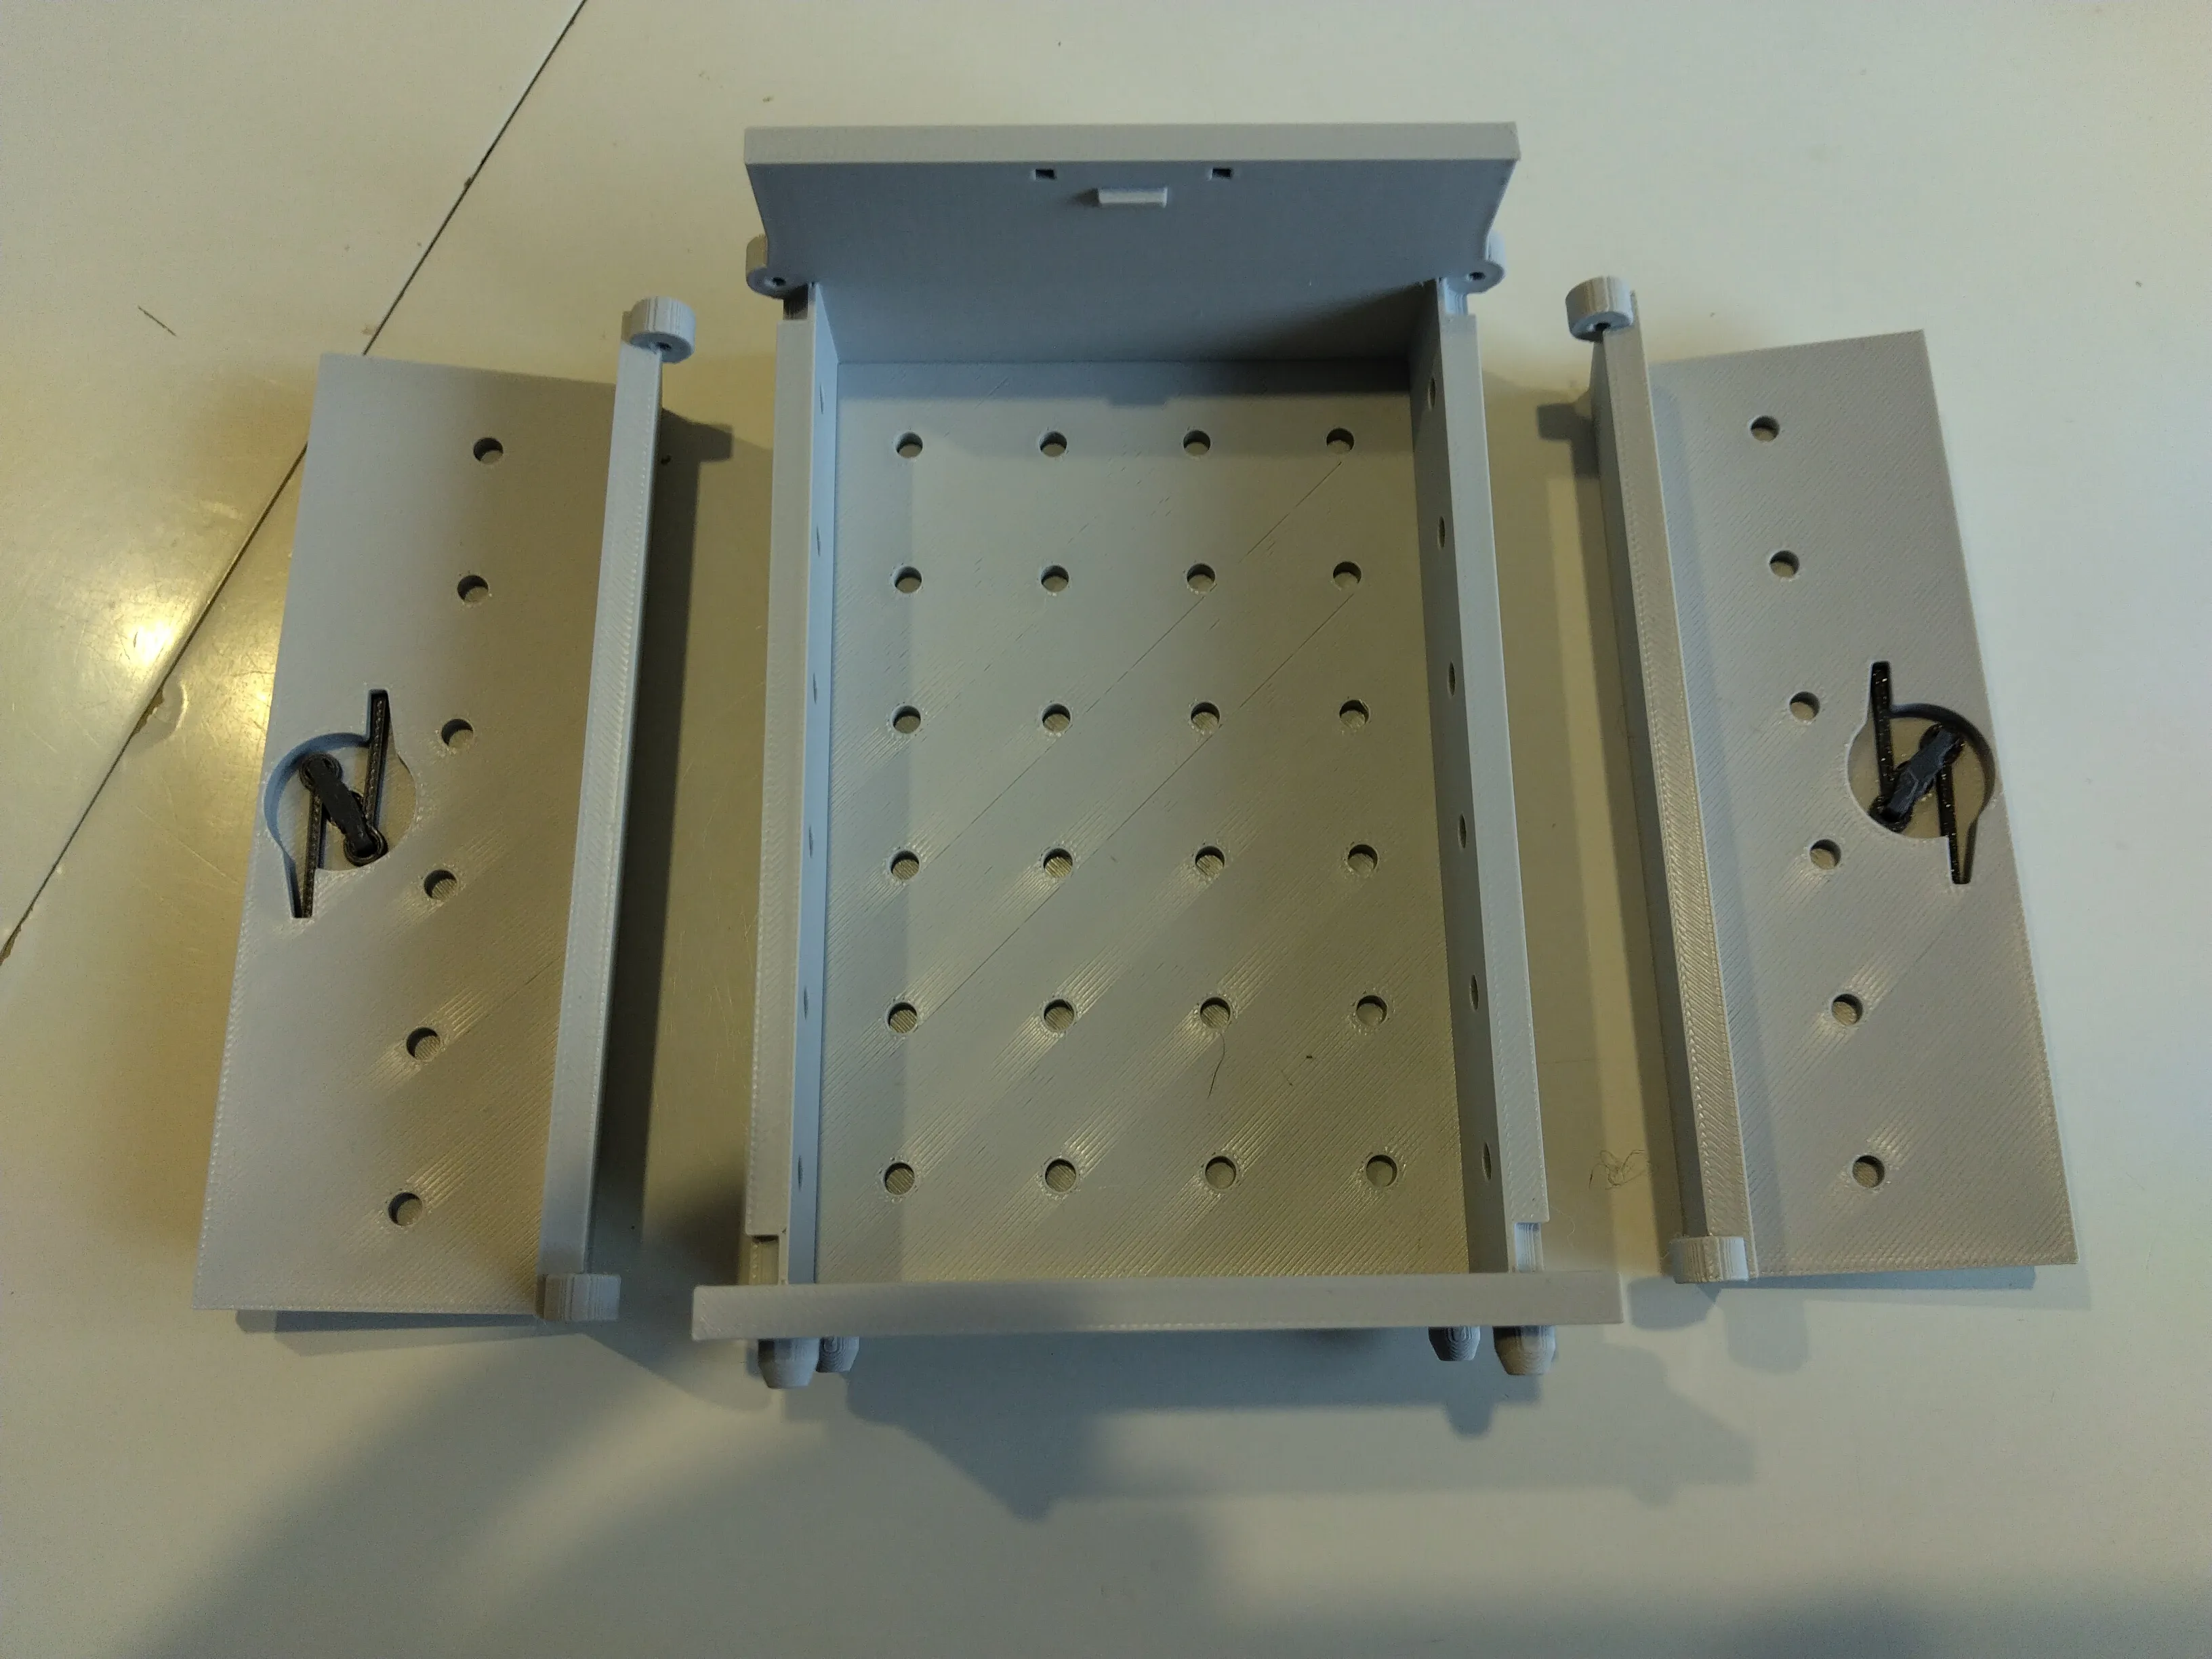
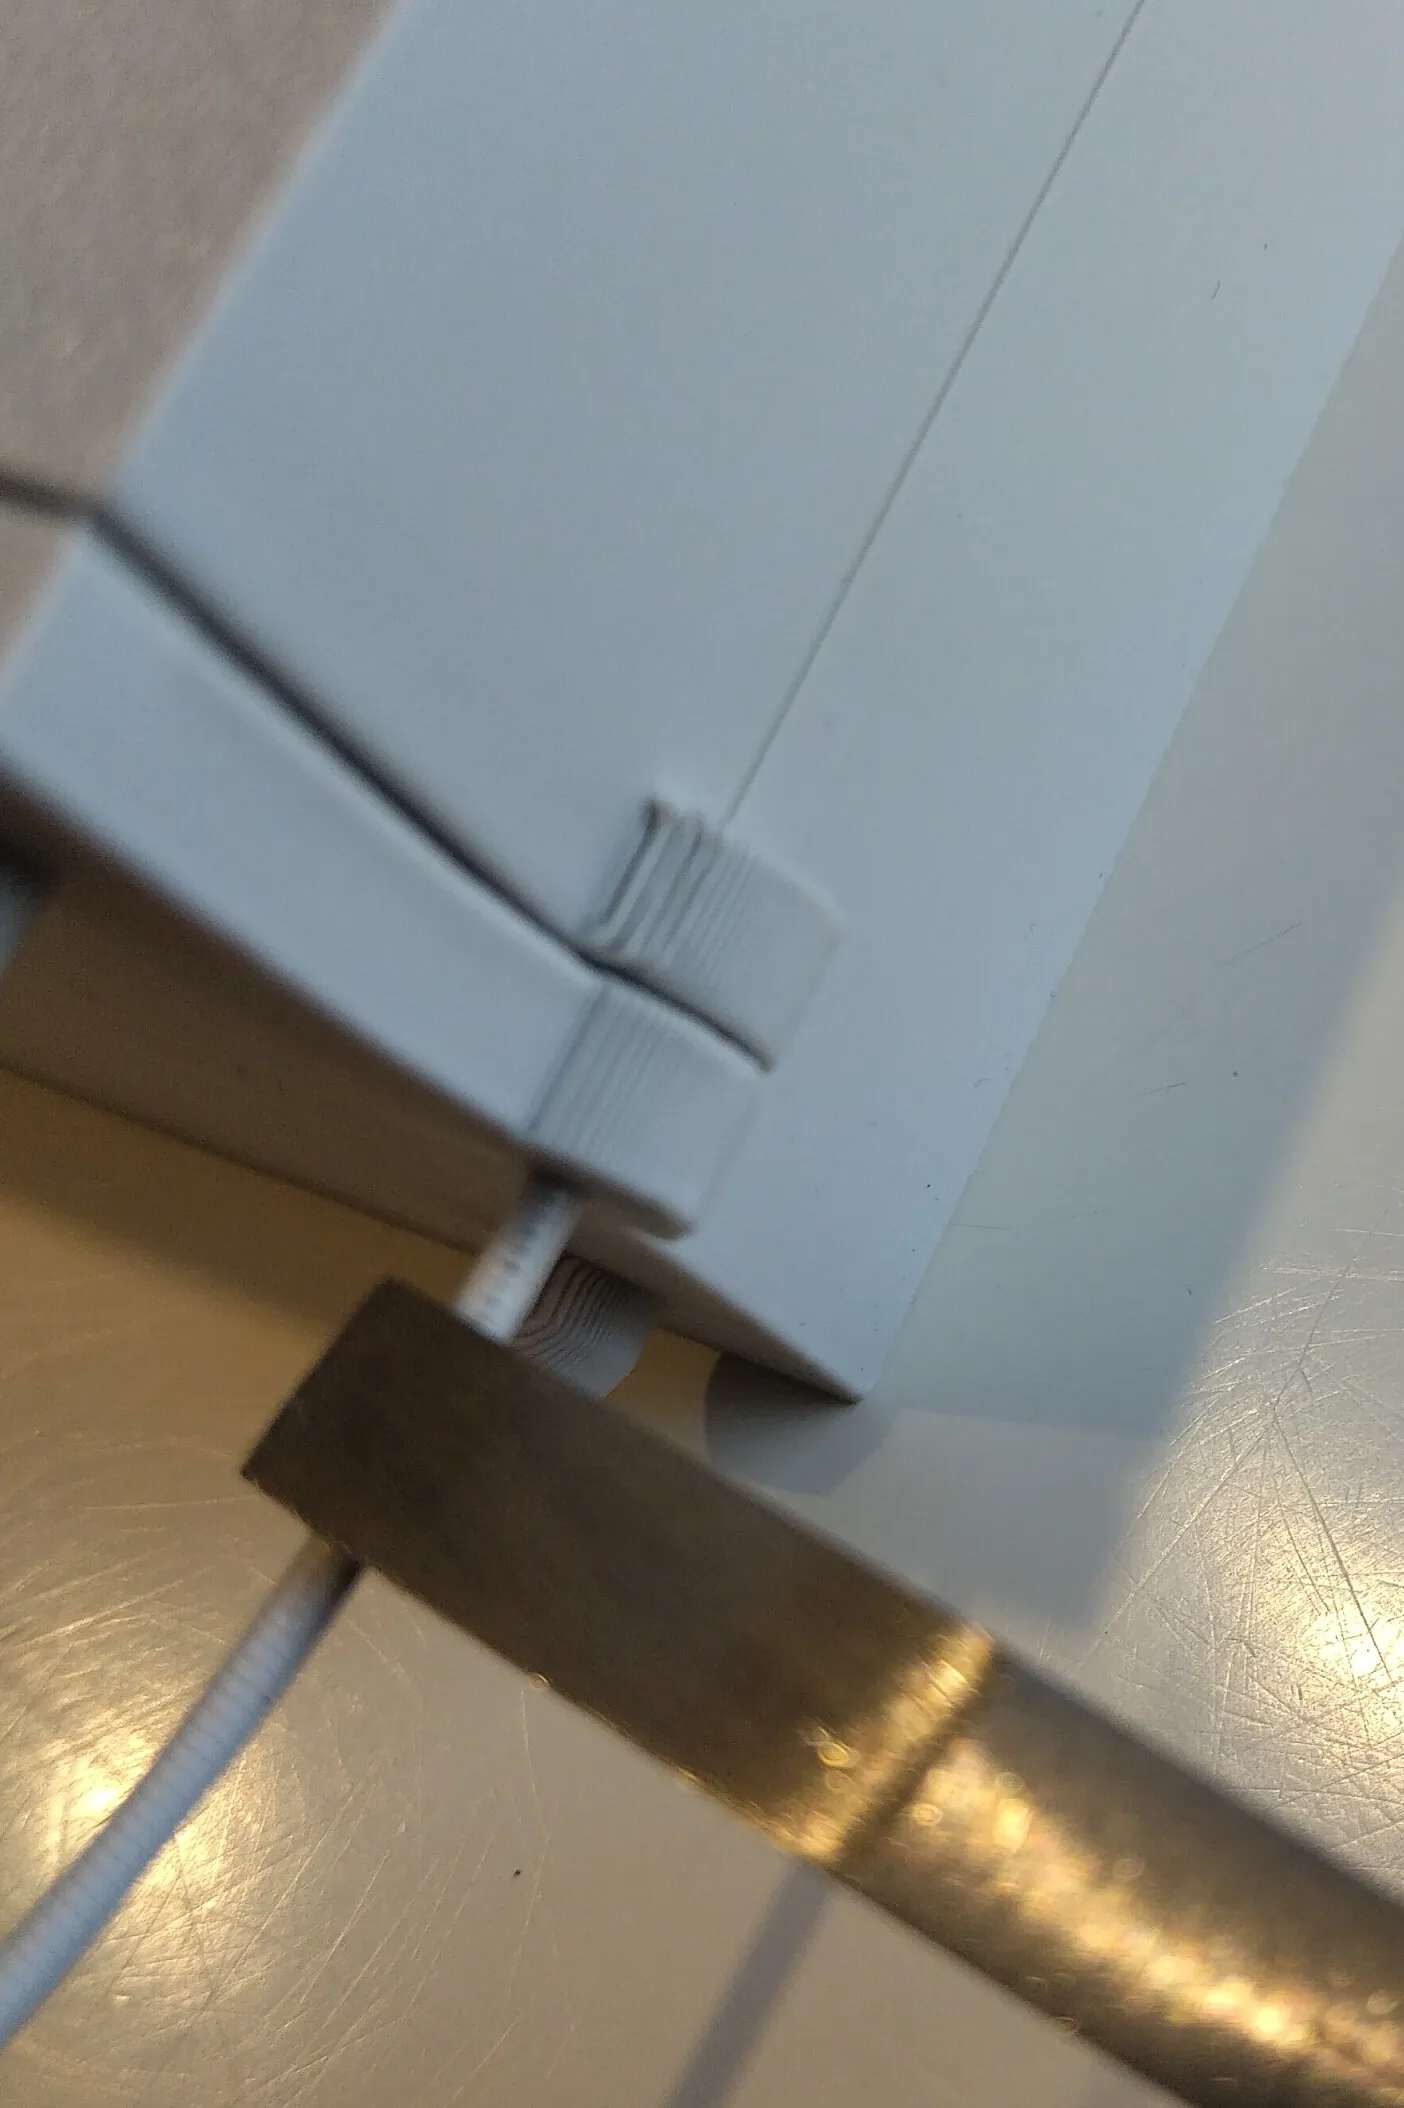
The next step is to insert small lengths of filament in to the appropriate holes to form hinges for the doors. It is a tight fit in the cabinet hole, and looser in the doors. I found the best approach was to use a pair of pliers to insert the filament and then cut it off once inserted:
All that remains now is to insert gun racks and shelves in the configuration you prefer. Note the ones to go in the cabinet have two knobs on the back, the ones for the doors, just one. Also there are left and right-handed versions of the shelves. Simply press the knobs on the back of the item in to the appropriate holes in the cabinet or door, and ensure that the knob on the side engages with the matching hole.
All done! I hope your Dummy 13 enjoys his new accessory!
License

You shall not share, sub-license, sell, rent, host, transfer, or distribute in any way the digital or 3D printed versions of this object, nor any other derivative work of this object in its digital or physical format (including - but not limited to - remixes of this object, and hosting on other digital platforms). The objects may not be used without permission in any way whatsoever in which you charge money, or collect fees.


Comment & Rating (118)