
Mount V2 for Portable CarPlay Display 10.26 inch
Print Profile(1)


Description
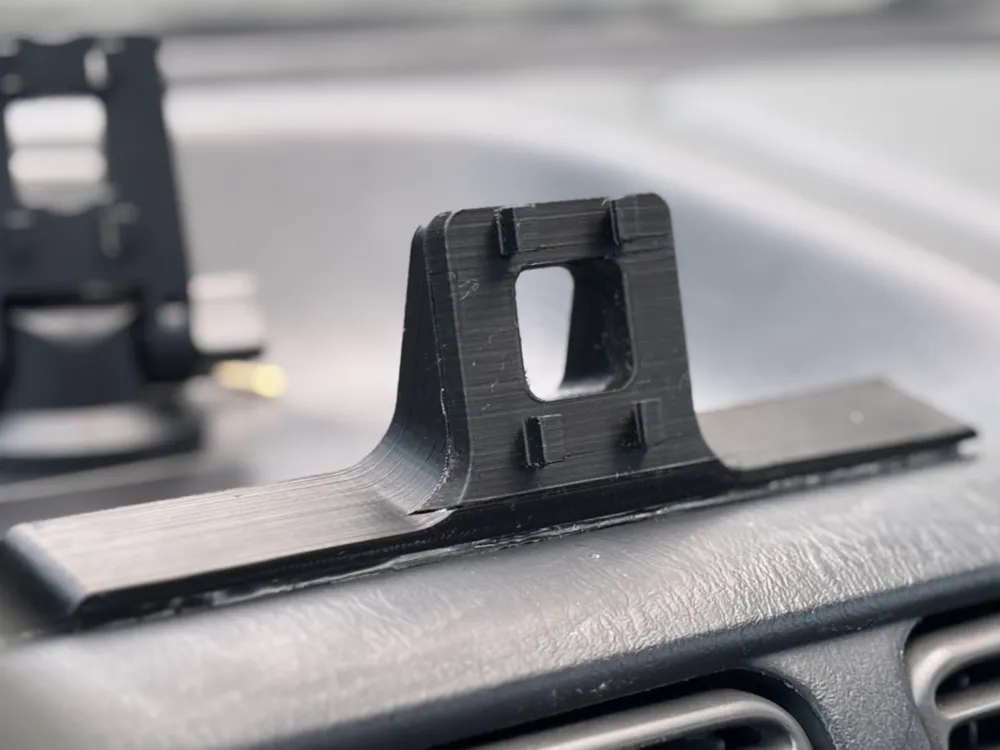
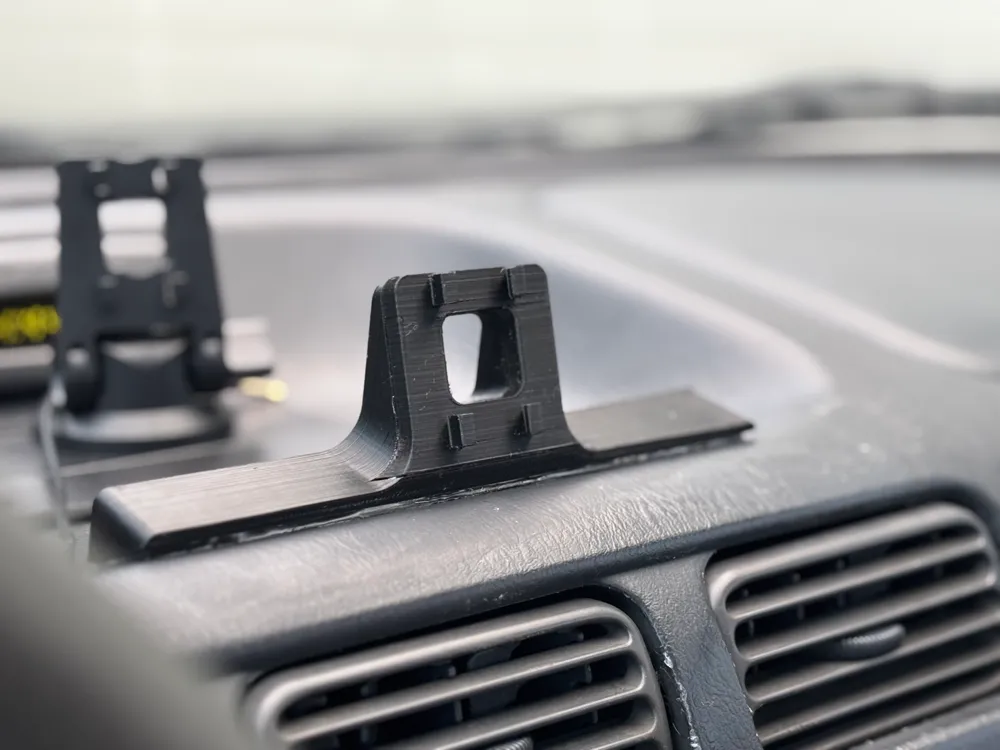
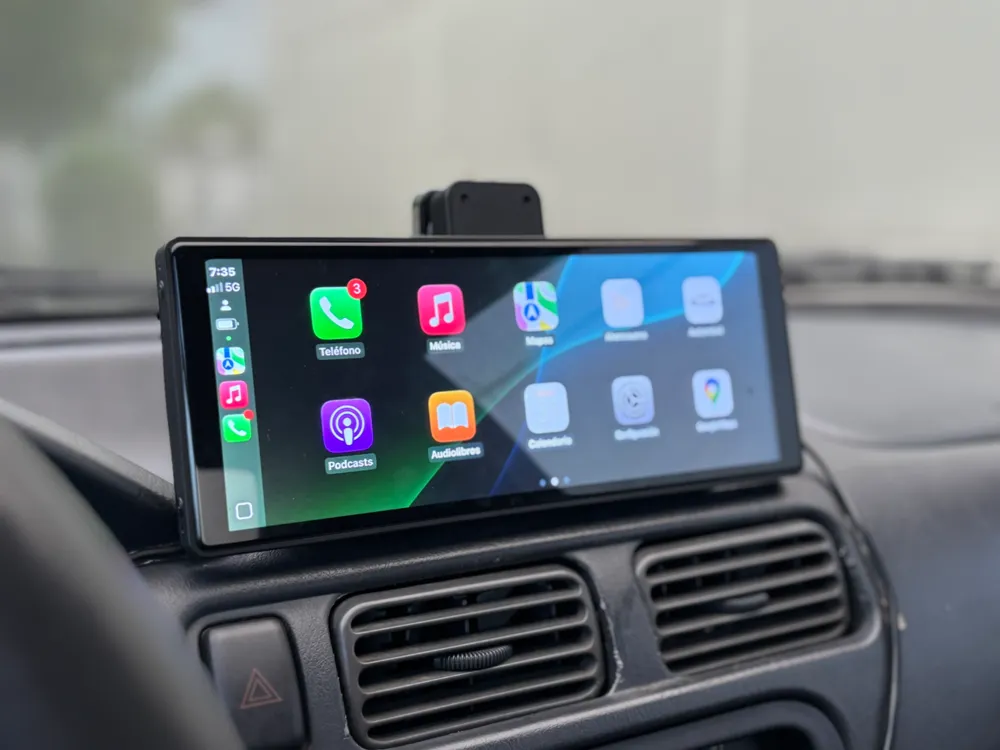
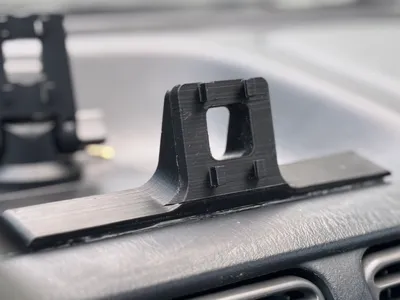
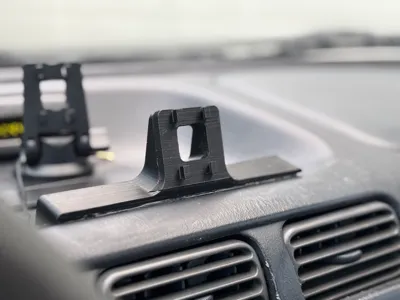
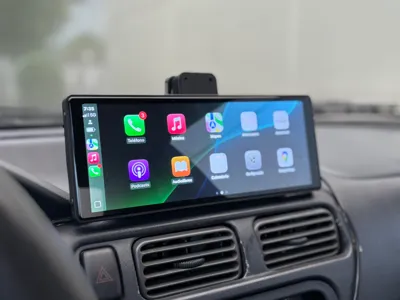
This is version two of my previuos model. Same as the original, it’s made with both my specific Carplay/AndroidAuto display and my specific car (1997 Toyota Tercel) in mind, so it might not work on your case.
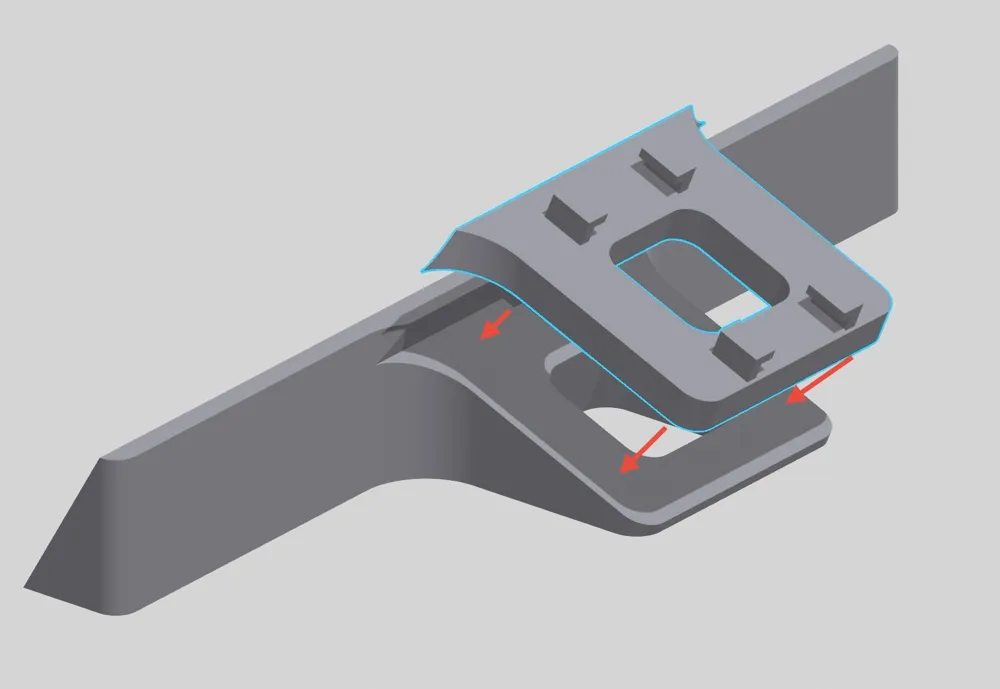
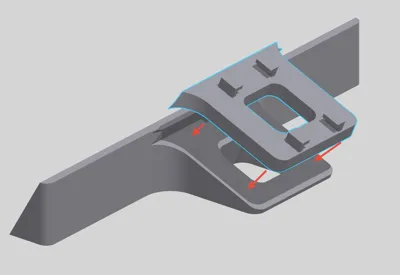
It has some significant upgrades; it's now printed in two pieces (Need Glue), and that makes it so the studs can be printed vertically. Now they won't break, wich was an issue in the previous model.
STLs are pre oriented, no need to touch any of that. Be sure to print part 2 **vertically**. The printing and installation process stayed pretty much the same from the last model.
Printing settings:
- Wall loops: 2
- Infill density: 10-15%
- Supports: On (Tree Slim recommended)
- Brim: On (Recommended for part 2)
Recommended Printing Materials:
- PETG, ABS, ASA (This part will be directly on the dash of your car, so a heat and UV resistant material is recommended).
Installation:
- Glue part 1 and part 2 together.
- Clean the surface of installation.
- I highly recommend to give the part the shape of your dash by softening the plastic with a heat gun or a hair blower and pressing against it until is cools (Carefully to not burn yourself). This will make it so the part sits flush with the surface of your dash.
- Then just glue the part to the dash with some double sided tape you know won’t unstick.
Mount v1:
https://www.printables.com/model/1015691-mount-for-carkool-portable-carplayandroidauto-scre
License



Comment & Rating (8)