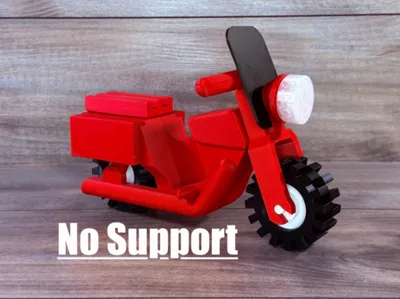
Big Brick Motorcycle 500% no support


Print Profile(2)


Description
Boost Me (for free)
If you like my models, please consider dropping me a boost, comment and rate the profile! Any of these things keeps me motivated to Keep going! Thank you!
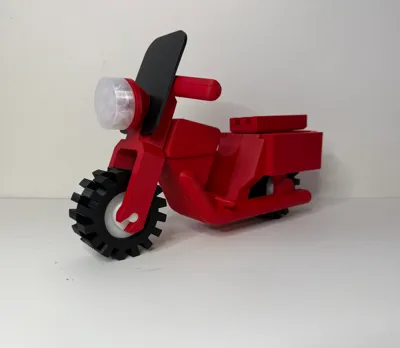
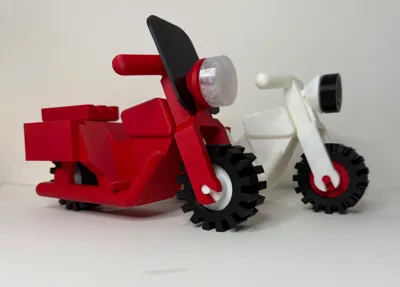
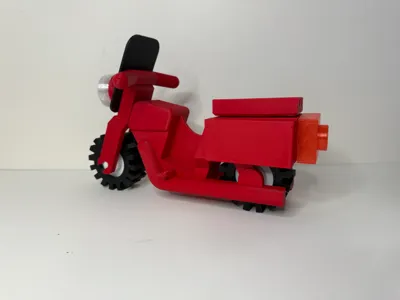
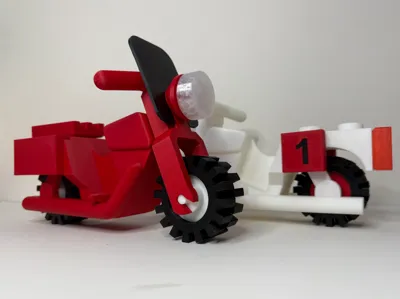
Get your big brick ready for the motorcycle rally near you! This 500% scale motorcycle based off the classic brick company motorcycle and prints with no support. I've done my best to get the tolerances in the middle but some printers and filaments might cause some tight or loose parts, pins can be scaled up or down by .5% if needed.
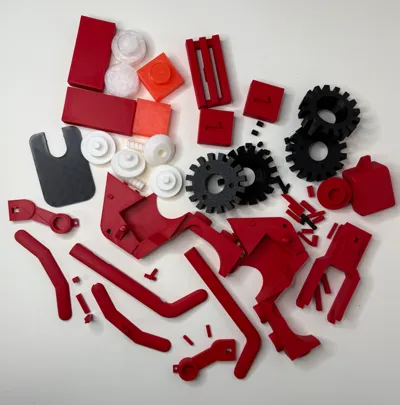
To assemble

Starting with the tires and wheels, screw the threaded screw in to a wheel half and then using the other, thread it back and forth until it threads smoothly. Remove one half and set aside. Next put the three round locator pins into one half of the tire. Place the other half onto the pins paying attention to the tread alignment. place the wheel half into the tire and screw the other half onto it. Repeat for other tire and wheel.

Take the handlebar parts inserting the square pin in the center, place the halves together, and then insert the retention pins in the ends.

Slide the headlight and handlebars down onto the front end as shown. Then slide the short pin from the suspension plate into the back to hold the bars and light on. snap in the wheel to the forks and set aside.

Next grab the exhaust pipe and shock. Slip the shock down over the cross pin on the back side of the exhaust and lock it with the two small pins into the bottom. Repeat for other side.

Slide the exhaust/shock assembly onto the frame half catching the tab on the front of the frame. Repeat for the other side.

Now insert the pins as shown. The two larger pins will locate to frame halves while the two smaller lock the exhaust/shock assembly to the frame.

Take the frame halves and place the rear tire into its slot before placing the halves together. Lock it all together with the four pins shown. Three on the bottom in a line and one in the middle of the rear stud.

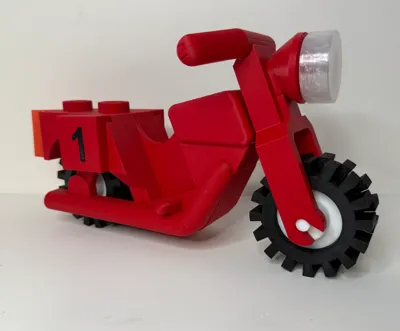
Take the gas tank and using the slots on the bottom, place it down on the frame and slide it over to lock it down.

Lock the tank on with the angle cut pin as shown.

Slide the front end assembly onto the tank and insert the cross pin to lock it together.

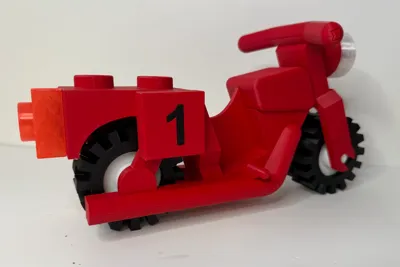
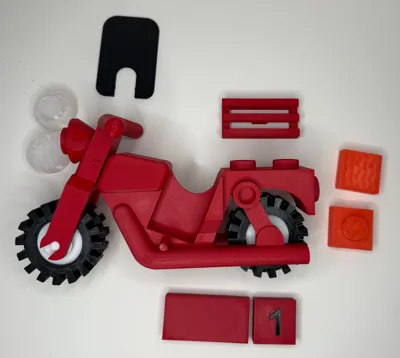
All thats left is to choose what accessories to install! Pick from the smooth or studded lights, number plates, saddlebins, luggage rack and windscreen!
Membership
Thank you for checking out my models. If you enjoy them or want to sell prints, please consider joining. Everything helps to continue to create new models!
License
You shall not share, sub-license, sell, rent, host, transfer, or distribute in any way the digital or 3D printed versions of this object, nor any other derivative work of this object in its digital or physical format (including - but not limited to - remixes of this object, and hosting on other digital platforms). The objects may not be used without permission in any way whatsoever in which you charge money, or collect fees.
Comment & Rating (14)