
Print Profile(1)

Description
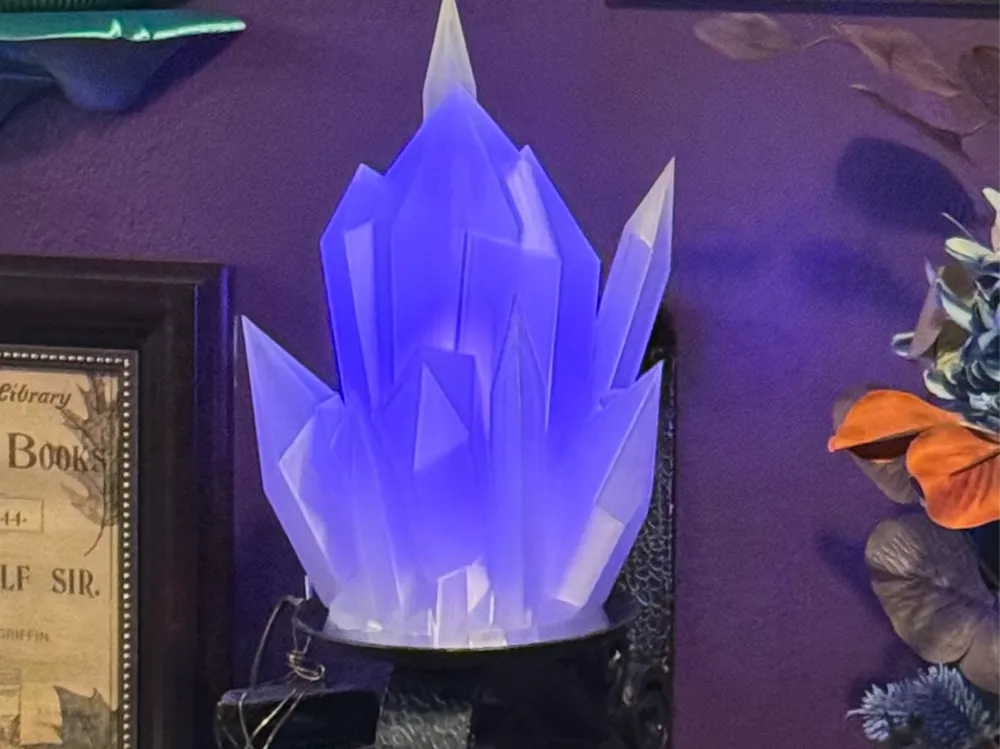
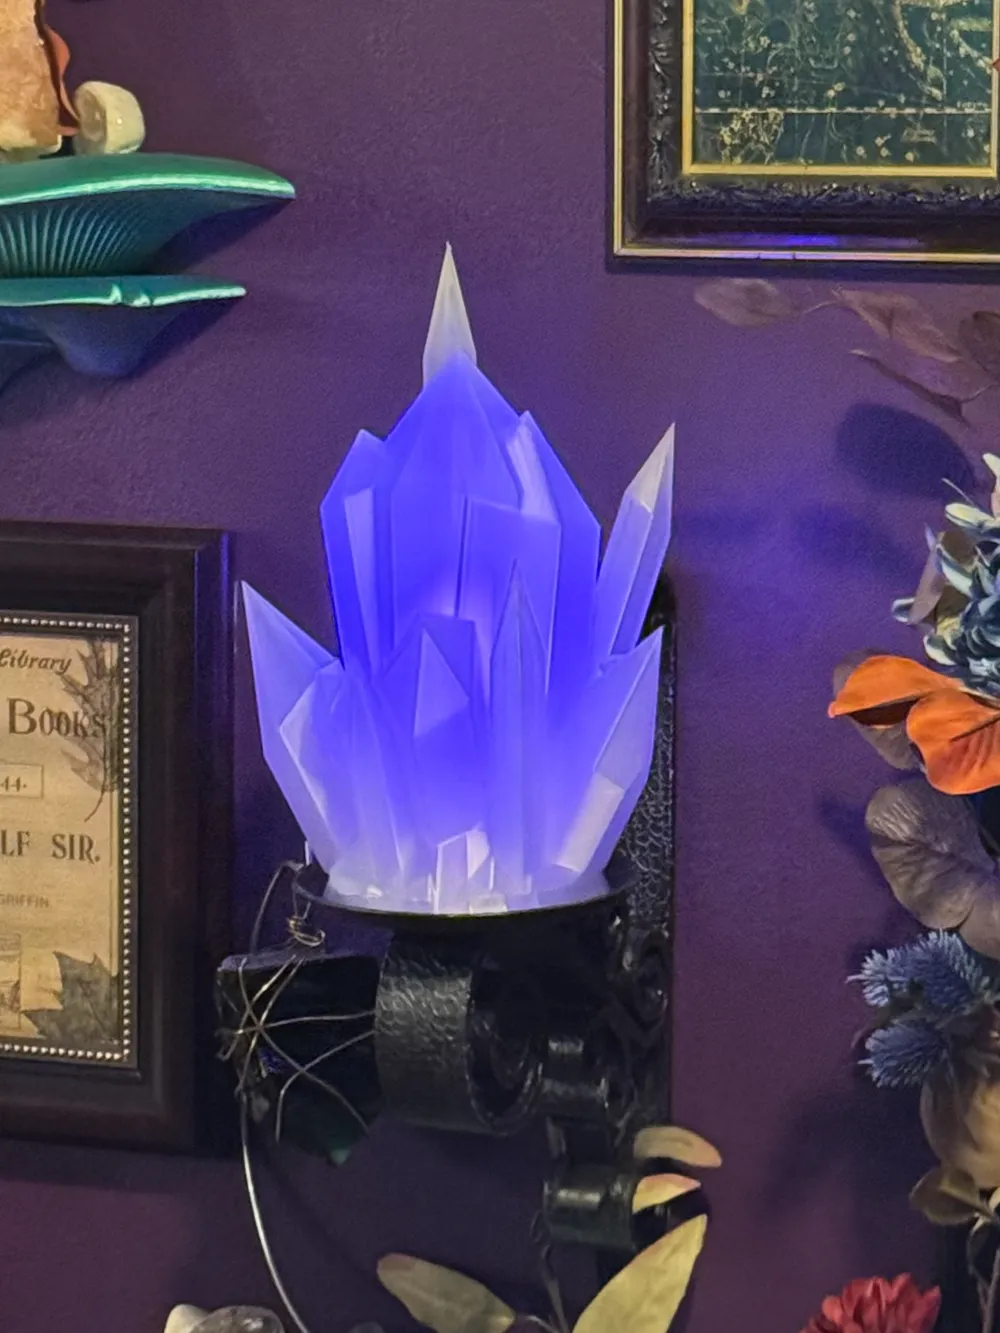
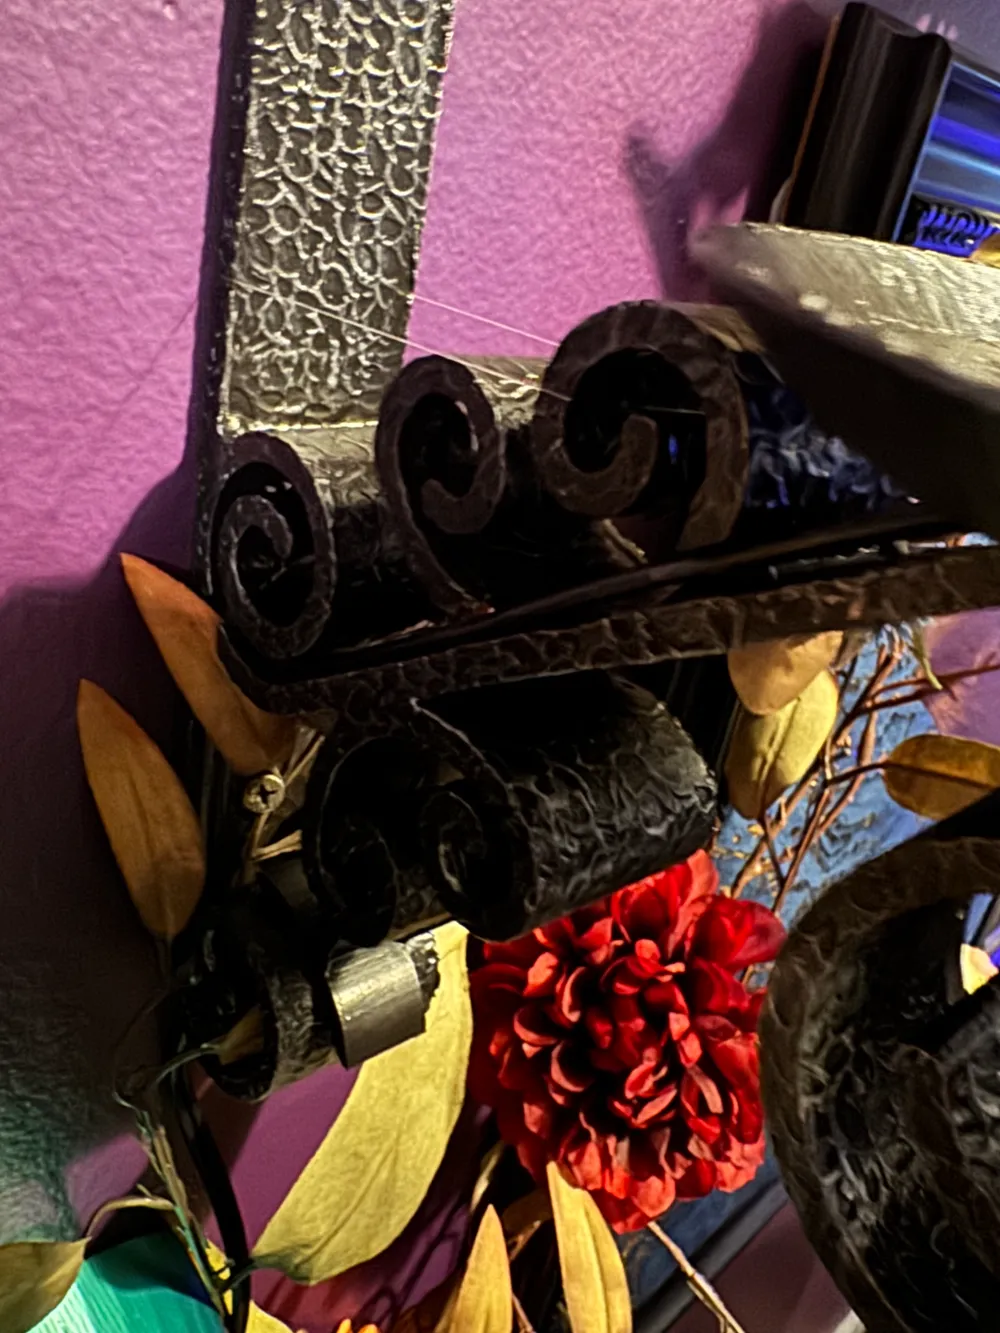
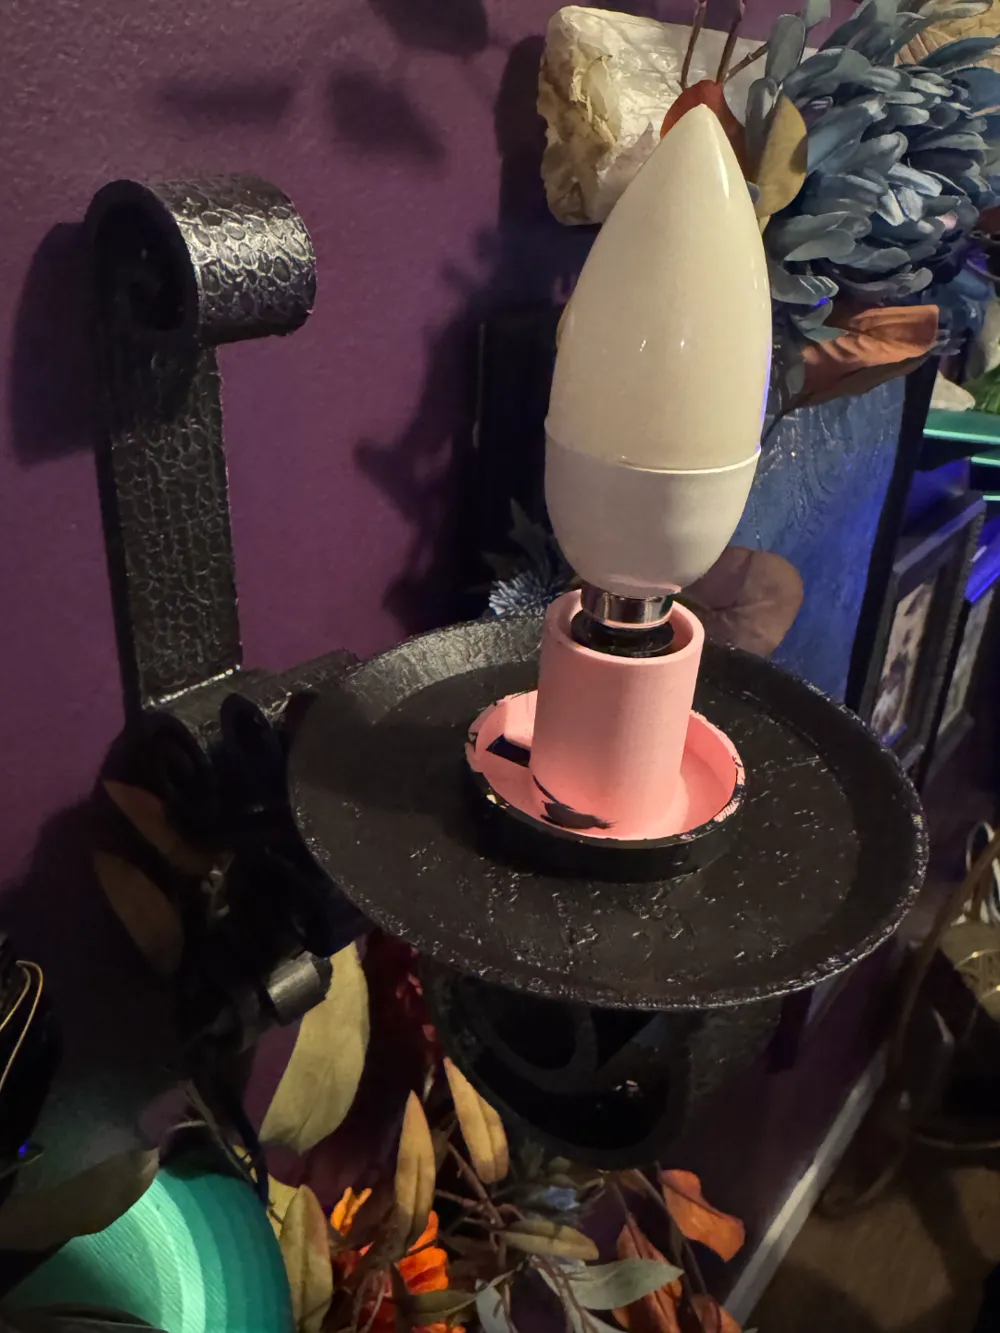
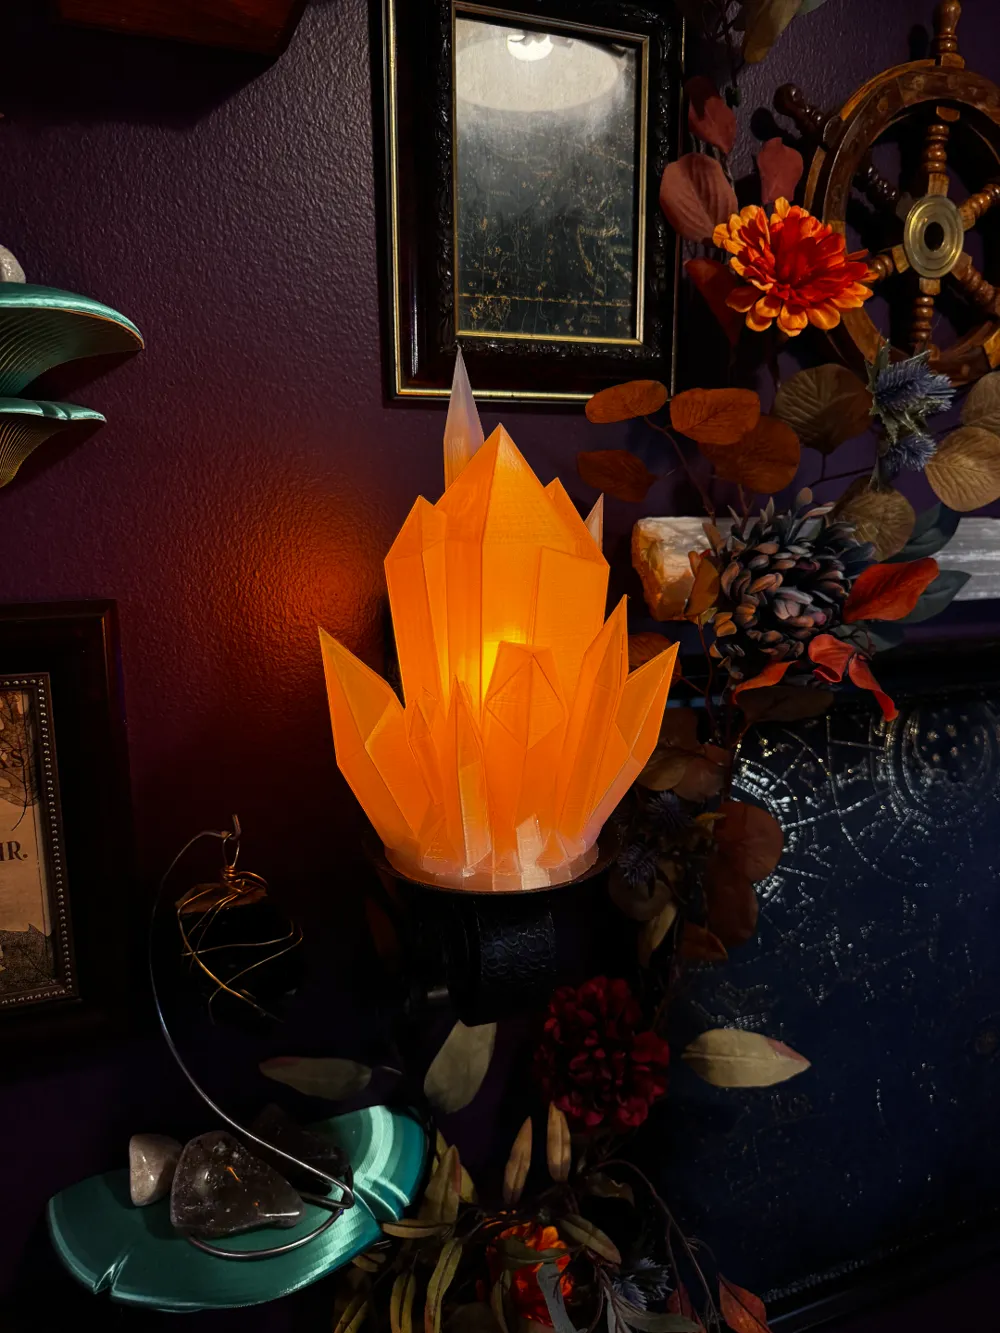
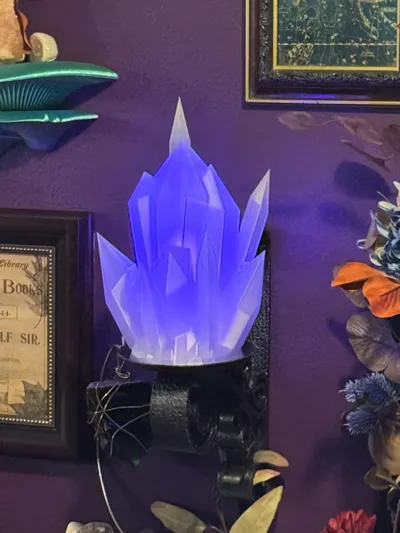
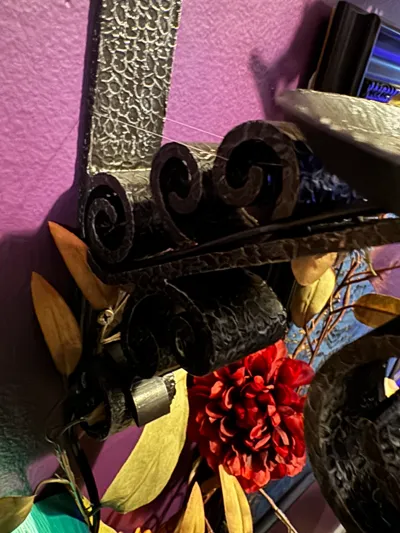
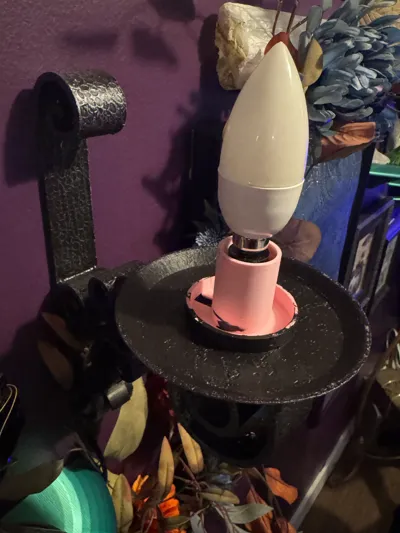
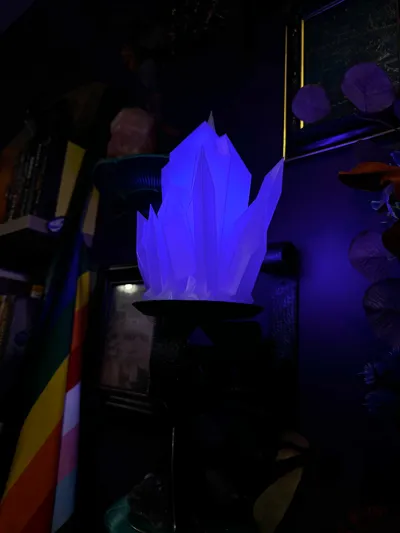
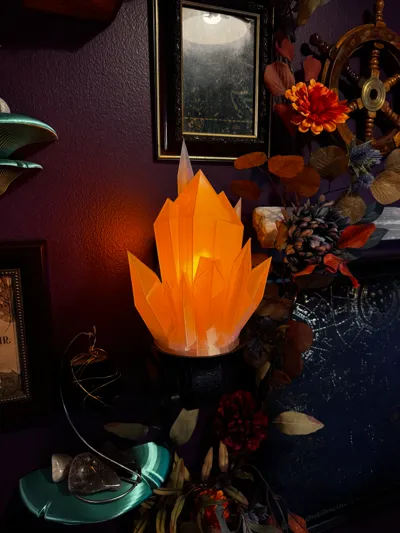
This is a mix of several different models I found on the web. The original sconce was just for a candle or tealight but I wanted a glowing crystal. The candle tray has been adapted to fit a standard E12 1" socket that you would use in a salt lamp or model houses. A list of all of the supplies will be below. I've also added a small channel down the sconce arm for the electrical cord to fit into to keep it discreet. The crystals were adaptations of several different crystal cluster models I found in an attempt to make the inside large enough to house the bulb.
Supplies
In addition to printing the model pieces, you will need:
- An E12 Socket with outlet cord. I got mine off of amazon here.
- An E12 bulb of your choice, I got these LED Flame bulbs.
- Superglue
Assembly Instructions
- Print all three plates from the 3MF file I've uploaded. The arm has some necessary modifications in place to create the channels as well as to provide better structural integrity at the joints that will bear the weight.
- Neither the Sconce arm, nor the Base Plate need supports.
- Supports have been added to the crystal structure for some of the lower overhangs, the ones in my 3MF file print best.
- The infill for the crystal structure is set to concentric at 15%, this produces the best diffusion of light without seeing the matrices of the infill pattern.
- Print the crystal in your choice of translucent filament, colored or clear. I used this Sunlu filament and it worked wonderfully, I set the filament to Generic PLA when I printed and had no issues.
- Once all of the pieces have been printed assemble the base plate and glue it to the flat surface on the top of the extended portion of the sconce arm.
- If you used the socket that I linked above, you should be able to pinch the wings closed and insert it into the center of the baseplate from the bottom. Push it up until the top of the socket is flush with the top of the hole and guide the cord off to the side using the rectangular hole in the bottom of the baseplate.
- Once the socket is in position, apply some super glue to the top of the extended arm on the sconce and fit the base plate onto it, making sure to keep it centered and keep the end where the cable is poking out aimed toward the channel side of the sconce arm.
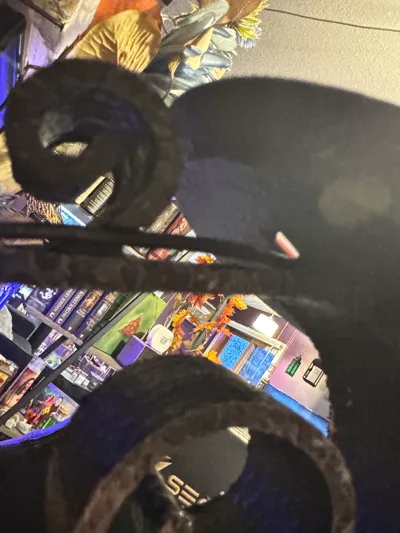
- Once the glue has dried, tuck the cable into the channel that goes down the sconce arm.
- At this point, you can paint the sconce arm if you wish. I printed the arm and base plate in Matte PLA because it takes paint more easily and I painted it black and dry brushed a little silver on the textured area to bring out the hammered finish look.
- Once it's fully assembled, mount it to the wall using the holes in the top and bottom of the back plate of the sconce arm. The bottom one may be difficult to reach as a support beam I added blocks a direct path. This beam is super necessary to hold up the rest of the arm, so get a drill with an extended bit and just drive the screw in from the side.
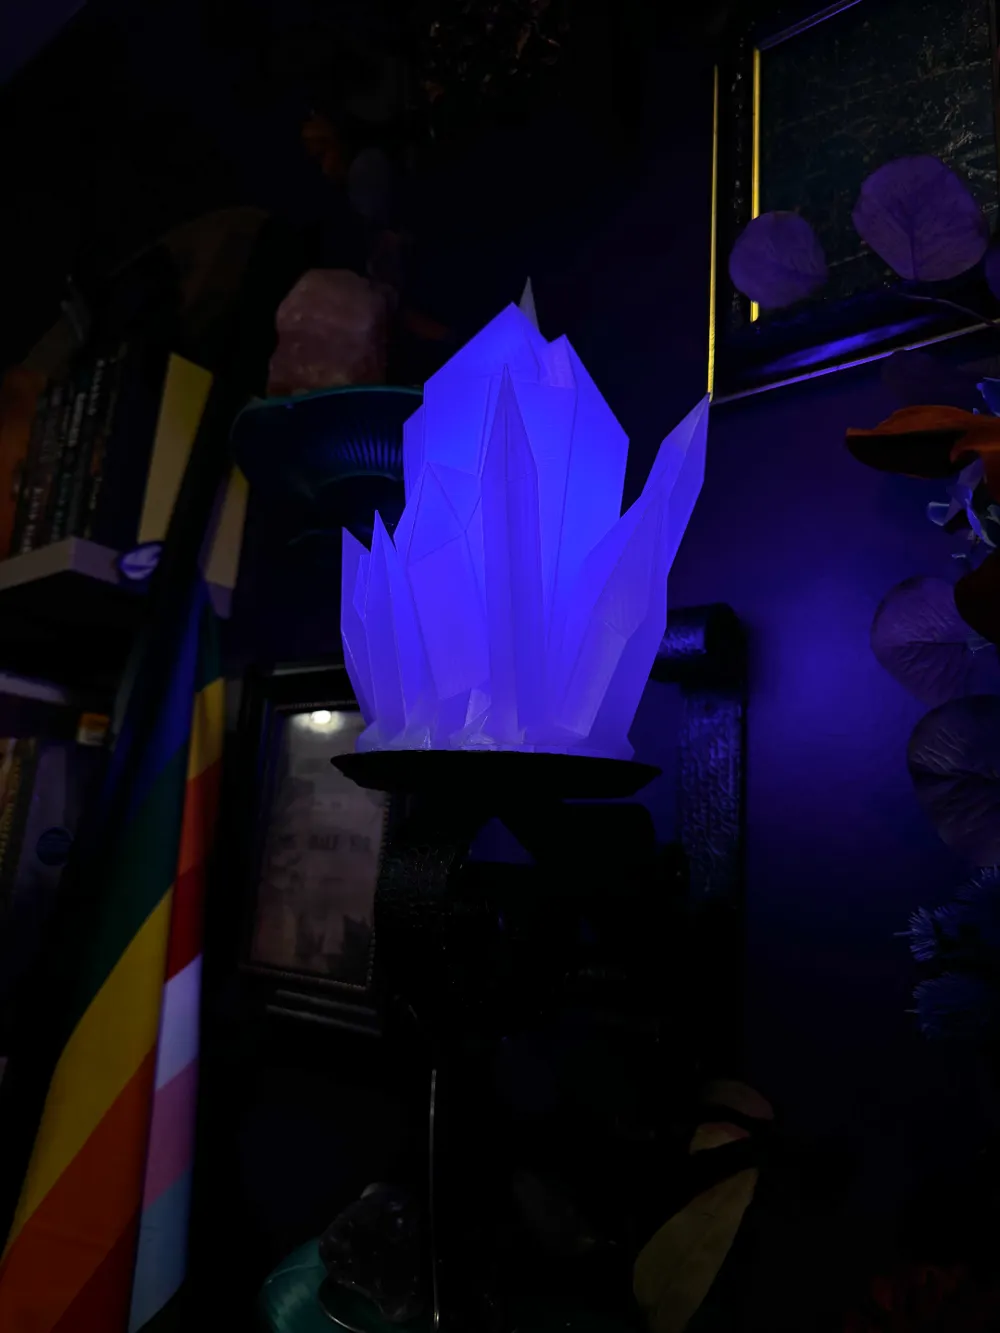
- Once everything is done, put the light bulb in and place the crystal over it! If you use the same light bulbs I linked above, they change modes when you turn them off and on in fast succession. There's an always on mode, a breathing glow, and a flickering flame.
- The pictures I have linked make it look brighter than it is, it gives off a soft glow that's not too bright. For some reason my phone just thinks it's looking into the heart of the sun.
Also you don't necessarily need the crystal part. You could get a simple flame bulb and put it in and the central pillar can look like a candle. Or print another design that will fit over it and use that instead! Follow your heart!
License



Comment & Rating (5)