Search models, users, collections, and posts

Assembly Hammer
IP Report

Print Profile(1)

0.26mm layer, 4 walls, 40% infill
Designer
3.2 h
2 plates
Open in Bambu Studio
Boost
44
102
11
3
43
21
Released
Bill of Materials
List other parts
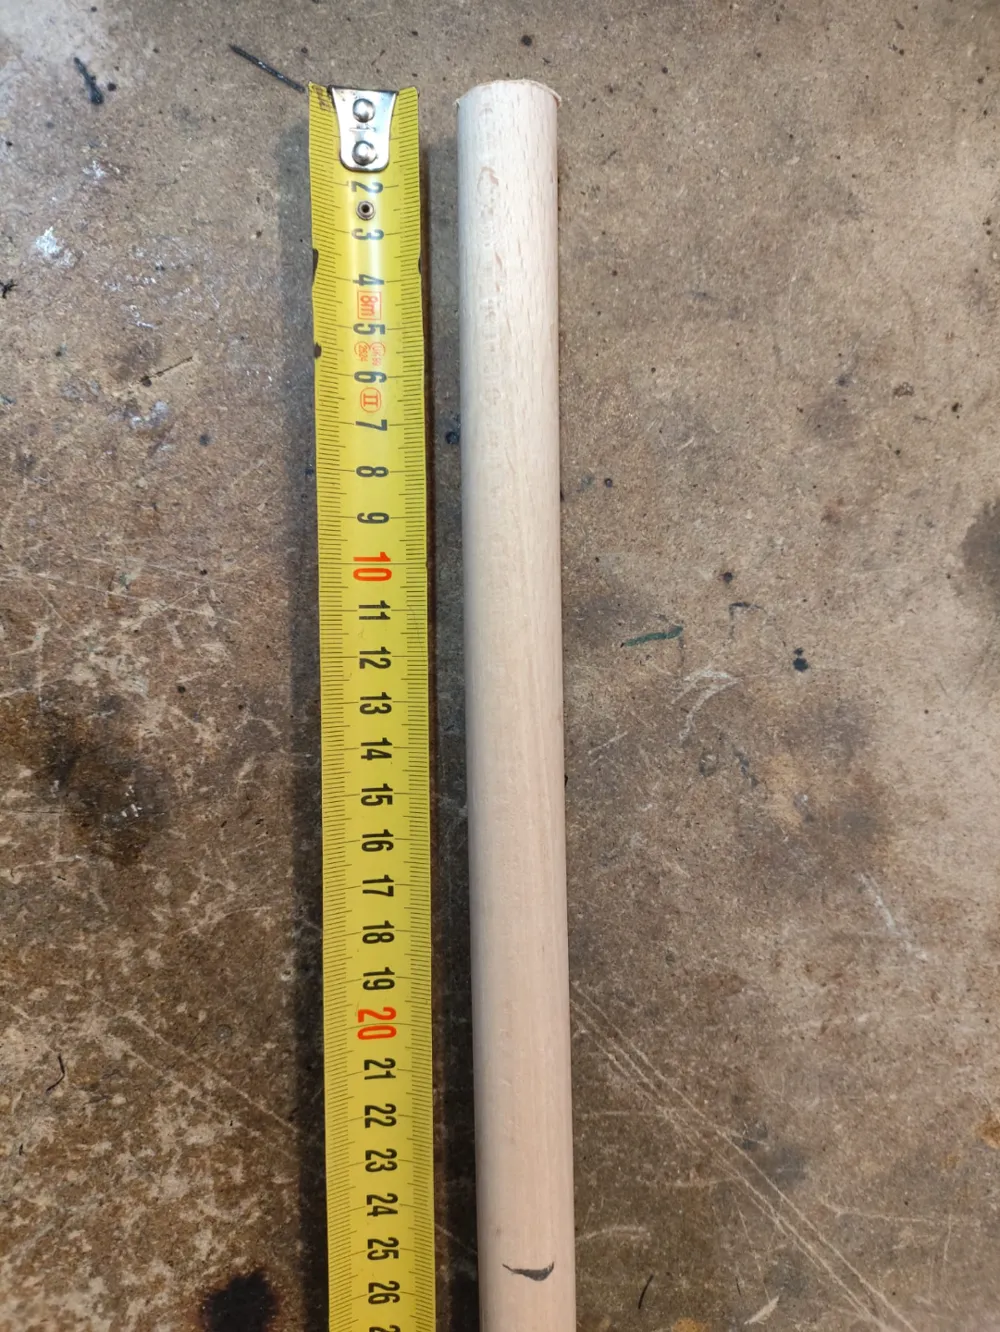
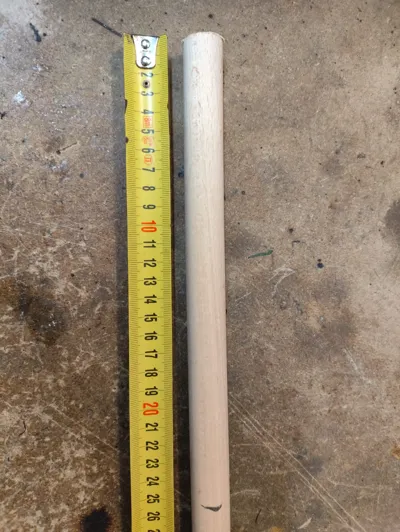
- WoodenRod x 1: d=22mm
Description
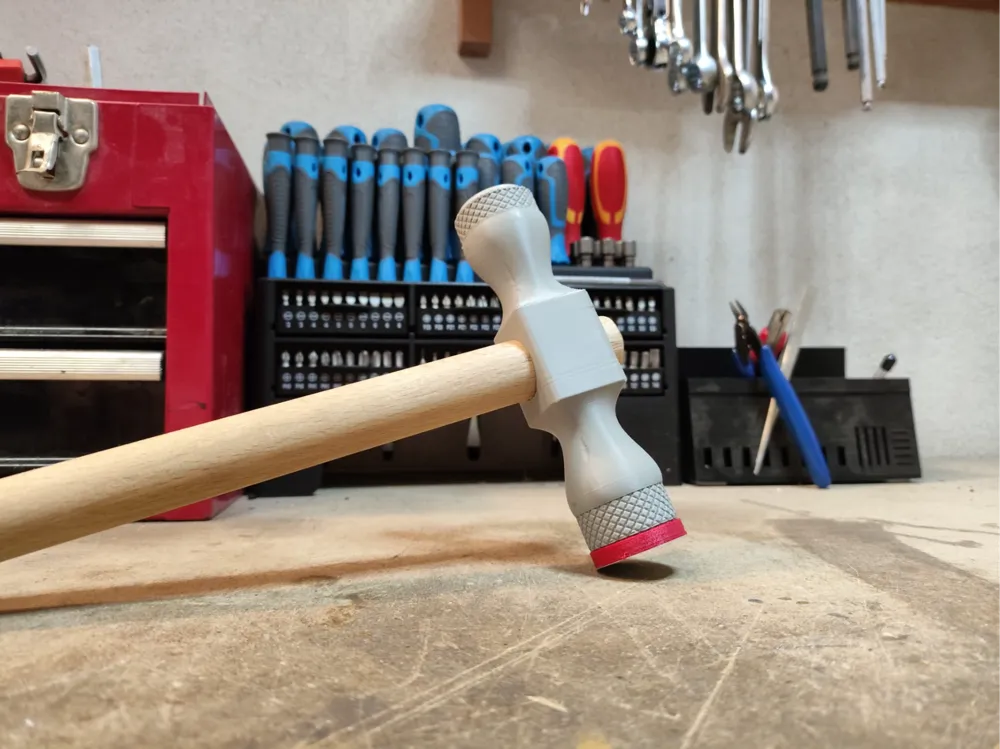
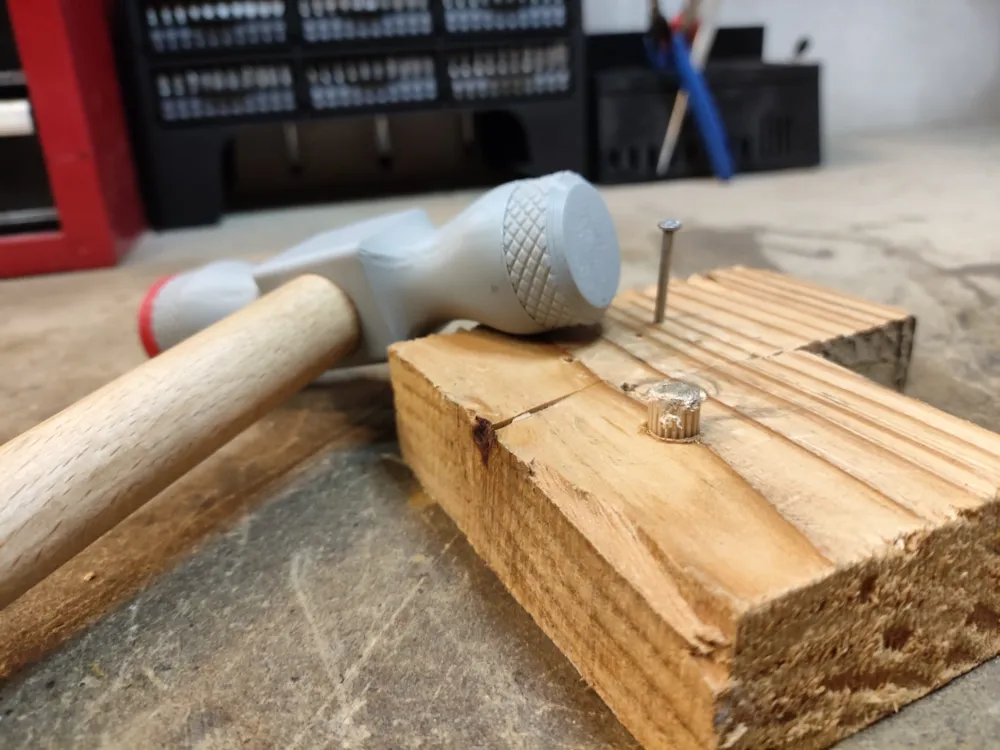
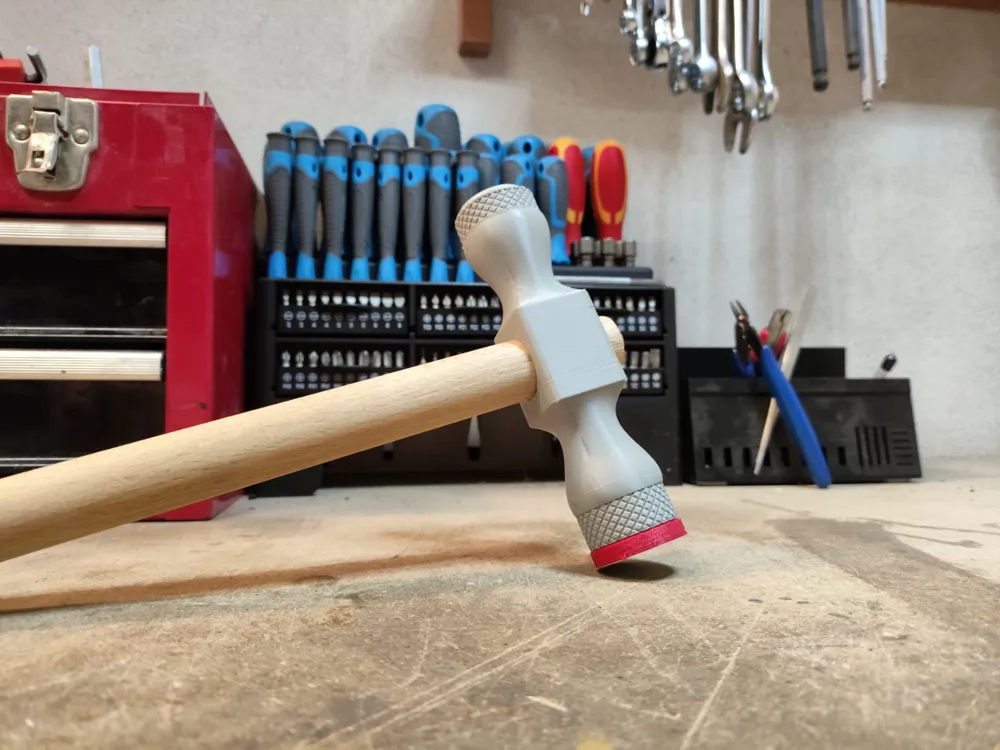
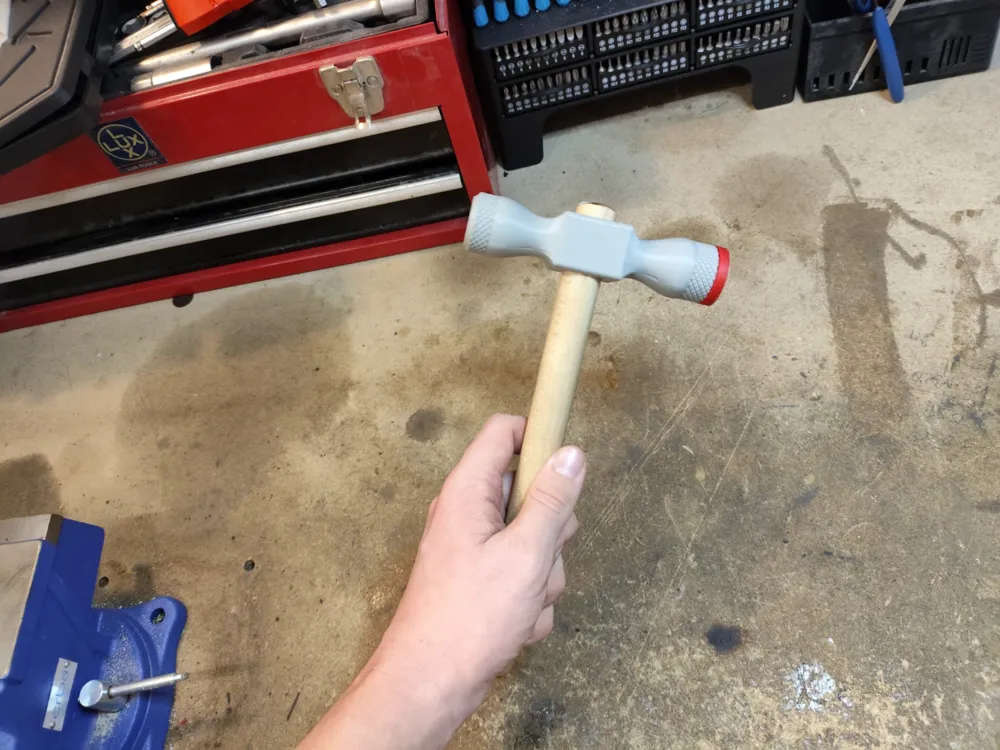
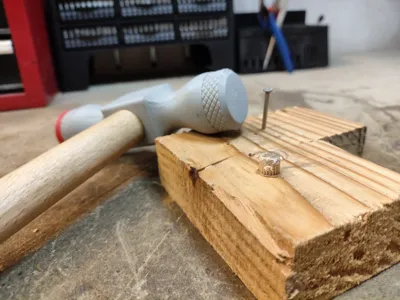
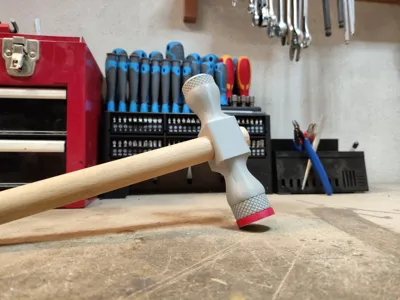
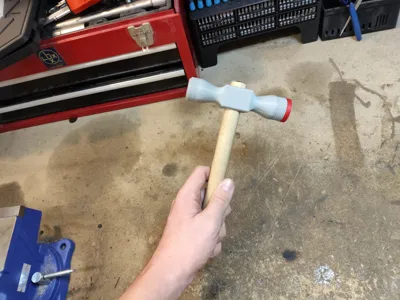
This 3D-printed hammer offers the perfect combination of comfort, printability, and functionality—all while looking great.
Parts List:
- Wooden handle: 22mm x 250mm
- Hammer head
- Attachment 1 (right-hand thread)
- Attachment 2 (left-hand thread)
- TPU attachment
- Wedge
Printing Tips:
- Wall thickness and infill can be adjusted to balance strength, weight, and printing time as needed.
- The TPU attachment has a PLA layer at the base to ensure proper adhesion to a textured print bed (requires a manual filament swap).
Assembly Instructions:
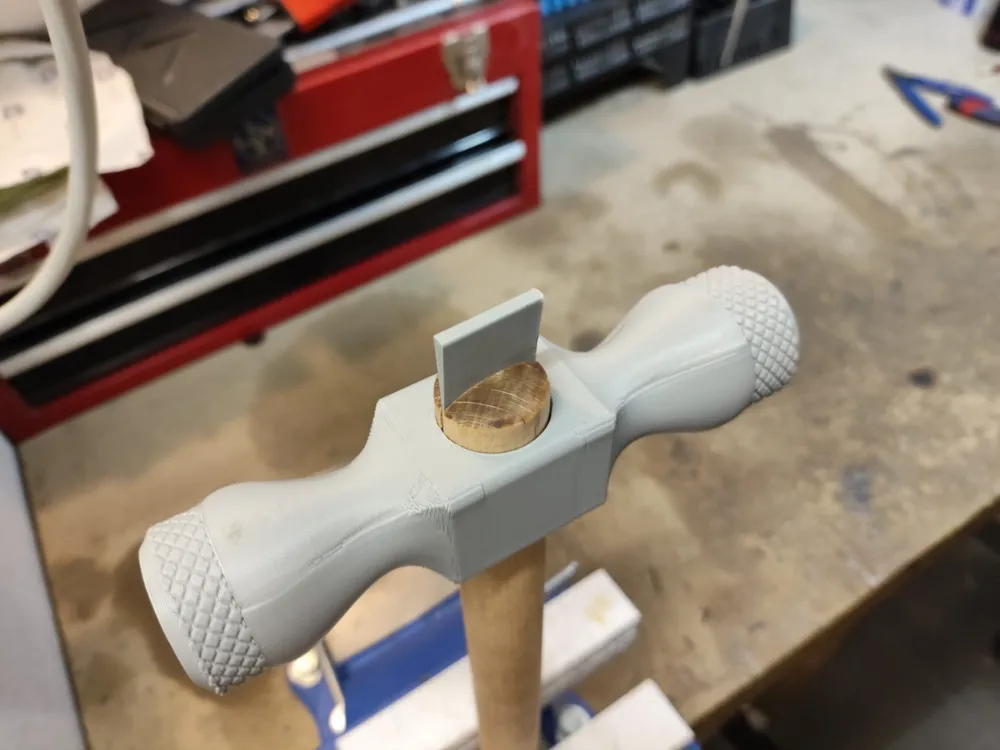
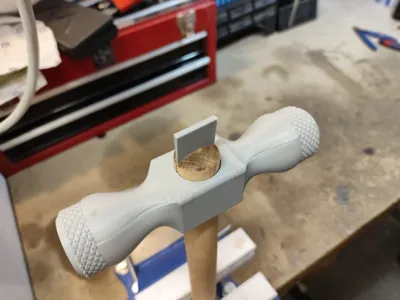
- Cut the wooden handle to a length of 250mm.
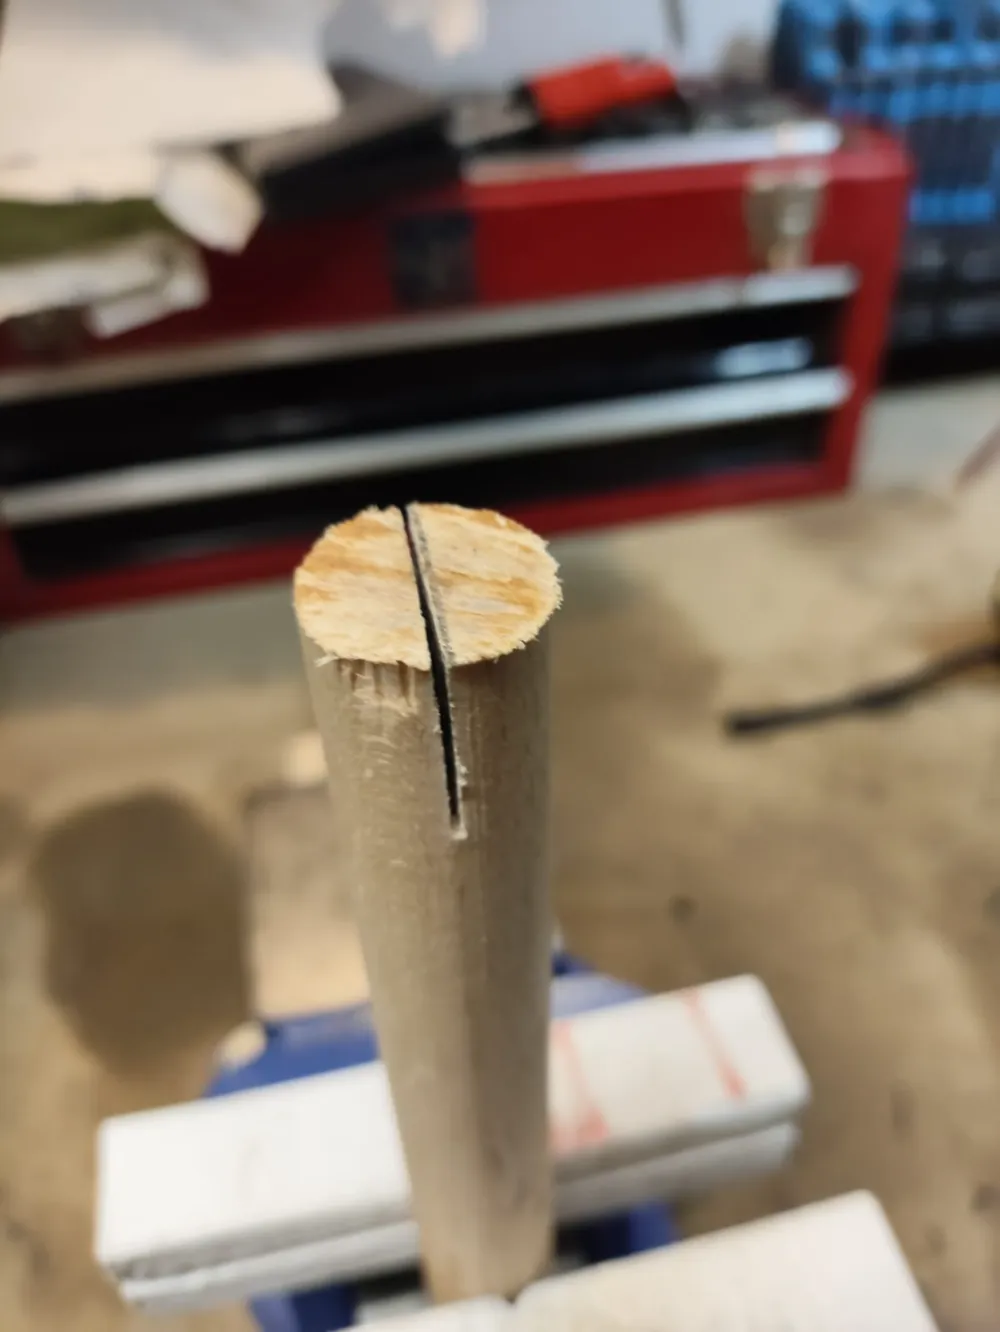
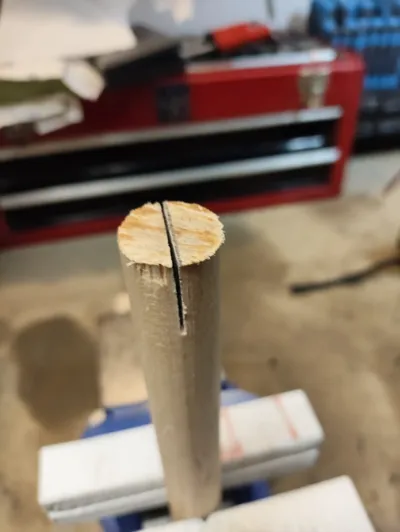
- Saw a centered slot for the wedge.
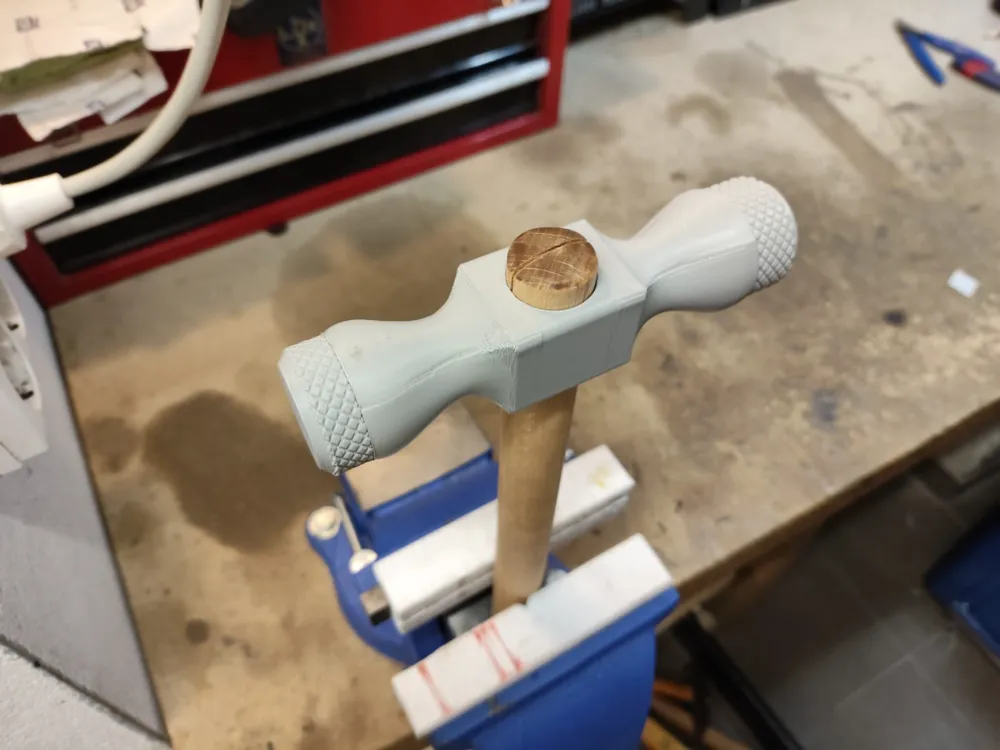
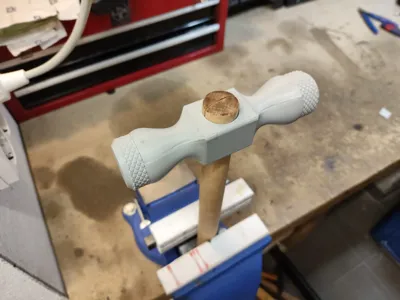
- Attach the hammer head and drive in the wedge to secure it.
- Screw in the attachments, ensuring the correct threading direction (RH or LH). If there is excessive thread play, apply Teflon tape.
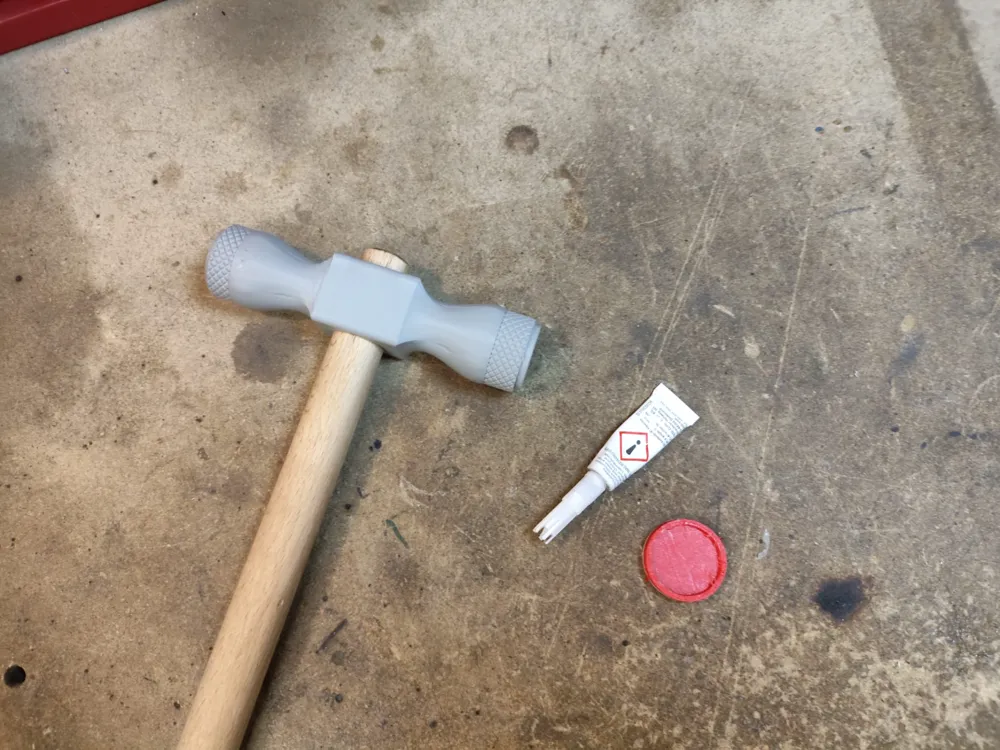
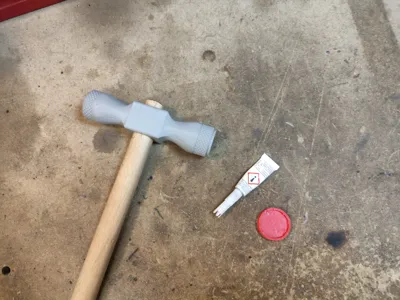
- Press-fit the TPU attachment or glue it in place with superglue for a more secure fit.
Let me know if this version meets your needs!
License

This user content is licensed under a
Creative Commons Attribution-Noncommercial


Comment & Rating (11)