
Under-desk docking station for Microsoft Surface laptops
Print Profile(3)

Description
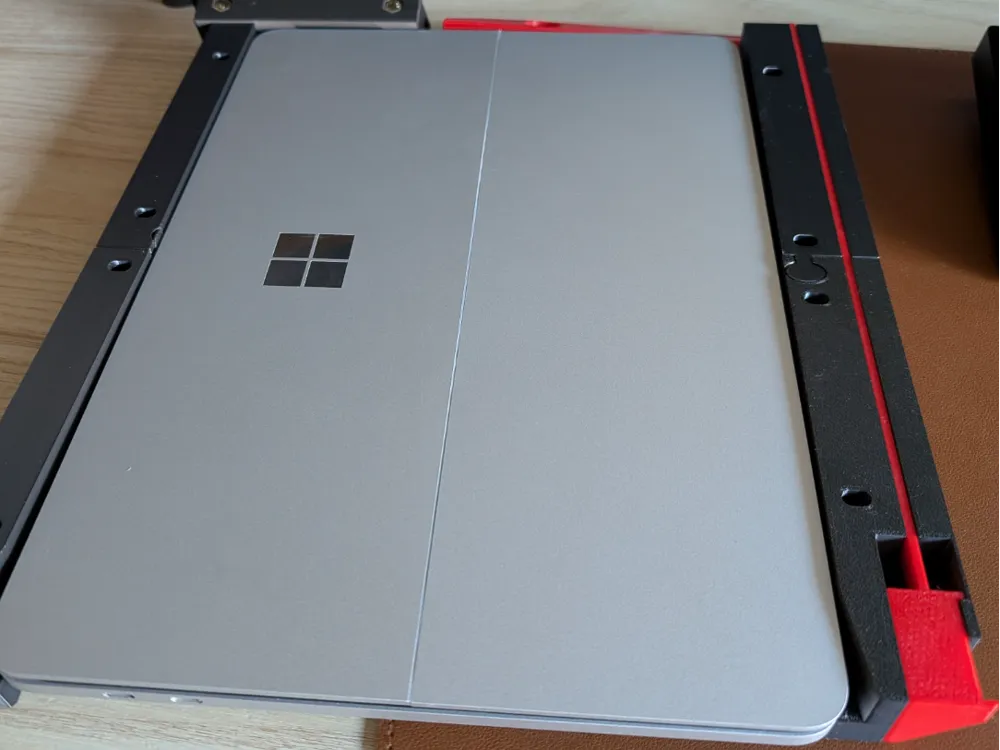
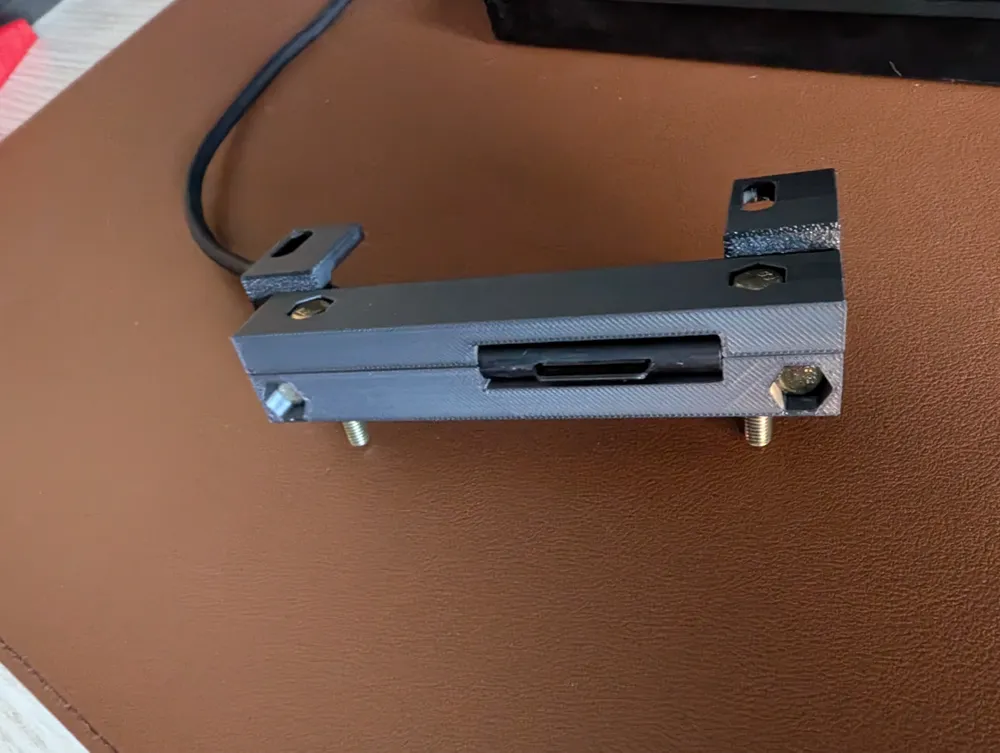
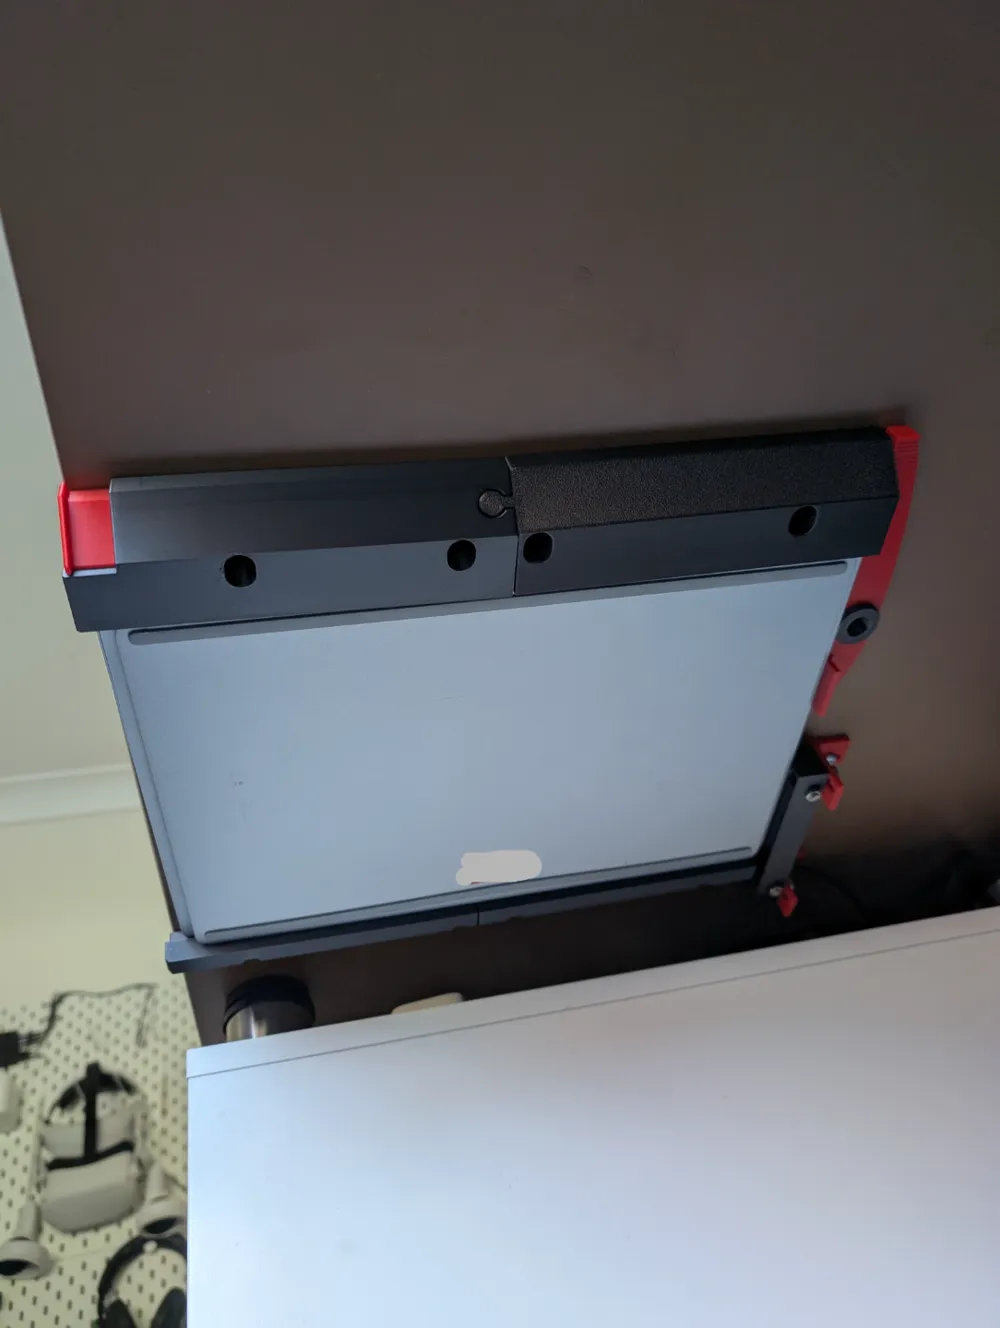
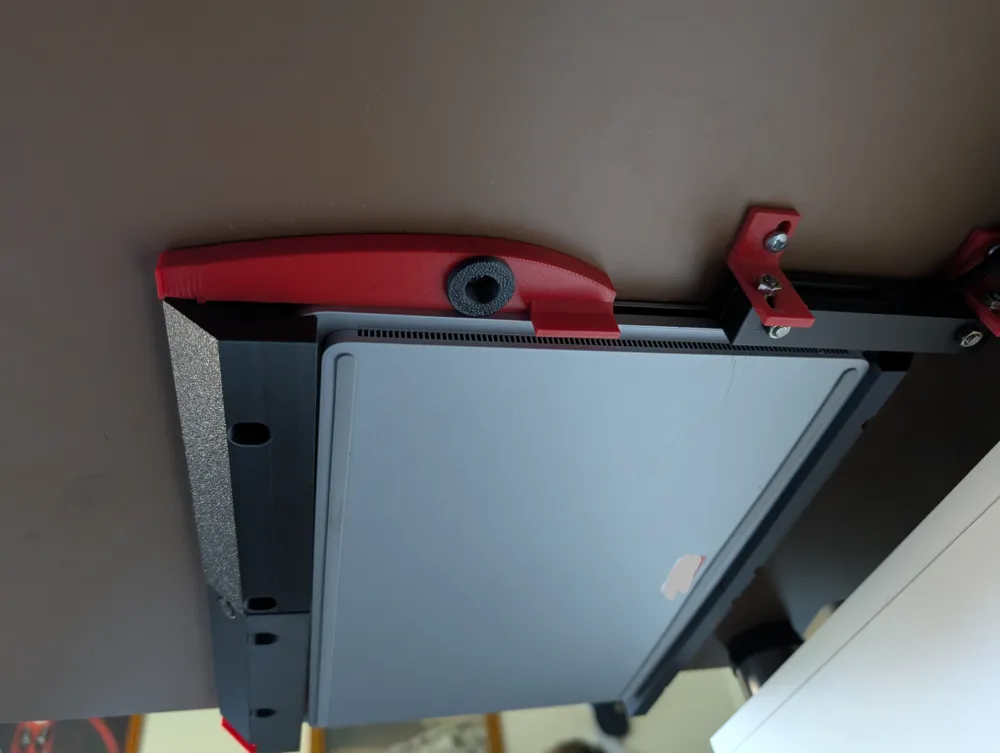
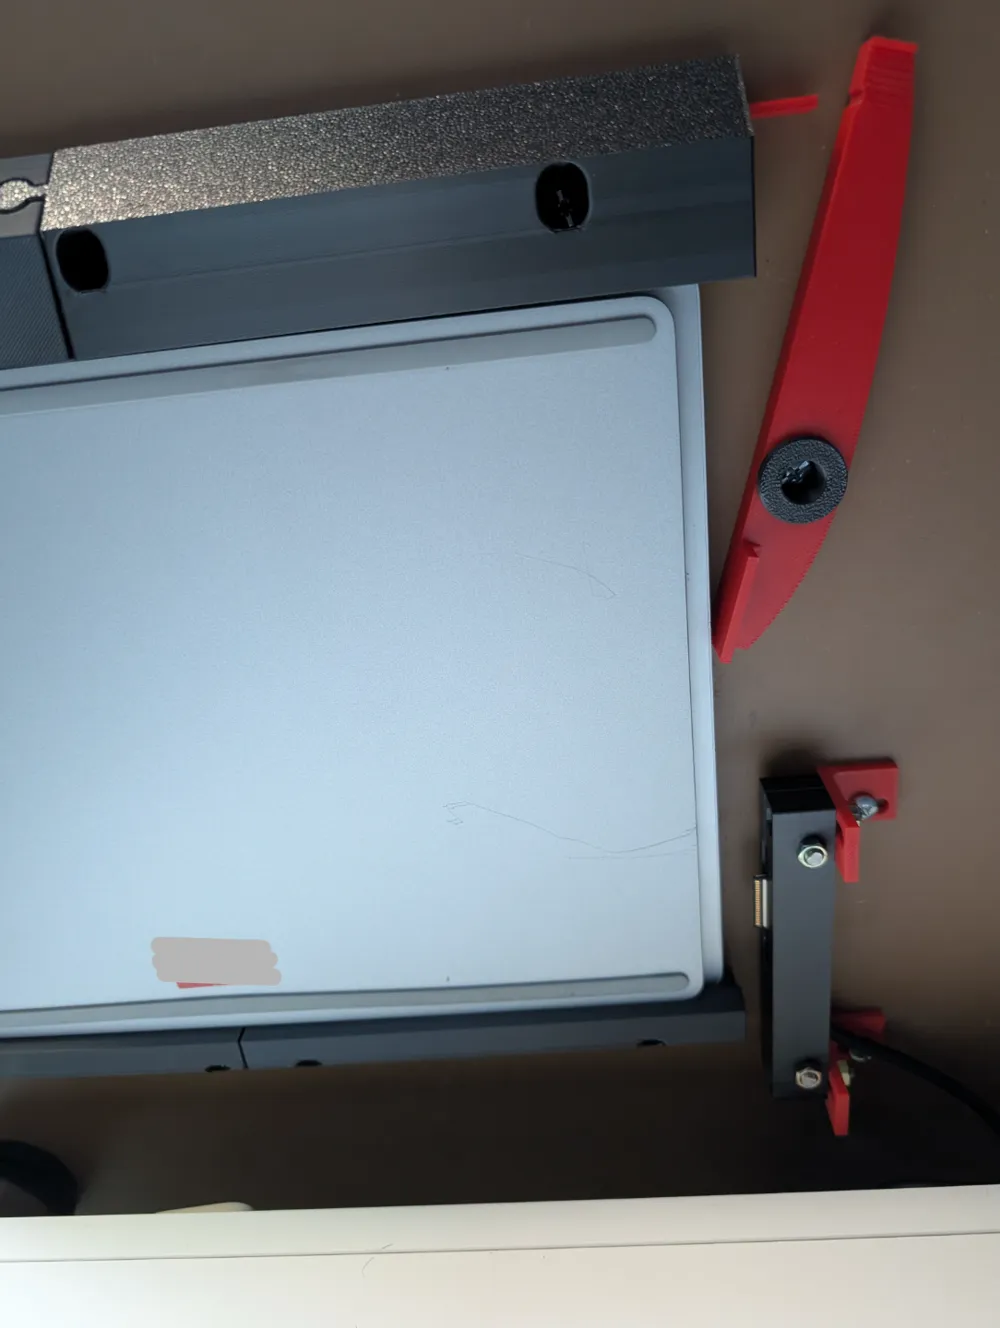
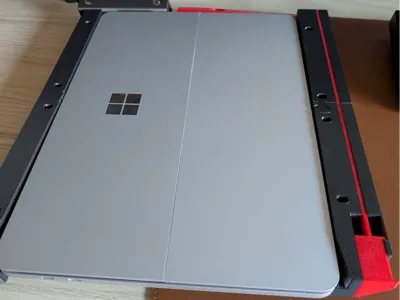
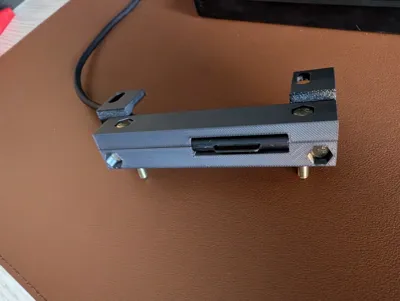
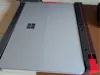
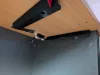
Remix of the innovative creation of Mairas on Printables. I loved the original design, but having a Microsoft Surface Dock and Connector (rather than USB-C), I needed to make adjustments to the connector housing to accommodate it and the cable, as well as mirror the whole model to move the eject mechanism to the right. So hopefully someone else will get some use from this model!
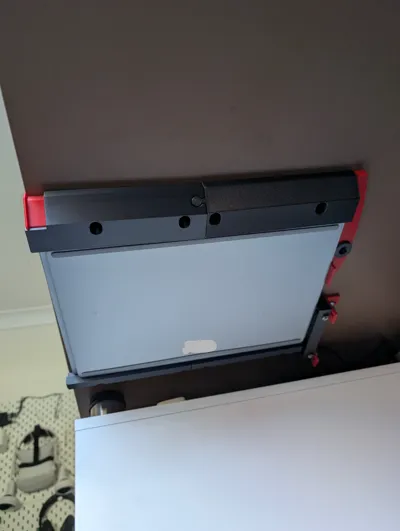
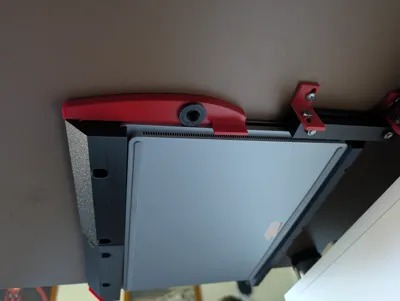
Has been successfully tested with both a Surface Laptop Studio (gen1) and a Surface Laptop.
The following is taken from Mairas' original post, but still applies to this remix:

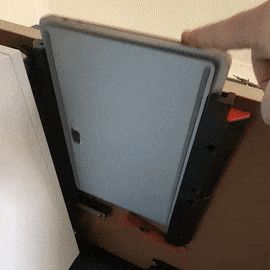
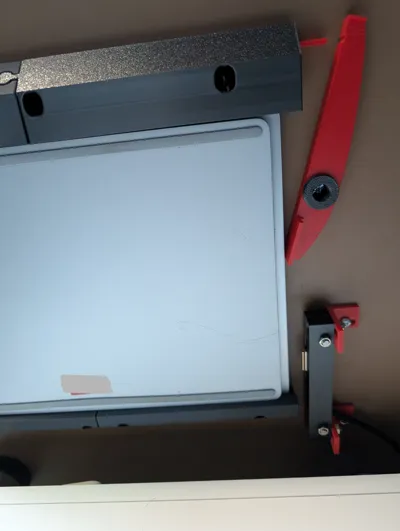
Assembly PrerequisitesThe connector mechanism requires four M5x30 hex-head bolts, washers and nuts for assembly. Mounting the dock requires 9 5mm screws of suitable length (say, 19mm, but make sure your tabletop is thicker than that!). You'll need two people for installing the dock. Otherwise, you will drop your expensive laptop and your family and friends will judge you for that! Note that the tabletop materials vary a lot and some are mostly hollow with a honeycomb structure at the core. You need to ensure that your screws or mounting fixtures are suited for that material! Rail InstallationStart the installation with the rail closer to the table edge, or whichever rail that should define the overall alignment of the dock. Have an assistant hold the rail under the table and use a square edge, a book cover or any other relatively square-angled object to check the rail alignment. Use a thin-tipped felt pen or similar to mark the screw hole slots on the table bottom. (If the table bottom surface is very dark, apply some masking tape first to make the markings more visible.) Remove the rail and drill holes at the midpoints of the marks you made. For 5mm wood screws, a 3mm drill bit works fine, but check your screws and use your own judgment! Then, screw the first rail in place. If you're installing the left rail first, remember to insert the button mechanism first! Once the first rail has been attached, ask your assistant to hold your laptop against the rail and then push the other rail against the laptop and mark the screw holes for the rail. You can use a piece of masking tape to prevent the rail from sliding around so easily. Then, remove the rail and the laptop and drill holes for the second rail. Screw the second rail in place, but don't tighten the screws yet. Slide your laptop on the rails. Adjust the rail screws to make the rails snug. There should be as little play as possible at the aft end of the laptop, but the computer should still be able to slide easily on the rails. Too much play will make the connector mating mechanism work much worse. Connector AssemblyOnce the rails are done, put the connector mechanism together. Start with sandwiching the USB-C connector (or connectors) between the connector frame pieces. Make sure that they can be plugged into your computer easily and then tighten the connector frame nuts. Next, attach the brackets with bolts, but don't tighten them up yet. With your computer on the rails, plug the connectors in the computer, and then press the rails up on the table bottom and mark the bracket slot positions. Remove your computer and drill holes. Slide your computer back in place, plug in the connectors, and screw the brackets on the table bottom side. Then, if you're happy with the alignment, tighten the bracket nuts to fix the connector assembly. Check that the connector is aligned with your connector and that you can easily slide the computer in and out. Ejection Lever AssemblyThe last piece to install is the ejection lever mechanism. If you haven't done so yet, slide the button extension rod in place. Then, with the laptop in the dock, mark the screw hole for the lever pivot cylinder. Remove the laptop, drill the hole, and screw the lever and the pivot in place. You're done! |
This remix is based on

License



Comment & Rating (9)