
Precise Flow Calibration Cube
Print Profile(8)
Description
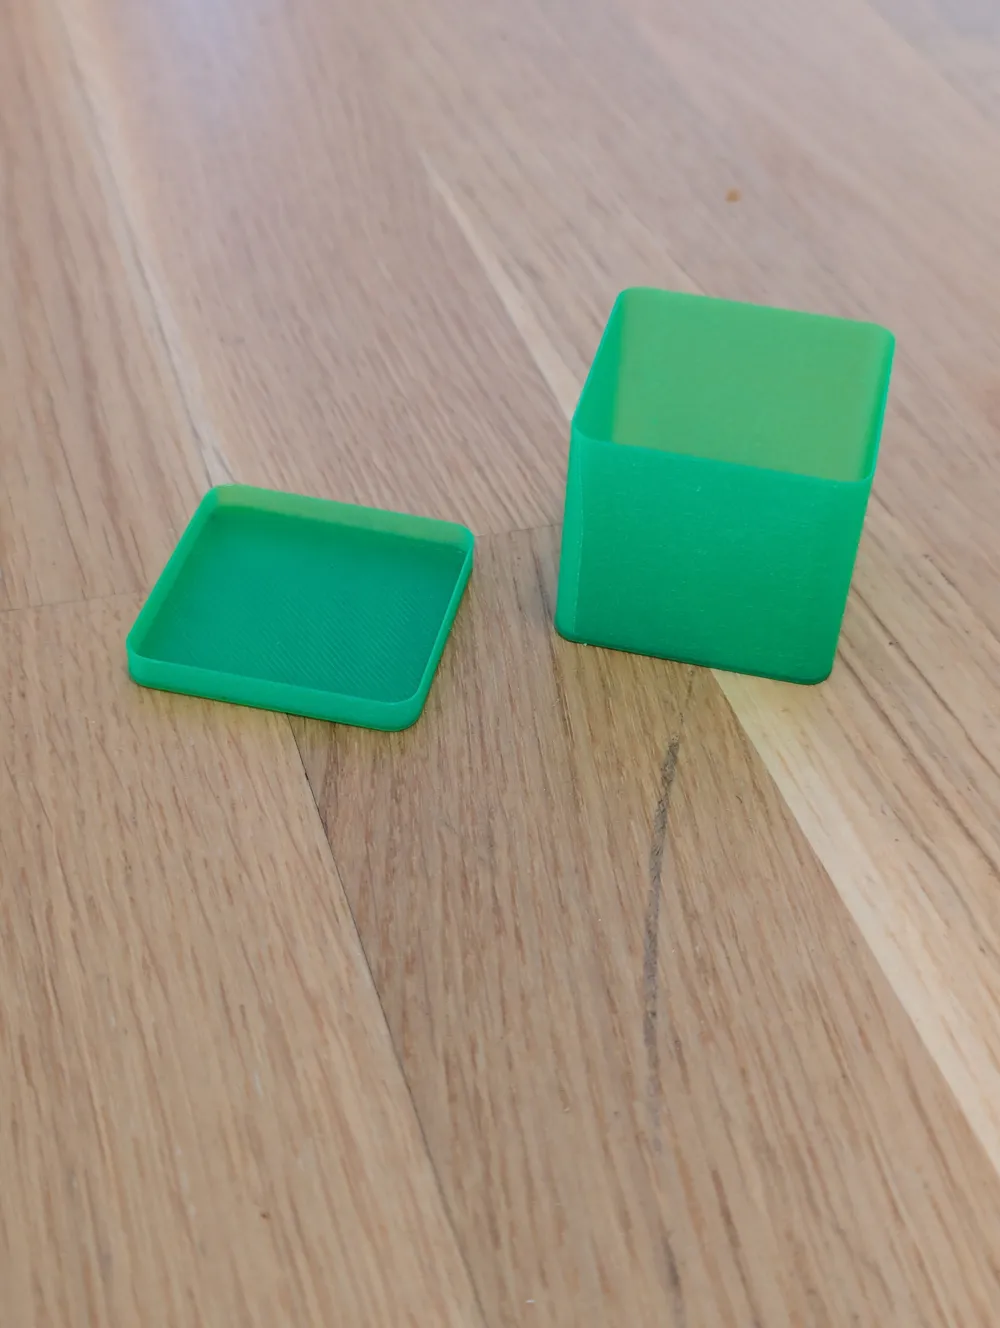
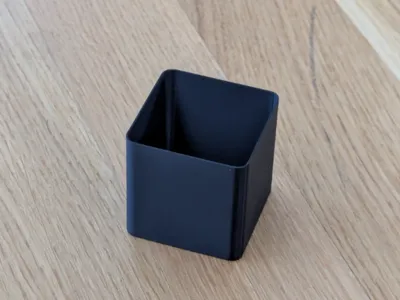
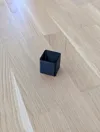
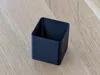
🎯 Precise Flow Calibration Cube – No More Guessing! 🚀
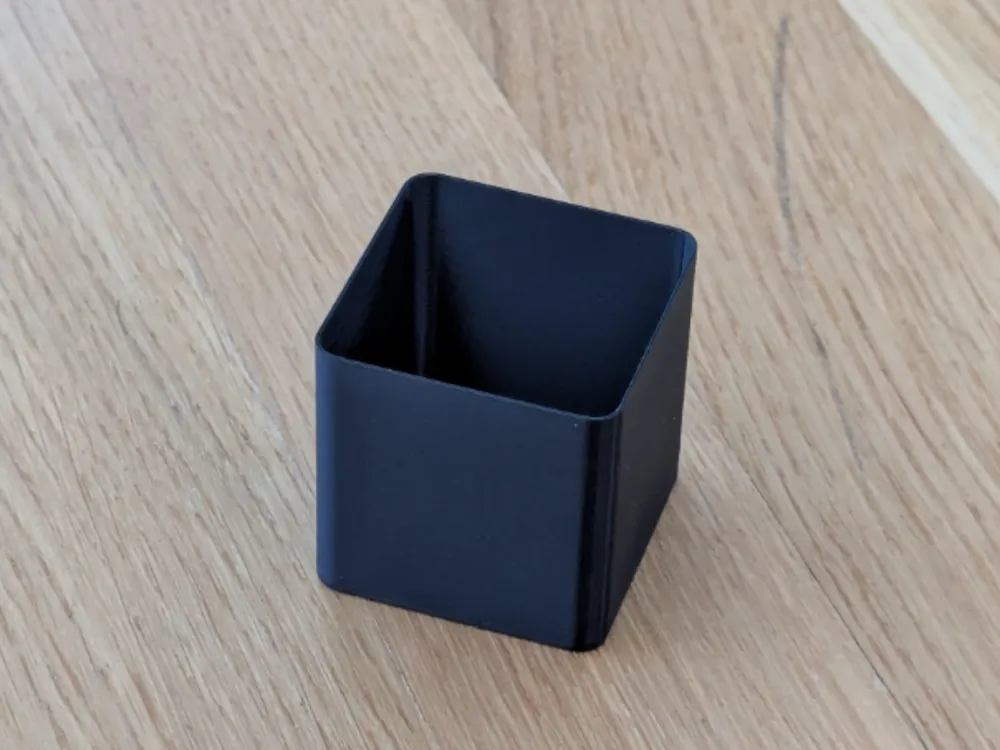
Are you also tired of relying on those prefabricated flow calibration squares? 🙄 Most of the time, they take forever, waste unnecessary material, and the result is more "estimating" than "measuring". If you truly want perfect surfaces and dimensionally accurate parts, you need facts – and that's precisely why I created this optimized calibration cube!
Why This Cube? 🤔
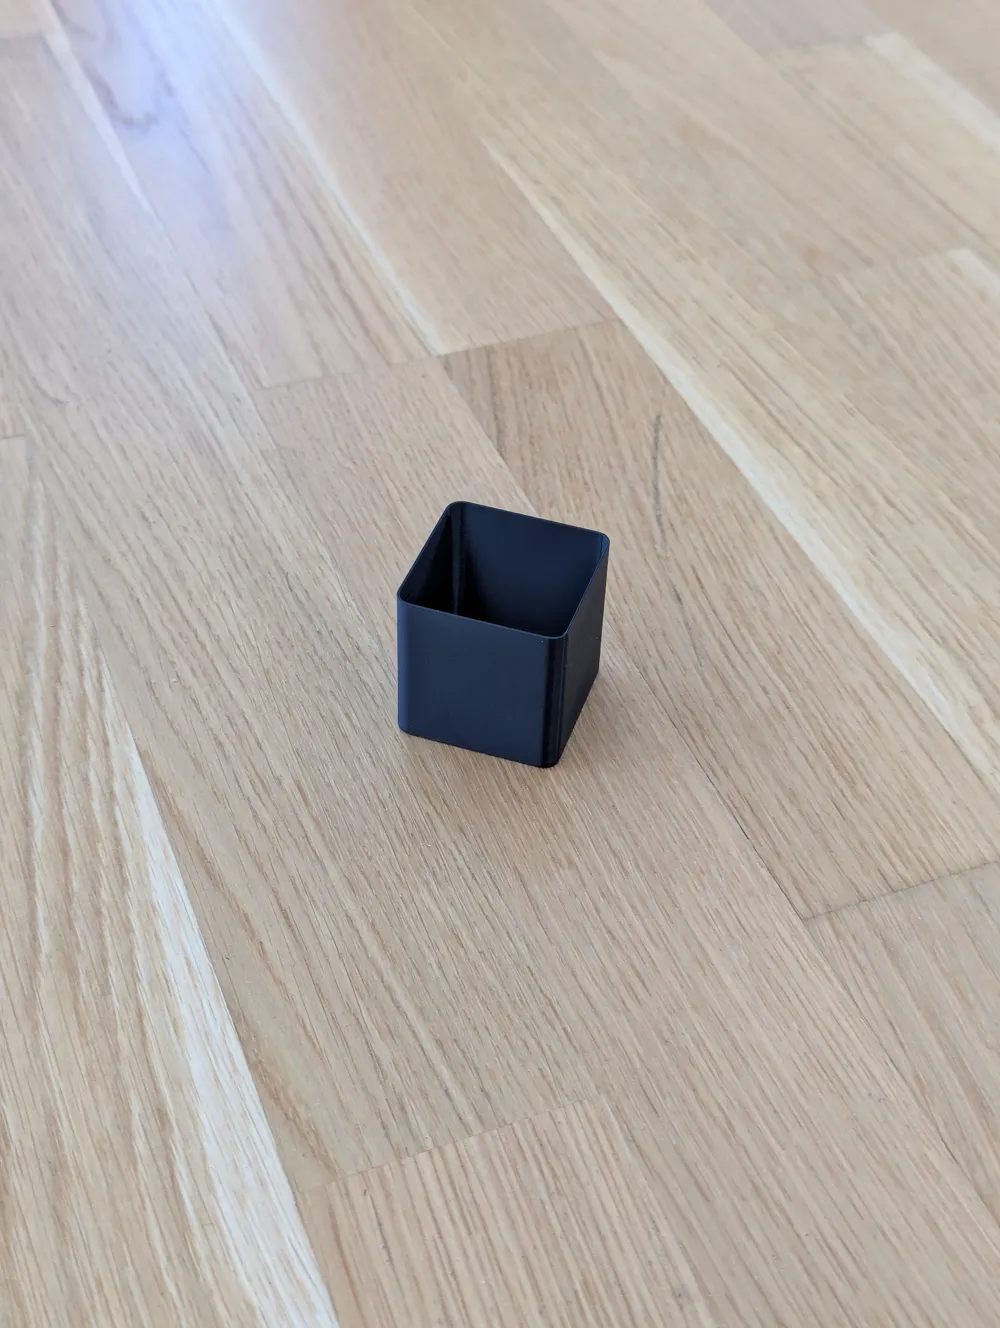
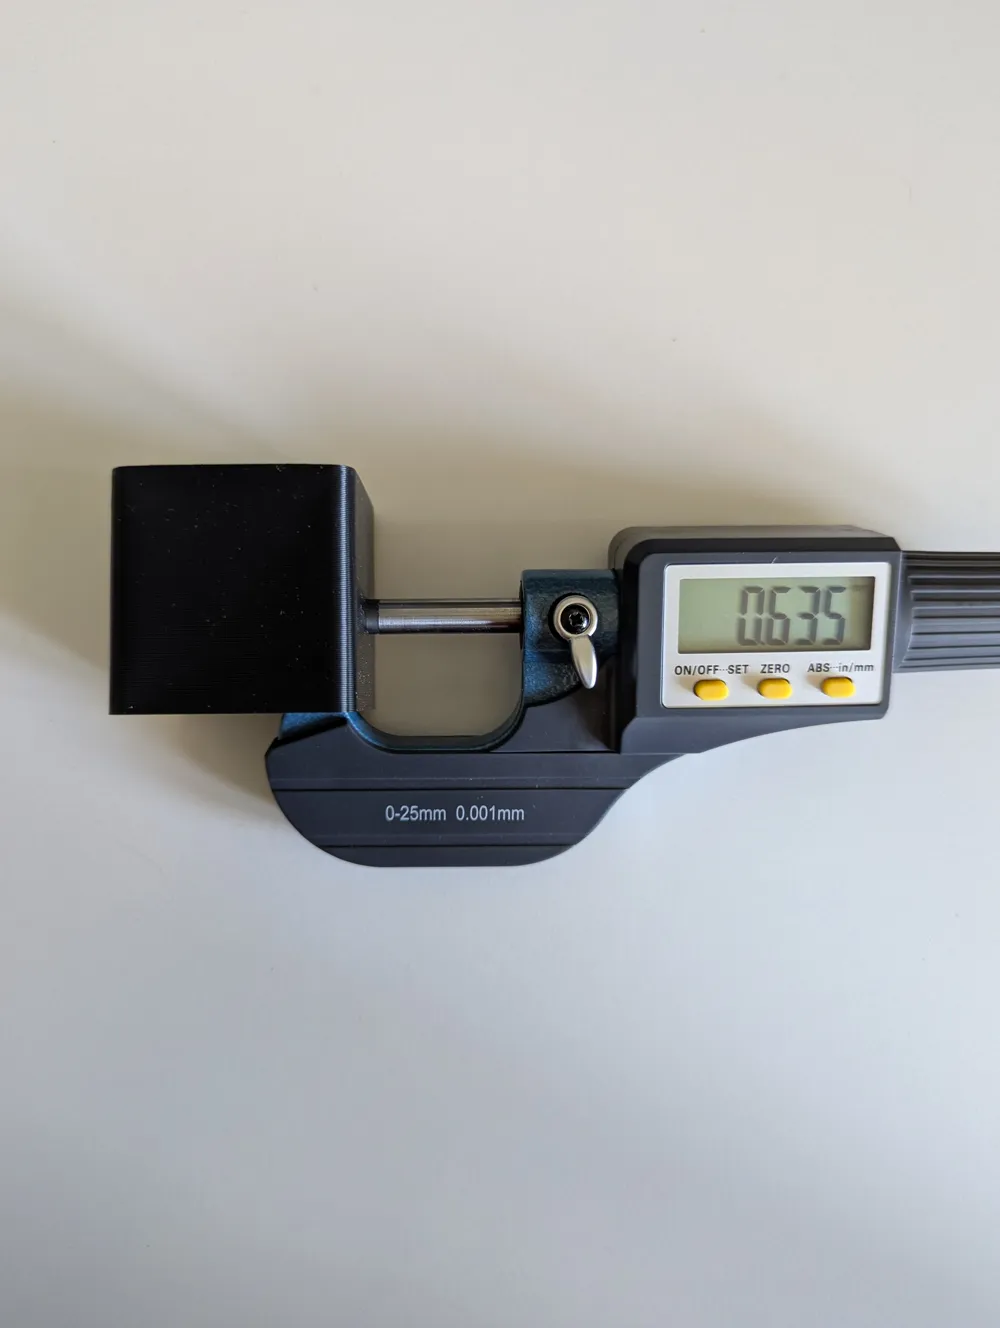
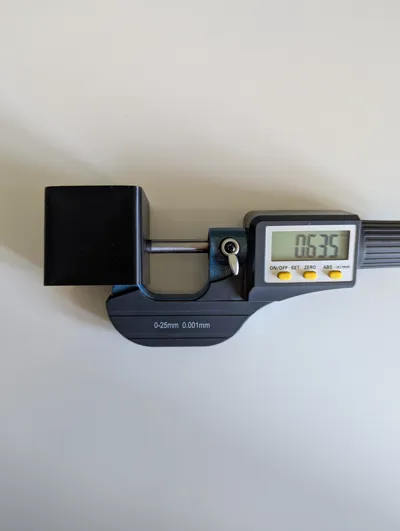
Standard tests (such as those integrated into Bambu Studio or OrcaSlicer) are often inaccurate because they are visually assessed. My cube is designed for actual measurement with a micrometer. It prints faster and provides results that are accurate to the hundredth.
⚙️ Important Preparation (Slicer Setting)
Before you start printing, you absolutely must adjust one setting to ensure the result is not distorted:
- Go to the filament settings.
- Navigate to the Cooling tab.
- DISABLE the option: “Slow down for better layer cooling”. 🛑
Note: You do not need to save this setting permanently. It is sufficient if it is active for the current session so that the printer extrudes at a constant speed.
📏 How Calibration Works
The path to perfect flow is quite simple:
- Print the correct print profile for your nozzle (0.2mm; 0.4mm; 0.6mm; 0.8mm).
- Use a micrometer (for maximum precision).
- 3-point measurement: Measure at 3 different locations per cube side. ⚠️ IMPORTANT: You must NOT measure in the rounded areas (the corners)! Only measure on the flat side surfaces.
- Calculate the average: Add the values and divide them by the number of measurements to get your actual average value.
🎁 Bonus: Sustainability & Storage 📦
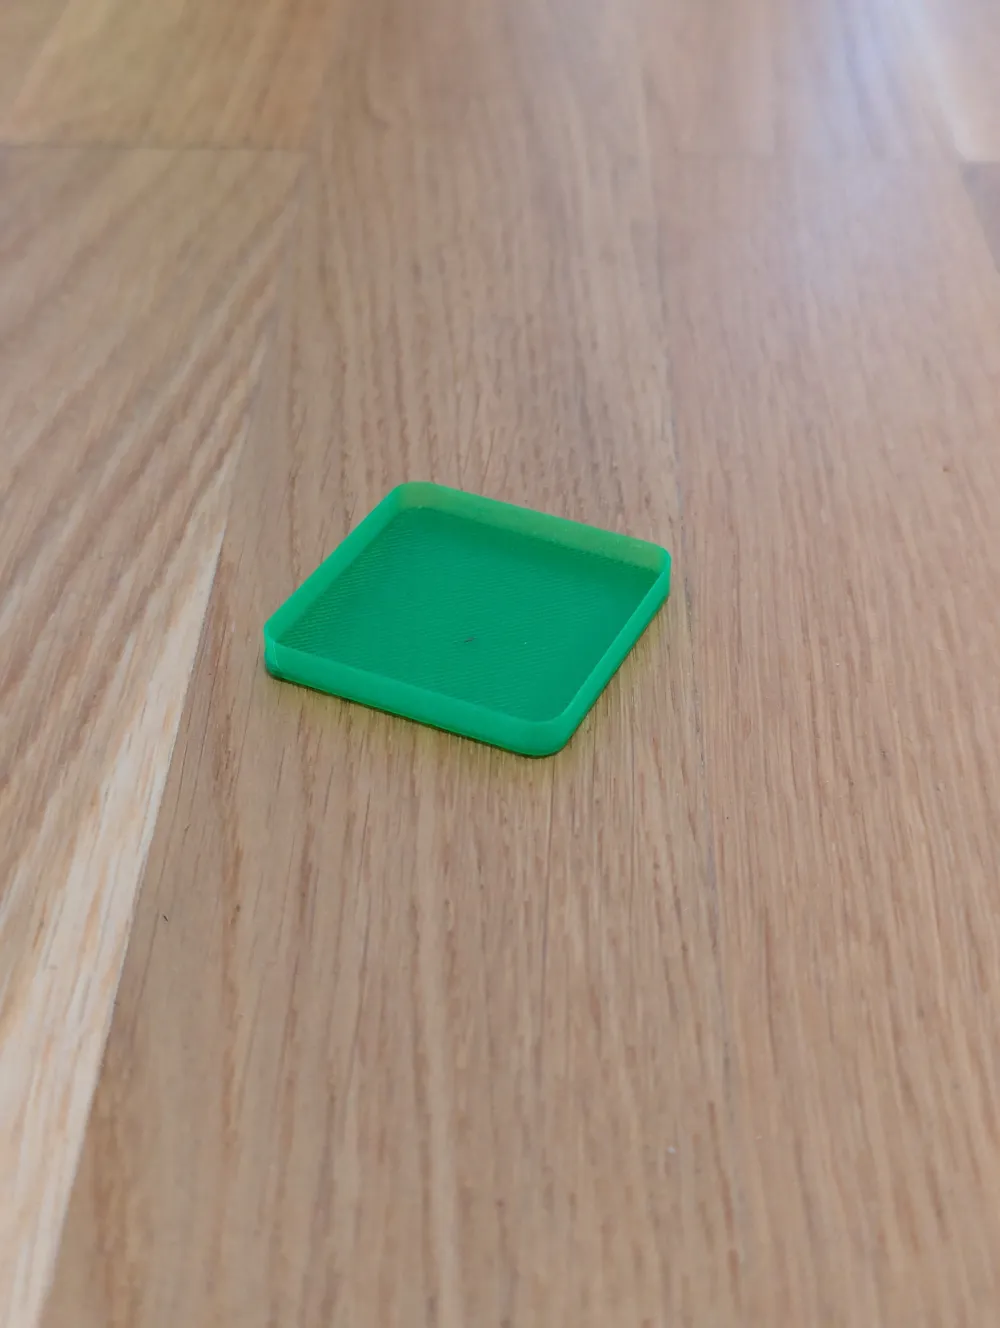
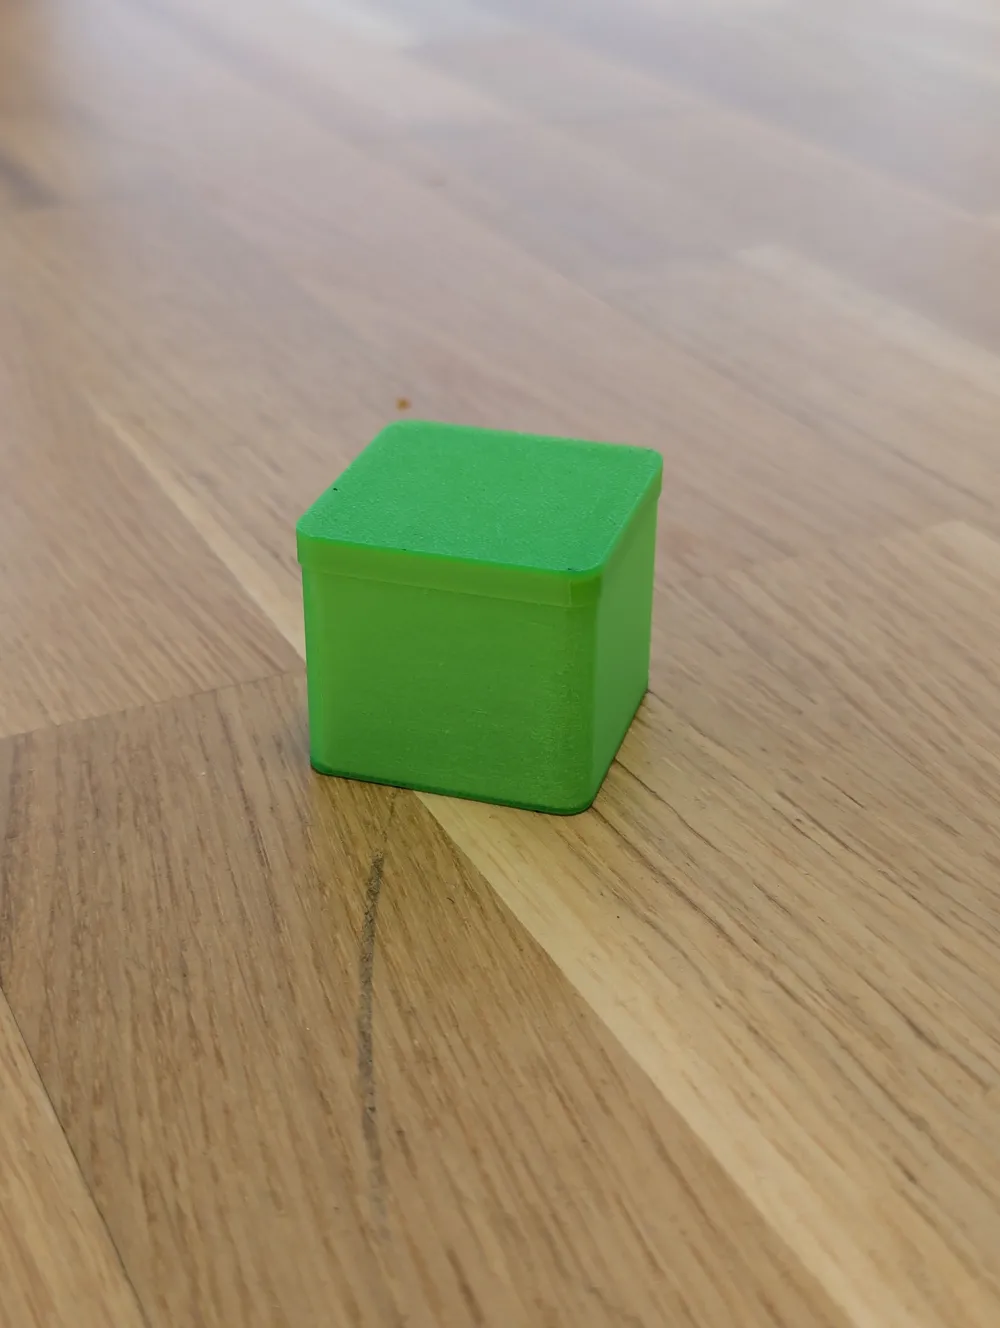
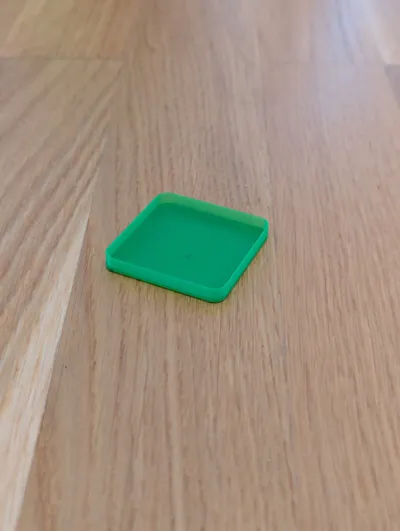
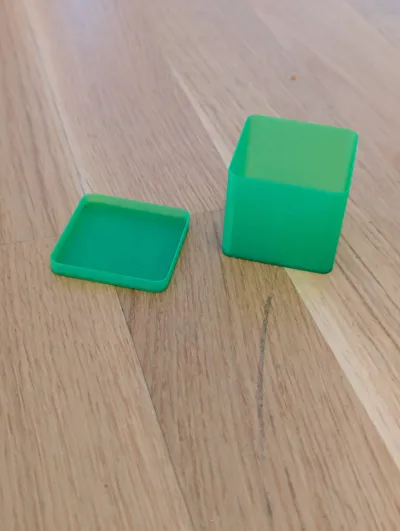
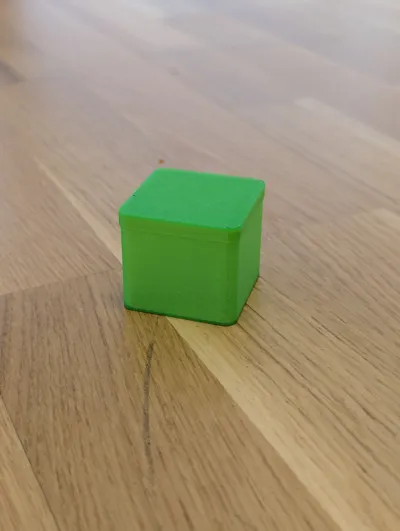
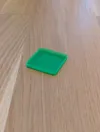
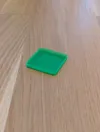
I hate throwing away test prints after measuring. That's why I also designed a matching lid for the cube! 💡
Instead of discarding the "little box", you can use it as practical storage for small parts (like screws or spare parts). This way, your calibration print still has real use in your workshop even after adjustment! 🛠️♻️
📊 The Excel Calculation Aid (Included!) 📈
So that you don't have to bother with a calculator yourself, I have included an Excel spreadsheet. This is how you calculate your new flow value:
- Target Width: This is the line width you set in the slicer (e.g., 0.45 mm).
- Actual Width: Here you enter your measured values (average).
- Current Flow: Your currently stored value in the filament profile (e.g., 0.95).
The formula behind it: (Target Width / Measured Width) * Current Flow = New Flow Value
The Excel does this for you and directly outputs the New Flow Value, which you can simply transfer to your filament profile in Bambu Studio / OrcaSlicer. ✅
Conclusion 🏆
With this method, you eliminate guessing. If the flow is correct, your parts will fit together perfectly and the surfaces will be smooth. ✨
Good luck with calibrating and happy printing! 🛠️🖨️
Interested in more printable projects? 🚀
If you like this design, be sure to check out my profile!
I regularly share new models.
🔗 All guecom designs on MakerWorld here
Boost Me (for free)
I have put a lot of time, effort, and filament into designing, testing, and refining this model to ensure it works perfectly for you. If you like this design and it helps you with your prints, a small boost would mean the world to me. It shows your appreciation and motivates me to keep creating and sharing new designs with the community!
Documentation (1)
License

You shall not share, sub-license, sell, rent, host, transfer, or distribute in any way the digital or 3D printed versions of this object, nor any other derivative work of this object in its digital or physical format (including - but not limited to - remixes of this object, and hosting on other digital platforms). The objects may not be used without permission in any way whatsoever in which you charge money, or collect fees.


Comment & Rating (14)