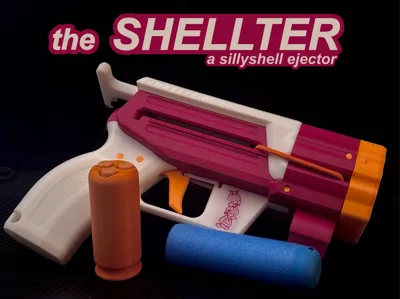
Shellter - Silly Shell-Ejecting Blaster


Print Profile(1)
Description
Safety Disclaimer
This began as an April Fool's project--do not shoot Sillyshells at people or animals. Nobody wants a hunk of plastic hitting their head at 30mph. Depending on the material you shoot at, your shells could chip or break. YOU HAVE BEEN WARNED!
Overview and Assembly
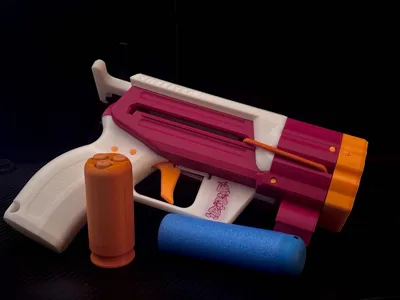
Enter: the Shellter, a stringer for all your higher-caliber needs. It launches Sillyshells and Mega XL darts! It's perfect for decapitating zombies (and chipping all your shells)! This project wouldn't have been possible without my awesome beta testers: ArchonMal, 0x1c1ean, and Martin. Thank you all so much!!!
Printables page: https://www.printables.com/model/1636798-shellter-silly-shell-ejecting-blaster-low-hardware/
Makerworld page: (you are here)
Overview and assembly video:
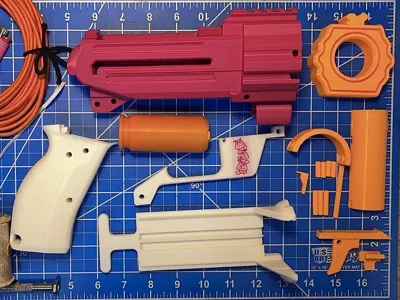
To assemble the blaster, you will need:
-All the printed files
-4mm elastic cord
-1/8" sewing elastic or similar thin elastic
-Lube
-A lighter
-Small mallet or hammer
-Sandpaper (if your prints are rough)
1. Slide the Slide onto the back of the Reciever. Pull it backwards and put lines of lube on each track of the separated dovetail.
2. Turn the Reciever over onto the Slide and insert the Triggerguard, inserting Pin C (1 dot) to lock it in place.
3. Insert the Catchblock into the back of the Reciever, with the arrow facing you and pointing down. It should slide into its hole with space for the next step. Dab a few drops of lube in its hole.
4. Drop a few lines of lube in the bottom hole, then slide in the Trigger fully.
5. Carefully slide on the Grip--it slides at an angle. Try not to bend the Triggerguard too much! Hammer in the three Pin B's (3 dots) into the three empty holes.
6. Take a length of the 1/8" sewing elastic and thread it through the hole on the Trigger and the slot on the Triggerguard. Tie it off at your desired tension.
7. Take a length of your 4mm elastic cord and thread it through the acceleration track and the bottom indent of the Slide and Reciever. Tie it off at your desired tension. Snip the ends, leaving a few inches left on each end. Then, seal the ends with a lighter and tuck the ends into the pocket at the front of the Reciever.
8. Test fire by pulling back on the slide, loading a dart/shell, pushing the slide forward, and pulling the trigger.
9. Fit the Muzzlepin into the curved slot on the Reciever, and hammer two Pin A's (4 dots) to lock it in place.
10. Fit the Cap onto the Muzzlepin, and hammer the final two Pin A's (4 dots) to lock it in place.
11. To attach the MXL Barrel Insert, insert it from the top breech of the blaster with the long chamfered edge facing the front. It should click into place with some pushing! To release it, use two spudgers or thin screwdrivers and pry it out from the sides of the acceleration track by the two slots, lifting it up. It should click out and slide out of the barrel easily.
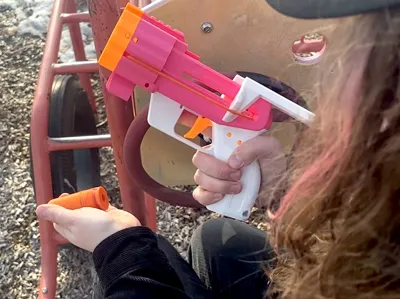
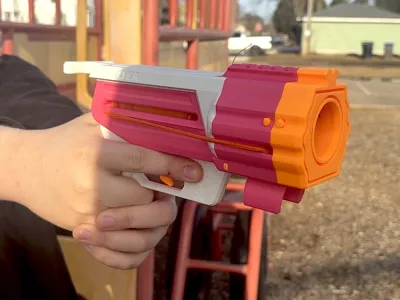
12. Enjoy your Shellter!
Printing Information
Here's all the information for getting these parts ready to print. All parts are exported in their print orientations. You can view the Shellter_Orca.3mf file for reference, too:
-25% Gyroid infill is the standard, with 3 walls. Deviations are as follows:
-Pins A, B, and C; Pintool, Muzzlepin, and the Catchblock all need 6 walls and 100% infill for stability.
-The MXL Barrel Insert needs a brim, as well as 6 walls at 100% infill.
-The Slide needs solid layers where the wings meet the body of the slide (from 9.5mm to 12.8mm), else they might snap off along the layer lines. A brim couldn't hurt, either.
-The Cap needs 15% Gyroid infill and the grip needs 30% for a better weight distribution.
The following parts have steep overhangs or bridges and need support:
-Both Reciever options need support on the upper dovetail piece, as well as that entire ceiling area. Bridge sag will mean you have to sand really obscure areas to make the blaster function!
-The Reciever with the integrated clip also needs a brim or mouse-ears on the corners of the clip.
-The default Grip has a sling hole in the bottom corner that needs a touch of support.
-The Trigger, by default, prints upside-down and needs supports to even print. Snug Grid supports in Bambu or Orca work wonders and snap off easily.
-The Pintool, at its default orientation, needs a droplet of support under the peg.
Only one part has two filament colors by default, and that's the standard Triggerguard piece. It has one layer that's a different color so that the logo stands out, but the filament modifier extends past the boundary of the print, so you can easily delete it if you like!
Comment & Rating (2)