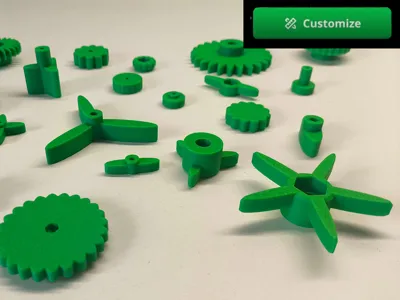
Custom butterfly knobs


Print Profile(1)
Bill of Materials


Description
Visit my latest creation, 100% customizable bracelets.

Membership
“Want to sell my designs? Get your commercial license here! ❤️ Join my exclusive memberships: 🔹 'Grateful' (3 USD): This membership is your way of saying "Keep creating!" with no extra benefits, just my eternal gratitude. 🔹 'Maker' / 'Marketer' (6 USD): Commercial license with mention. 🔹Maker free, (12USD) Free commercial license, no attribution.
Boost Me (for free)
I'm creating new and very interesting models, and your support motivates me to keep investing time and resources into new creations. If you can, I'd appreciate a free Boost to support my work. If you don't have a Boost, a "Like" or comment also helps a lot. Thanks for being part of MakerWorld and its creativity!
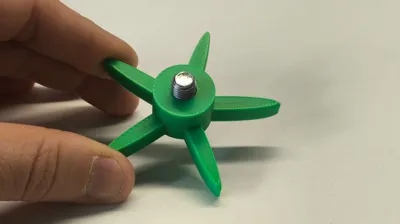
Customize the grip of your nuts and bolts
1. Main Configuration
This section defines the basic function of the part
- Grip type: Defines the shape of the nut's "wings"
- Rounded wings: Classic aerodynamic shape and soft to the touch
- Number of wings: You can choose how many wings you want (from 1 to 24) Typically 2 (one on each side) or 12 for a circular knurled grip
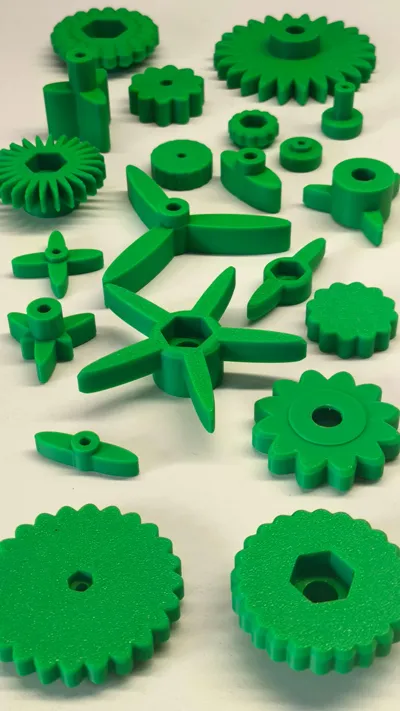
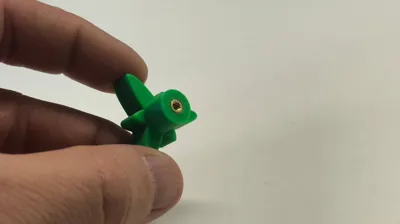
- Center hole type: Determines what you will put inside the part
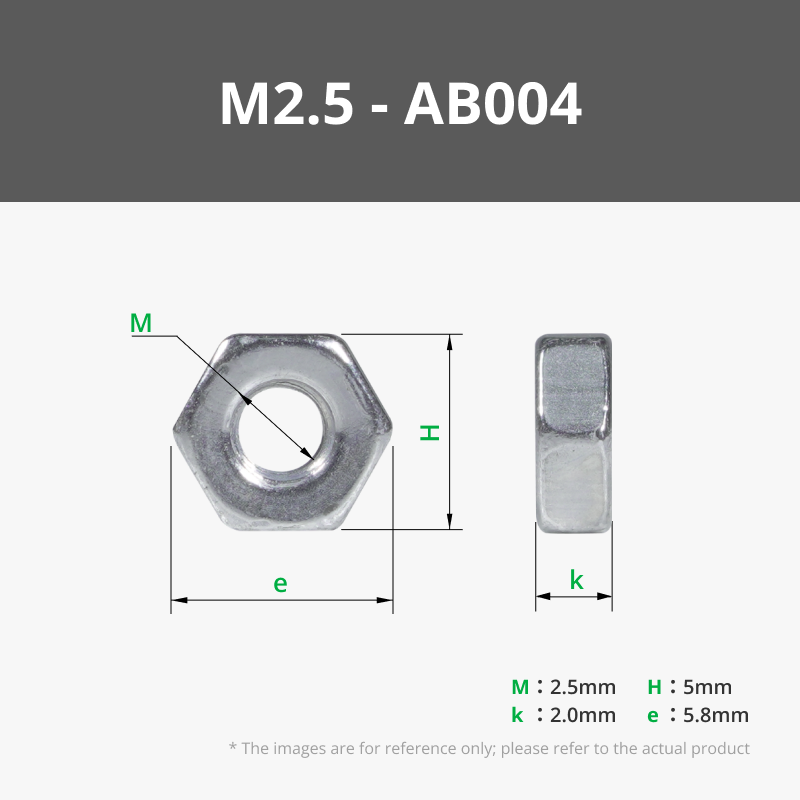
- Nut: Creates a hexagonal recess in the base for a steel nut
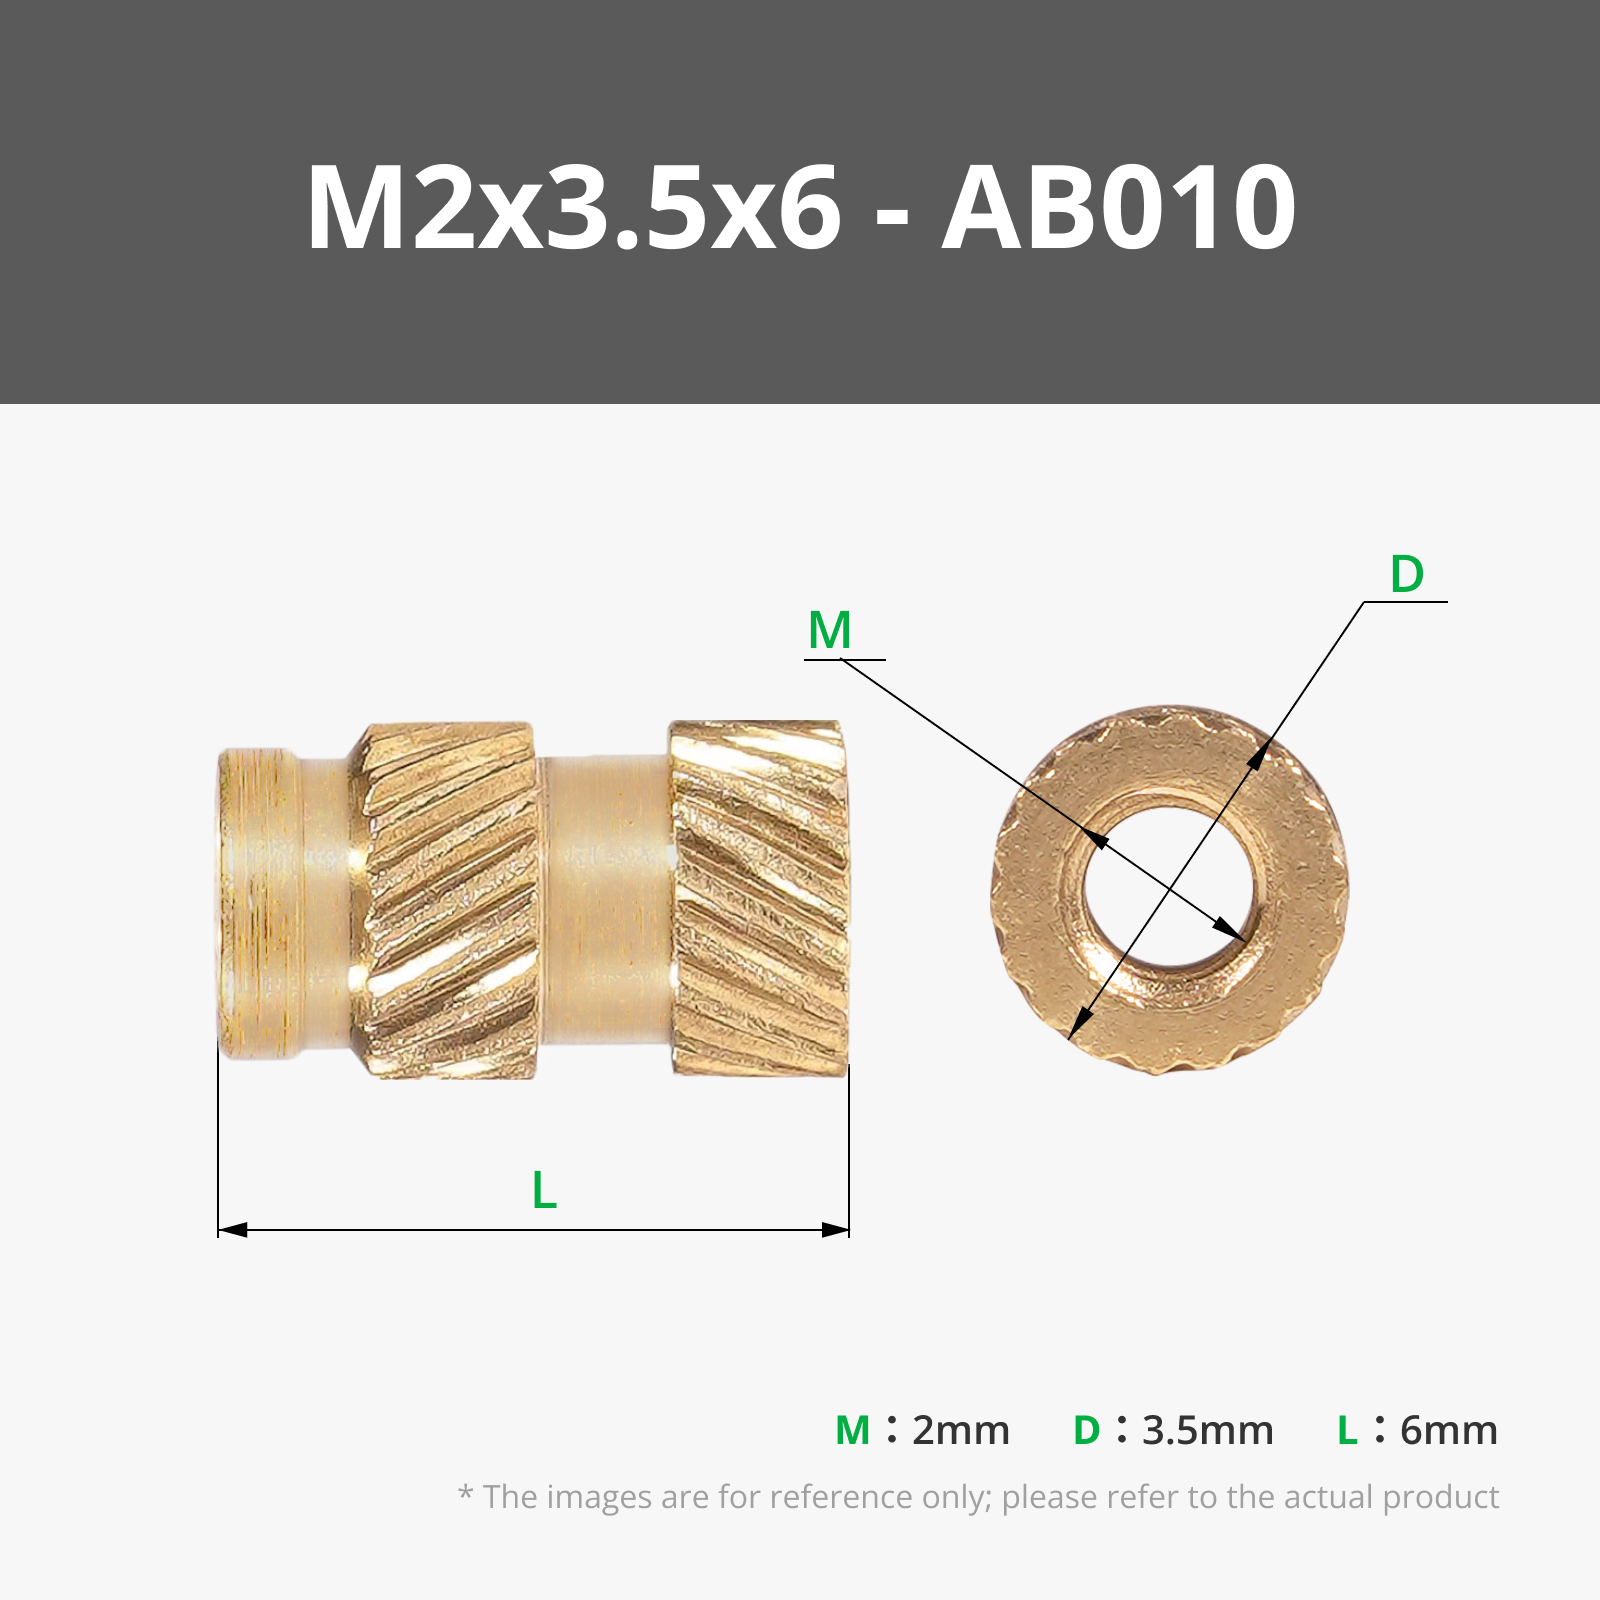
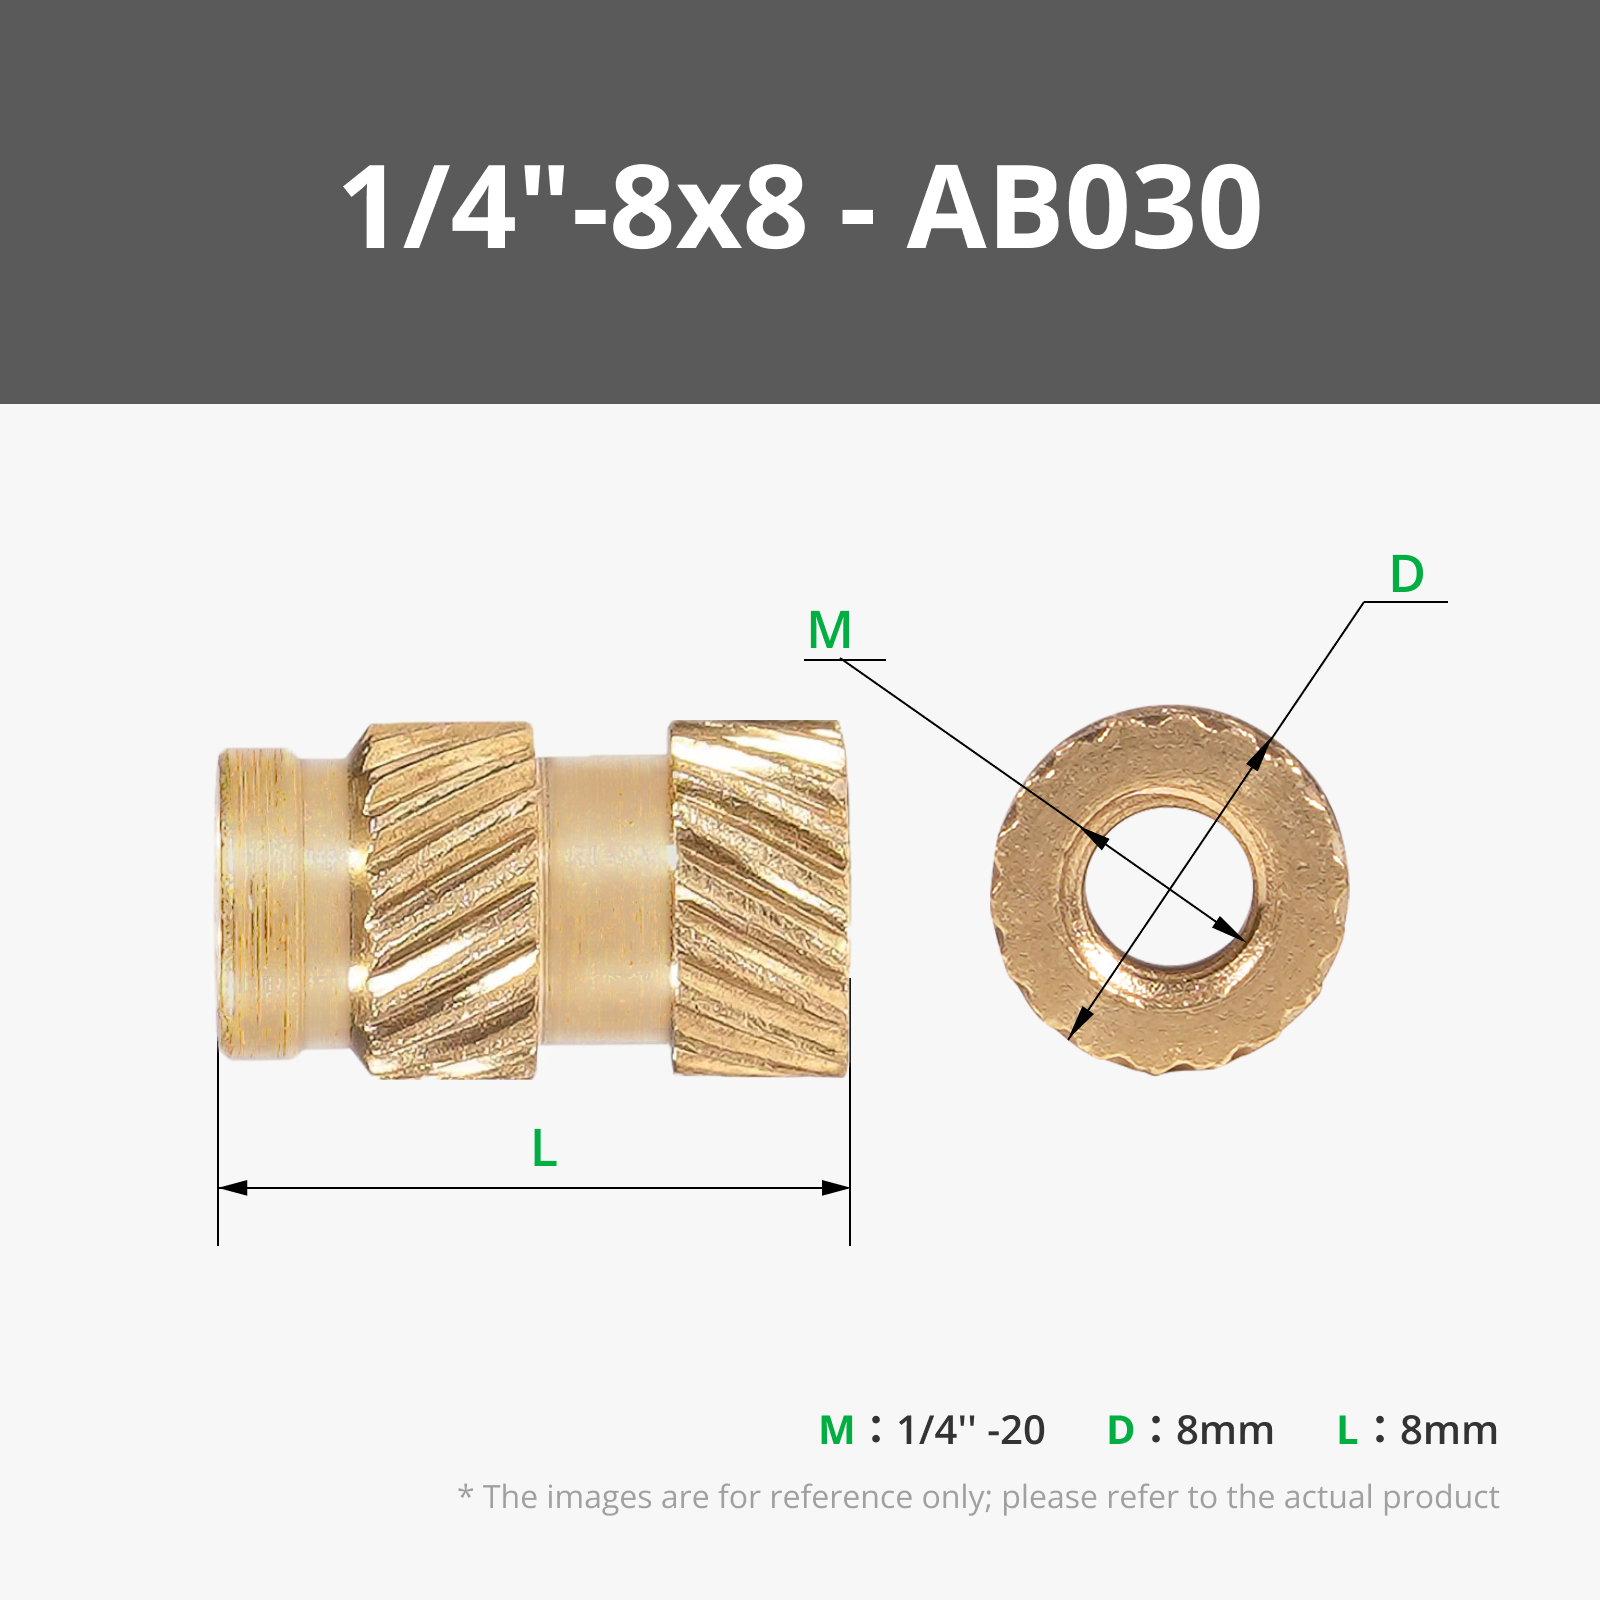
- Insert: Creates a calibrated cylindrical hole for a brass threaded insert (installed with heat)
- Nut size / Insert size: Select the screw metric (M2, M3, M6, etc) The model will automatically resize to maintain the perfect proportion
- Recess margin (Nut): This is the extra depth given to the nut recess so it does not sit flush with the surface
- Fit margin (Insert): Allows narrowing or widening the insert hole If the insert is too loose, increase this value
- Through hole: If activated, the screw can pass through the entire part from side to side If deactivated, the hole will be blind (the screw has a stop)
2. Manual Wing Adjustment
By default, the model calculates the wing size proportionally to the screw If you want a special and completely customized design, activate "Manual scale"
IMPORTANT: If you do not activate this option, manual changes will not take effect
- Wing length: How far the wings extend outwards
- Wing width: The lateral thickness of each wing
- Wing height: The vertical height of the wings
- Extra body height: How many millimeters the central cylinder protrudes above the wings
- Wing offset: Allows moving the wings closer to or further from the center
- Chamfer factor: Controls edge smoothing A higher value creates more inclined and smoother edges; a value of 0 leaves sharp edges
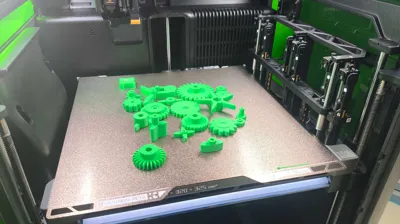
3. 3D Printing Tips
- Orientation: The model is designed to be printed with the flat base resting on the bed (hole facing up)
- Infill: A minimum infill of 20% with at least 3 or 4 walls (perimeters) is recommended to ensure the part withstands manual tightening force without breaking
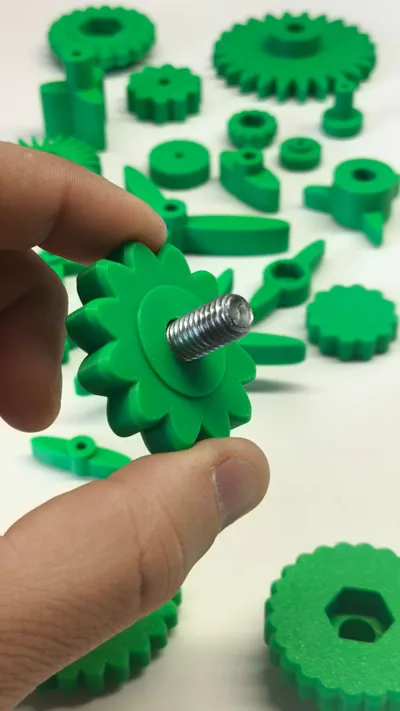
4. How to install the nut or insert
- If you chose Nut: Once the part is printed, insert the hexagonal nut into the base recess If it's too tight, you can use a screw to pull it in
- If you chose Insert: Place the insert over the hole and, with the tip of a hot soldering iron, press gently until the plastic melts and the insert sits flush The plastic will solidify around the insert's knurls, permanently fixing it
License
You shall not share, sub-license, sell, rent, host, transfer, or distribute in any way the digital or 3D printed versions of this object, nor any other derivative work of this object in its digital or physical format (including - but not limited to - remixes of this object, and hosting on other digital platforms). The objects may not be used without permission in any way whatsoever in which you charge money, or collect fees.
Comment & Rating (0)