


Print Profile(1)
Description
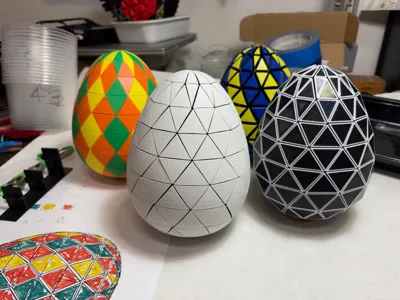
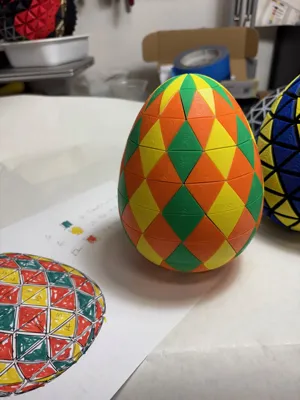
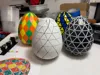
Easter is almost upon us so...eggs! This is for folks who like to assemble stuff with a bunch of parts. It has a couple of hundred parts. There are endless design possibilities using different colors and/or patterns. There is a PNG drawing to use for layout of colors and patterns and to determine the number of each required.
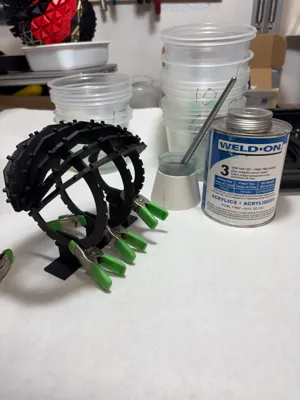
I used 'Weld-On 13' to glue them together, applied with a small brush. It made assembly relatively quick and easy. It softens the plastic a bit and makes tight joints fit easily and loose joints firm up nicely. It grabs quickly and speeds up construction a lot. It's my glue of choice for most projects. Read the MSDS for cautions. I haven't tried it with other glues.
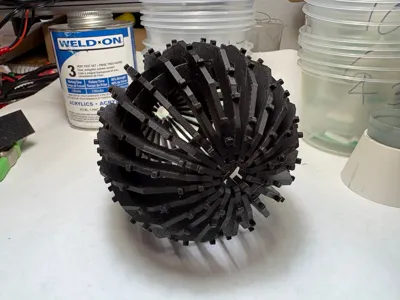
The assembly jig is used to hold the circular components in alignment with spring clamps or clothes pins while a first few ribs are glued on. After gluing 5 or 6, the ribs then hold adequately to finish the assembly of the frame with the jig removed.
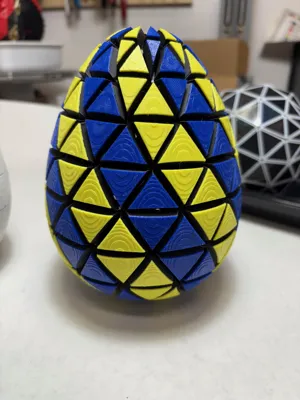
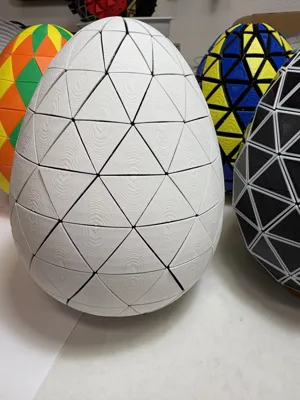
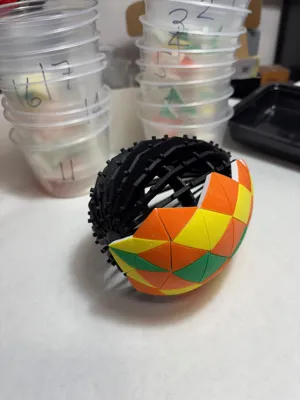
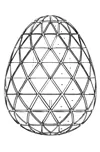
The file "Frame" has the frame components and the assembly jig. The "Curved Facets are closely spaced like the white egg and the harlequin egg in the photos. The file "Curved Facets Wide Spacing" has wider gaps in between the colored portions like the blue and yellow egg in the photo. The facets in the file "Flat Facets" were printed face down on a holographic build plate. The files show twelve of each facet. A complete egg requires twelve of each of the eighteen different facets in whatever mix of colors you choose.
Layer height doesn't matter to the fit but alters the look. Frame components print at 0.20mm just fine. White and harlequin eggs facets shown are printed at 0.08mm layer height and the blue and yellow are at 0.20mm. The difference is subjective, fine layers take a LONG time to print though, as the tops are curved and entail a lot of layer changes.
Hope you find this of interest. Thanks for looking.
Documentation (1)
Comment & Rating (0)