Search models, users, collections, and posts

Desktop Lamp

IP Report
GIF

Print Profile(1)

All
A1
H2S
P2S
H2D Pro
P1P
X1 Carbon
X1
H2D
X1E
H2C
P1S
X2D
A2L

0.2mm layer, 2 walls, 15% infill
Designer
3.9 h
1 plate
4.9(7)

Open in Bambu Studio
Boost
55
161
8
8
71
43
Released 

Description

Content has been automatically translated.
Show original

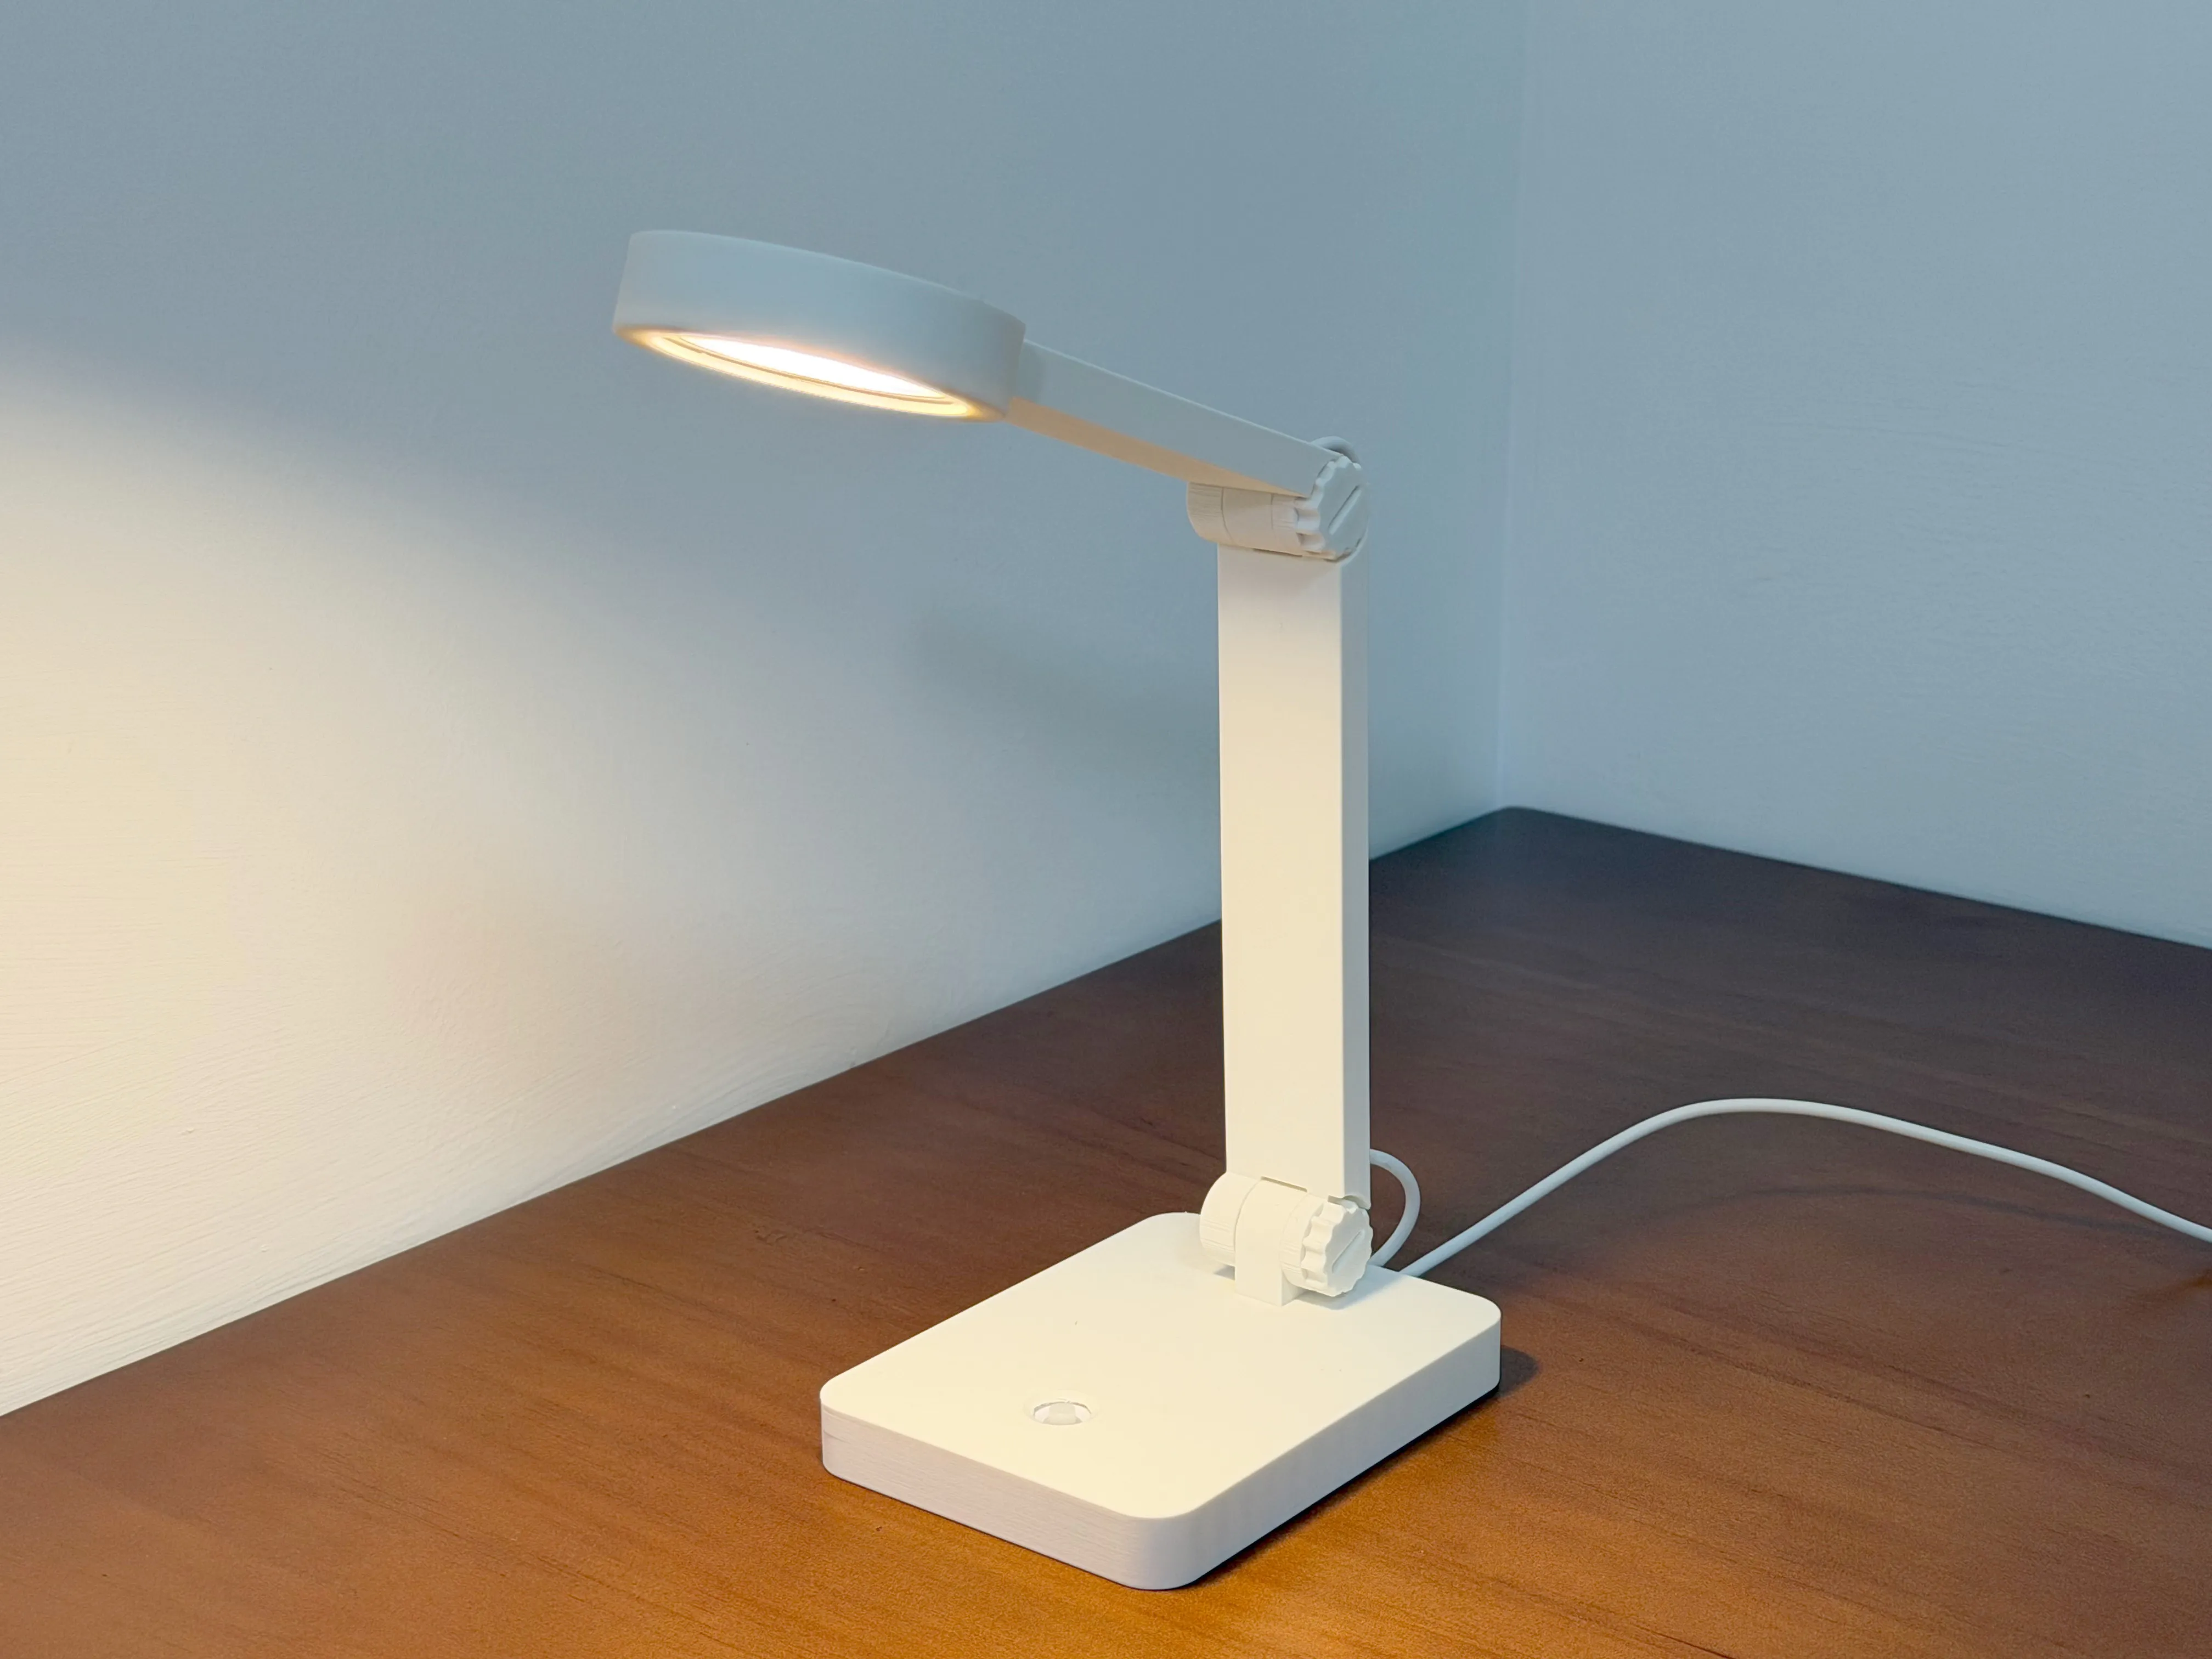

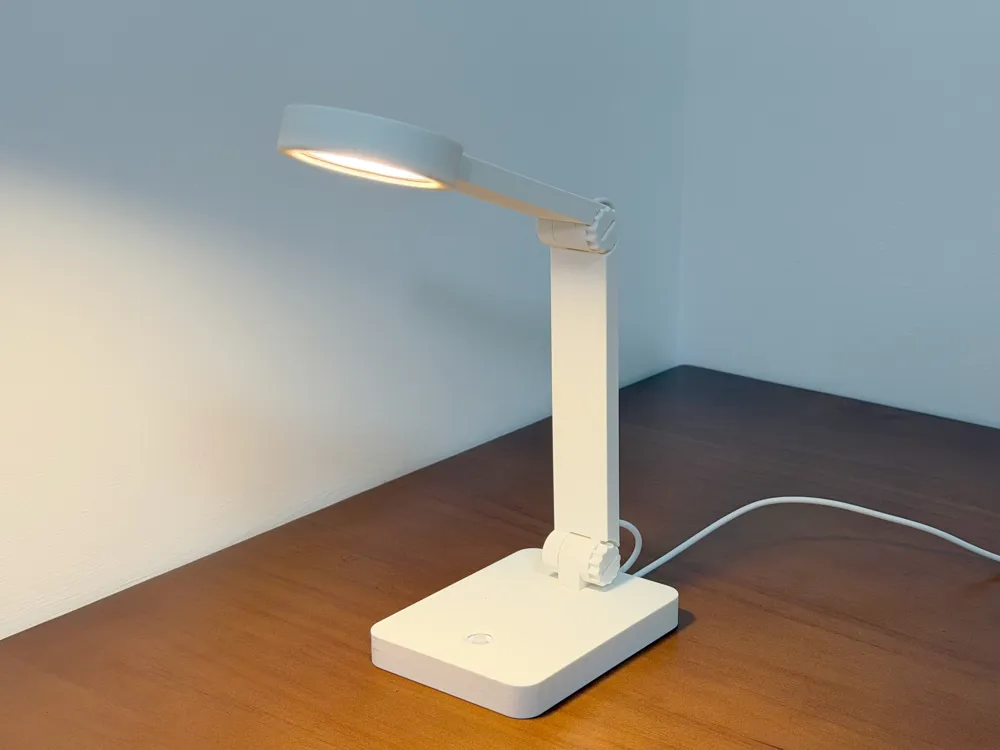
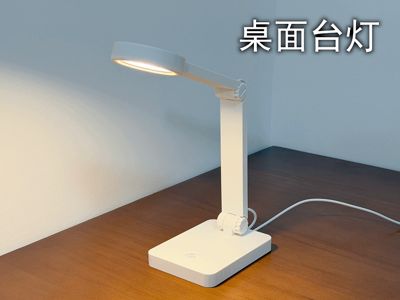
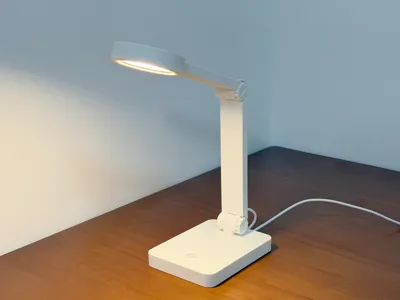
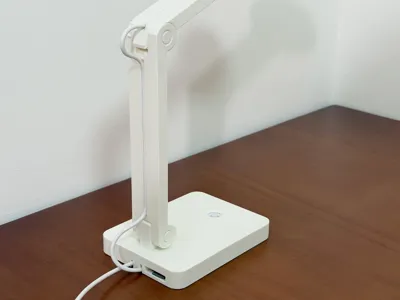
It is a desktop LED lamp, using the official LED lamp kit (LED Lamp - MH001), with a minimalist style, requiring no additional hardware

It features fast printing, a reasonable structure, ease of use, and an aesthetic design


Features:

  • 3.5 hours printing time, 130g filament consumption
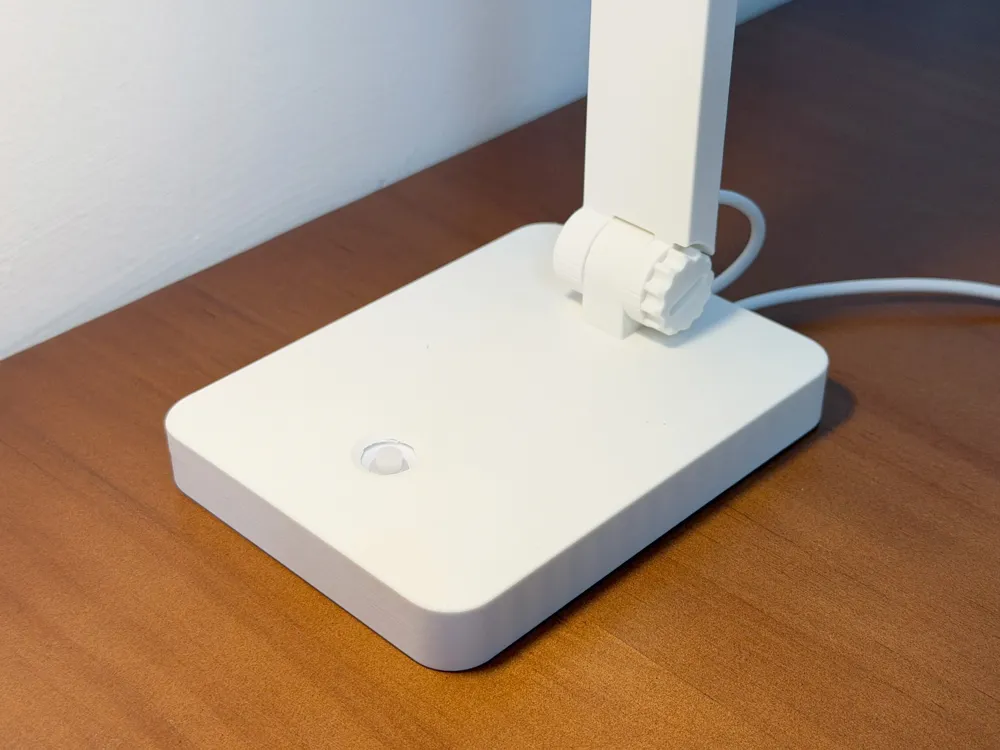
  • Minimalist style, adjustable joint damping, simple and convenient angle adjustment
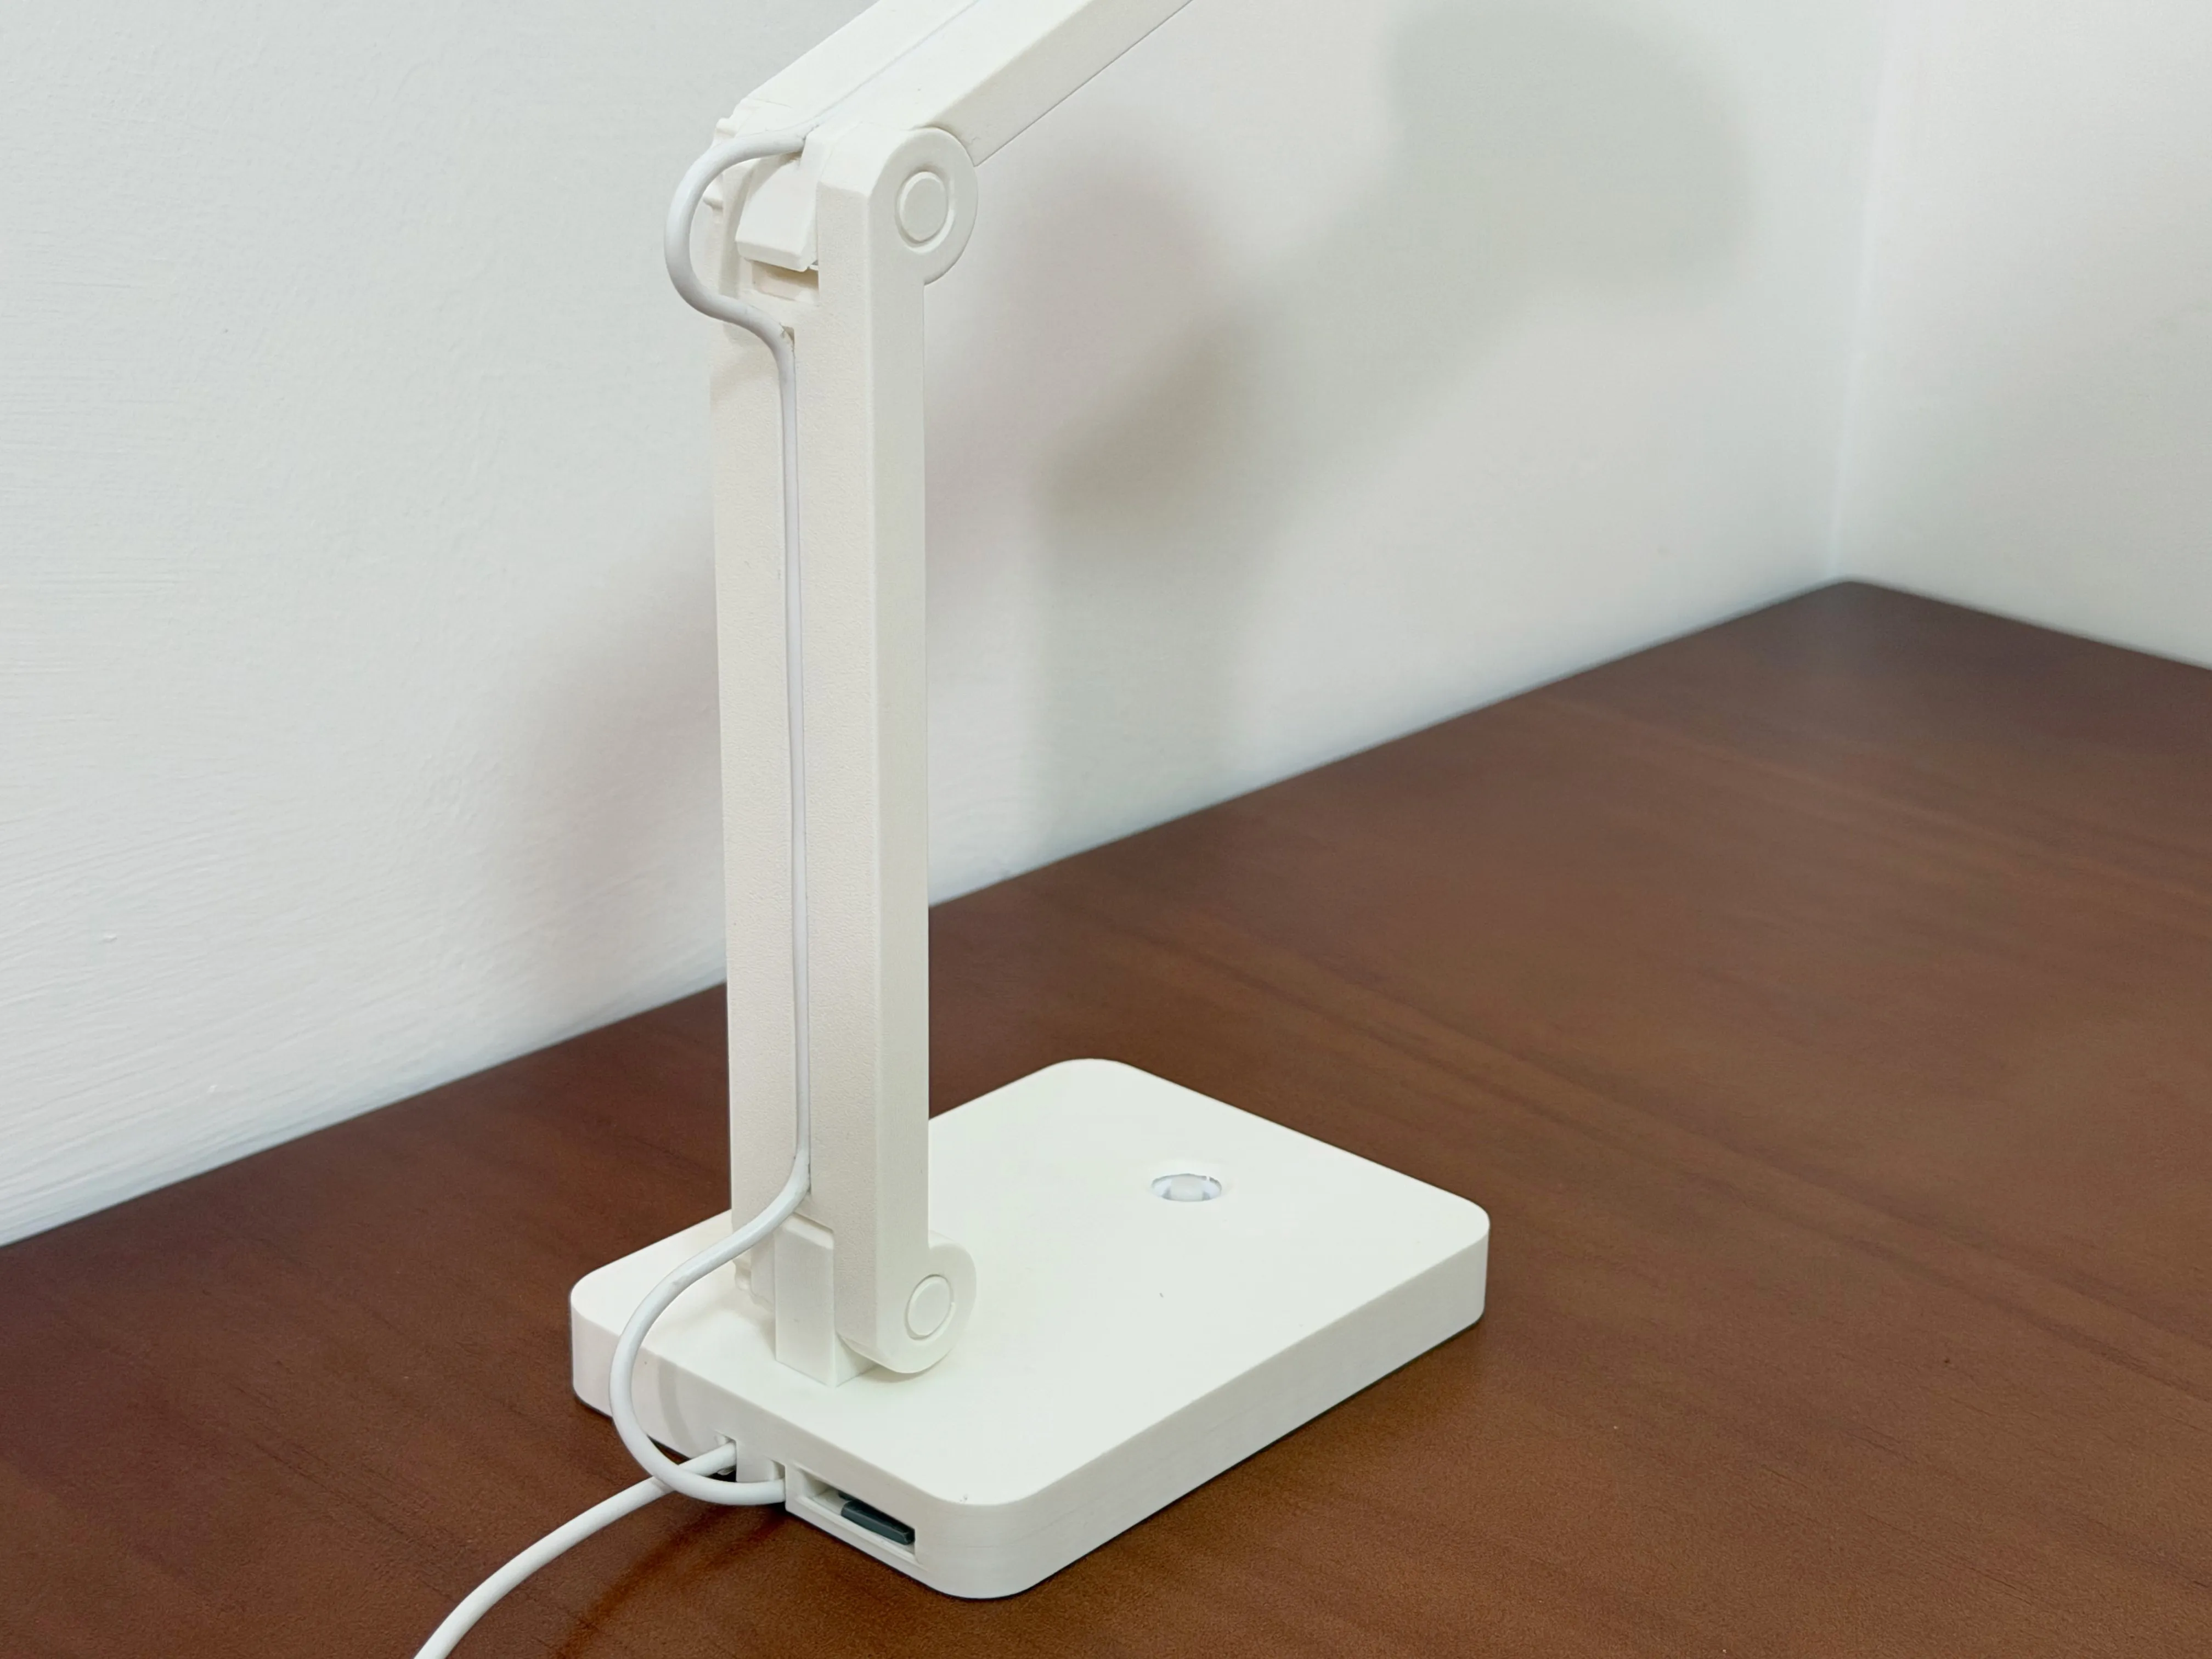
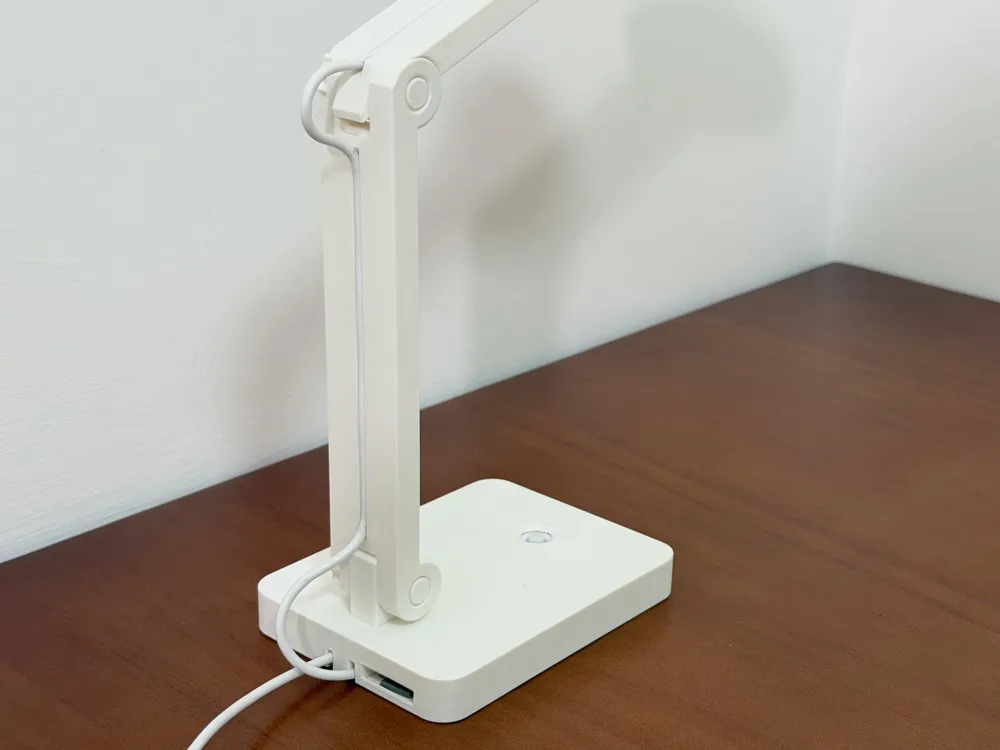
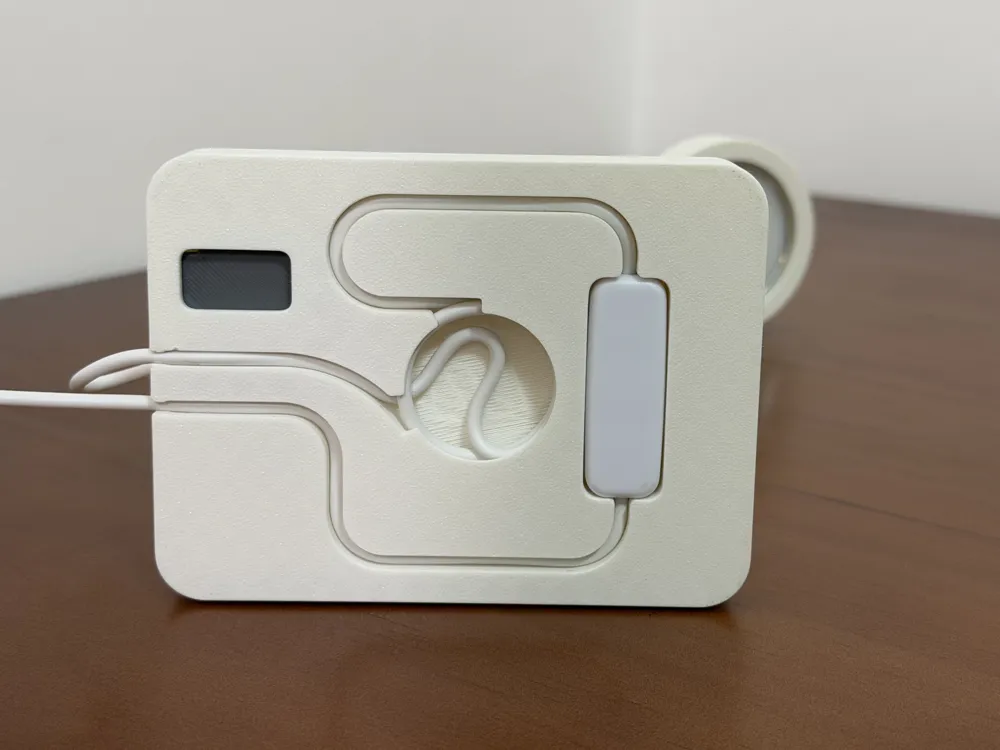
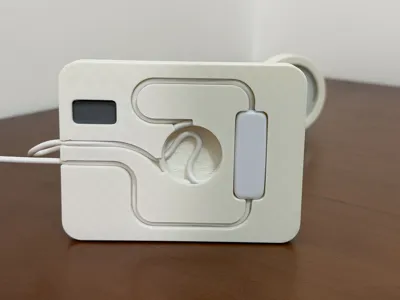
  • Internal and external cable management grooves, inner cable of the switch can be embedded
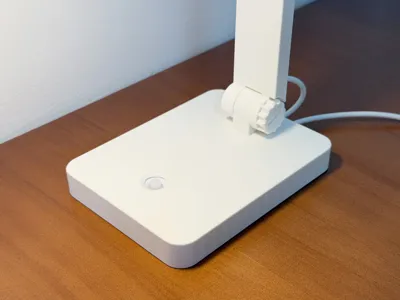
  • Switch integrated into the panel, convenient and aesthetic switching
  • Small base footprint, saves desktop space

After printing, the button part included in the file and the supports inside the lamp housing need to be removed

Assembly:

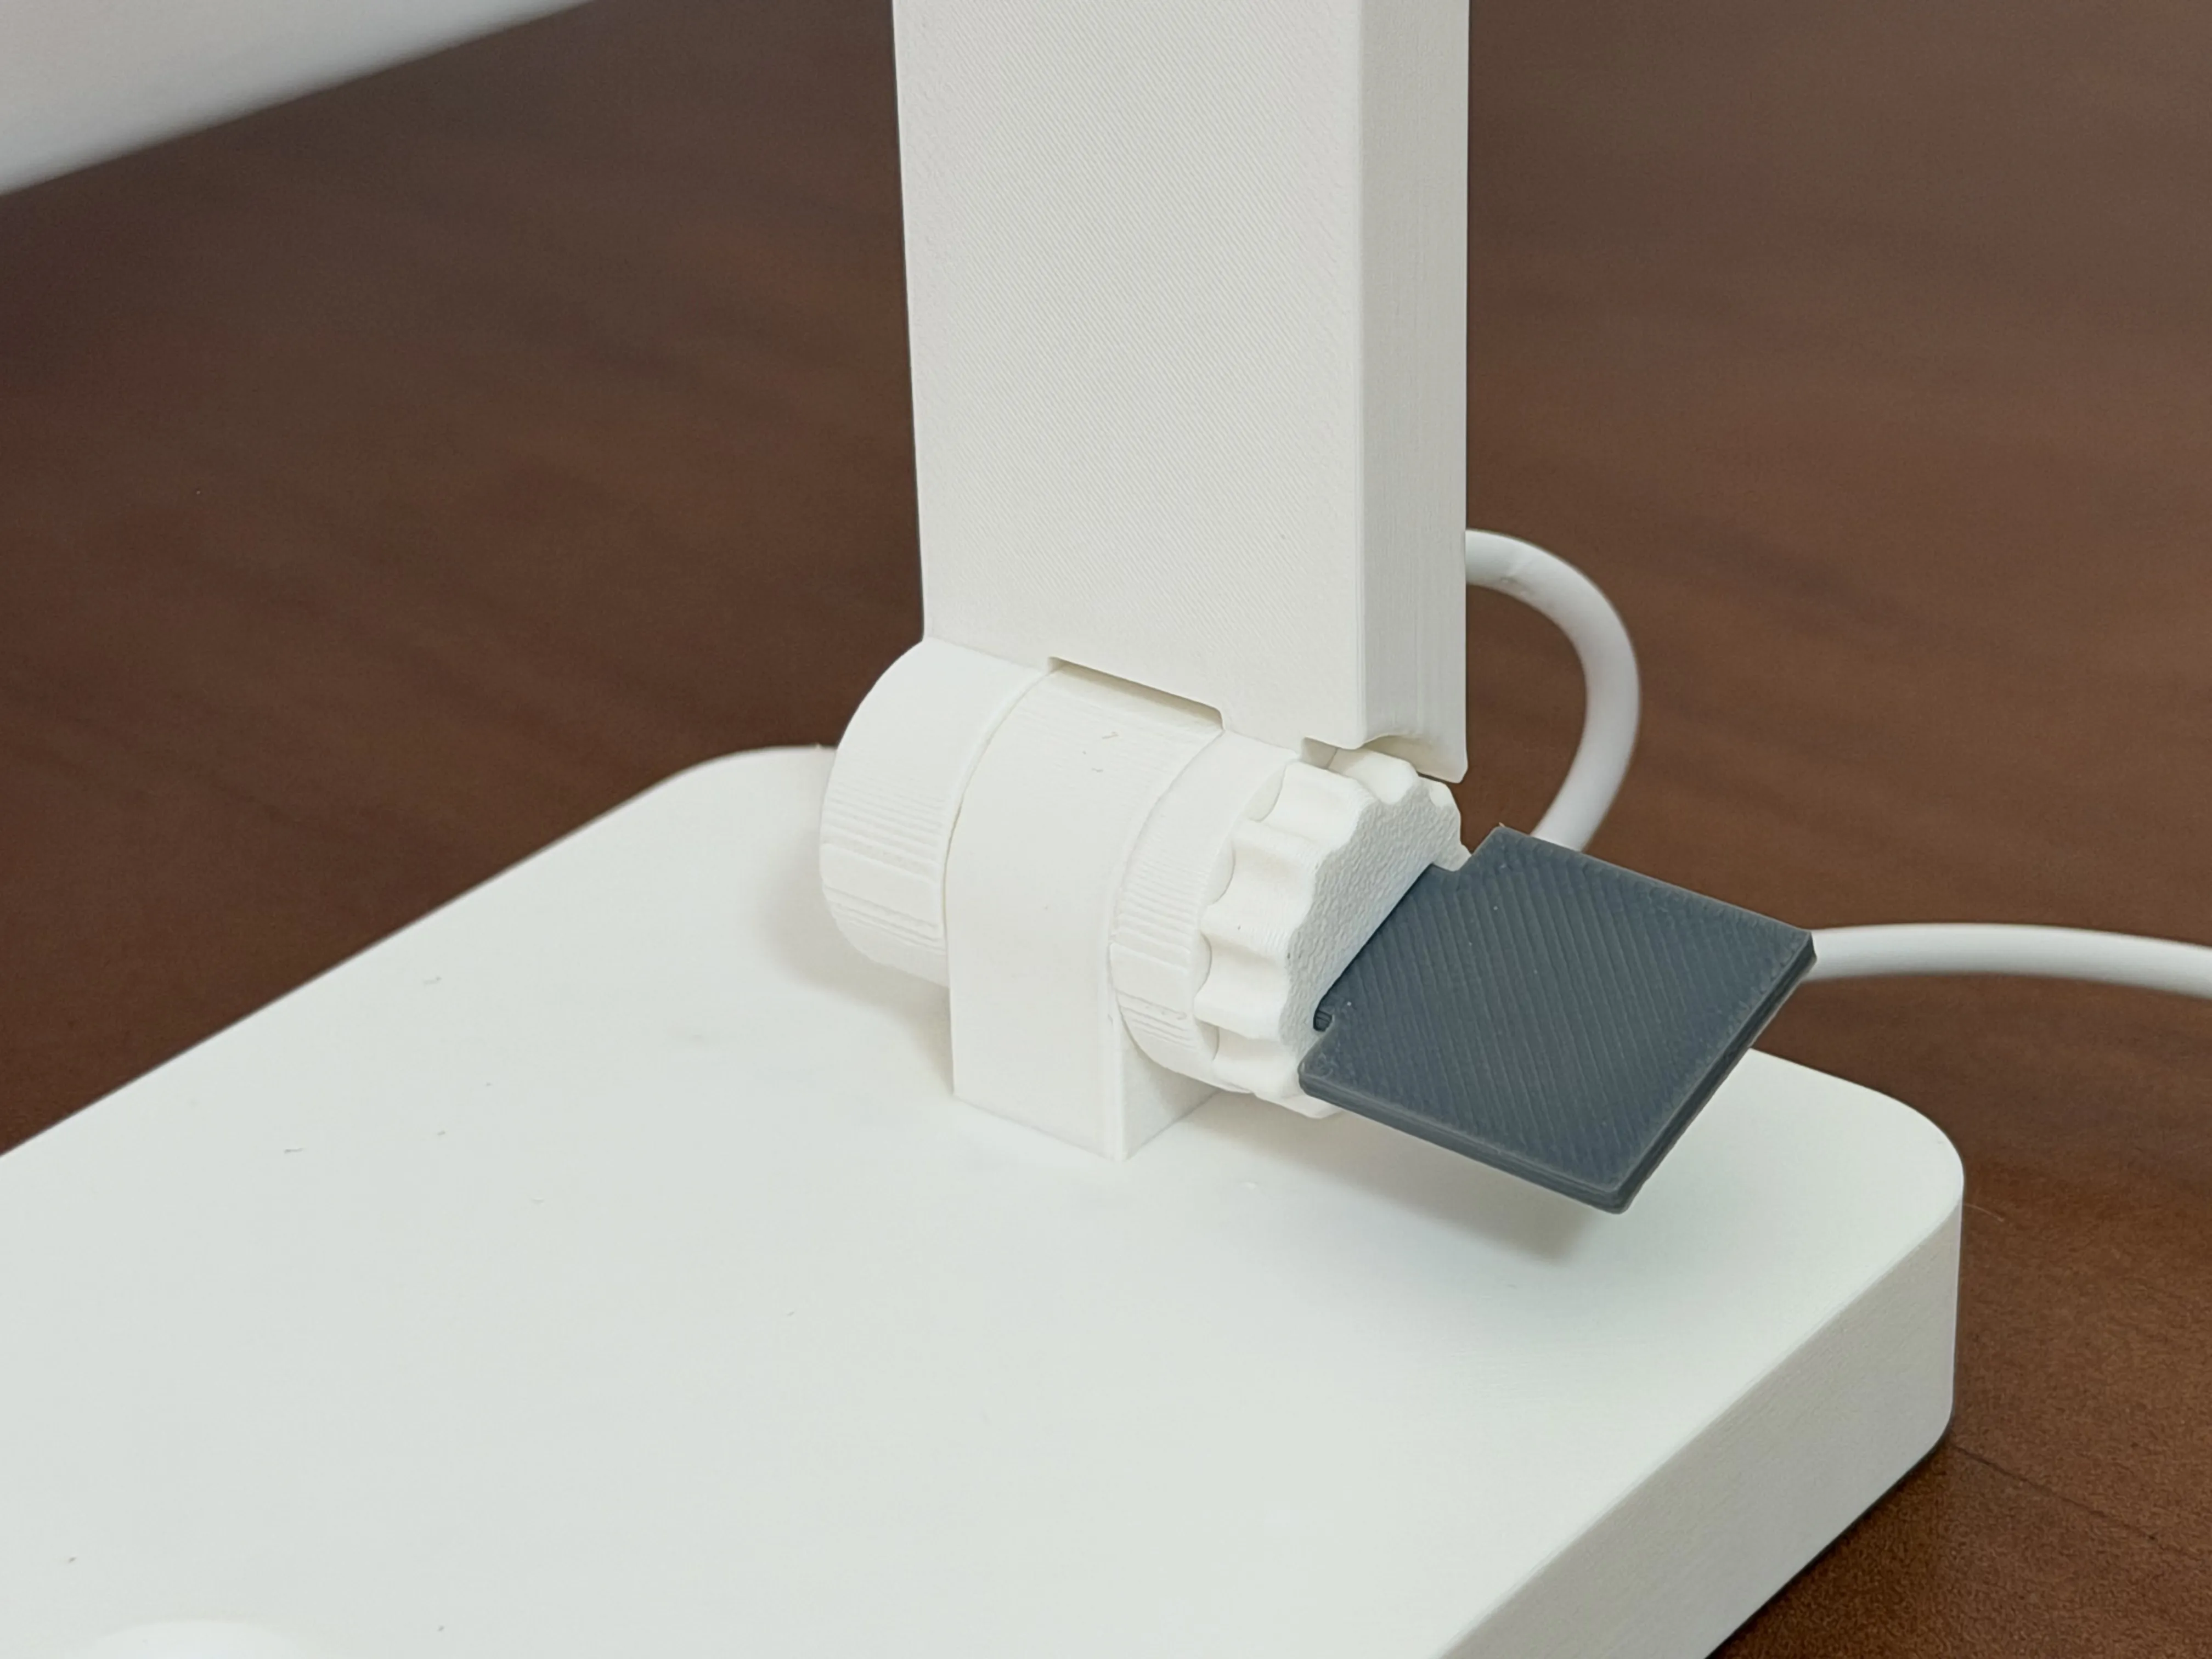
  • Simply combine the two joints using the printed bolts
  • Use the included card for tightening
  • Adjust to the appropriate damping and then store the card in the back slot for future use

Cable Management:

  1. The printed card can be used to help embed the cables better into the grooves
  2. First, install the LED lamp into the lamp housing and snap the cable into the groove
  3. At the joint, the joint needs to be folded first before managing the cable, so that it can bend normally later
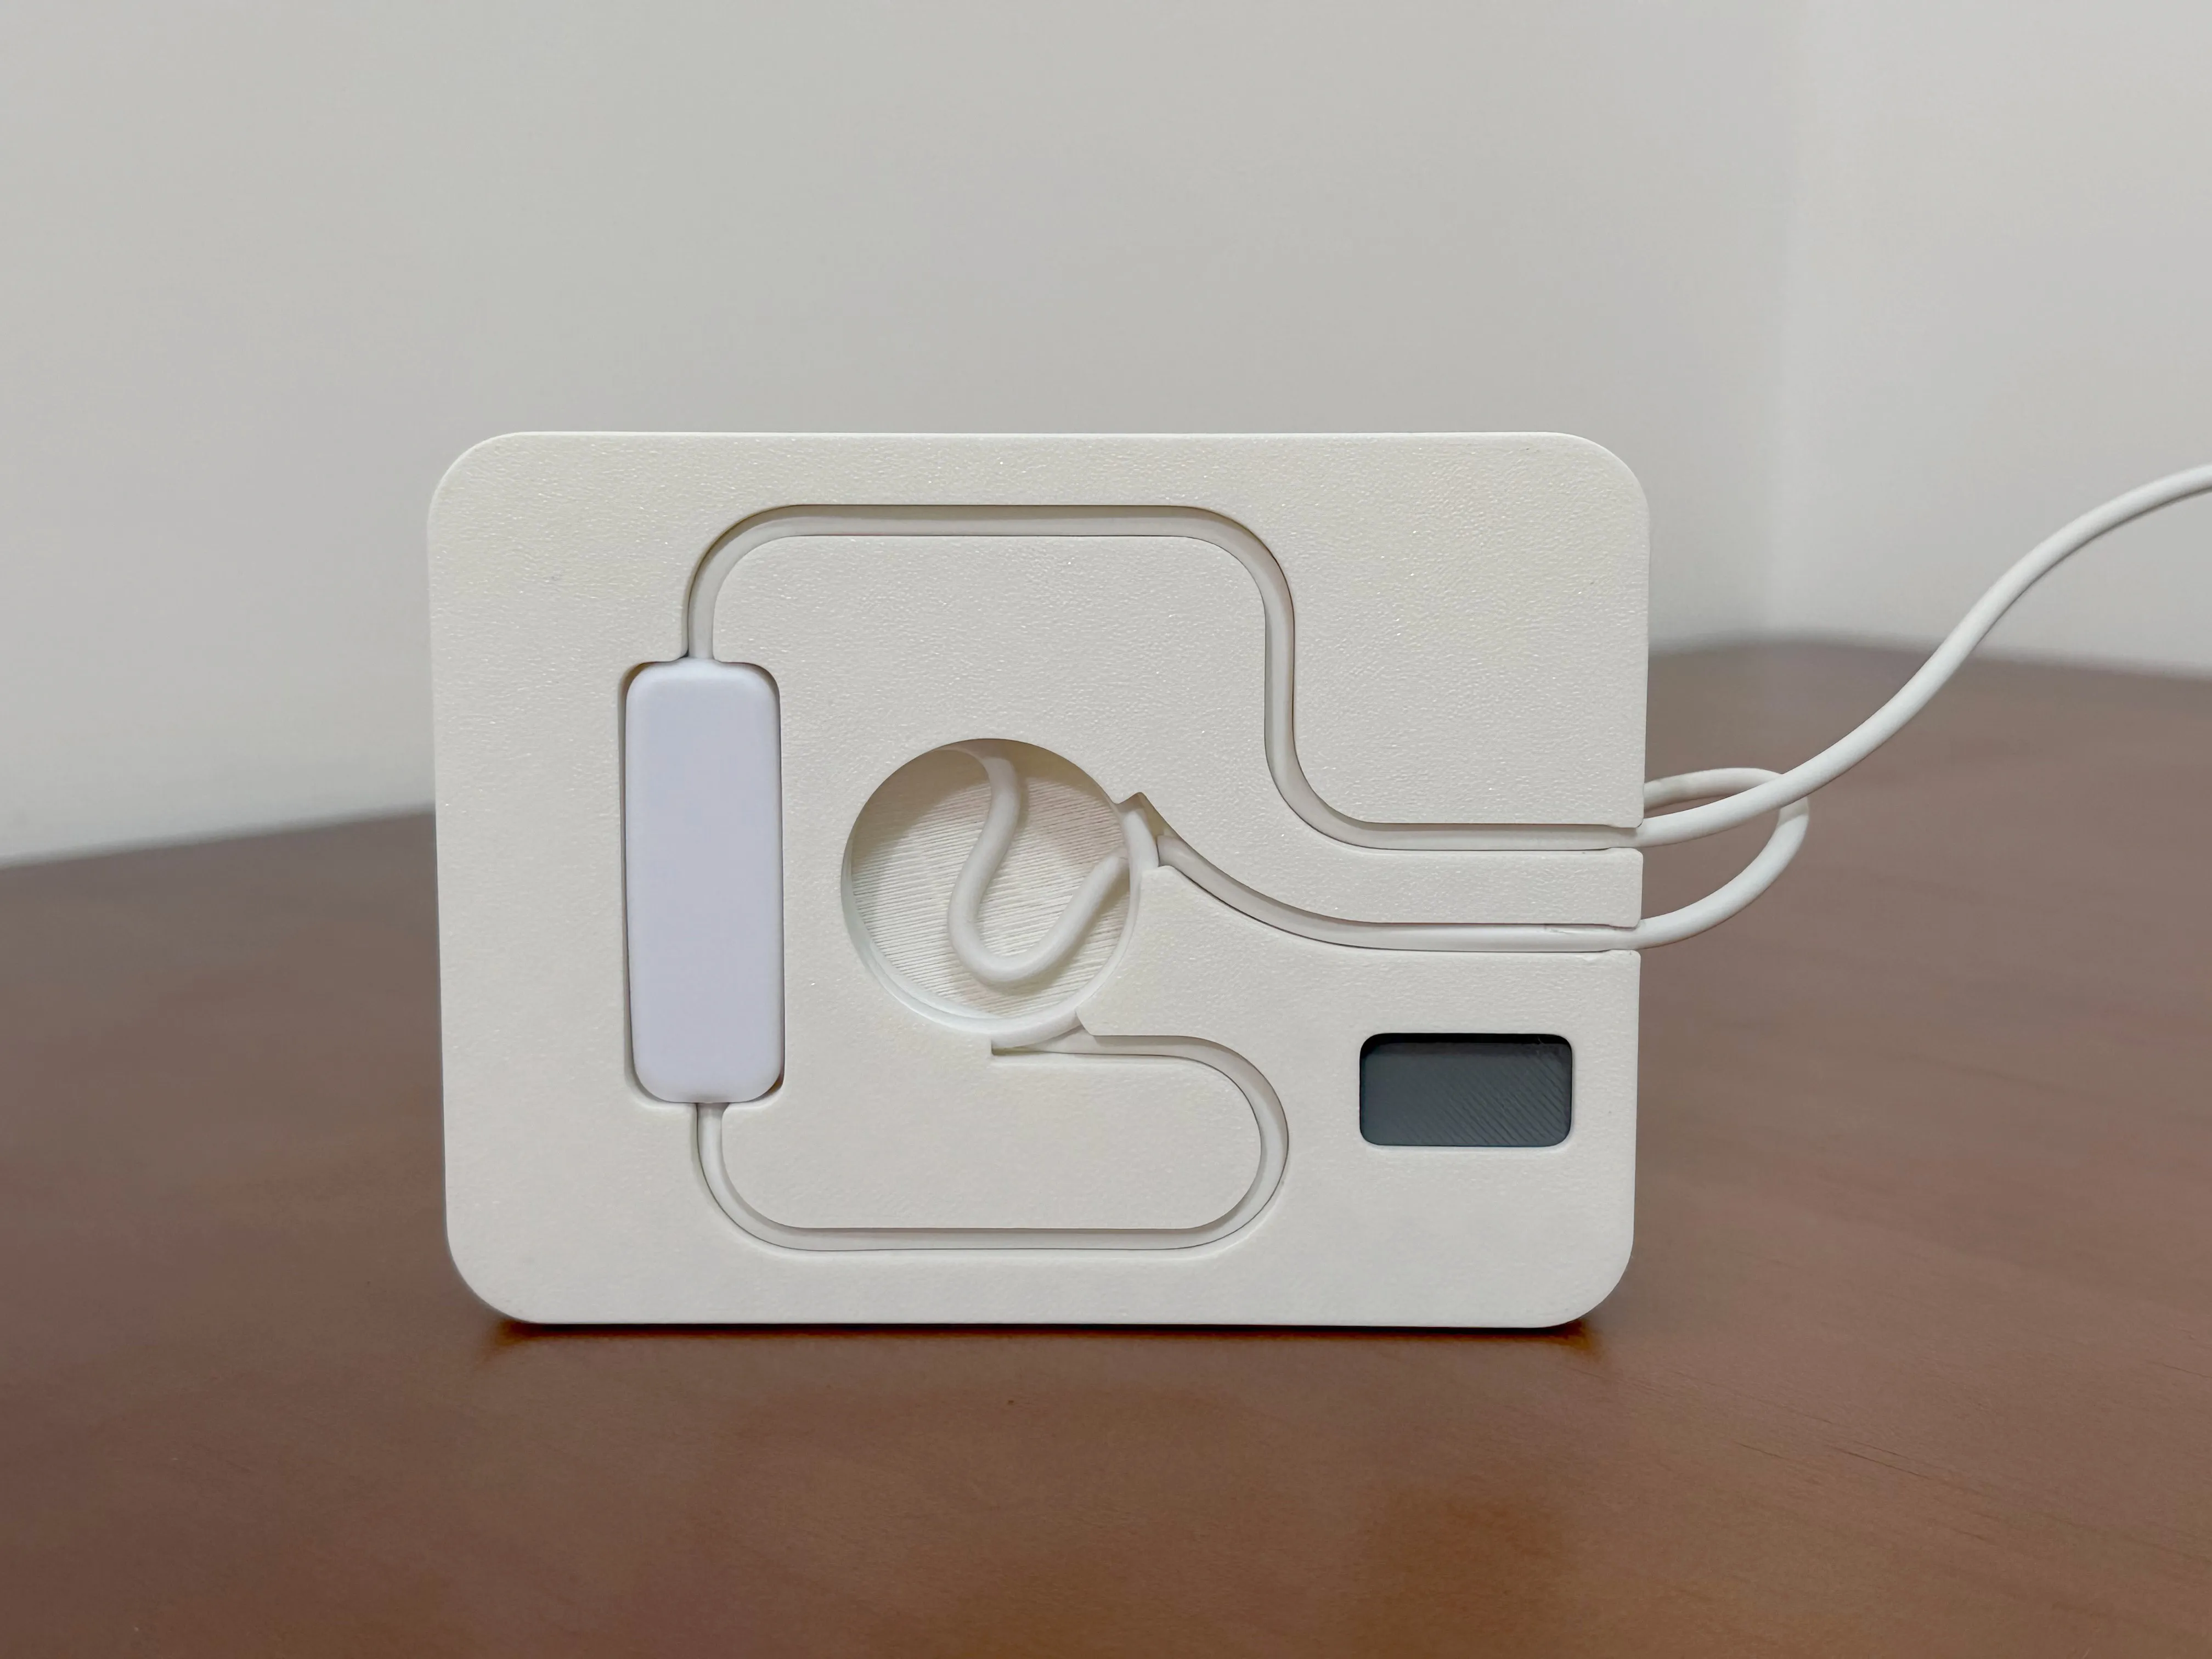
  4. During bottom assembly, follow the diagram's direction: the incoming cable (between the LED lamp and the switch) should be at the bottom to store excess cable inside the circular part
  5. The outgoing cable (between the switch and the USB power supply) should exit from the top as shown in the diagram

LED Lamp Version:

  • Through testing, different versions of the official LED lamp 001 have slightly different cable lengths. If your cable between the LED lamp and the switch is too short (older version), you can simply swap the wiring positions

Back Card Slot:

  • The used wrench (printed card) can be placed here for backup


*Modified on 2026.2.24: To improve printing quality, removed model's built-in supports and set manual supports

Comment & Rating (8)

(0/1000)

License

This user content is licensed under a Standard Digital File License.

You shall not share, sub-license, sell, rent, host, transfer, or distribute in any way the digital or 3D printed versions of this object, nor any other derivative work of this object in its digital or physical format (including - but not limited to - remixes of this object, and hosting on other digital platforms). The objects may not be used without permission in any way whatsoever in which you charge money, or collect fees.