Retro Arcade Controller


Print Profile(2)


Description
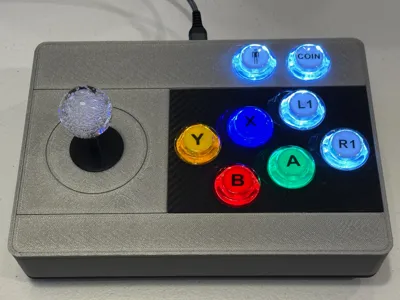
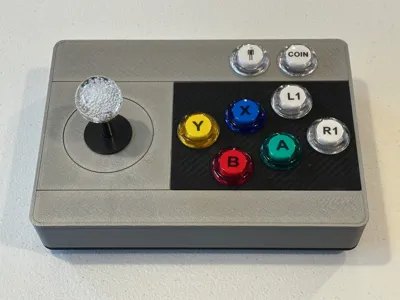
Remixed a great model from SpaceBadger to fit the SJ@JX arcade controller kit I have. Made the box larger for the deeper buttons and added a keystone USB port.
What you'll need:
Arcade Controller Kit - designed for this one
https://www.amazon.com/SJ-JX-Controller-Microswitch-Raspberry/dp/B08Q84CH74?th=1
USB Keystone Jack
https://www.amazon.com/dp/B078935SFG?ref=ppx_yo2ov_dt_b_fed_asin_title&th=1
USB Jumper Cable (USB-A to USB-B)
https://www.amazon.com/dp/B000E5BKQE?ref=ppx_yo2ov_dt_b_fed_asin_title
M3 Knurled Inserts
https://www.amazon.com/dp/B0B46YBNV4?ref=ppx_yo2ov_dt_b_fed_asin_title&th=1
M3 Screws and Washers
https://www.amazon.com/dp/B0BKSJS9QJ?ref_=ppx_hzsearch_conn_dt_b_fed_asin_title_3&th=1
Description:
This model fits the P1S bed size. Top and bottom pieces were printed on the Bambu textured PEI plate and the button plate on the 3D Effect Carbon Fiber Plate. Printed with the stock 0.4mm nozzle and 0.2mm layer height with normal supports turned on.
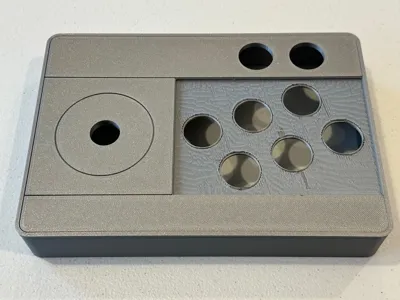
Top Part:
- Print face down (top surface) with normal supports turned on.
- Remove support for button recess and for the keystone opening.
- Install qty 7 of the M3 (6.0mm deep) knurled inserts for the posts.
- Install qty 4 of the M3 (4.0mm deep) knurled inserts for the joystick base.
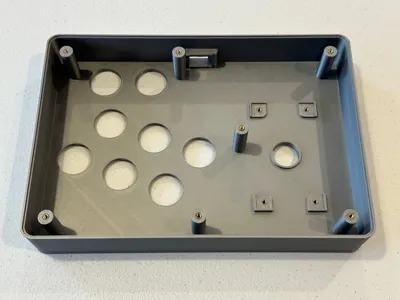
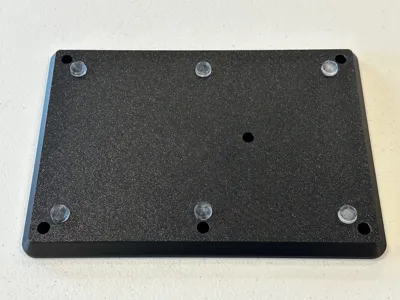
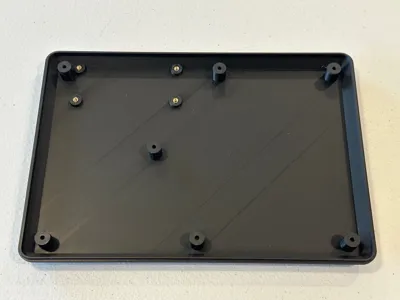
Bottom Part:
- Print bottom side down with normal supports turned on.
- Remove support for posts and rubber feet recesses.
- Install qty 4 of the M3 (4.0mm deep) knurled inserts for the joystick base.
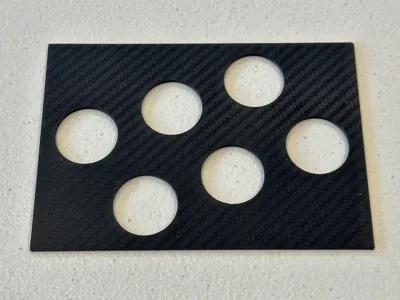
Button Plate:
- Print top side down for CF look or desired special effect look. (separate 3mf file for CF plate settings)
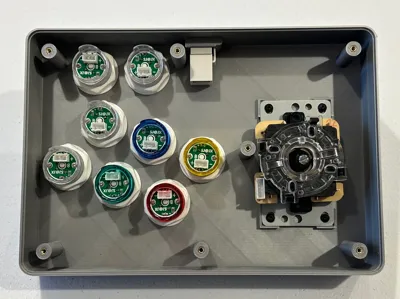
Assembly (top part):
- Install buttons onto the top part and secure (make sure to install button plate first)
- Install joystick with qty 4 M3 (5mm long) screws and washers
- Install keystone USB jack (insert non clip side first)
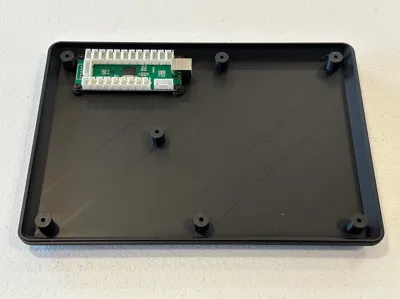
Assembly (bottom part):
- Install controller circuit board with qty 4 M3 (5mm long) screws and washers
Assembly (final):
- Connect USB jumper cable between keystone jack and circuit board
- Connect joystick cable to joystick and circuit board
- Connect all buttons to circuit board
- Bring top and bottom pieces close and route wiring away from joystick and around posts
- Once top and bottom pieces are closed, install qty 7 M3 (8mm long) screws from the bottom
- Plug in USB cable to Retropie or other device to test
Enjoy!!

Comment & Rating (0)