
Print Profile(1)

Description
Boost Me (for free)
If you think this is cool please consider giving me a boost!
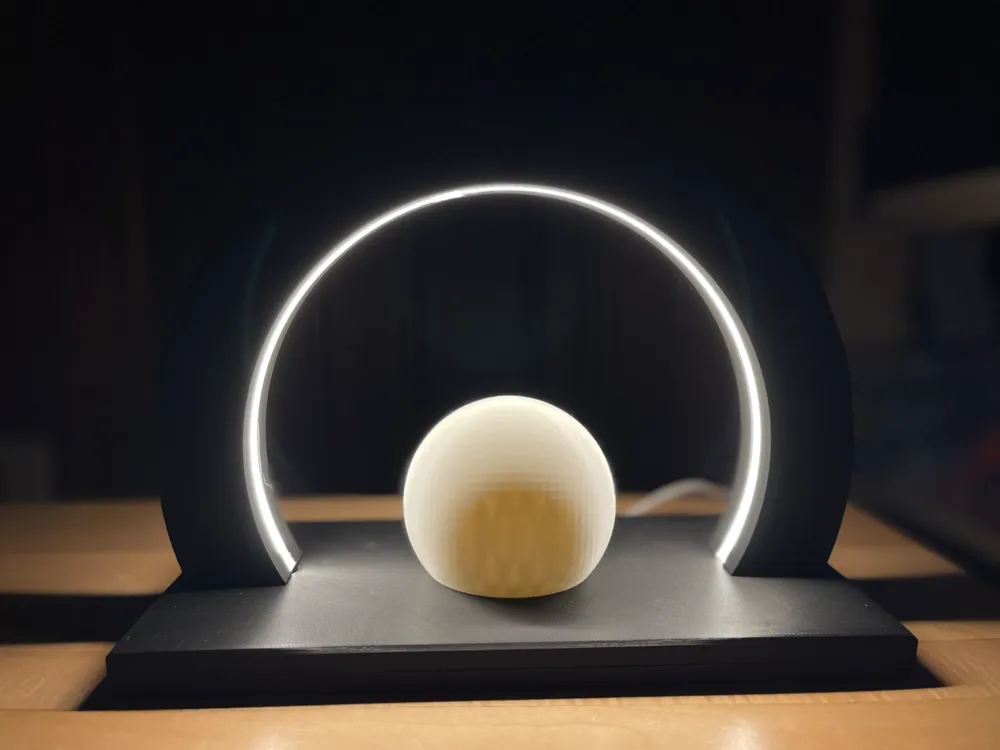
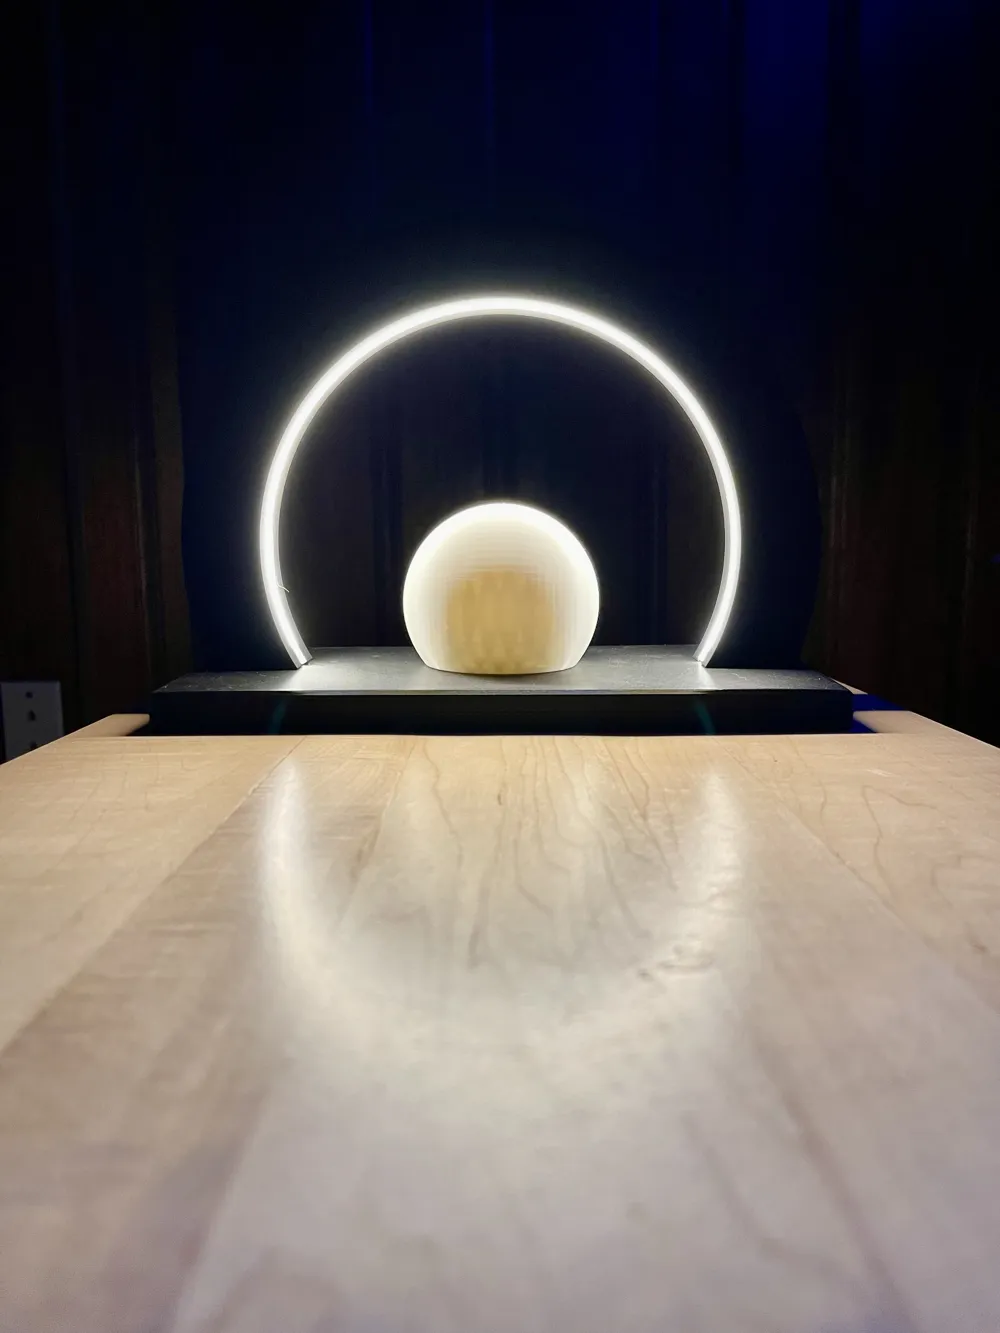
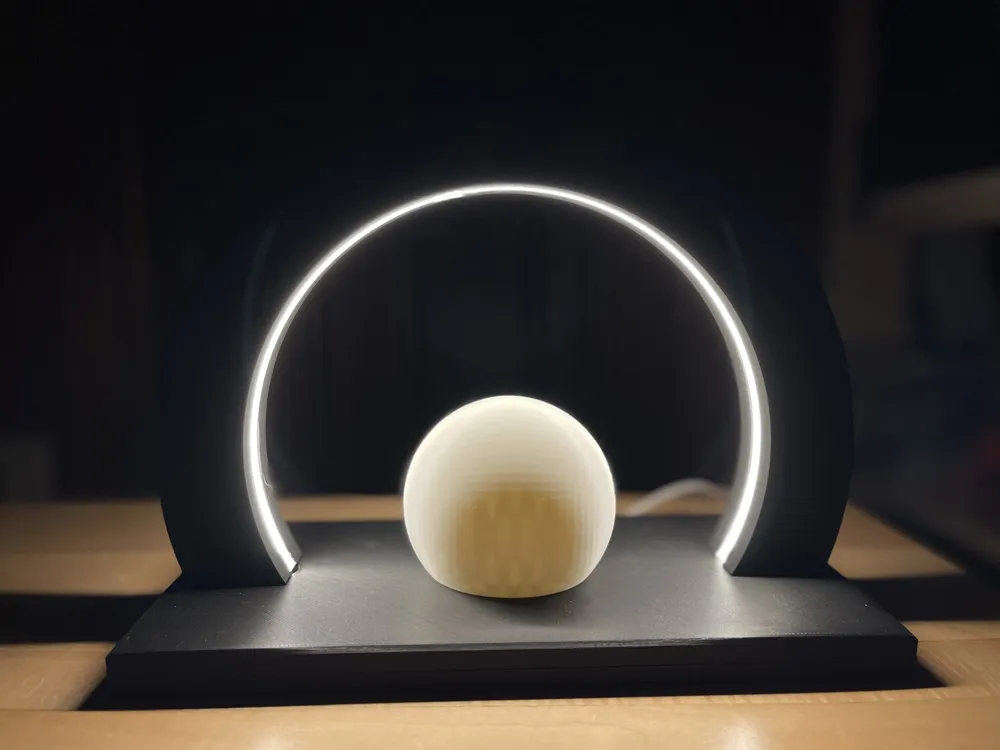
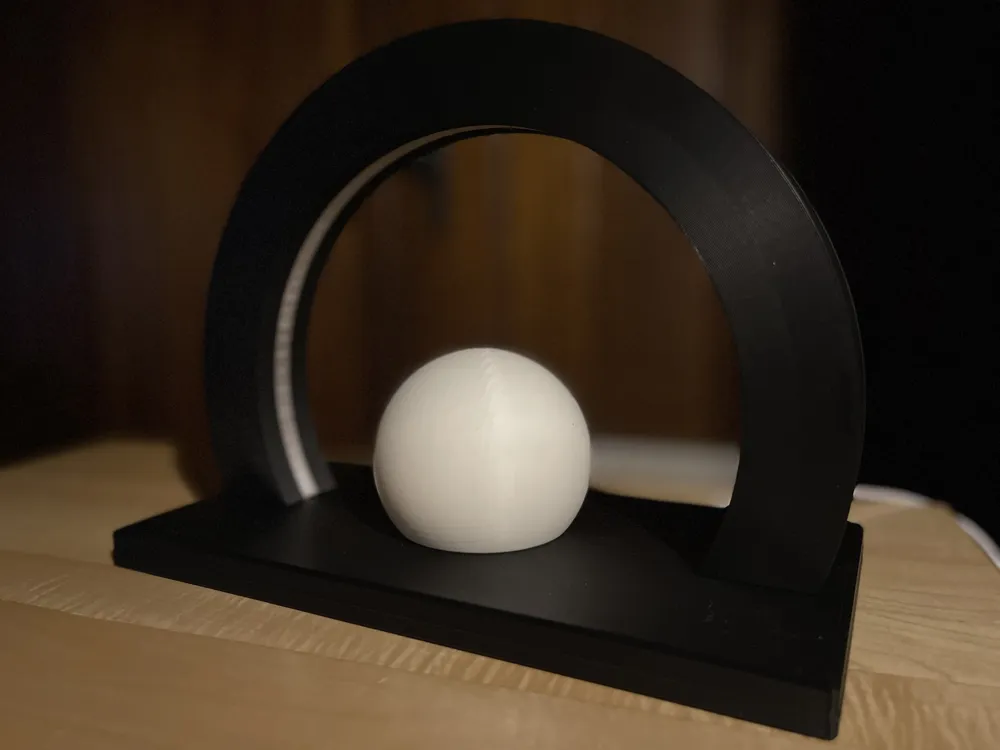
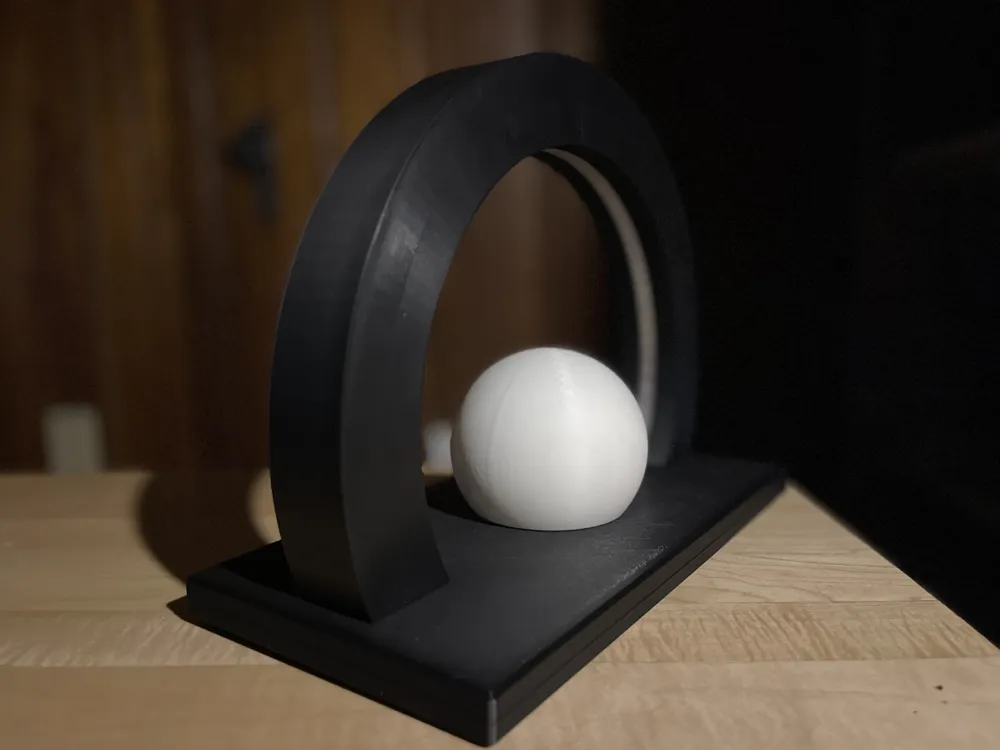
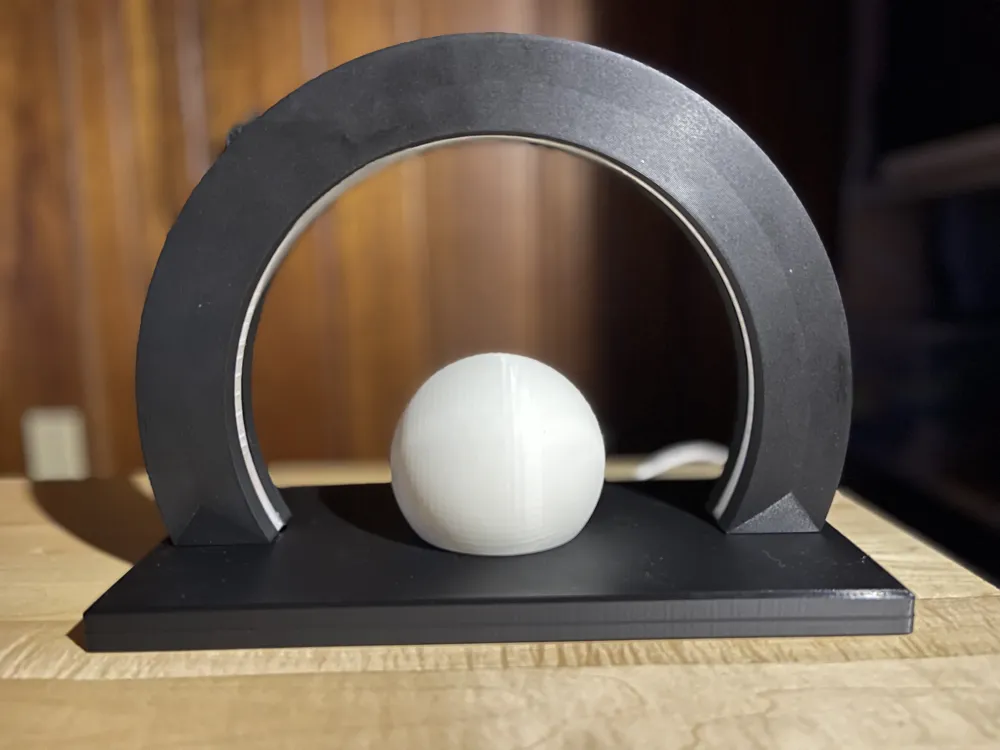
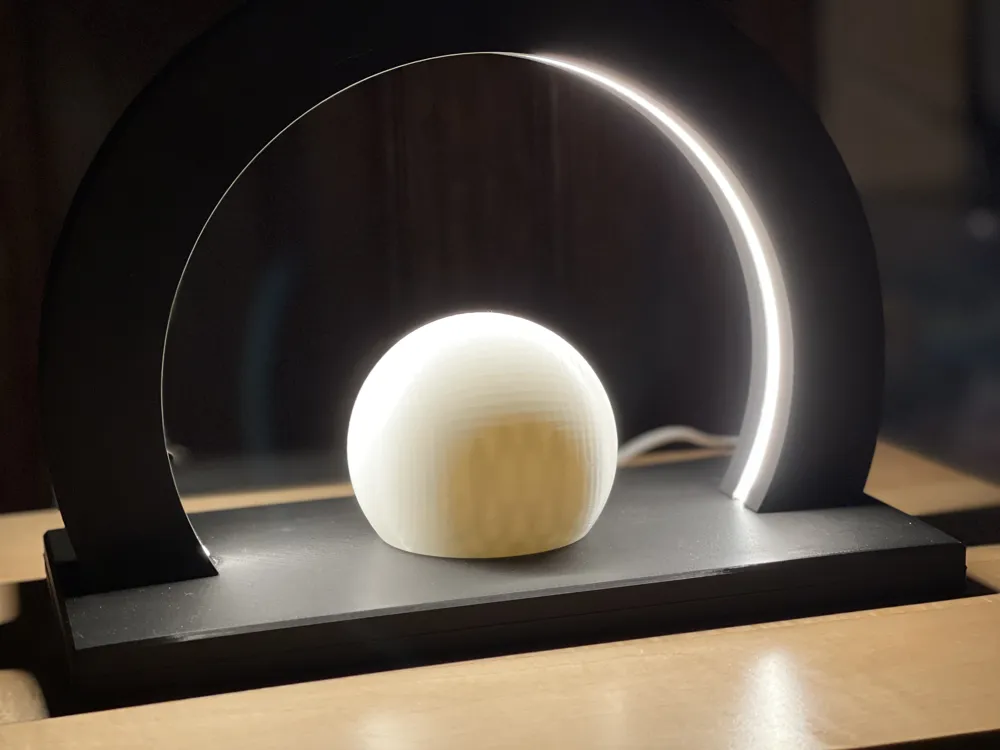
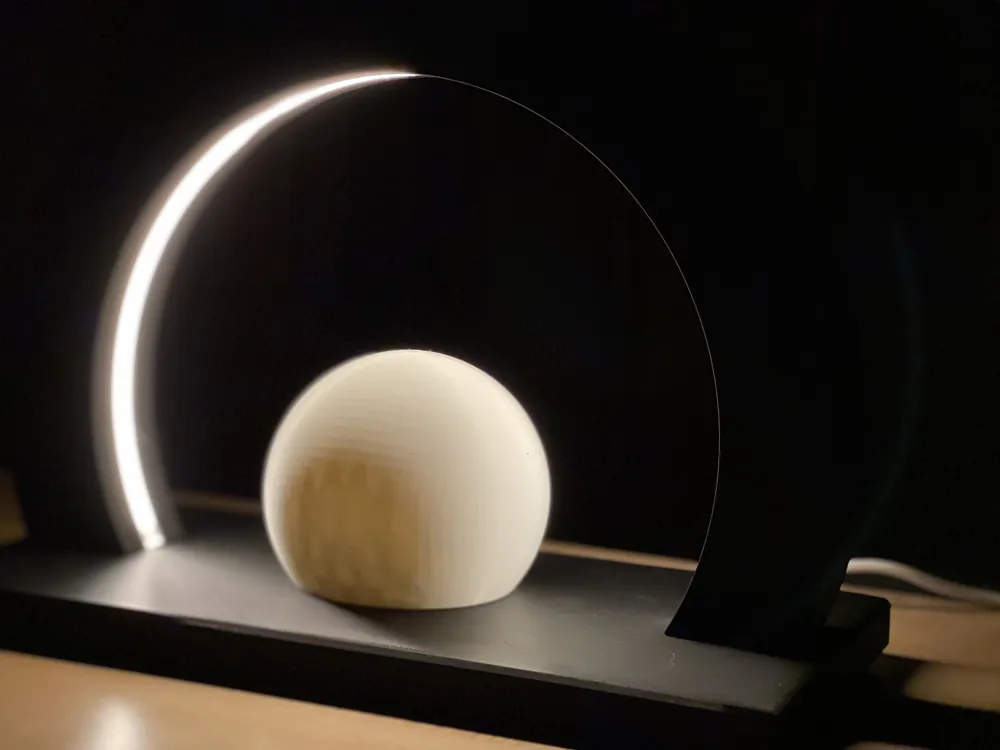
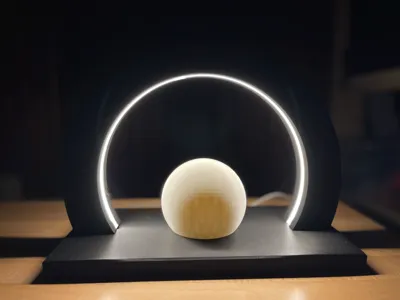
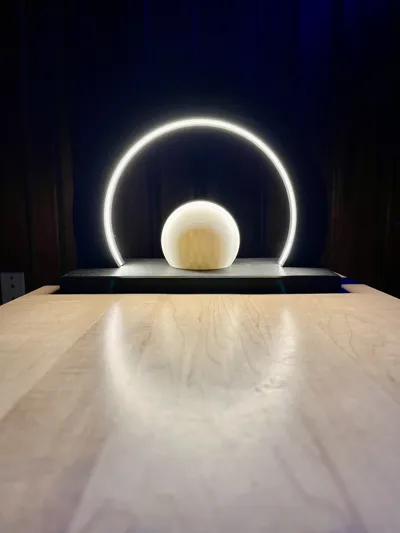
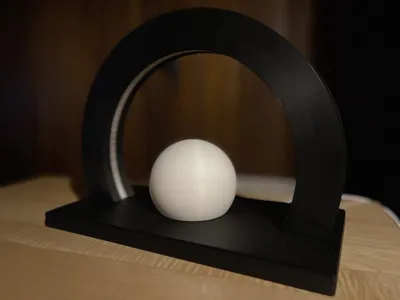
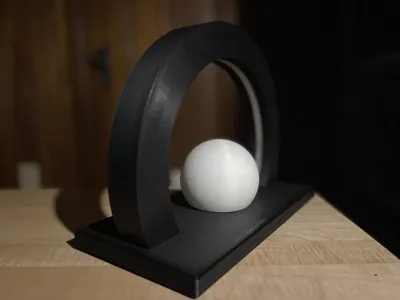
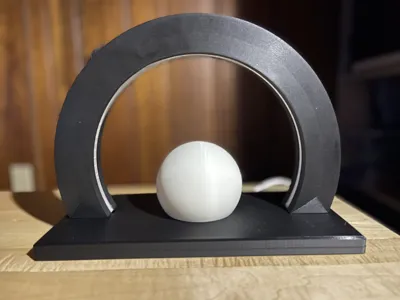
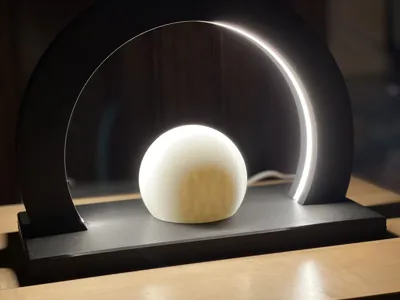
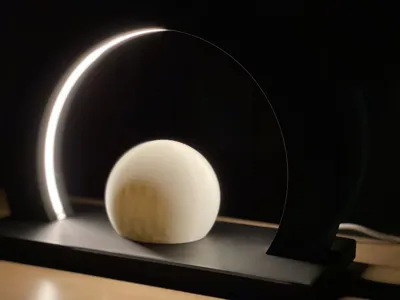
Eclipse is a 3D-printed sculptural light that blends brutalist form with celestial elegance. Designed around a minimal arch and centered orb, the lamp evokes the quiet drama of an eclipse—its integrated LED ring casting a soft, radiant glow that frames the matte-textured sphere. The LED strip used is this one, embedded into the arch and diffused through a 3D-printed translucent PETG channel for a smooth, even light. Entirely 3D printed aside from the LED, Eclipse celebrates precision, material honesty, and a modular spirit. Whether placed on a desk, shelf, or bedside table, it functions as both ambient lighting and a contemplative design object—ideal for makers, designers, and lovers of functional art.
Eclipse Lamp – Assembly Instructions
Parts Included
- 3D printed base
- 3D printed arch structure
- 3D printed sphere
- 3D printed Translucent PETG LED diffuser
- 3D printed Square peg connectors
- LED strip (link)
Assembly Steps
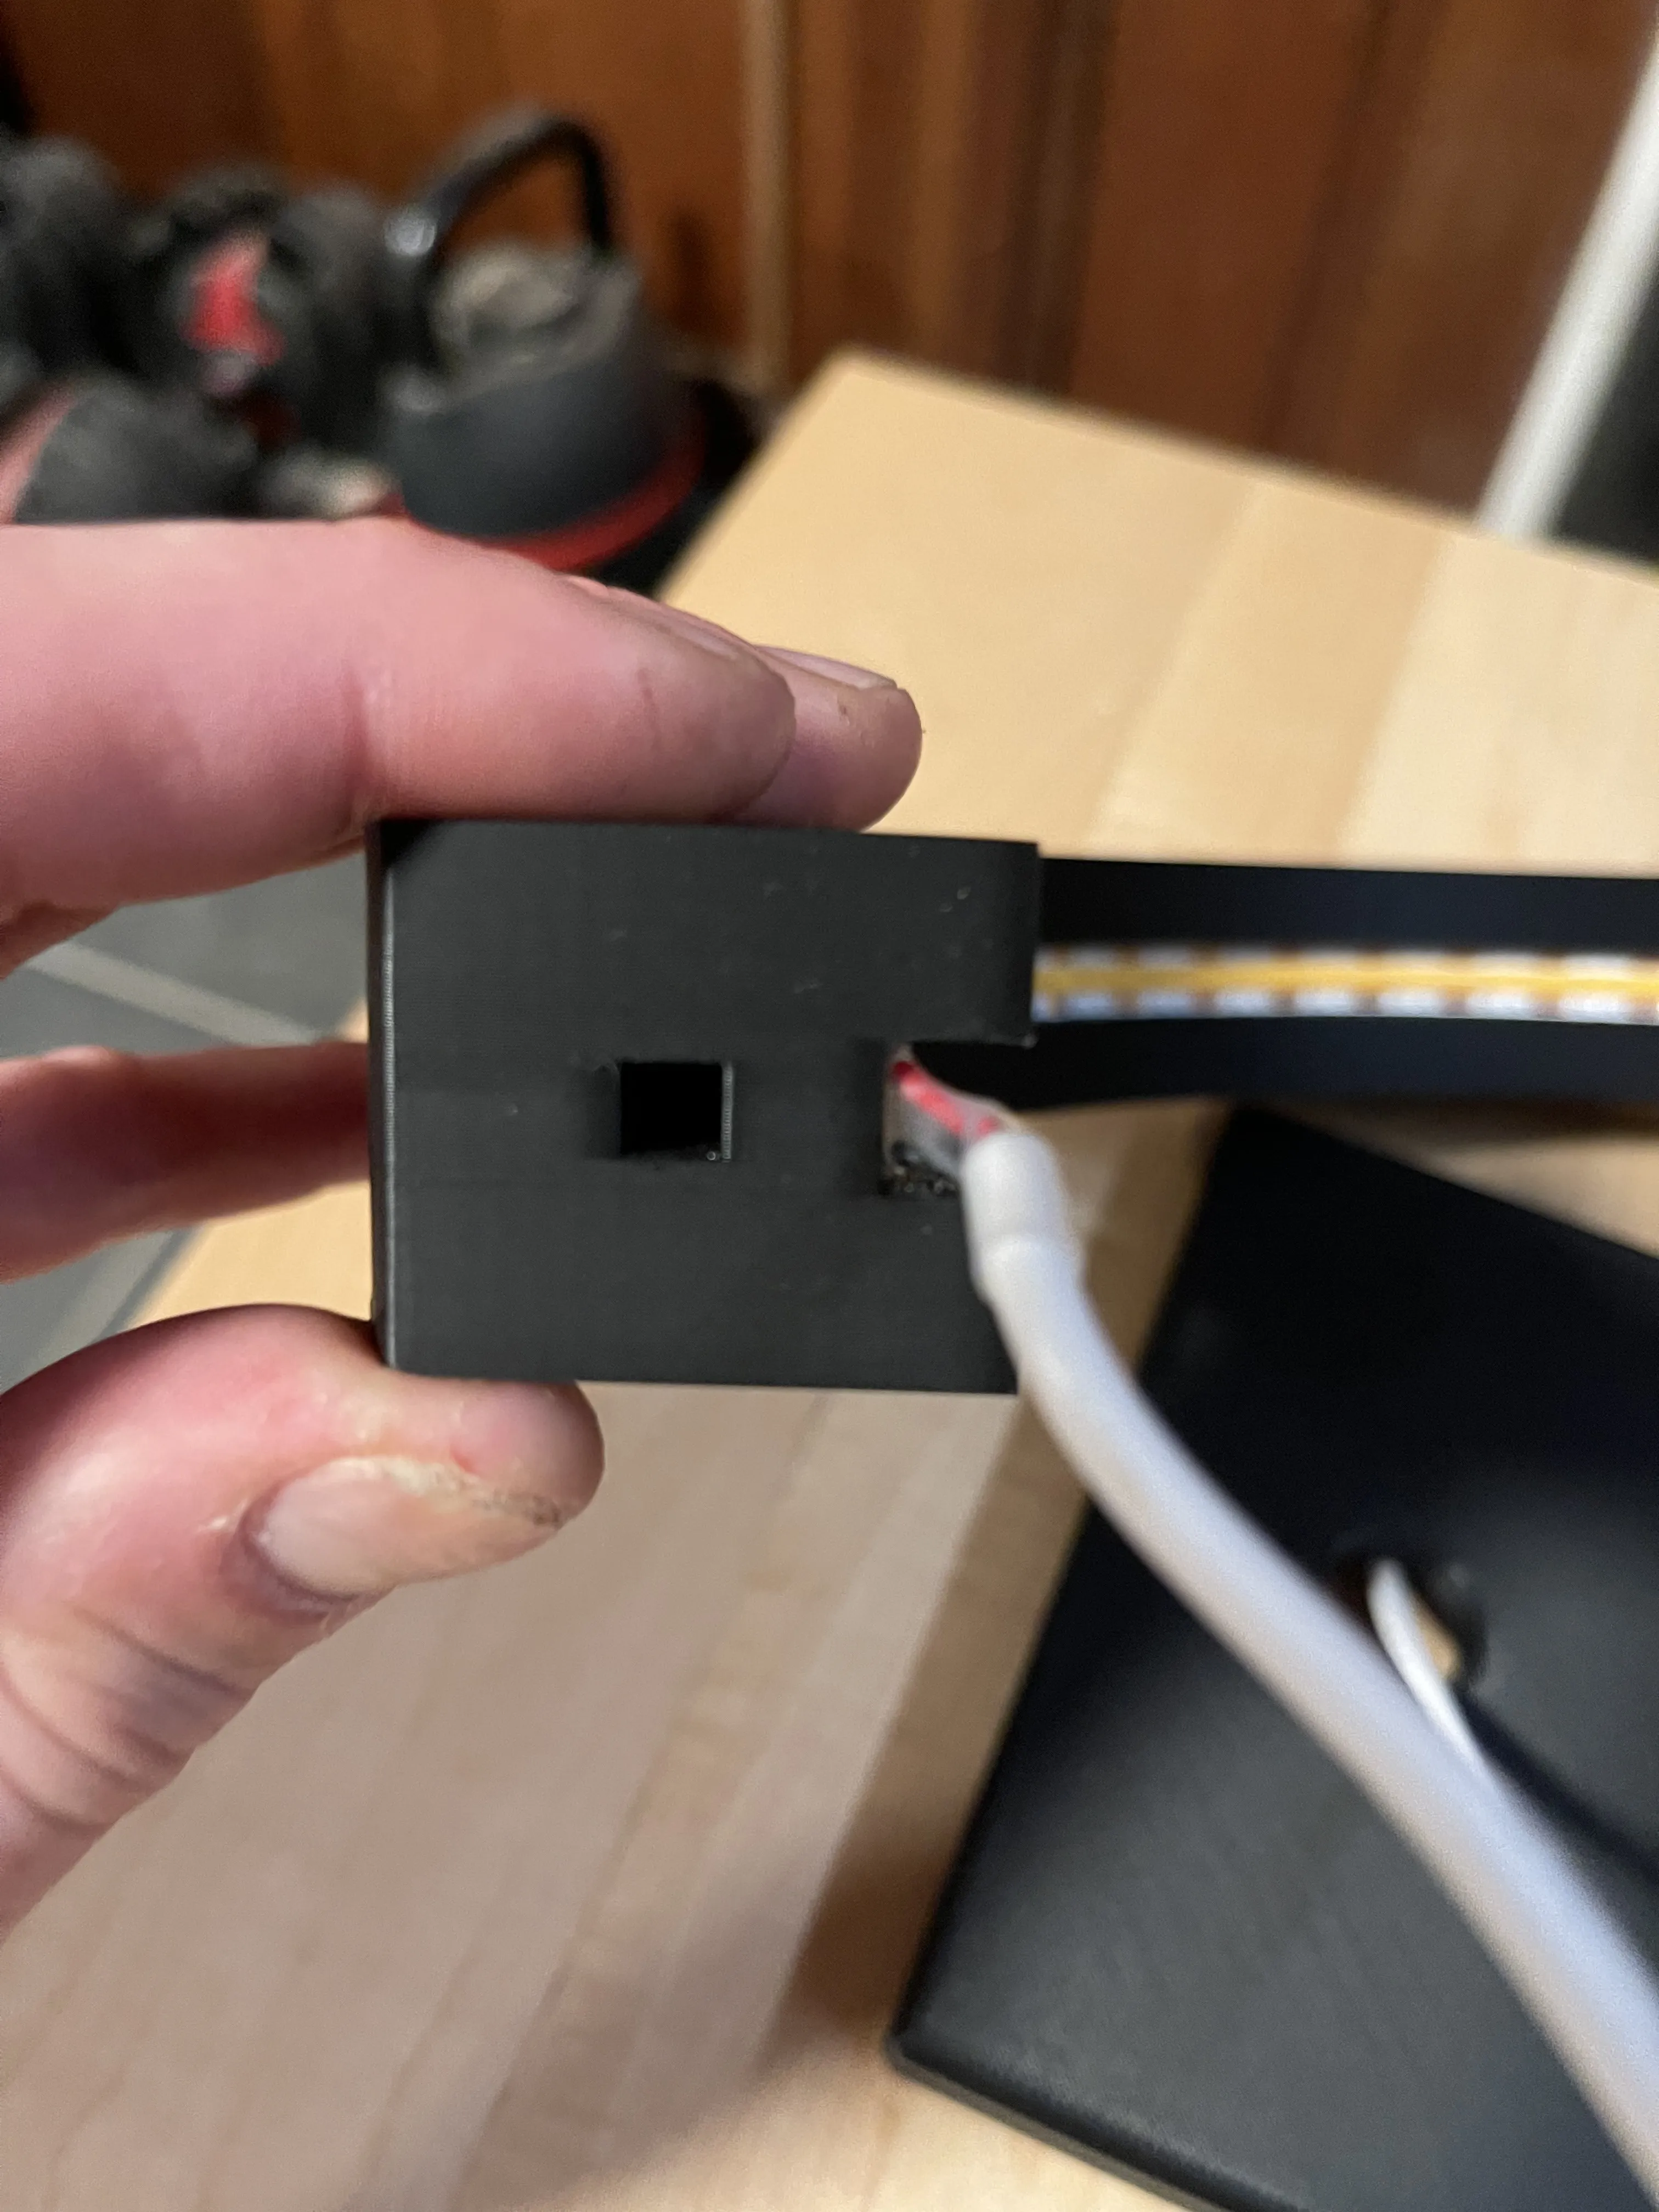
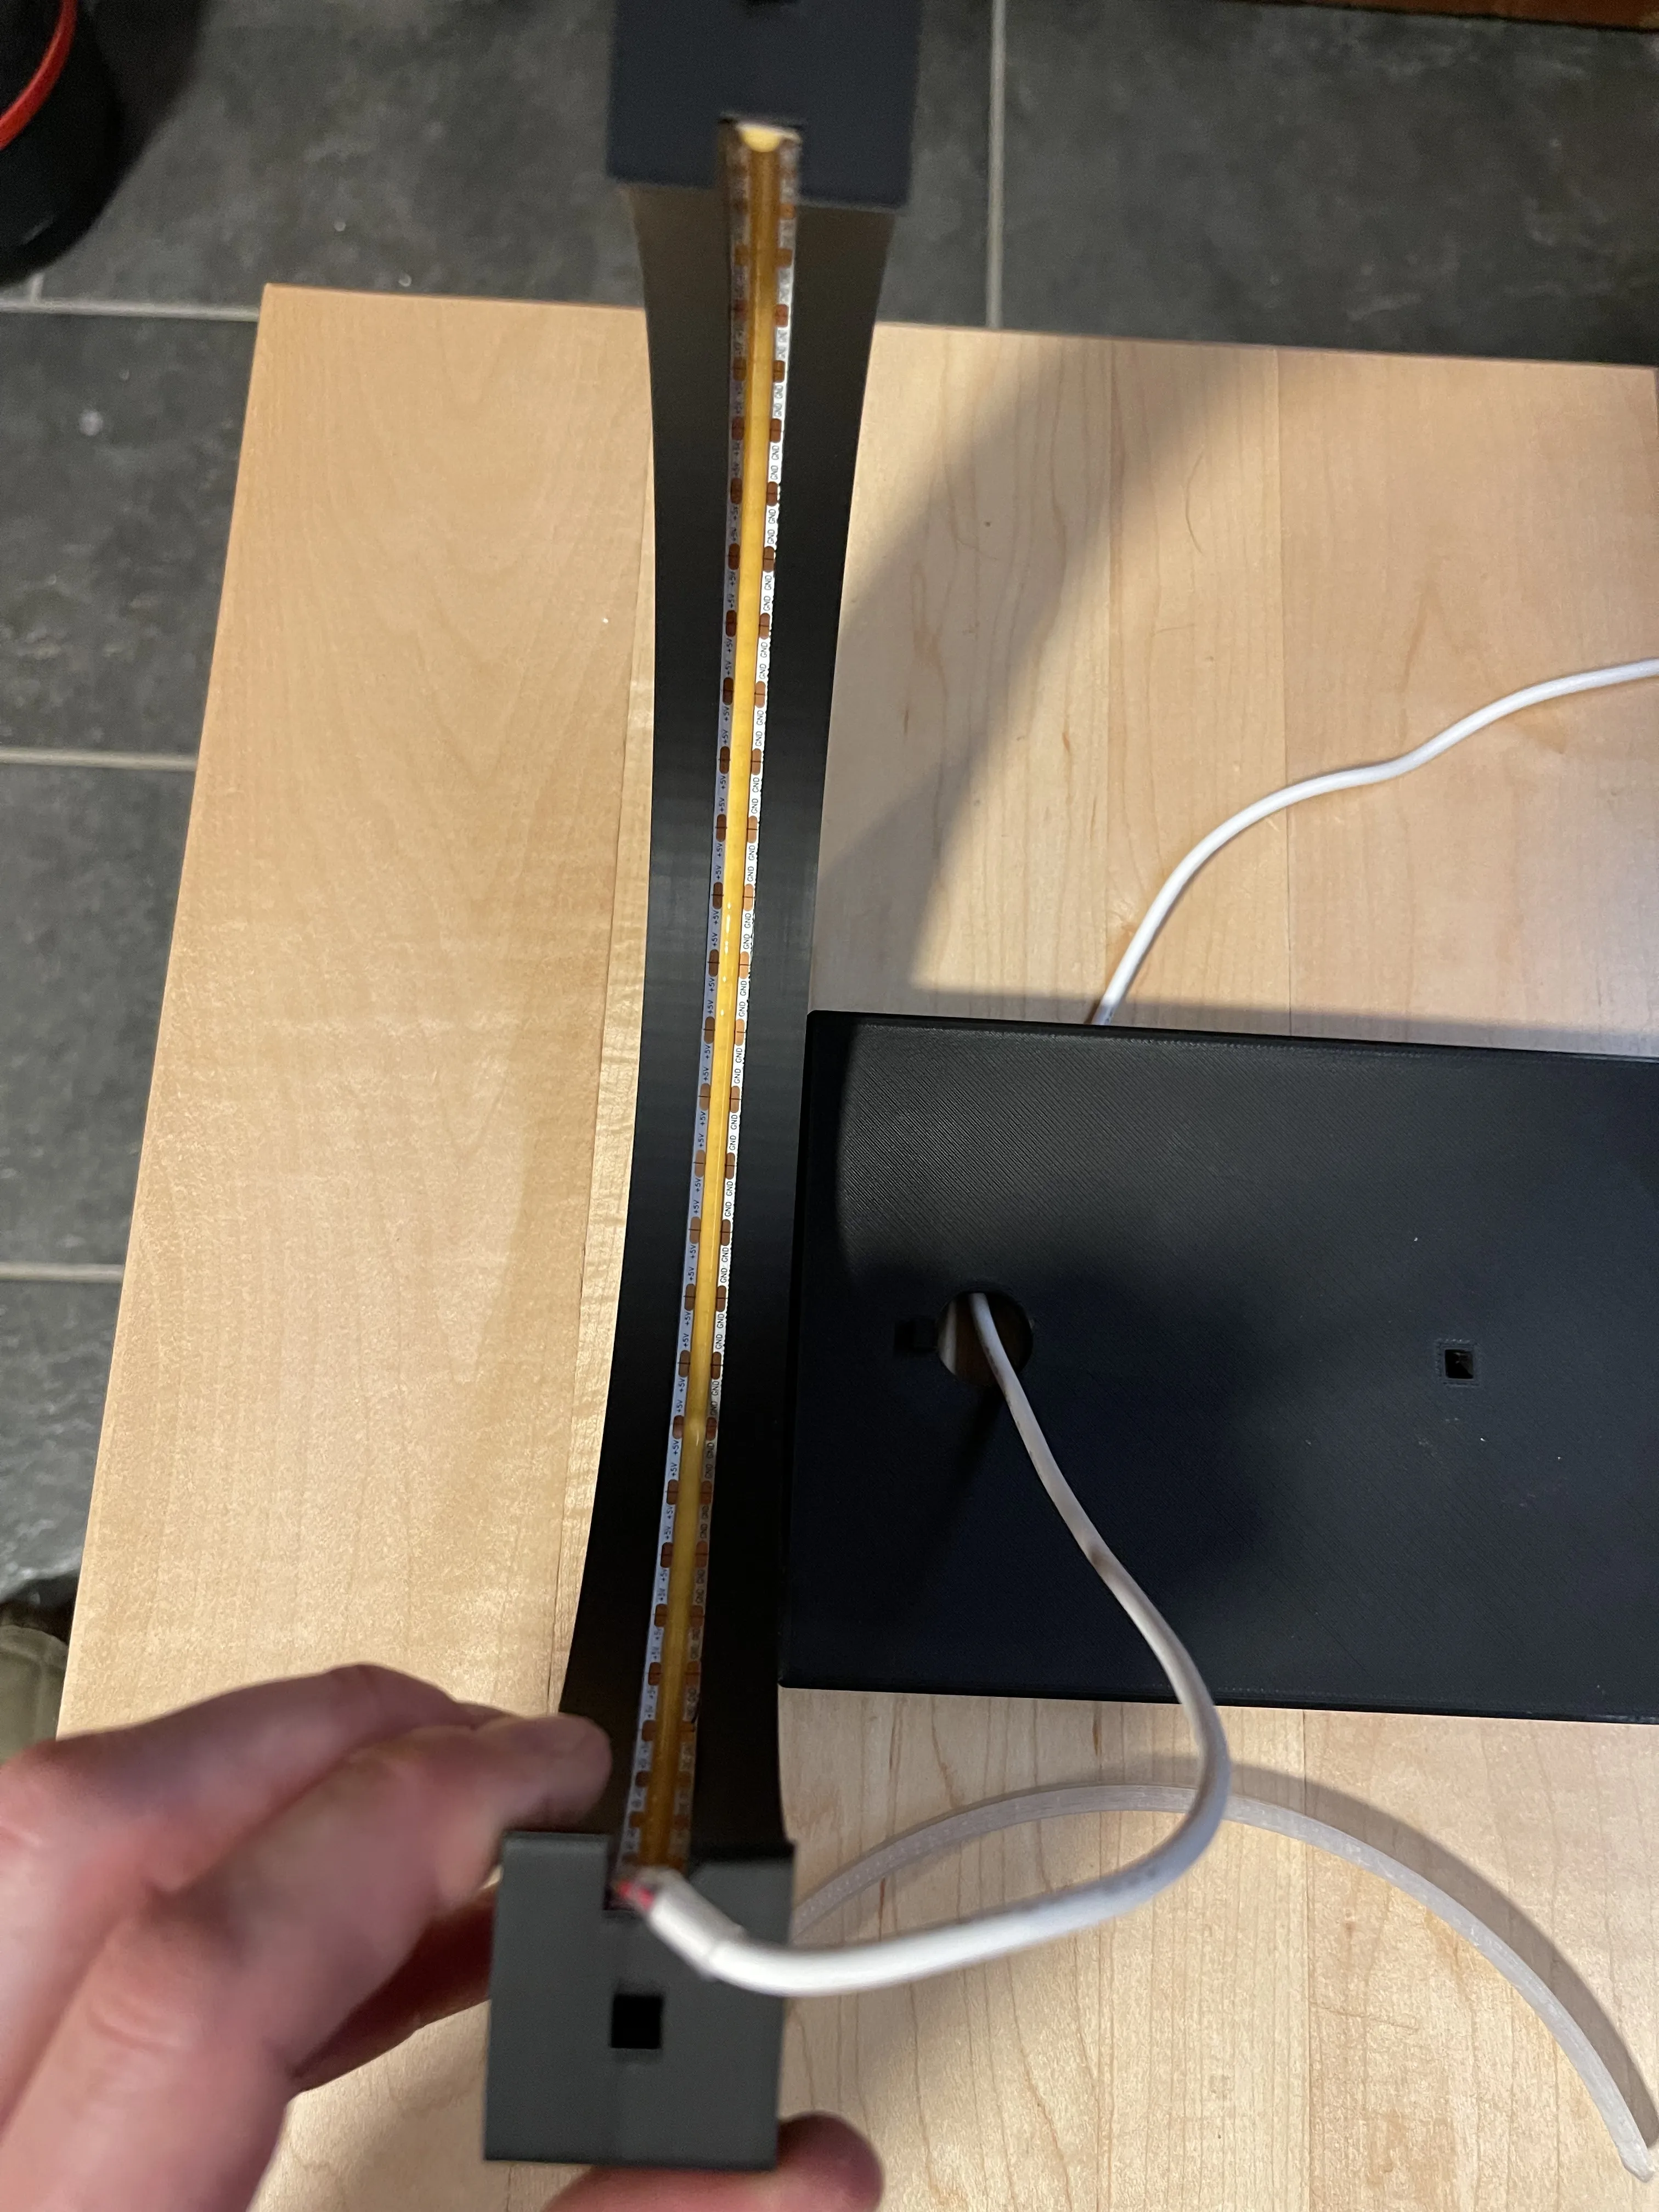
1. Install the LED Strip
- Route the power wire through the side of the arch where the peg hole is closest to the LED channel—this is required for proper cable management.
- Insert the LED strip into the inner groove of the arch.
- Once fully inserted, cut the strip to length at the nearest designated cut point.
- Press the translucent PETG diffuser into the groove over the LED strip for smooth light diffusion.
2. Attach the Arch to the Base
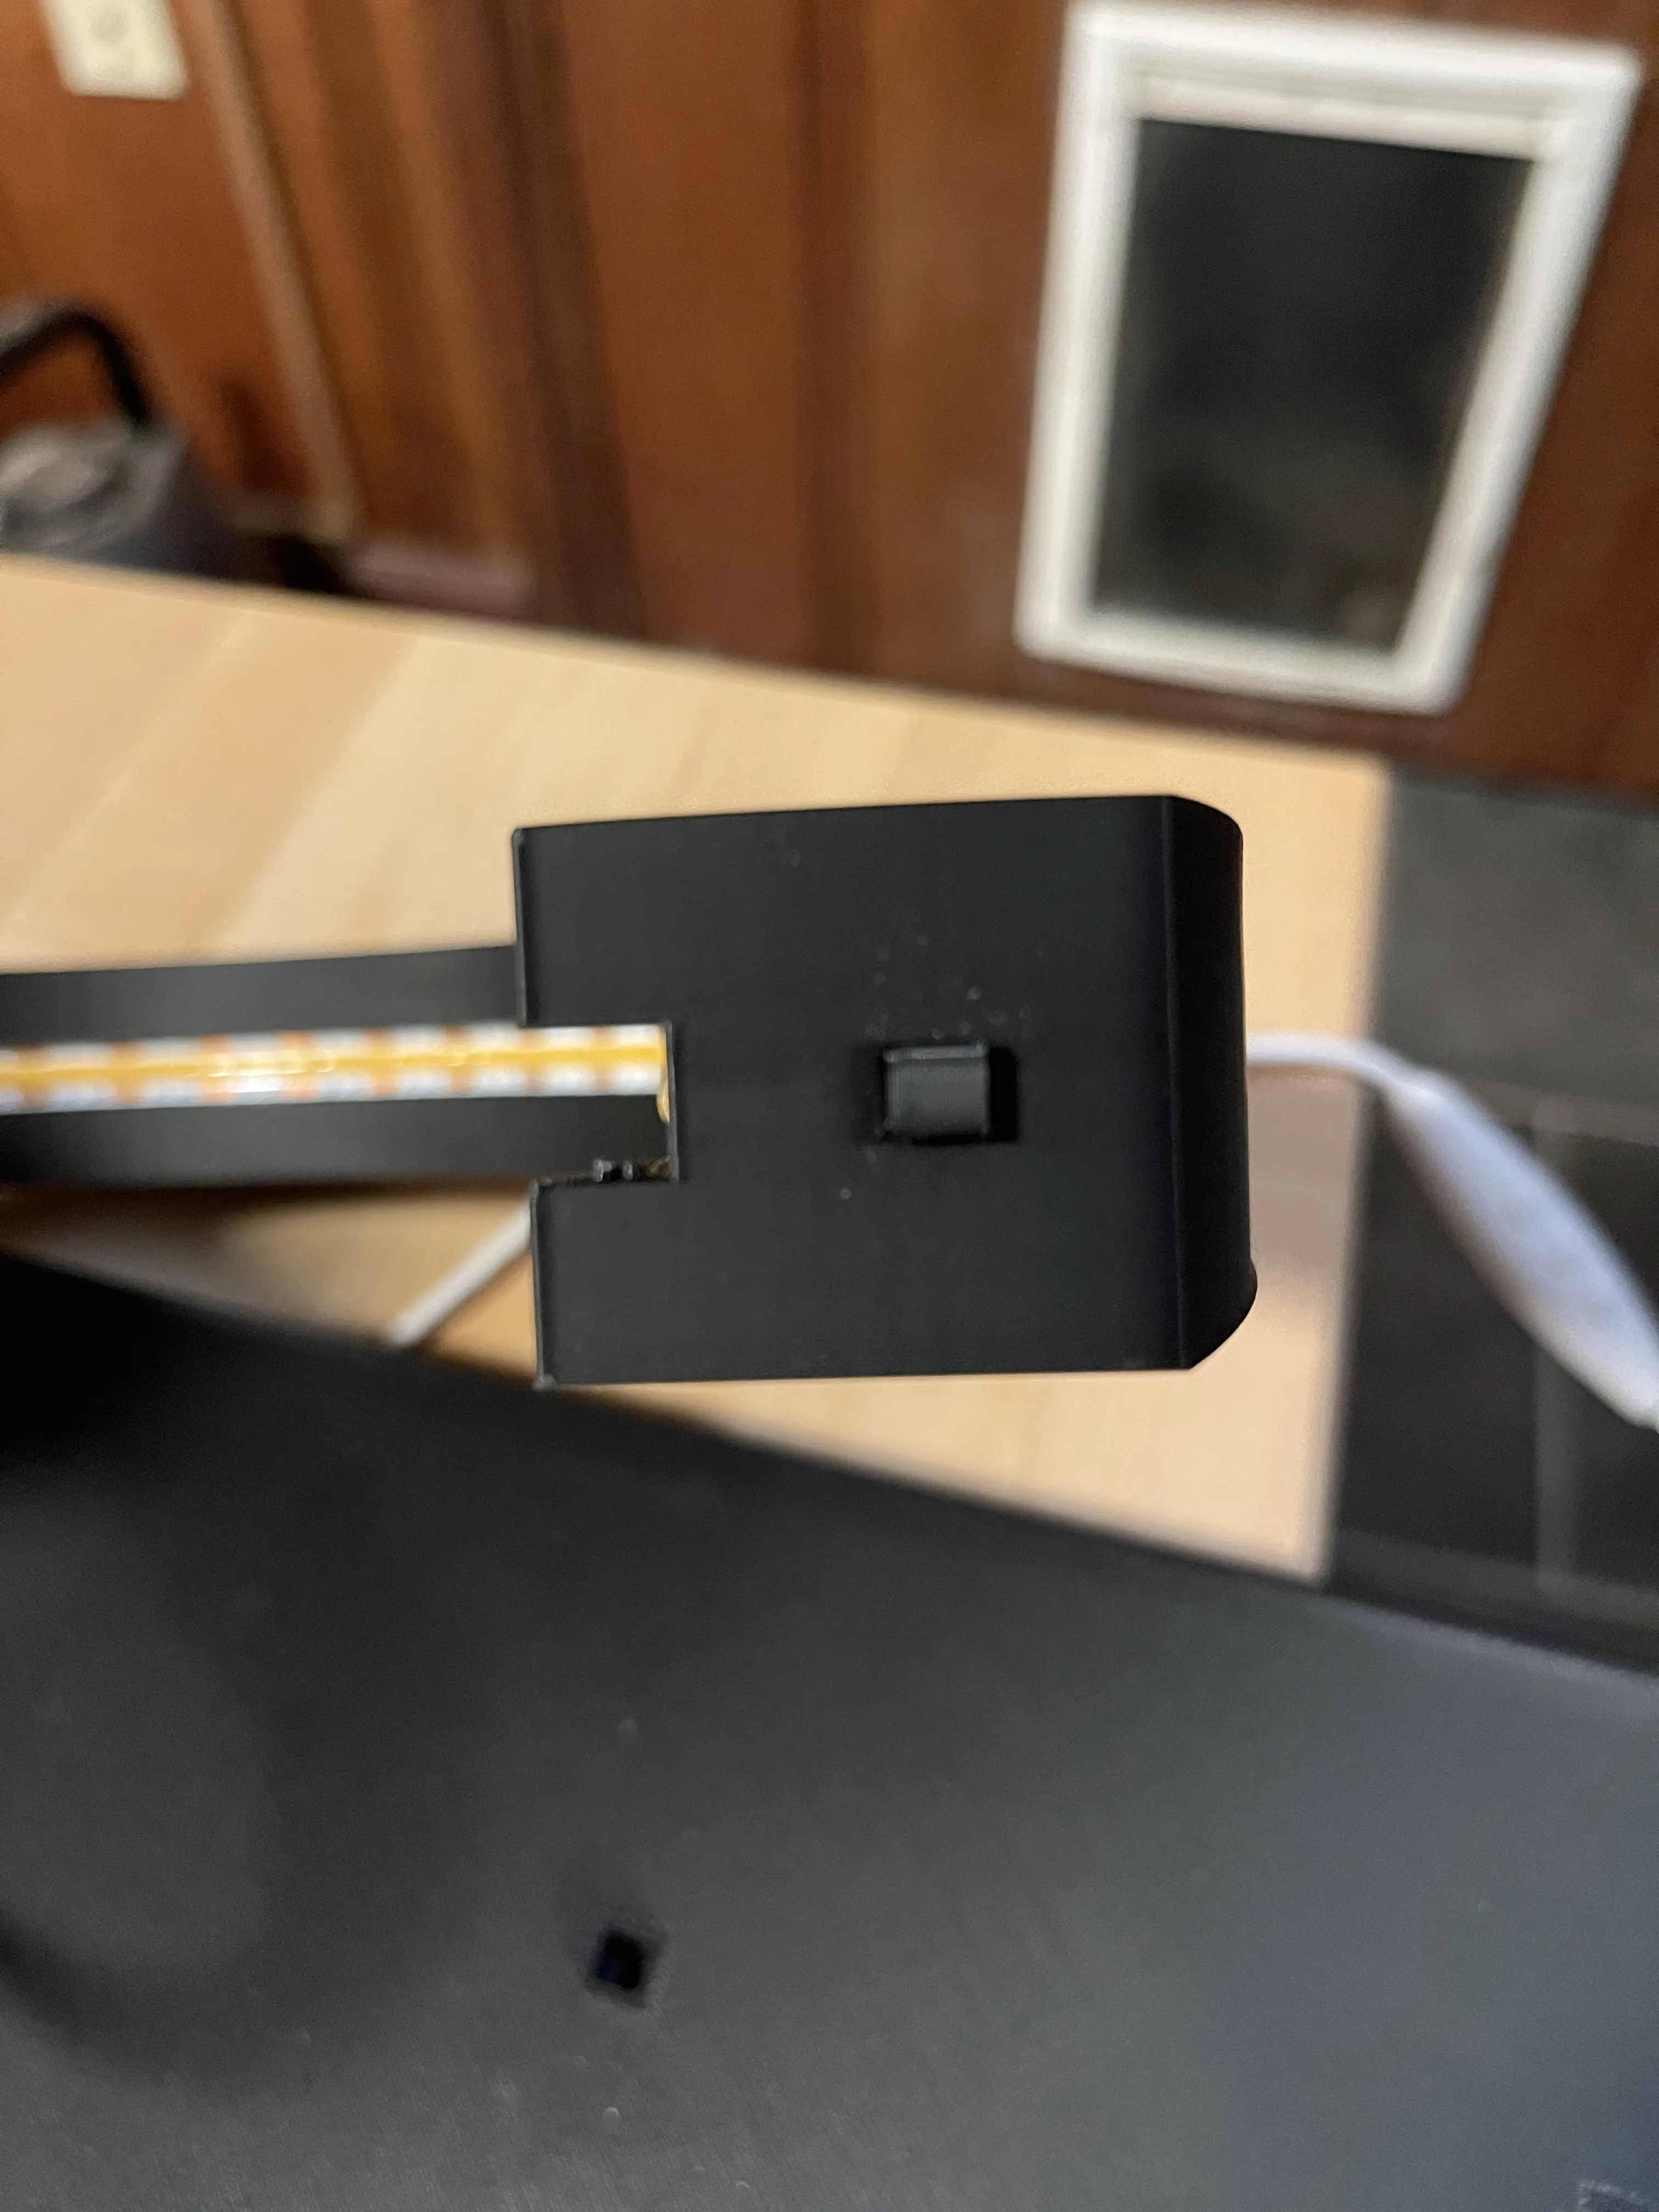
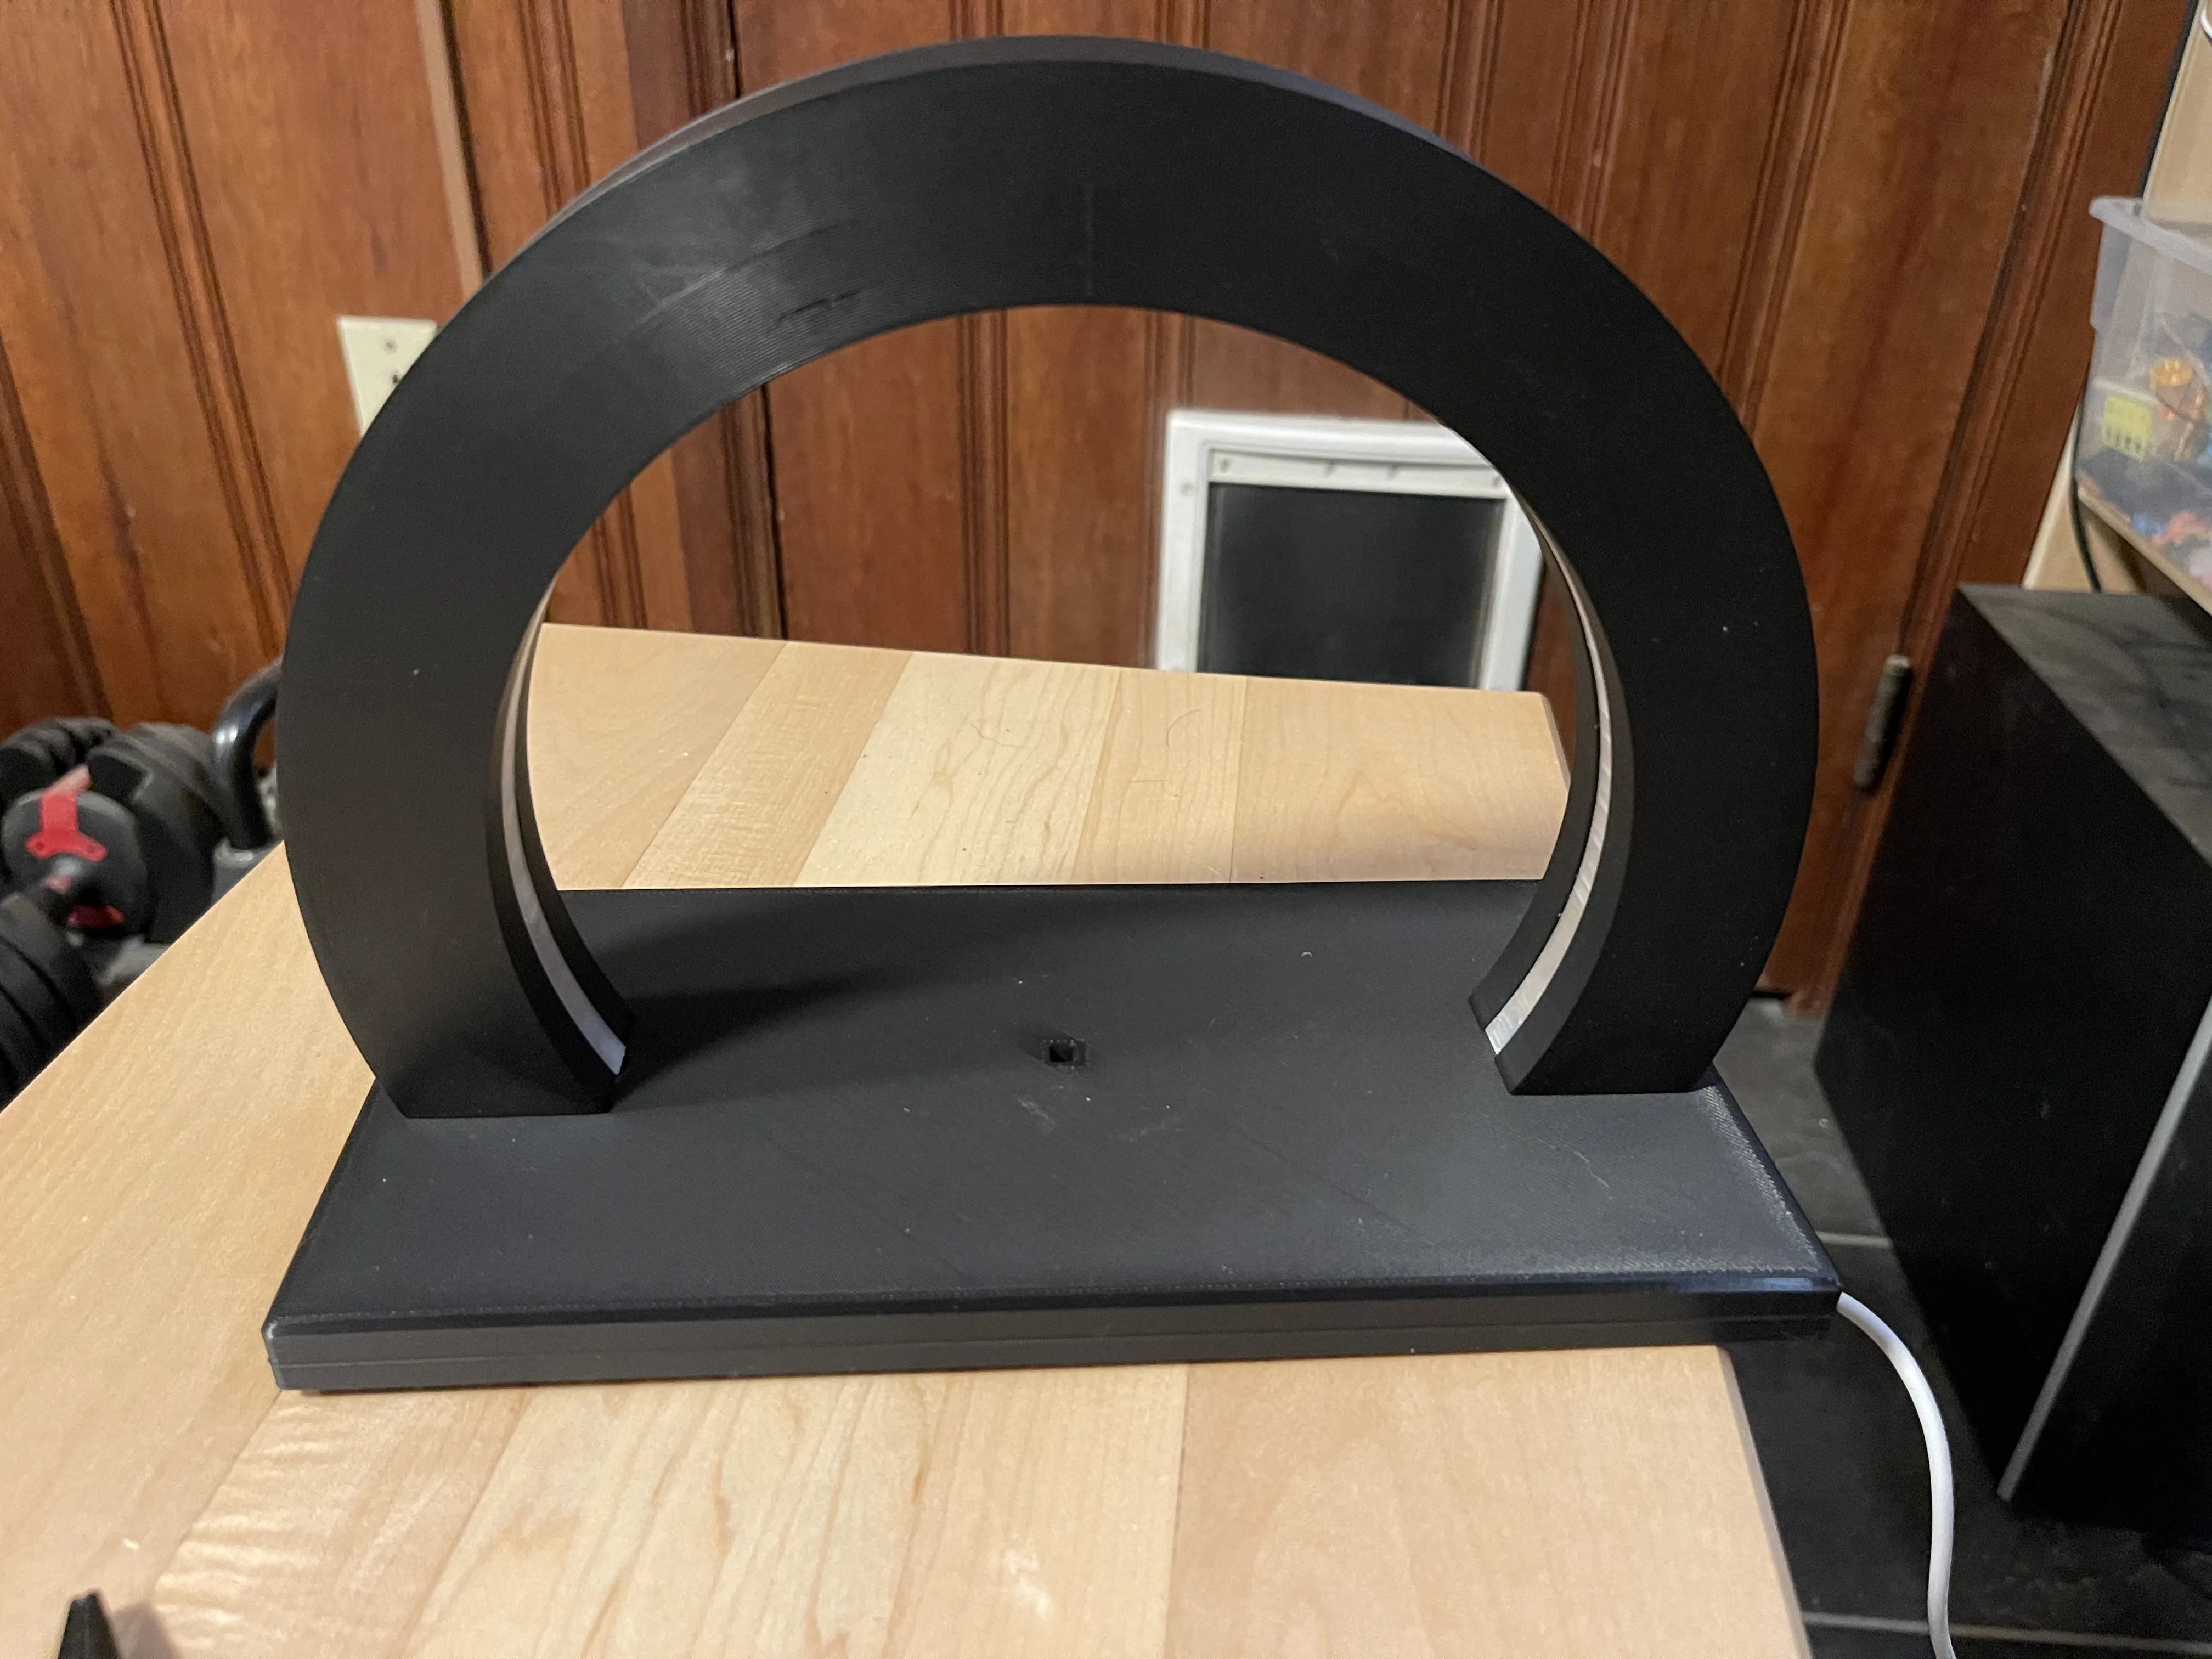
- Align the square peg connectors on the bottom of the arch with the corresponding holes in the base.
- Press down firmly until the arch is securely seated.
- Note: The hole beneath the peg on the cable side is designed to accommodate the power supply plug from the linked LED strip.
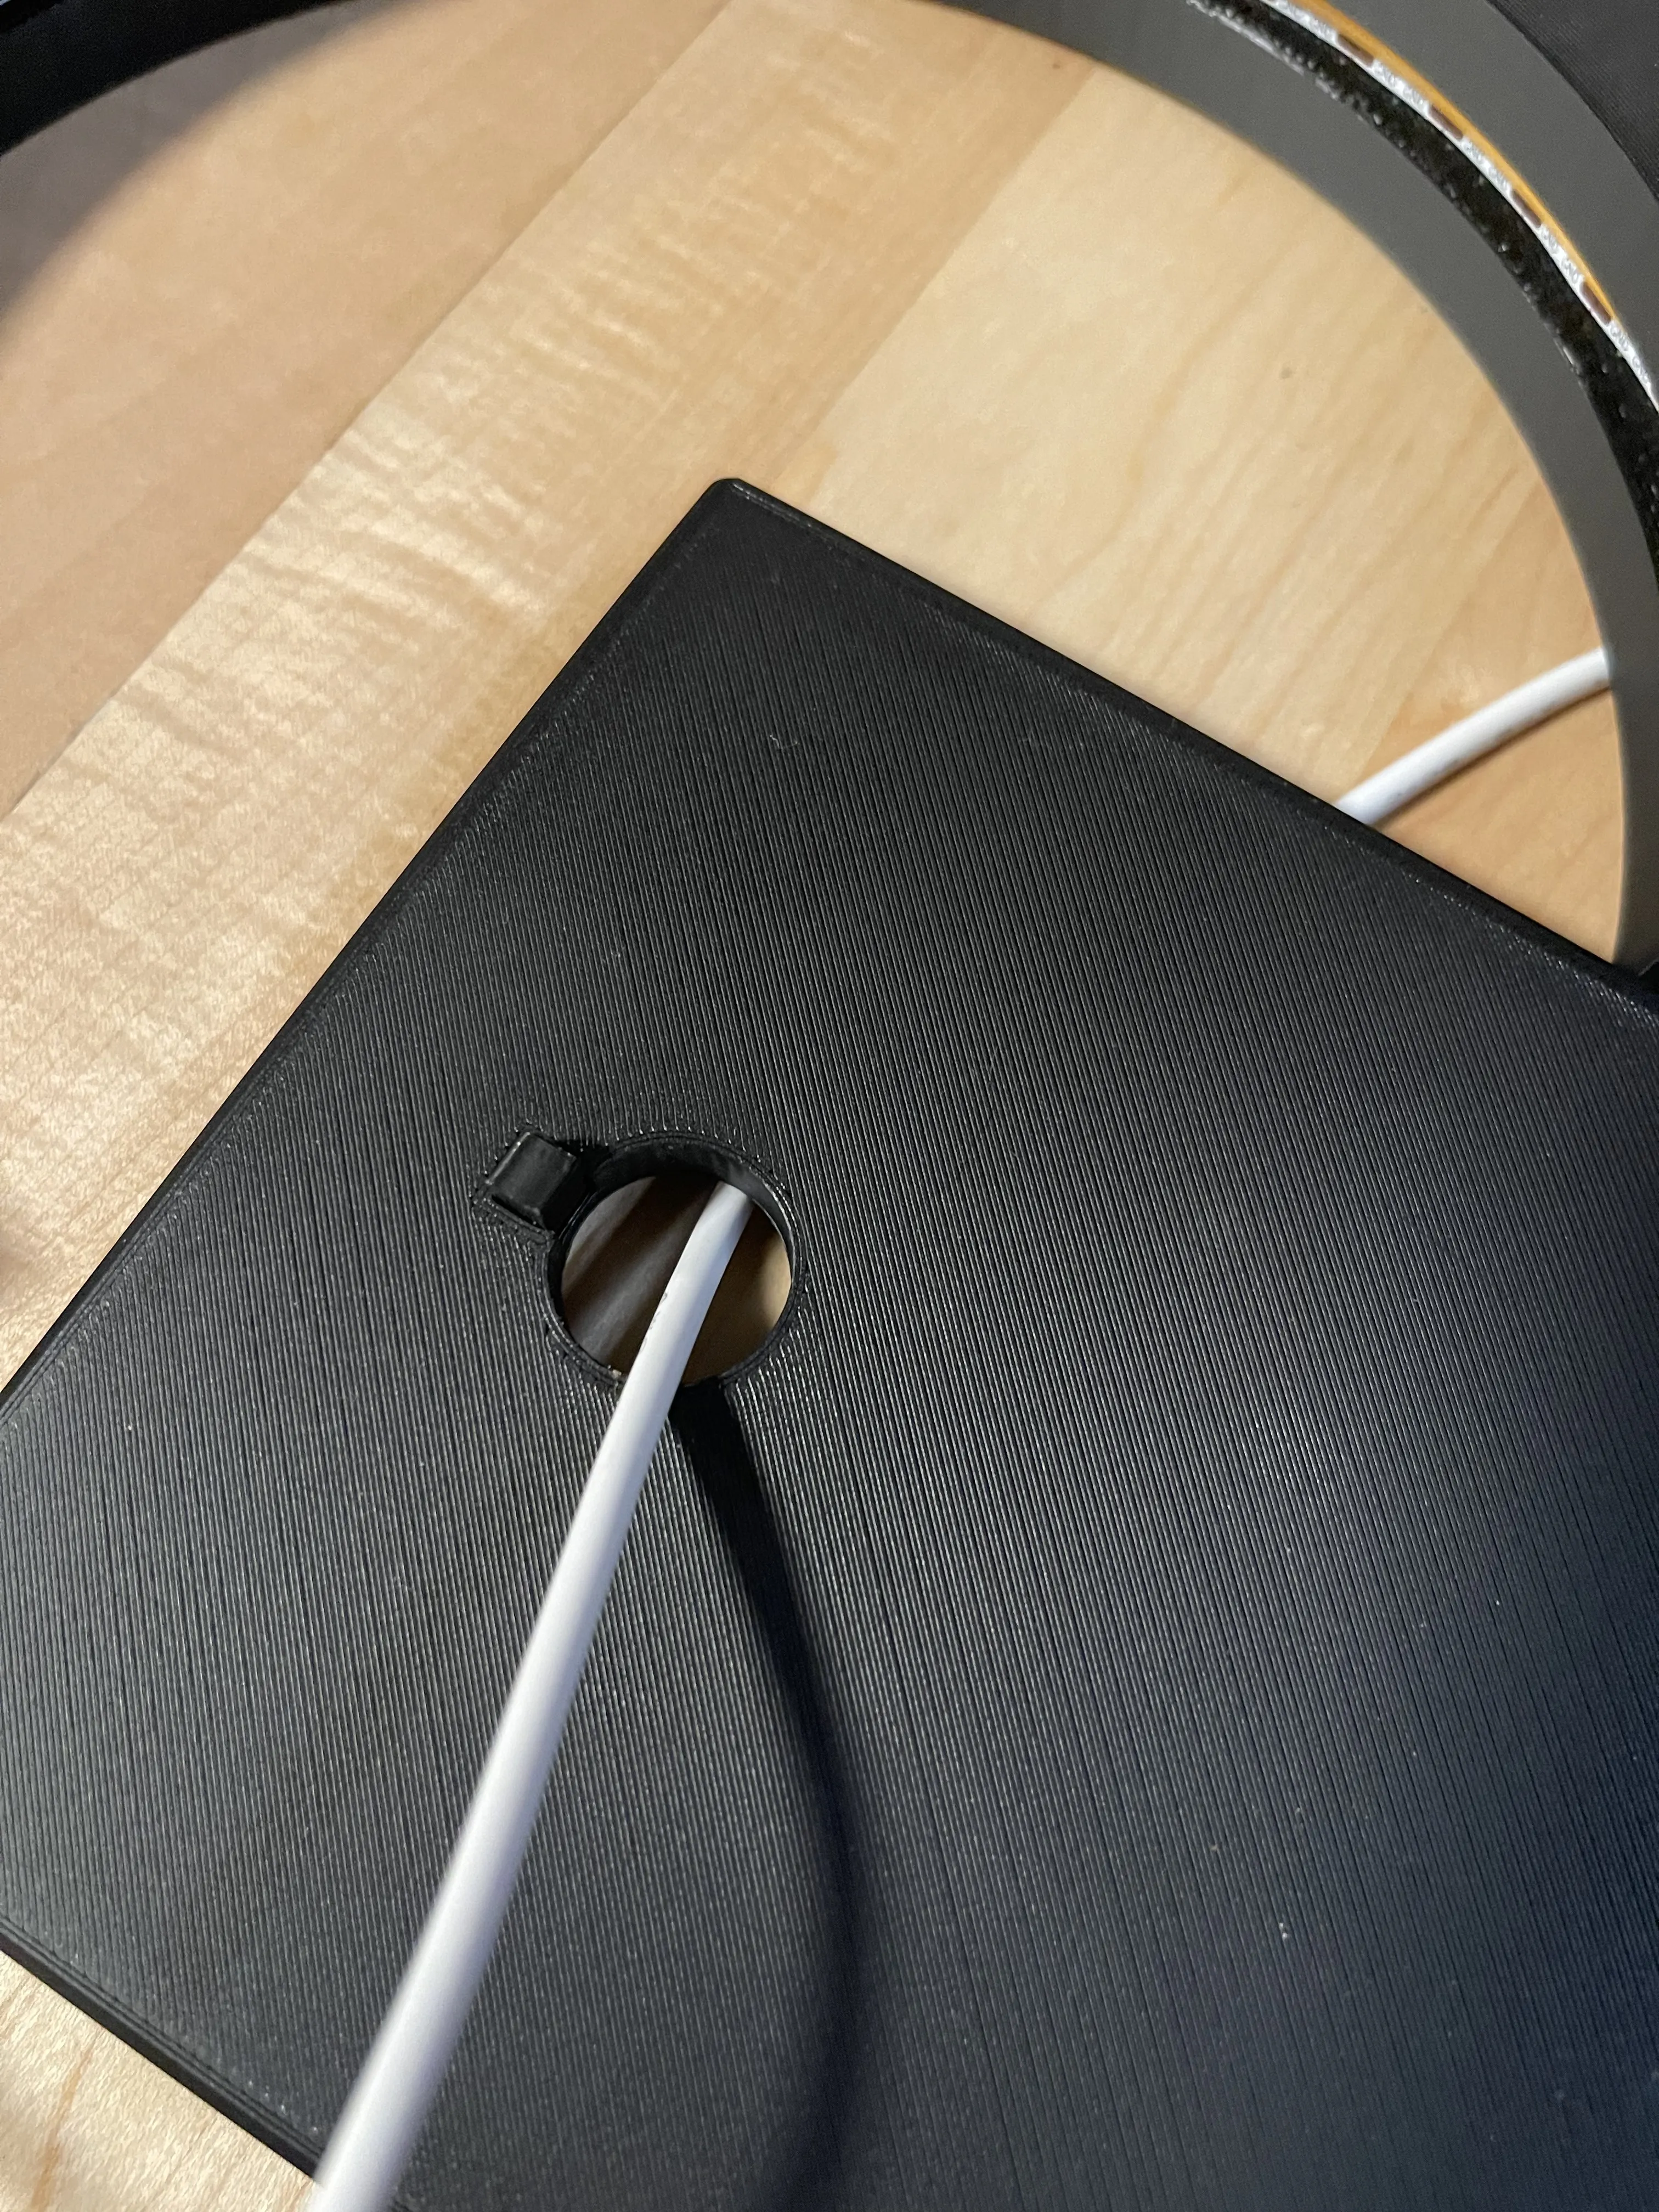
3. Mount the Sphere
- Align the square hole in the bottom of the sphere with the peg on the base.
- Press it down gently until fully seated—it will self-center by design.
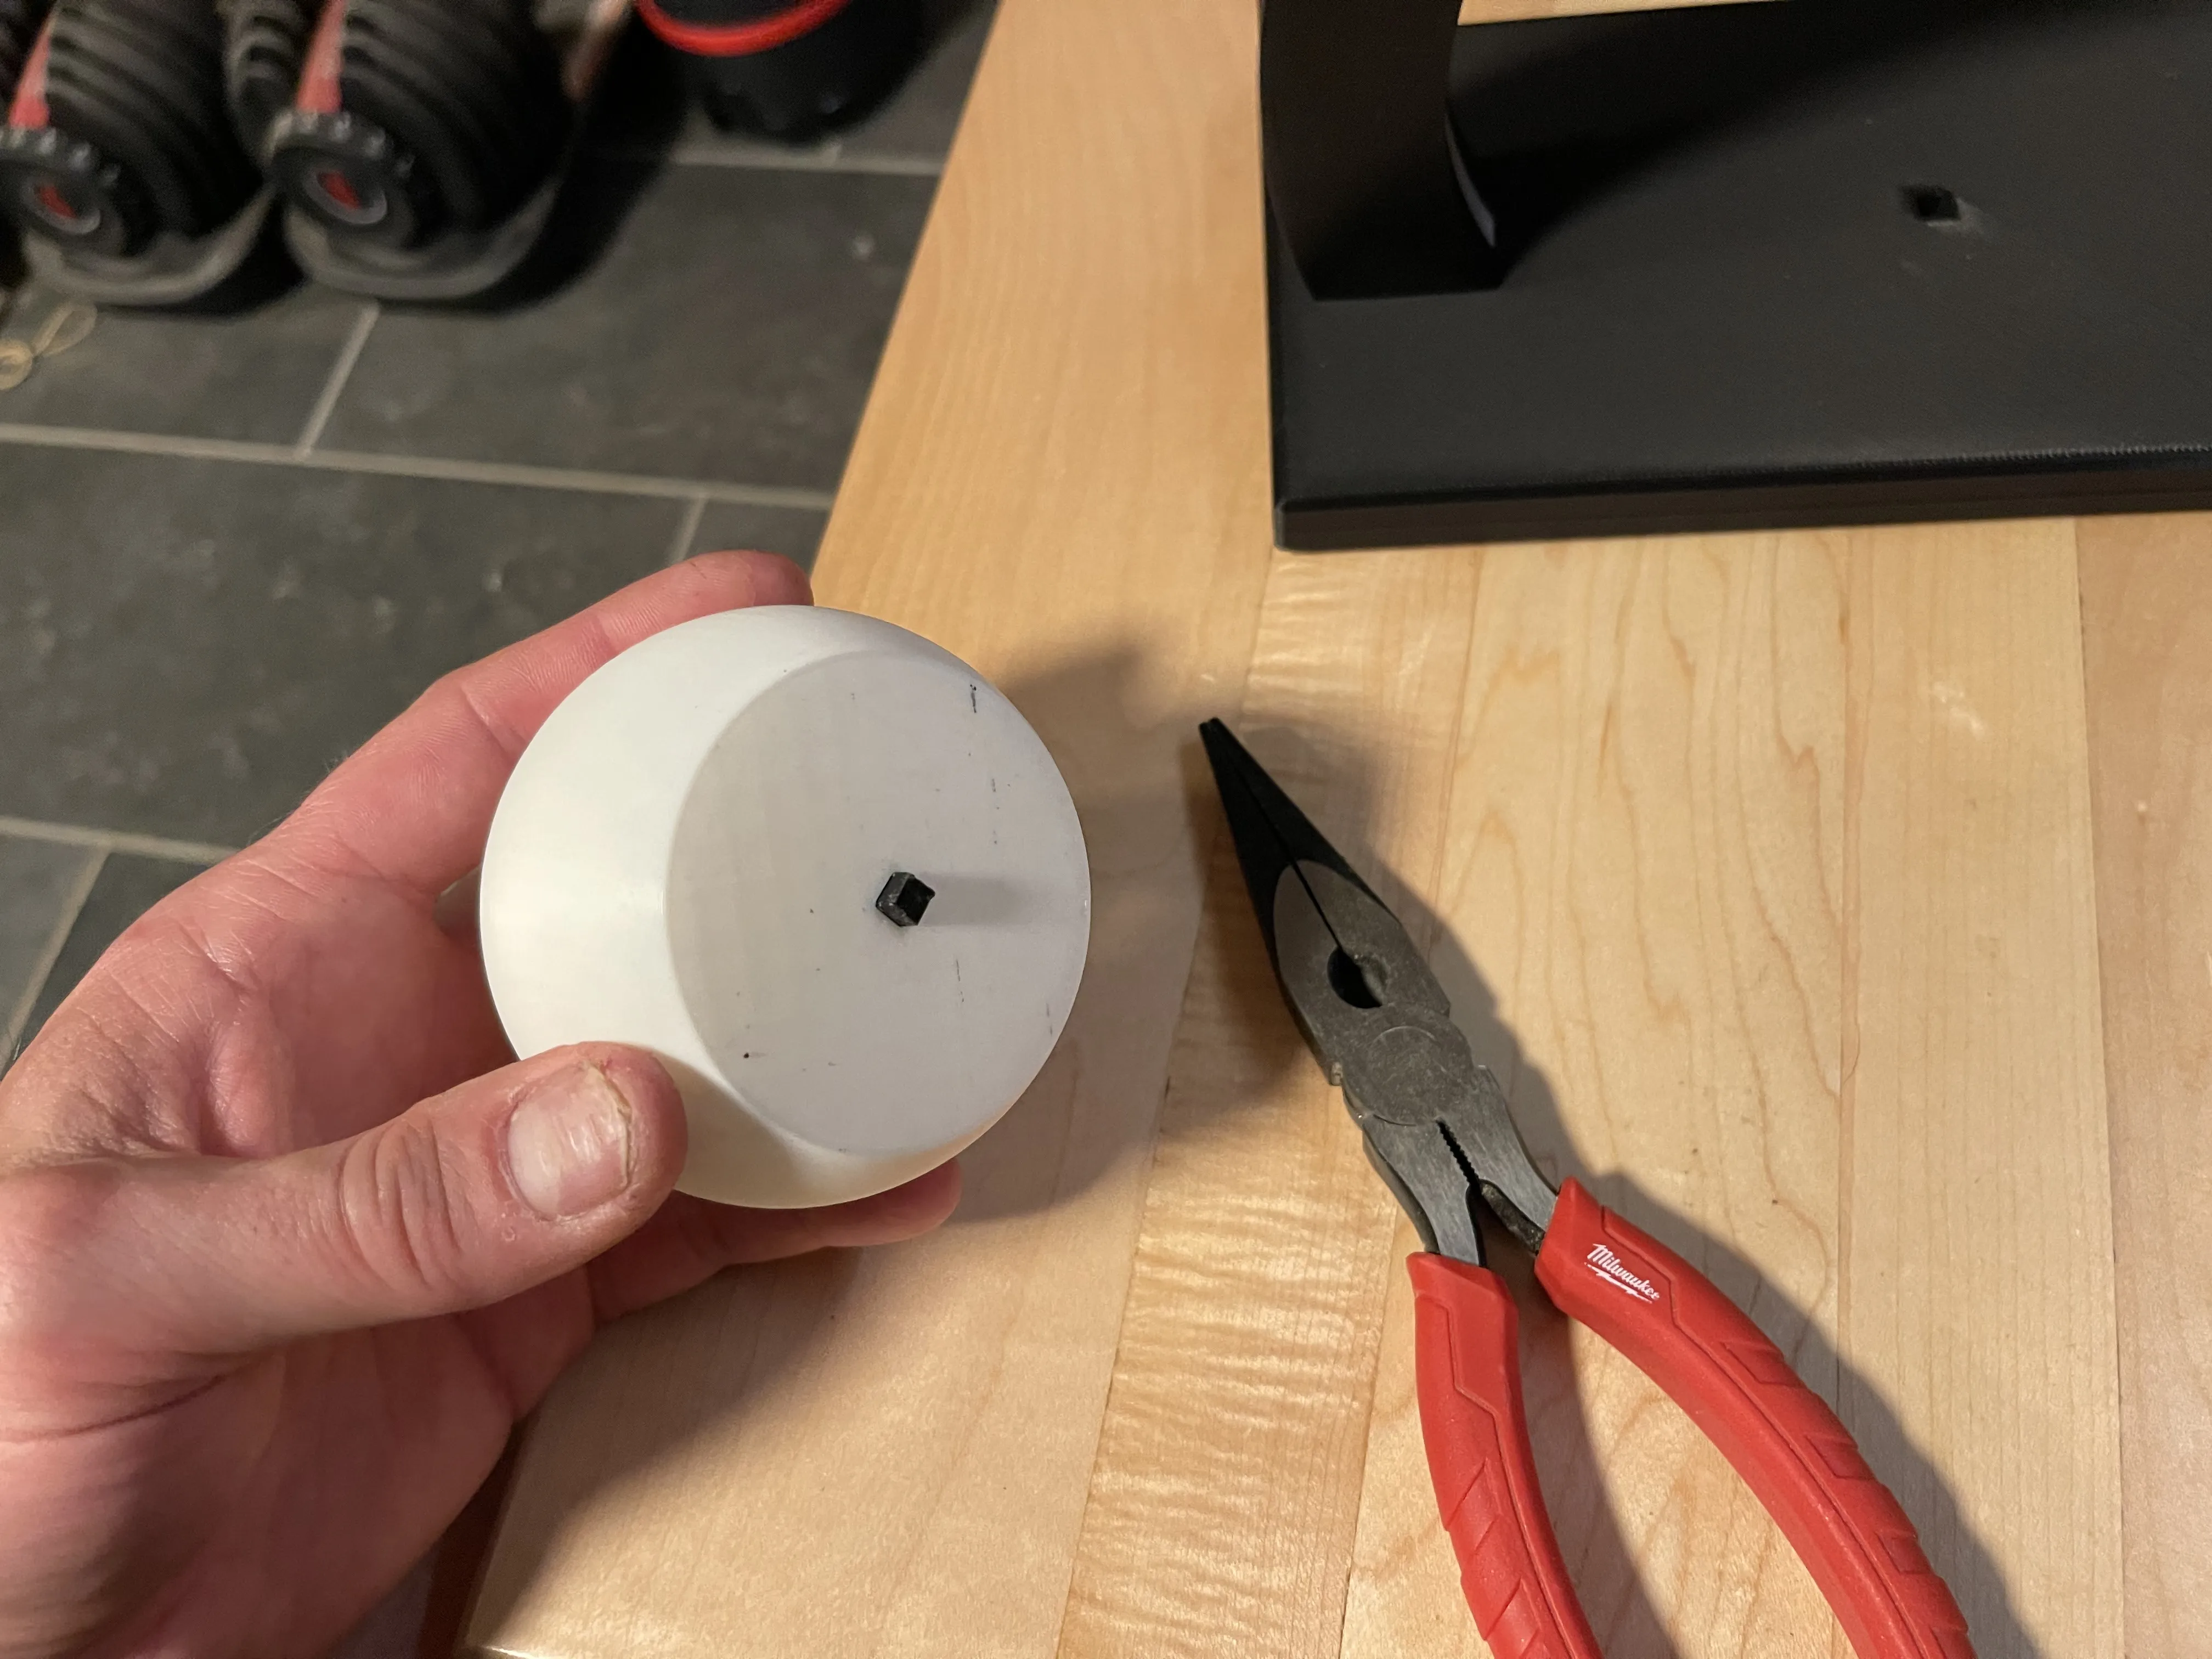
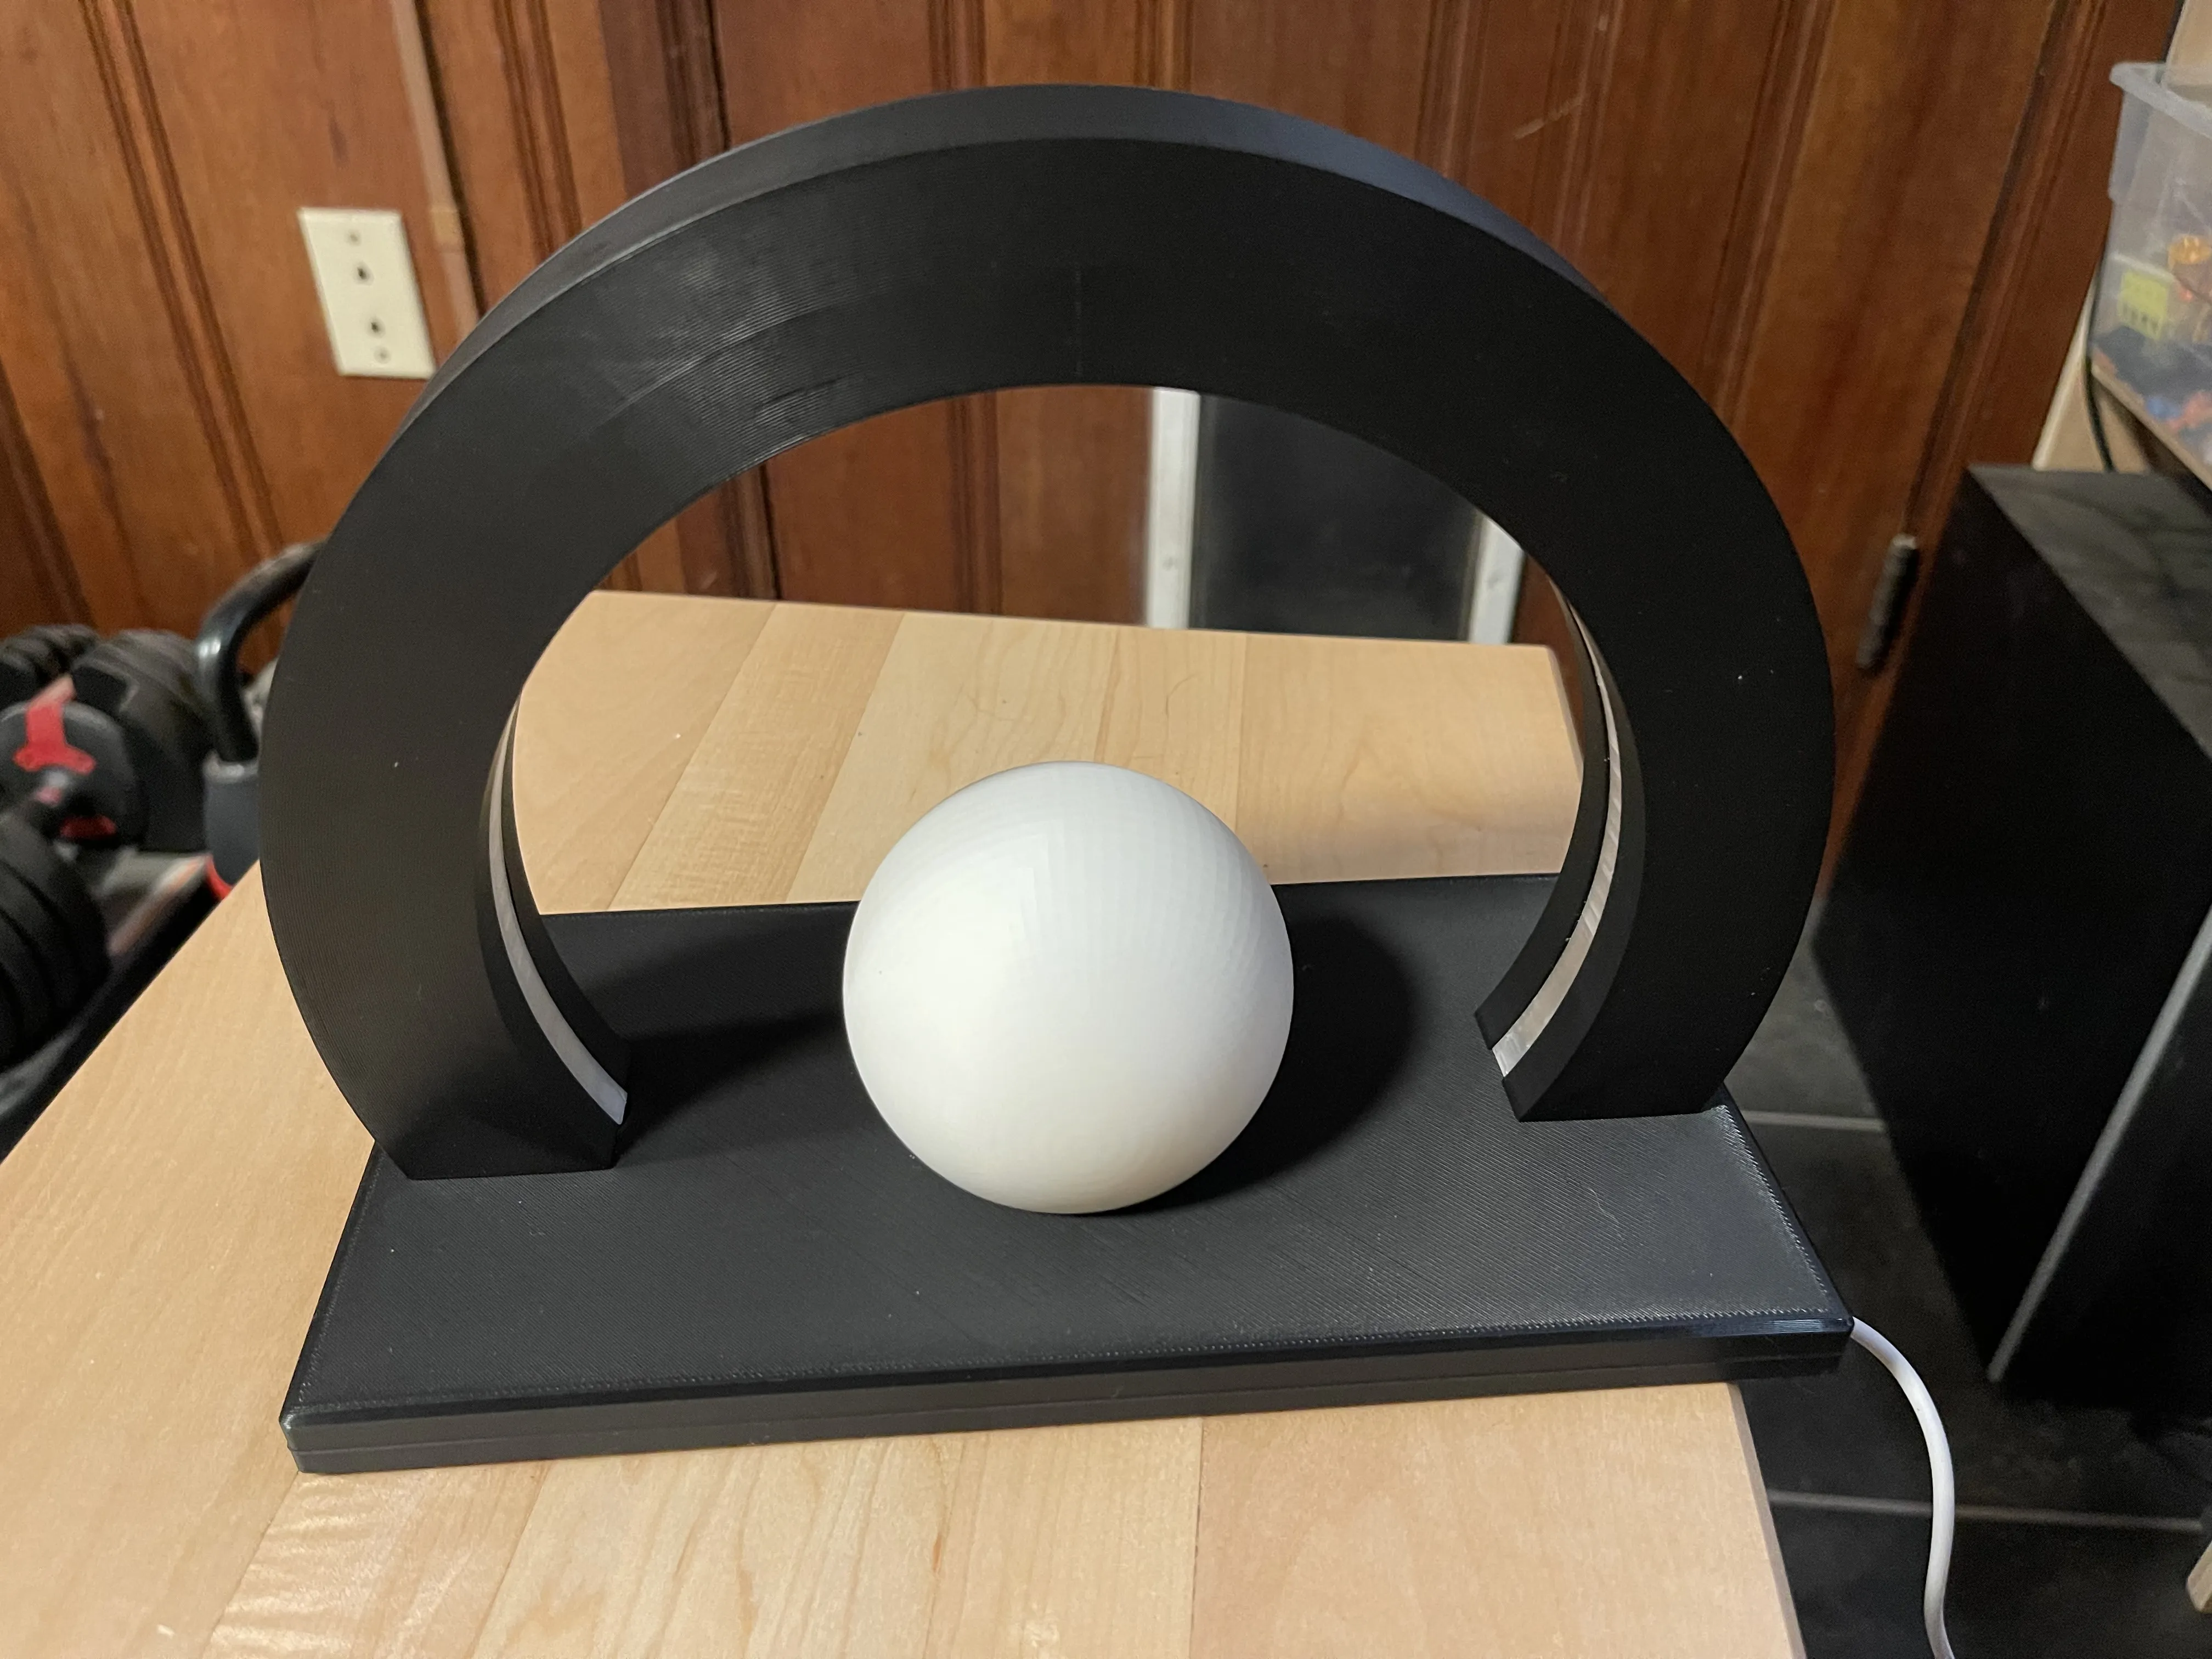
4. Power Up
- Connect the LED strip to your preferred power source (USB or adapter).
- Enjoy the ambient glow of Eclipse.
License

You shall not share, sub-license, sell, rent, host, transfer, or distribute in any way the digital or 3D printed versions of this object, nor any other derivative work of this object in its digital or physical format (including - but not limited to - remixes of this object, and hosting on other digital platforms). The objects may not be used without permission in any way whatsoever in which you charge money, or collect fees.


Comment & Rating (11)