
Print Profile(1)
Description
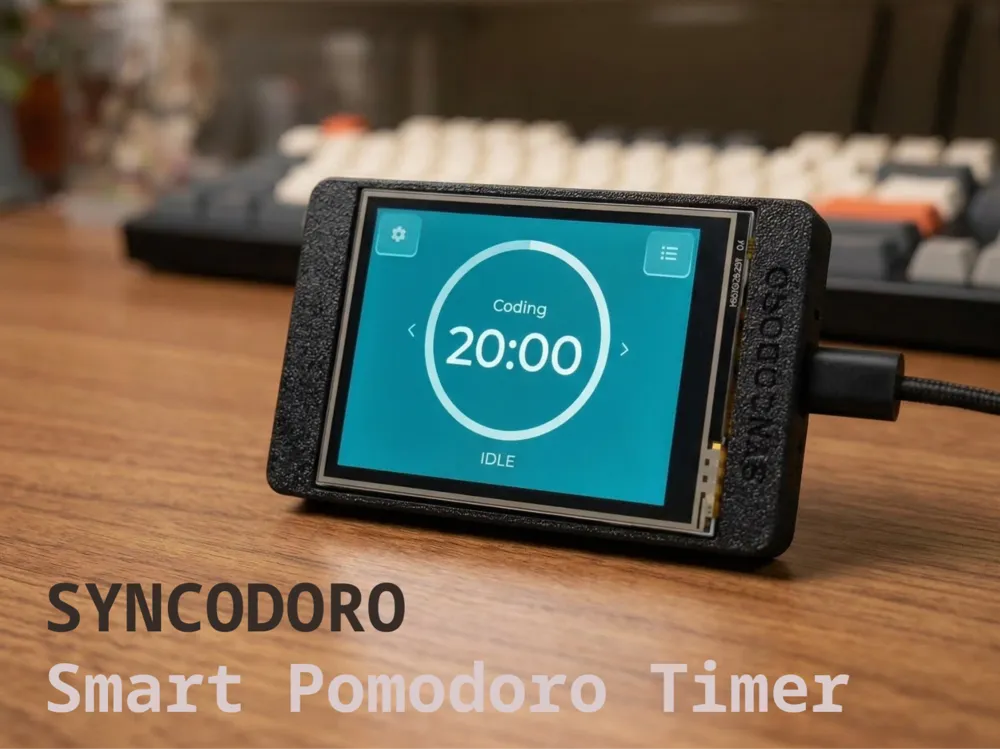
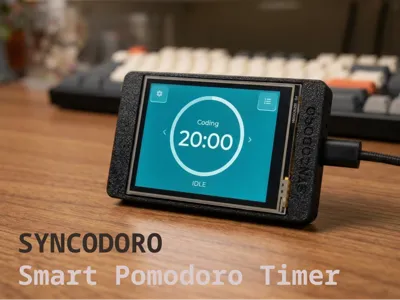
Syncodoro - Smart Wi-Fi Pomodoro Timer (ESP32 CYD)
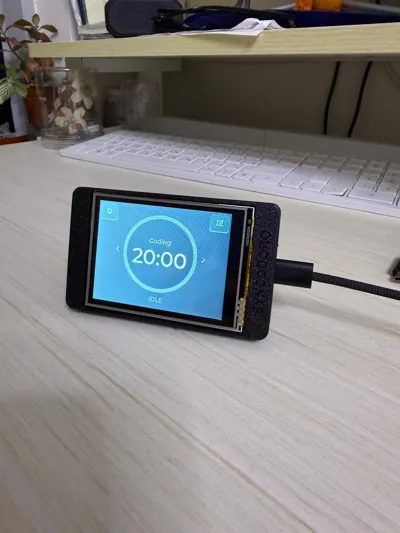
A minimalist, distraction-free desktop Pomodoro timer built on the affordable ESP32 "Cheap Yellow Display" (CYD). Features a custom touchscreen UI, Wi-Fi synchronization, and a sleek 3D-printed enclosure. Zero coding required—flash the firmware directly from your browser!
🛒 Hardware Required
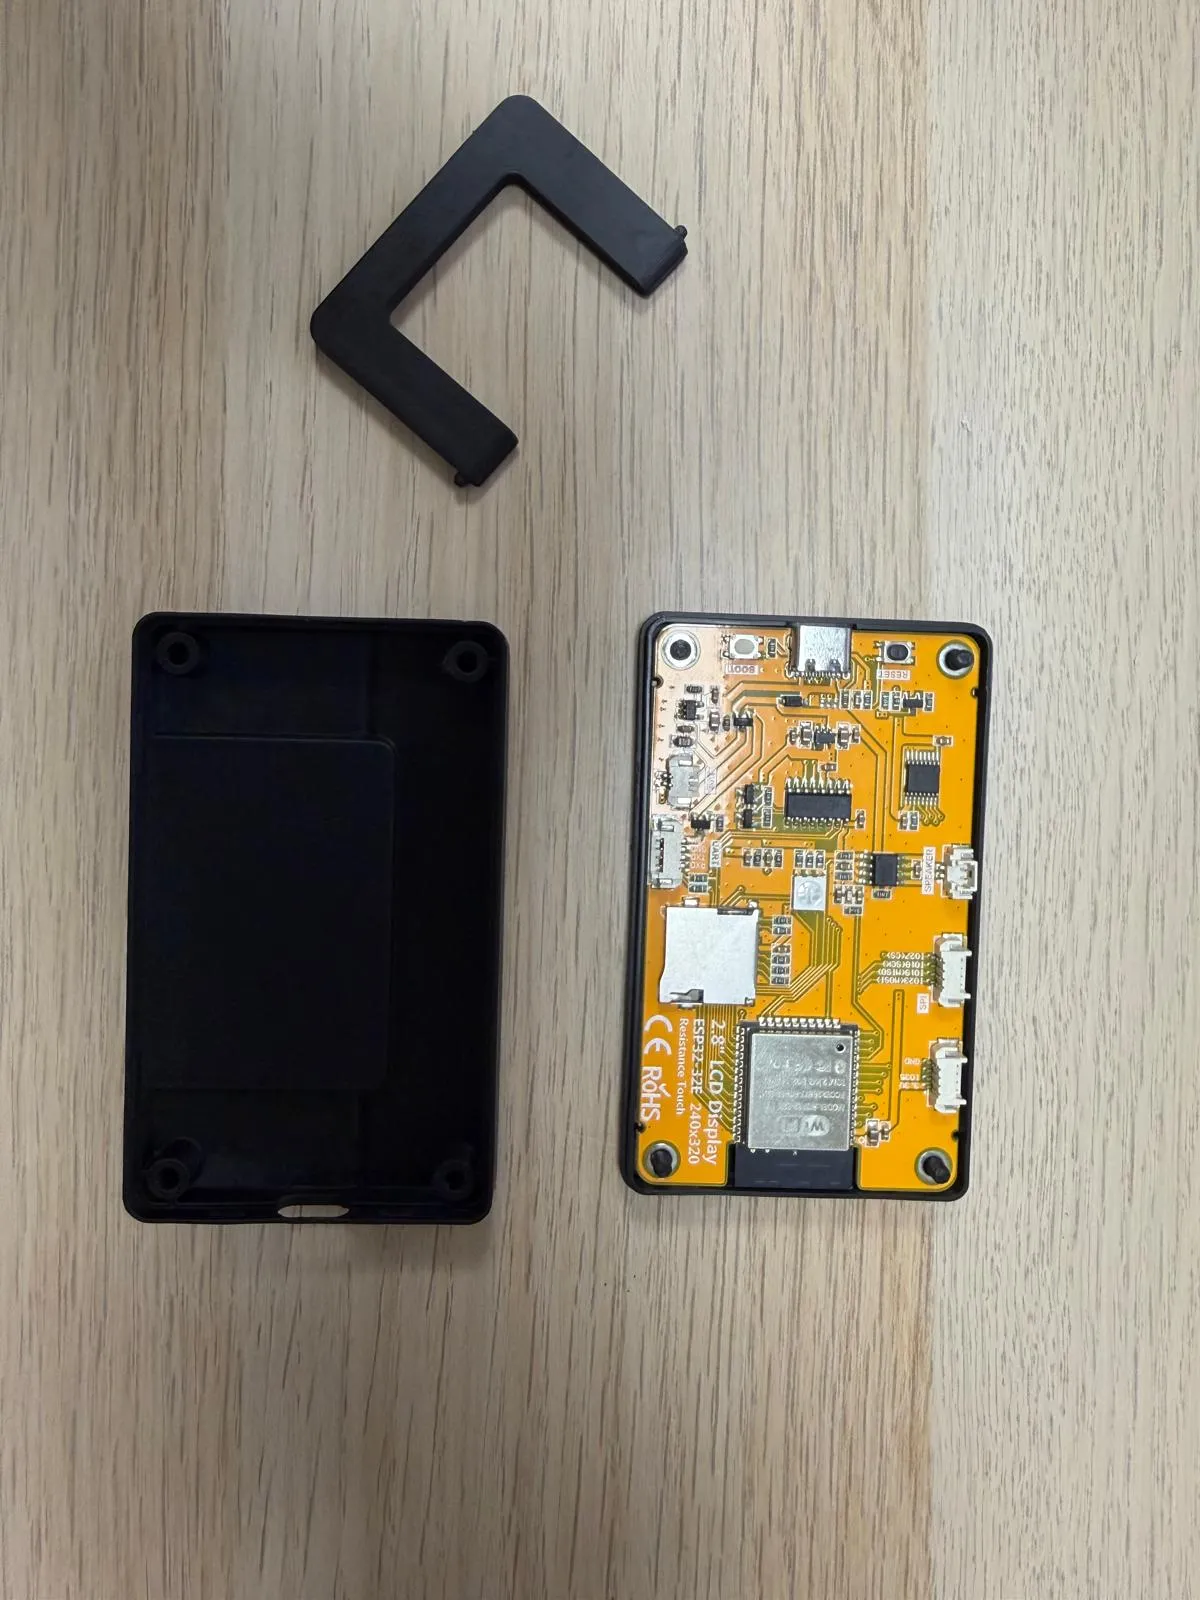
- ESP32-2432S028R ("CYD"): 2.8" LCD with Resistive Touch and USB-C (Available on AliExpress/Amazon for ~$10).
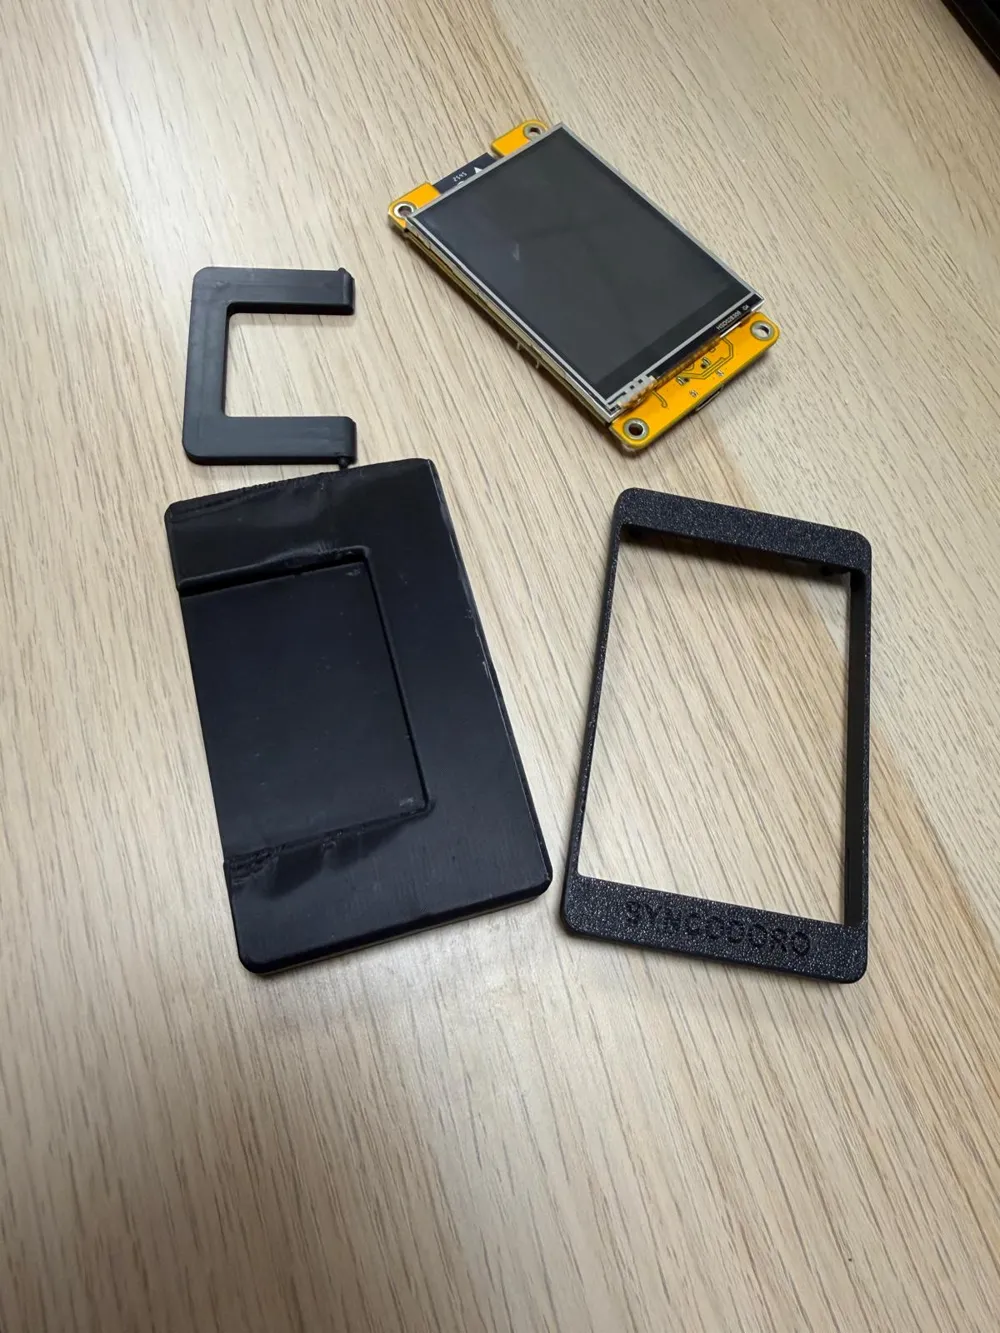
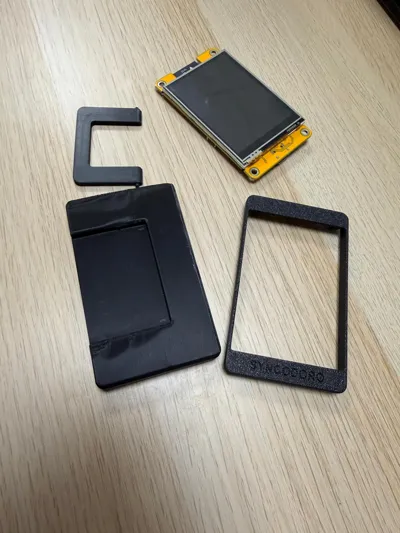
- 3D Printed Case: Files included (Front Bezel, Back Cover, Stand).
USB-C Cable: For power and flashing.
🛠️ Phase 1: Build & Flash (The Quick Part)
Print the Case: Print the provided STL files. Matte Black PLA/PETG is highly recommended to match the sleek OVERTEC UI. No supports needed if oriented face-down.
- Flash the Firmware: * Plug your CYD into your computer.
- Open Google Chrome or Microsoft Edge (Safari/Firefox do not support Web Serial).
- Go to the Syncodoro Web Installer (https://mhyeung.github.io/Syncodoro/).
Click "Install Syncodoro", select your USB port, and wait for the "Installation Complete" confetti!
- Assemble: Drop the CYD face-down into the Front Bezel, place the Back Cover over it, and secure it with the 4 screws. Attach the desk stand.
⚙️ Phase 2: Device Setup & Wi-Fi (Detailed)
Because Syncodoro runs independently, it needs to be connected to your local network to log your sessions and sync your data.
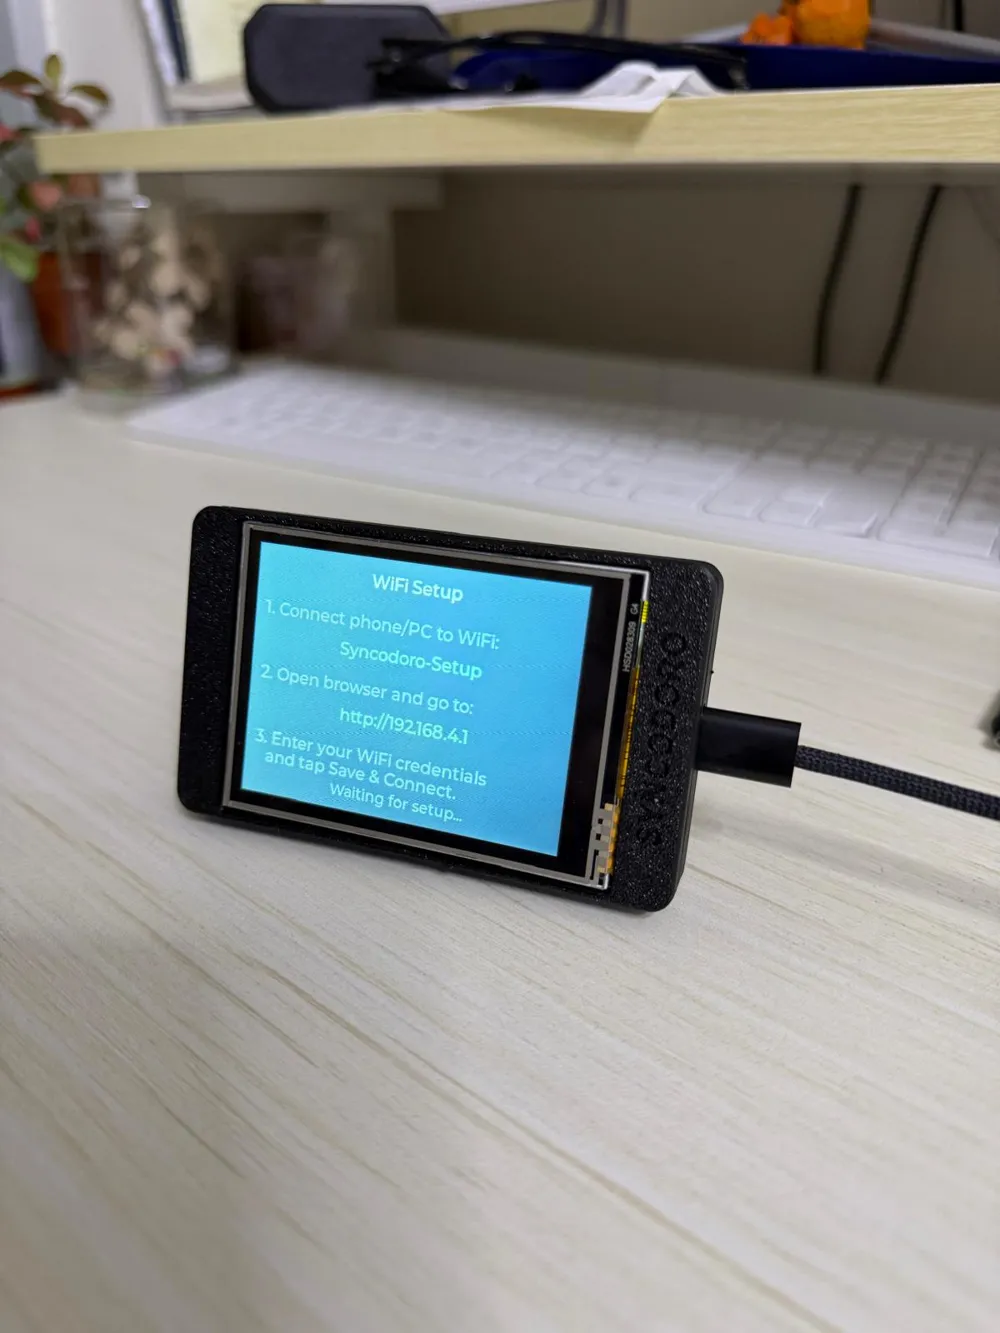
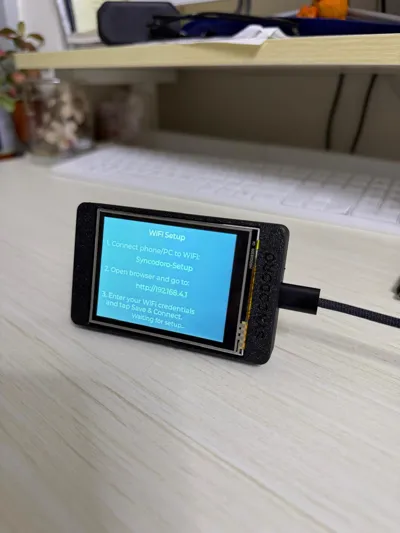
First Boot (Setup Mode): Plug the assembled device into a USB power source. Because it doesn't know your Wi-Fi yet, the screen will boot into a blue "WiFi Setup" instruction screen.
Connect to the Device: Grab your smartphone or laptop, open your Wi-Fi settings, and look for a new network named Syncodoro-Setup. Connect to it.
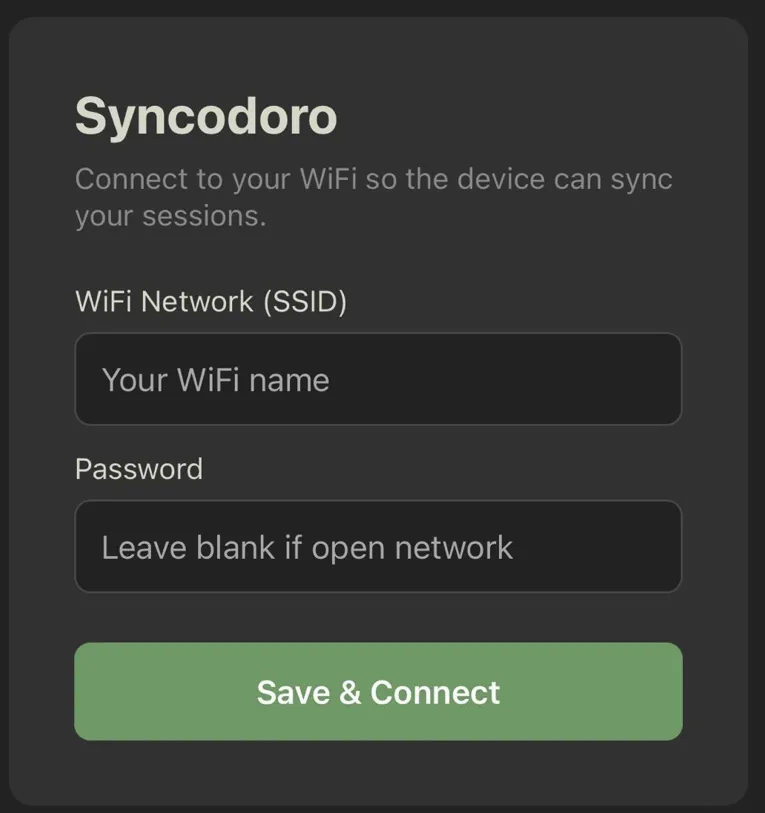
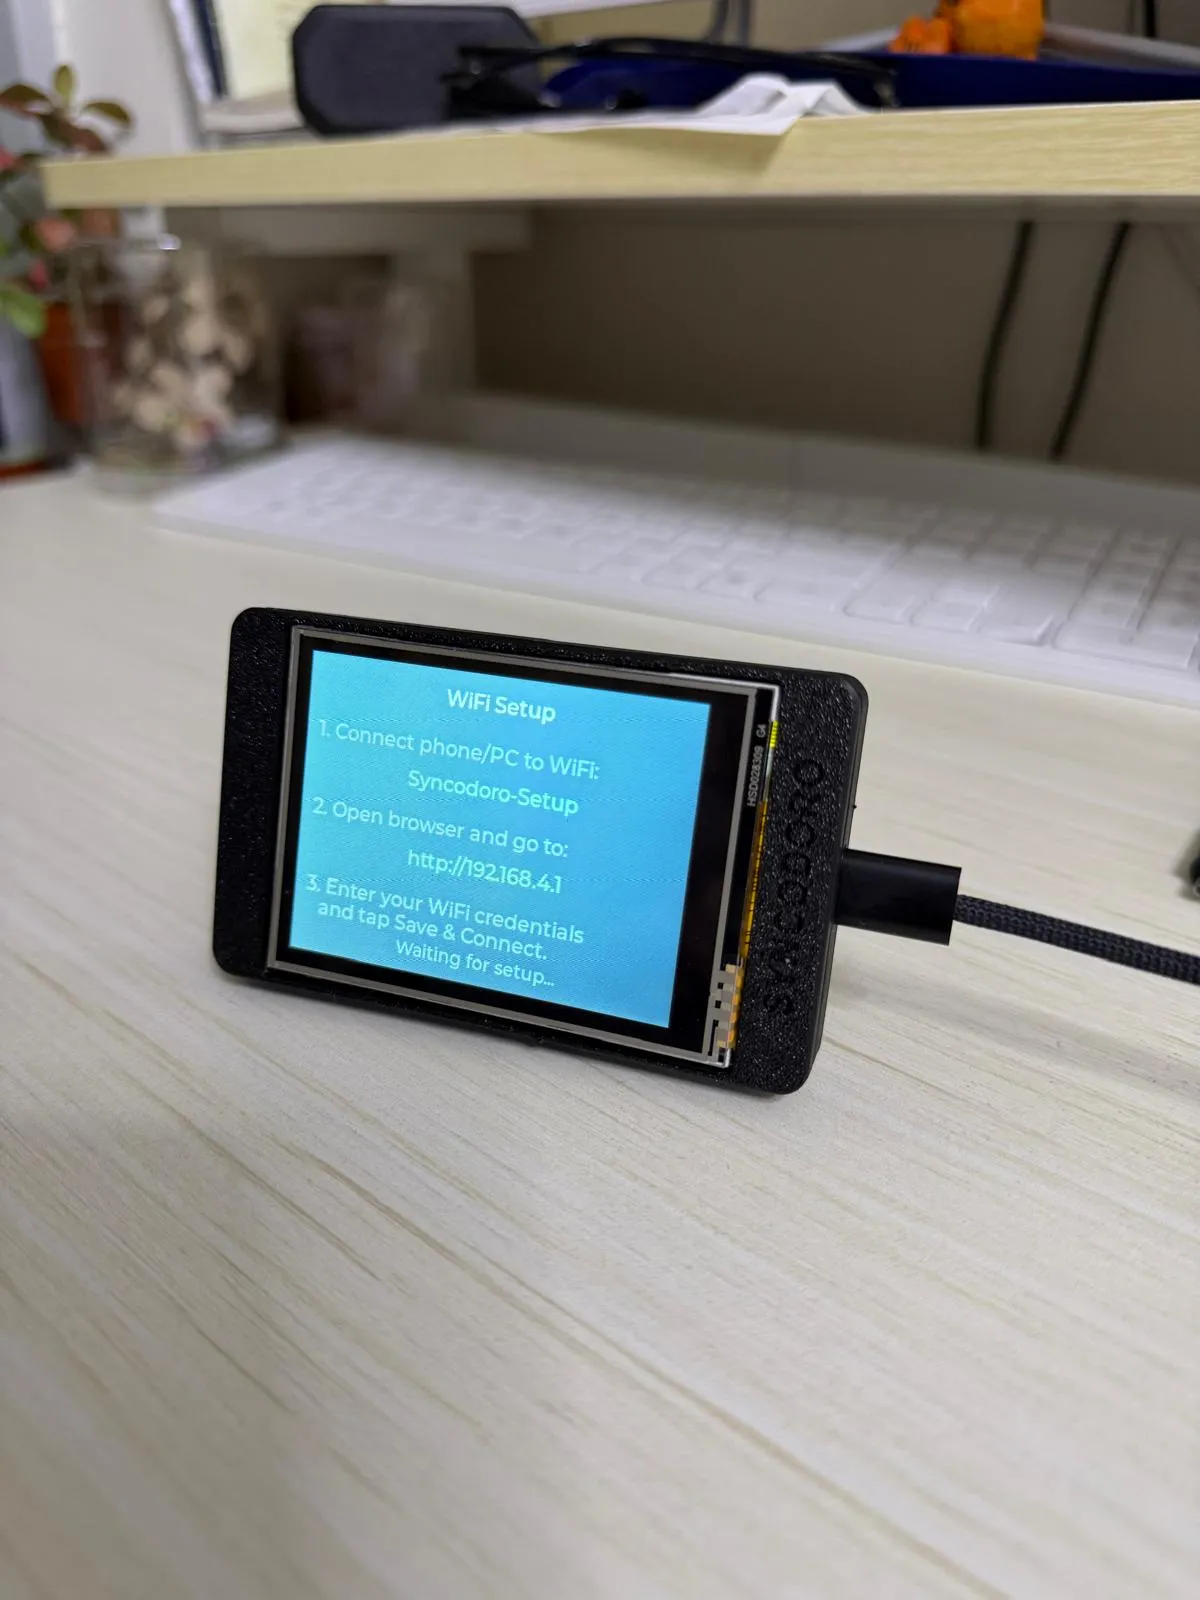
Open the Config Portal: A "Log In" screen should automatically pop up on your phone. If it doesn't, open your web browser and manually type http://192.168.4.1 into the address bar.
- Enter Credentials: You will see the dark-themed Syncodoro setup page.
- Enter your home WiFi Network (SSID) exactly as it appears on your router.
- Enter your Password (Leave blank if it is an open network).
(If applicable: Enter your Notion Database Integration Key to enable cloud syncing).
Save & Connect: Tap the green "Save & Connect" button. The ESP32 will securely save these credentials to its internal memory (NVS) and automatically reboot.
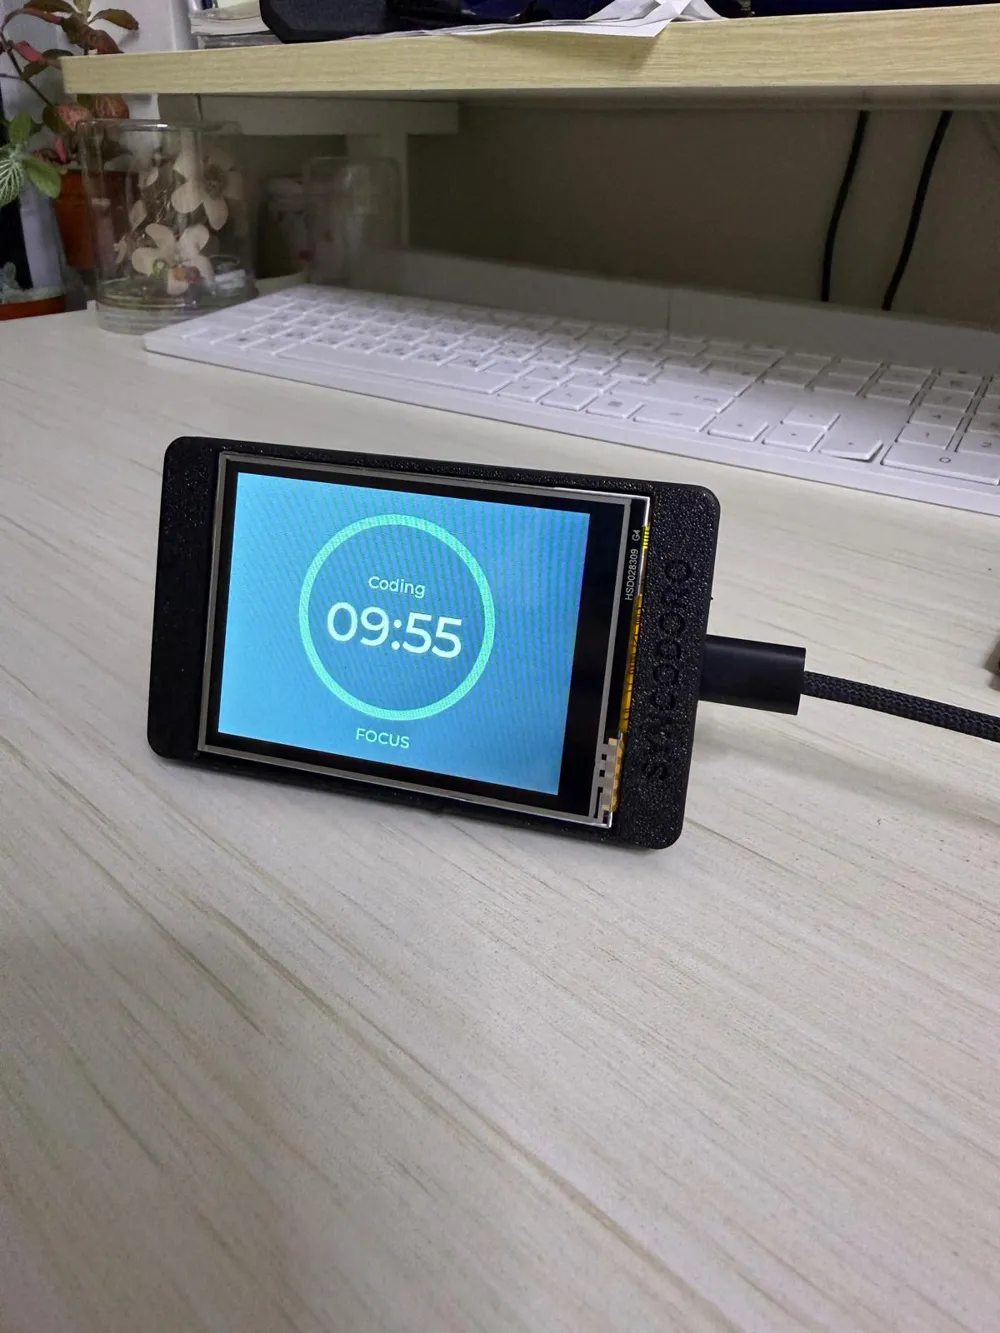
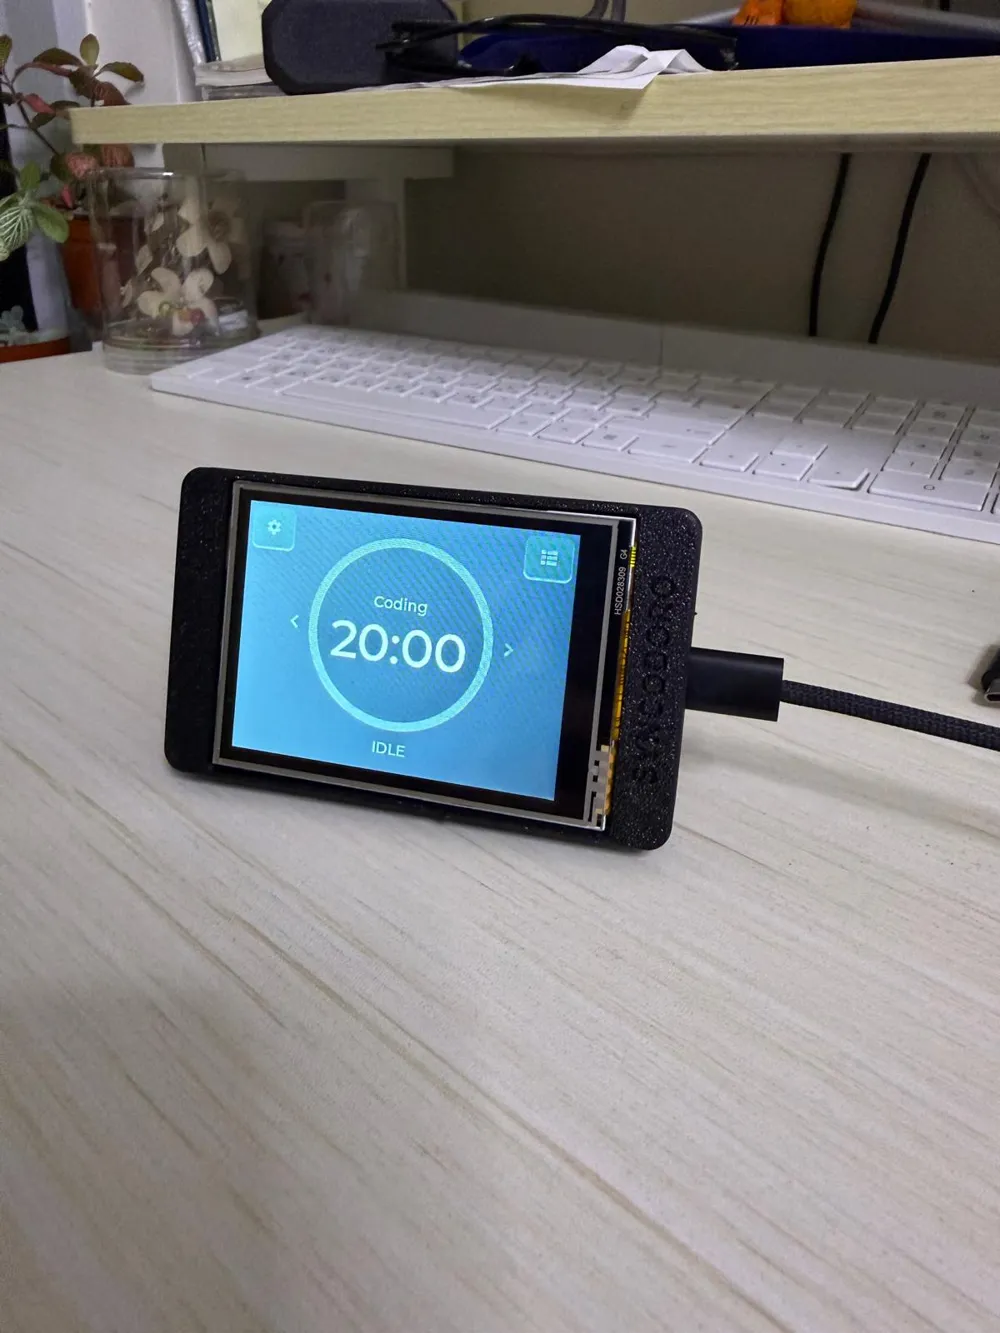
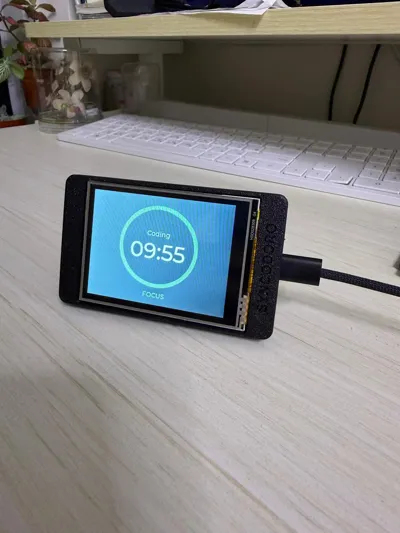
- Ready to Focus: Upon rebooting, the device will connect to your home Wi-Fi and load the main minimalist circular timer UI. Setup is complete!
- Note: To access your CSV session history logs in the future, simply type the device's new local IP address into your desktop browser to access the Syncodoro Web Dashboard.
License

You shall not share, sub-license, sell, rent, host, transfer, or distribute in any way the digital or 3D printed versions of this object, nor any other derivative work of this object in its digital or physical format (including - but not limited to - remixes of this object, and hosting on other digital platforms). The objects may not be used without permission in any way whatsoever in which you charge money, or collect fees.
Comment & Rating (0)