

Sword Through Ring Magic Trick


Print Profile(4)


Description
Boost Me (for free)
Please boost if you like my magic trick!
This design uses no external parts and is completely fastener-less. The spring that is used is 3d printed. Please note that if the spring is left compressed for too long (over 2 hours) it will eventually lose its compression strength and will need to be replaced. The spring is designed to be printed with no supports. However there is a file that uses supports if you are having printing issues.
Commercial licensing please visit - https://www.patreon.com/c/MeasureOnce
PRINT SETTINGS FOR SPRING
TEMPERATURE | 230C-250C | USING A LOWER TEMP WILL RESULT IN POOR LAYER ADHESION (SPRING BREAKING). |
WALLS | 4 | SPRING SHOULD BE PRINTED SOLID. 4 WALLS WILL ACHIEVE THIS. |
WAYS TO REDUCE THE SOUND:
The assembly does make noise when the spring plate is released and shoots up into the TopCover. This is due to friction from the plastic on plastic sliding surfaces.
- Reduce the layer height of the parts and sand down the walls of the sliding surfaces.
- Add PTFE lubricant or wax to the sliding surfaces. This can reduce the sound significantly. Especially when paired with the sanding method mentioned above.
- Add felt strips to the inside top surfaces on the TopCover. (Noise is made if the spring plate hits the top of the TopCover).
- A noise will also be made when the latch reengages, but a clever magician will claim that the noise being heard is due to the sword passing through the ring.
ASSEMBLY:
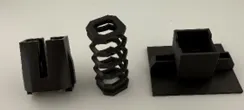
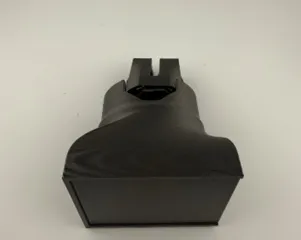
Take the spring, spring plate, and base parts and assemble them as shown below. Apply glue or double sided tape to the ends of the springs so it adheres to the two parts it interfaces with.
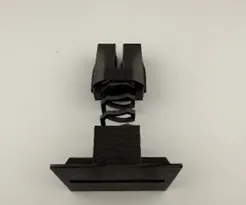
Install the latch mechanism into the slot on the underside of the base.
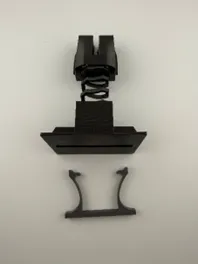
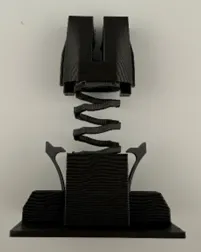
Take the assembly and slide it into the bottom frame.
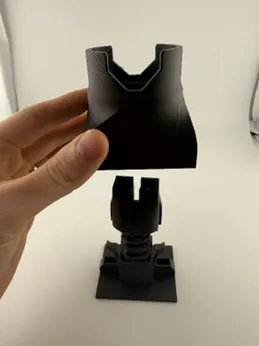
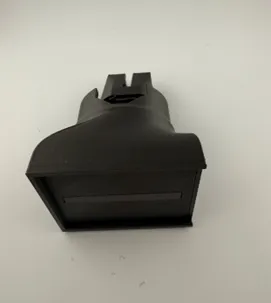
Slide on the bottom cover plate. The dove tails will ensure that the assembly is held in place.
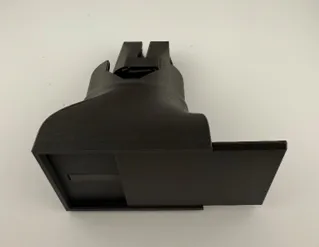
How to perform the trick:
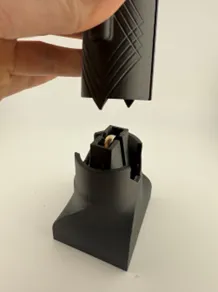
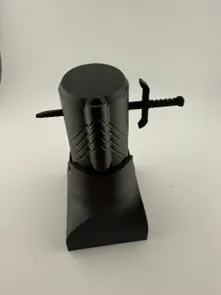
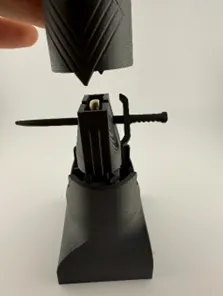
It is a very simple trick. Once the latch is set, place the ring into the container and then push the lid down. The spikes on the top cover release the latch when pushed into the bottom frame
License

You shall not share, sub-license, sell, rent, host, transfer, or distribute in any way the digital or 3D printed versions of this object, nor any other derivative work of this object in its digital or physical format (including - but not limited to - remixes of this object, and hosting on other digital platforms). The objects may not be used without permission in any way whatsoever in which you charge money, or collect fees.


Comment & Rating (574)