Hi everyone!
I wanted to share some insight into how I made the explorer kit for the 4x4.
Inspiration
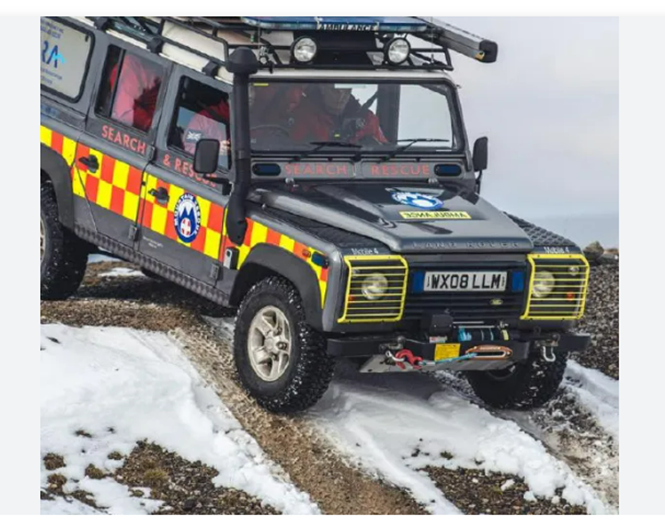
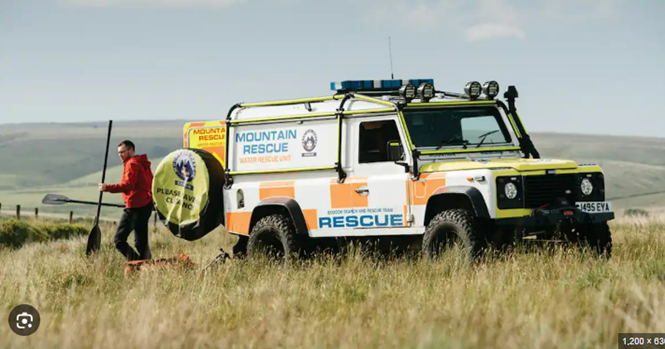
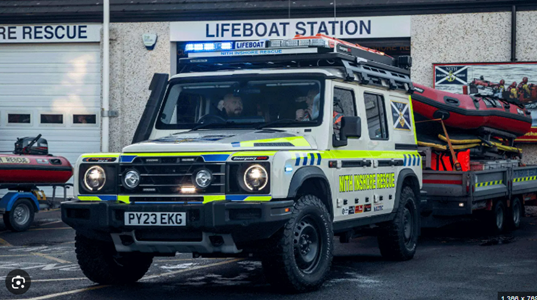
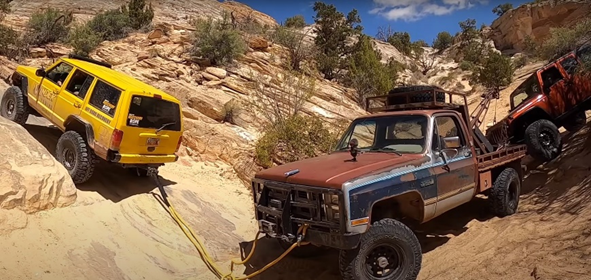
Inspiration started with looking at off-road rescue vehicles, e.g. land rovers, jeeps, Ineos grenadiers. Rescue vehicles often have specialist accessories such as a winch or floodlights, in order to highlight large areas of land for searching/visibility or to rescue other vehicles/itself. My favourite one is the mountain rescue version but here's some more that I liked:
I adopted the overhead floodlights and front winch into my design:
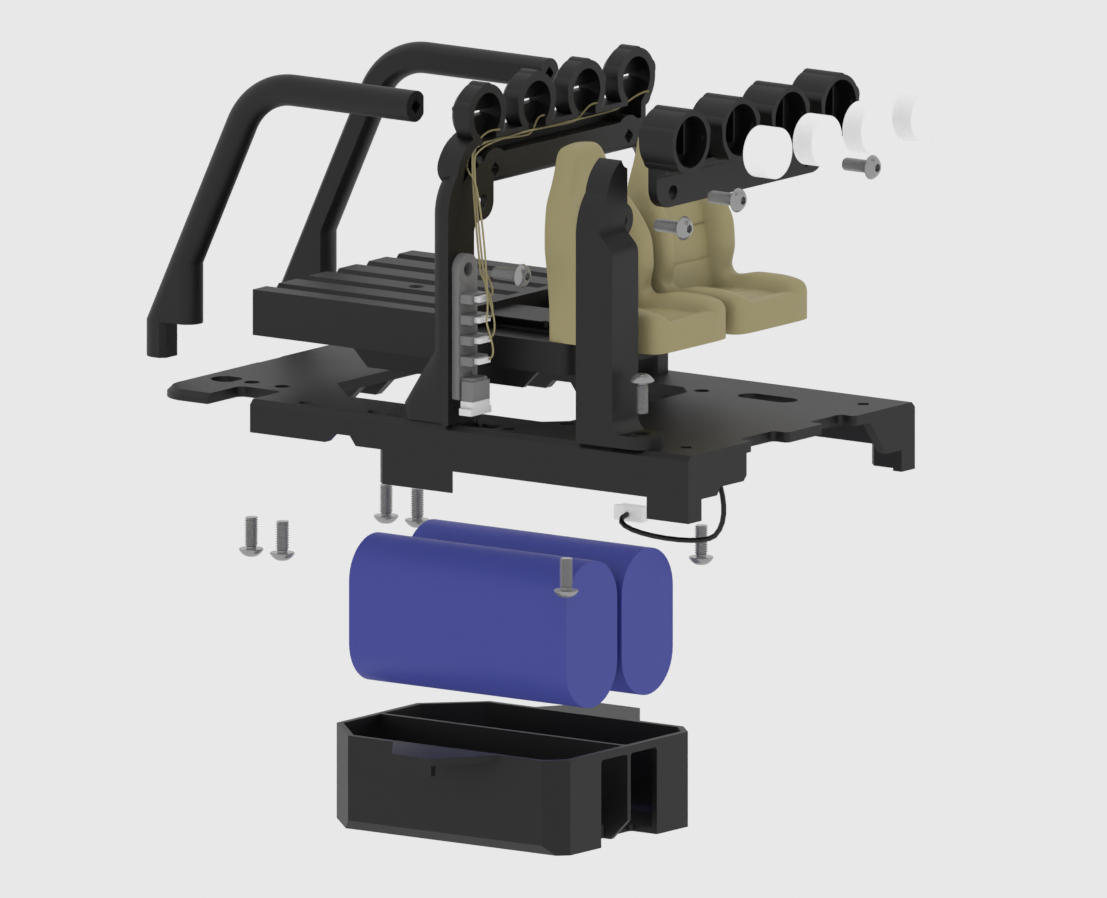
First is the floodlights. There were many challenges in making this. I focussed on hiding the wires down channels in the roll cage frame and covering up the LED hub with a cover. There was a lot of messing around with different ideas because the cable needed to reach the circuit board below. Another challenge was making the white LED cover have an even glow, lots of playing around with the distance of the end cap to the LED and different thicknesses.
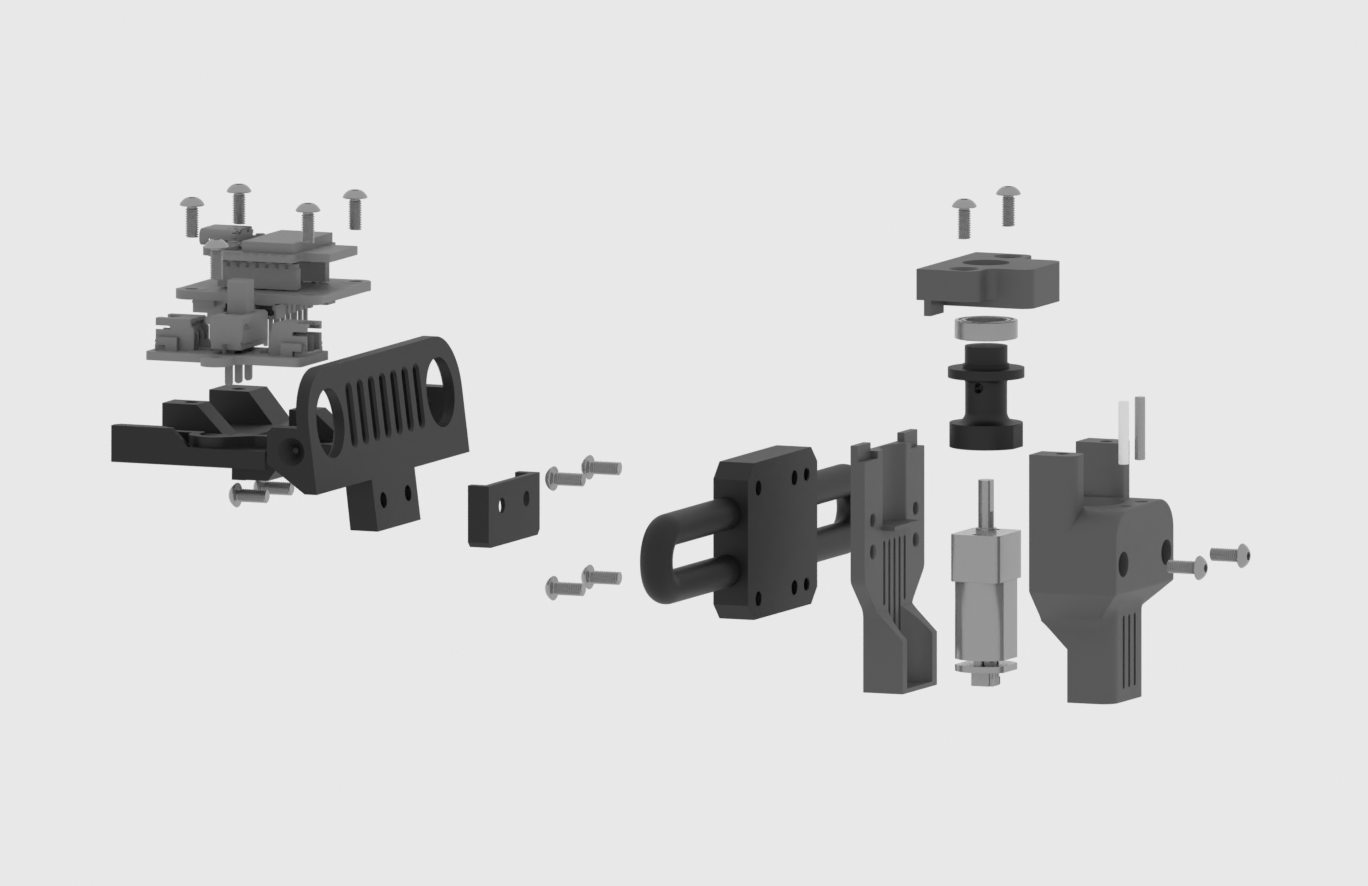
Next is the winch. I managed to fit 2 of the existing steel dowel pins on the original 4x4 car into the front. This adds a bit of longevity by preventing the cord from biting/wearing out the plastic.
The main issue was powering the N20 motor. I needed another socket on the receiver as the only 2 were taken up by the driving motors. So I fitted another receiver to the car and it was A LOT of moving things around to fit another switch, battery, AND receiver on the car. If you look at the car, one switch was cleverly mounted beneath the main chassis with one screw, it was a miracle moment. Also the second switch and receiver were squeezed underneath the bonnet.
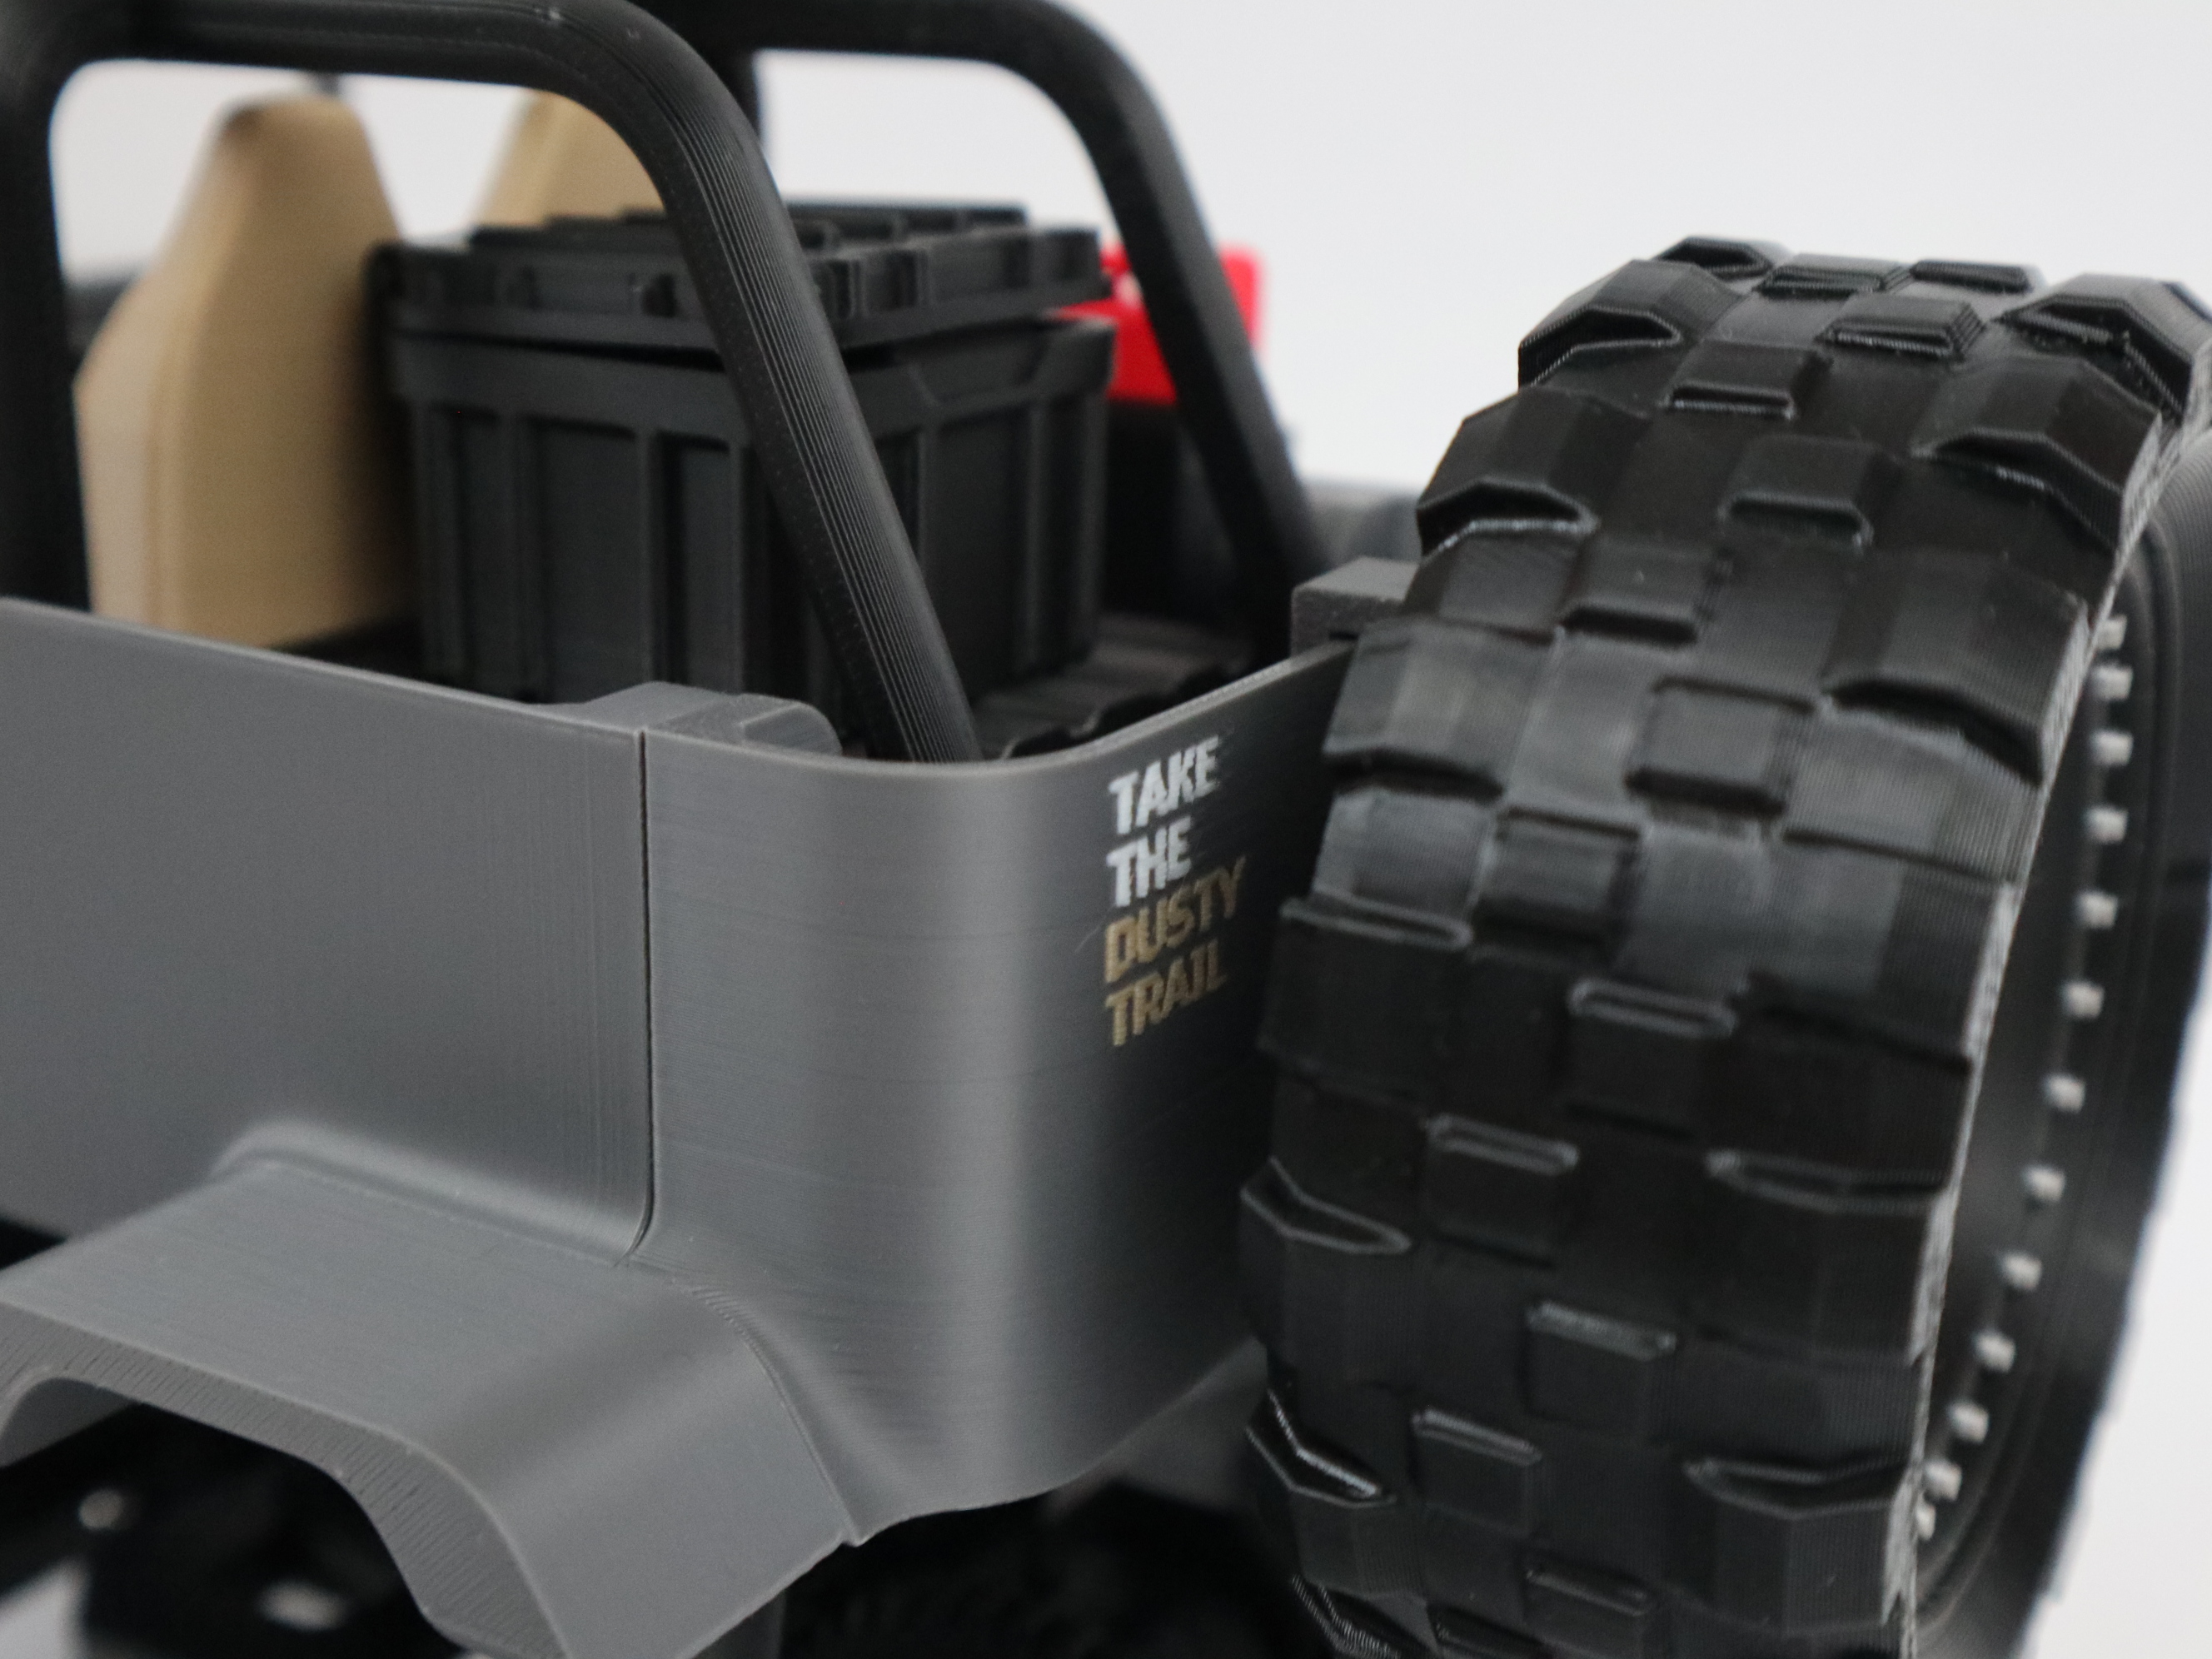
Shown in the floodlights diagram, I managed to fit a second battery to the case (to power the second receiver) without changing the main chassis, it was really close to not fitting. One new challenge was that now the batteries stick upwards and the top plate couldn't be put on🥺. That's why I made a raised boot floor to fit them. And I made the seats have a slide and lock mechanism so I didn't need to use screws, which took up valuable space in material thickness. If I used screws, then the seats would be much higher.
OK… But is the winch good?
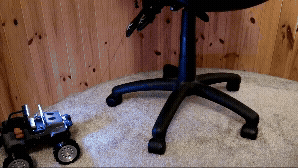
The 150 rpm motor has lots of torque so the car can pull another small car easily or even pull itself up. Although this is just to demonstrate, I would be careful pulling high loads for a long time. But it was really good that the motor was surprisingly strong as I didn't need to add gears. It means the winch can be used like in real life scenarios, pulling cars stuck in mud or pulling itself out a ditch using a tree.🌲-----🚗
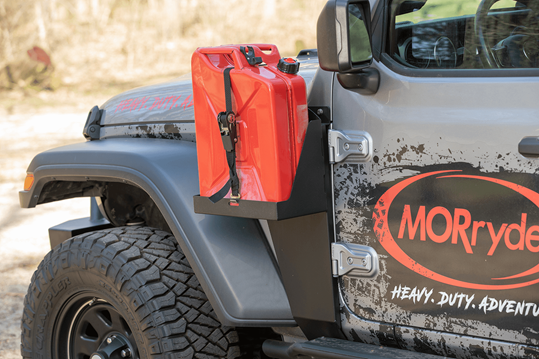
And finally the accessories. Some classic accessories I had to add were a jerry can, off-road wheels, rugged storage boxes, bonnet louvres, and a message on the back. Just like these:
And well done to @Wobogong for correctly guessing the floodlights from a sneak peak!🎉
And that's just about it for now. Let me know what you think, thanks for reading.