Search models, users, collections, and posts
jc unboxed
@jccrafts
149
4.8 k
5.5 k
2.8 k
Social Media Links
Bio
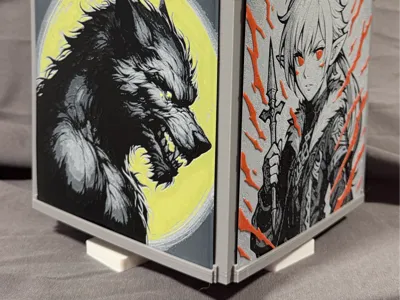
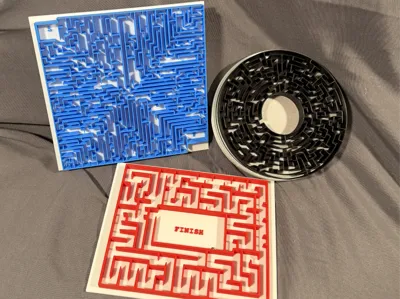
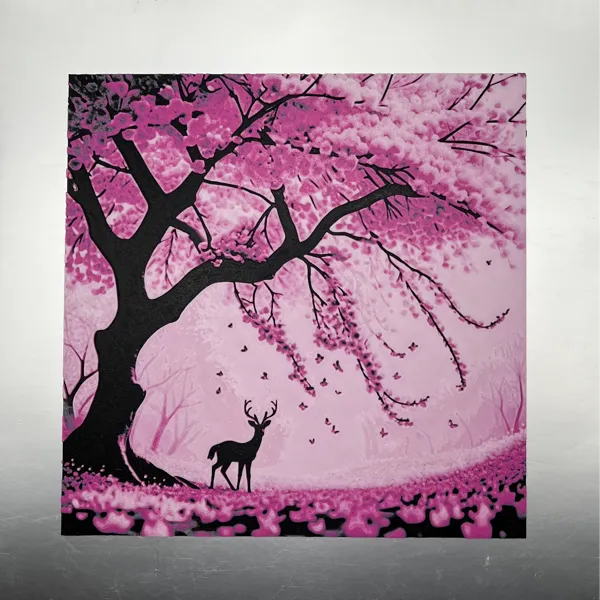
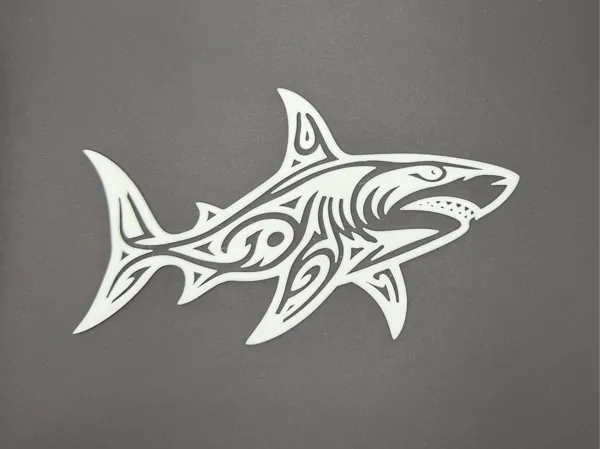
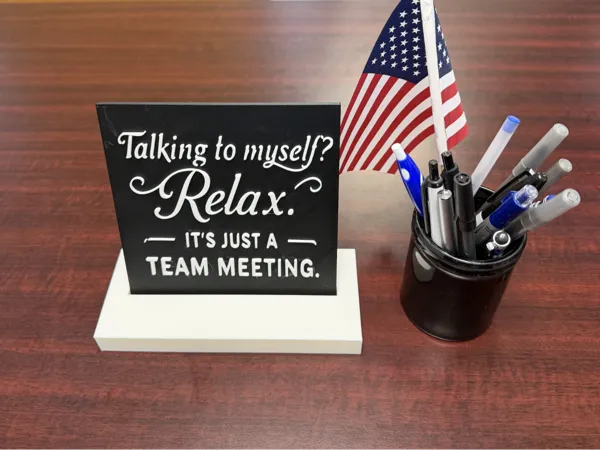
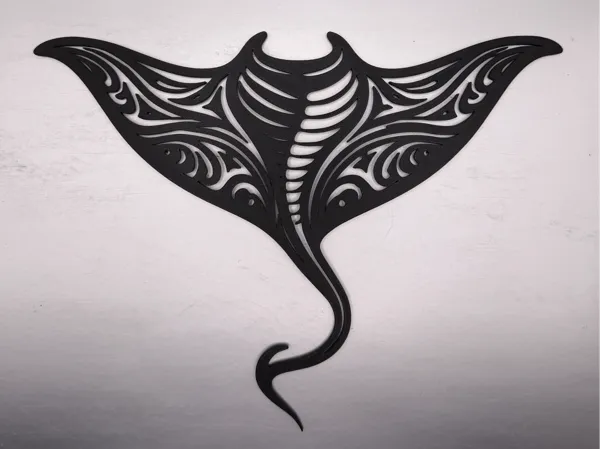
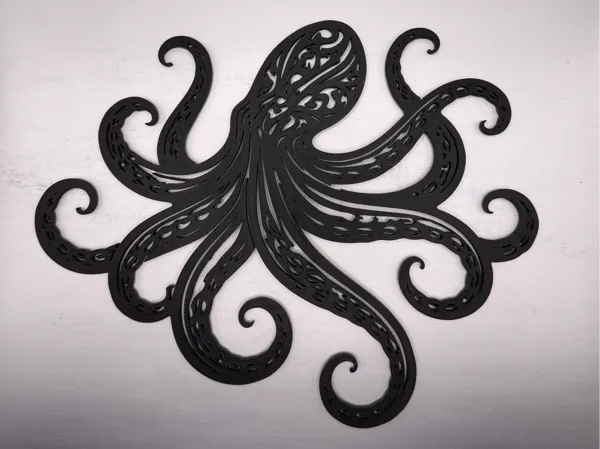
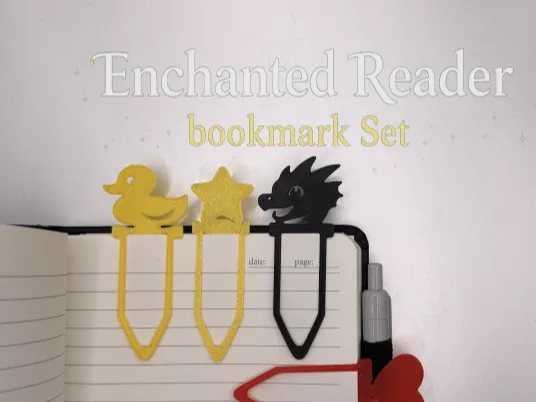
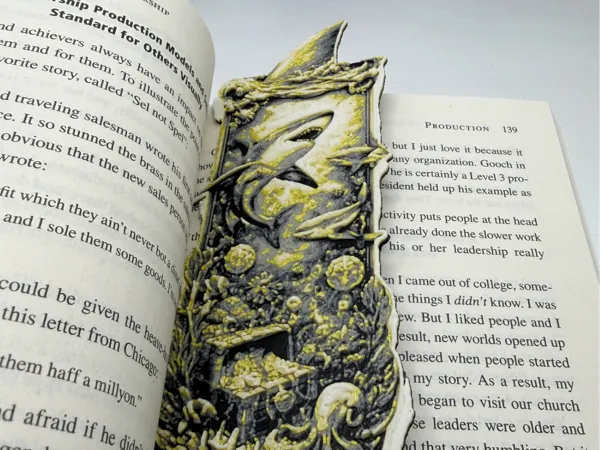
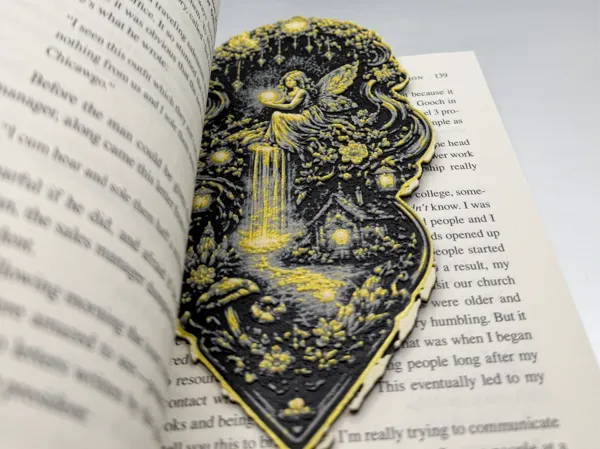
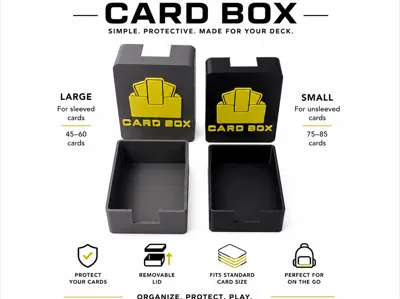
Hello! I’m JC Unboxed. I specialize in Hueforge wall art and clean, printable decor, along with functional and playful designs like desk games, organizers, and interactive prints. Every file you see here is a real physical print — no renders or mockups — so what you see is exactly what you’ll get. I stand behind the quality of my work and enjoy tackling new ideas, refining designs, and creating prints that are both reliable and fun to make. I’m always open to suggestions and collaborations, and I’m constantly adding new designs to the collection. Thanks for stopping by!
Achievements
MakerWorld Guardian
Active more than 20 days out of last 30 days UTC time
Stellar Reviewer
Rate or Comment 758 different models
Pioneer Maker
Print successful 672 different models and 12,560 hours
Recent Article
How to Slow Down Tiny Details in Bambu Studio
How to Slow Down Tiny Details in Bambu Studio JC Unboxed Printing Guide:Slowing Tiny Details for Cleaner Prints (Bambu Studio)Why This MattersMost print quality issues with thin details, line art, and no-support overhangs are not printer problems — they are speed problems.Bambu printers are fast by default. Fast is great for strength and bulk… but not for delicate visible geometry.If your print has:Thin linesDecorative stemsSmall textFloating or suspended partsLine art or SVG designsSlowing the right areas will dramatically improve print quality. When To Use ThisUse these settings when printing:Line art / wall decorHueforge edges or fine detailThin wall modelsNo-support overhang designsFloating or suspended printsSmall spikes, stems, or tipsIf a part of the model looks fragile or highly visible — this applies.Step 1 — Adjust Outer Wall SpeedGo to:Process → SpeedOuter wall speed controls visible surface quality.Recommended for decorative prints:80–140 mm/sDefault speeds can be very fast (often 200 mm/s). Slowing outer walls slightly improves sharpness and consistency.Step 2 — Enable Small Perimeter Slowdown (Most Important)This is the setting many creators overlook.In the Speed tab find:Small perimeters Small perimeter thresholdSet:Small perimeters: 20–35%Threshold: 10–20 mmWhat this does: Any small or thin geometry automatically prints slower.This greatly improves:Thin line artSmall textOverhang edgesDecorative detailsFine tips and stemsWithout slowing the entire print. Step 3 — Use Modifier Blocks for Delicate Areas (Advanced)If only part of your model is delicate:Right-click modelAdd Modifier → Box (fig.1)Resize box over fragile detail areas only (fig. 2)Examples:Thin stemsFloating elementsSmall decorative topsFine line sectionsInside modifier settings you can:Reduce outer wall speedSlow small perimeters furtherAccess these controls by opening the Objects tab and selecting your modifier box.Lower acceleration (fig. 3)This keeps most of the print fast while protecting detail areas.fig. 1fig. 2fig. 3 Step 4 — Check Your Speeds in PreviewAfter slicing:Click Preview (fig. 1)Change top-right dropdown to Speed (fig. 2)Move the layer slider into detailed areasColor guide:Blue/green = slow (good for detail)Yellow/red = fastDon’t worry if some areas remain yellow — focus on slowing only the most delicate or visible sections.You want delicate areas mostly blue/green. (fig. 3)fig. 1fig. 2fig 3Bonus Tip — Multi-Color Prints HelpIf thin details are a separate color:Tool changes add cooling timeSmall segments naturally slow downFine detail prints cleanerThis is why multi-color decorative prints often look sharper.Results You’ll NoticeUsing these settings will produce:Sharper thin linesCleaner overhangs without supportsLess blobbing or wobbleMore consistent detailMore professional-looking printsSame printer. Same filament. Just smarter speed control.JC Unboxed TipMost print quality issues aren’t printer problems — they’re speed problems. Slow the right areas, and your prints will instantly look more professional.