
Game Boy Color Case
Print Profile(2)


Bill of Materials


Description
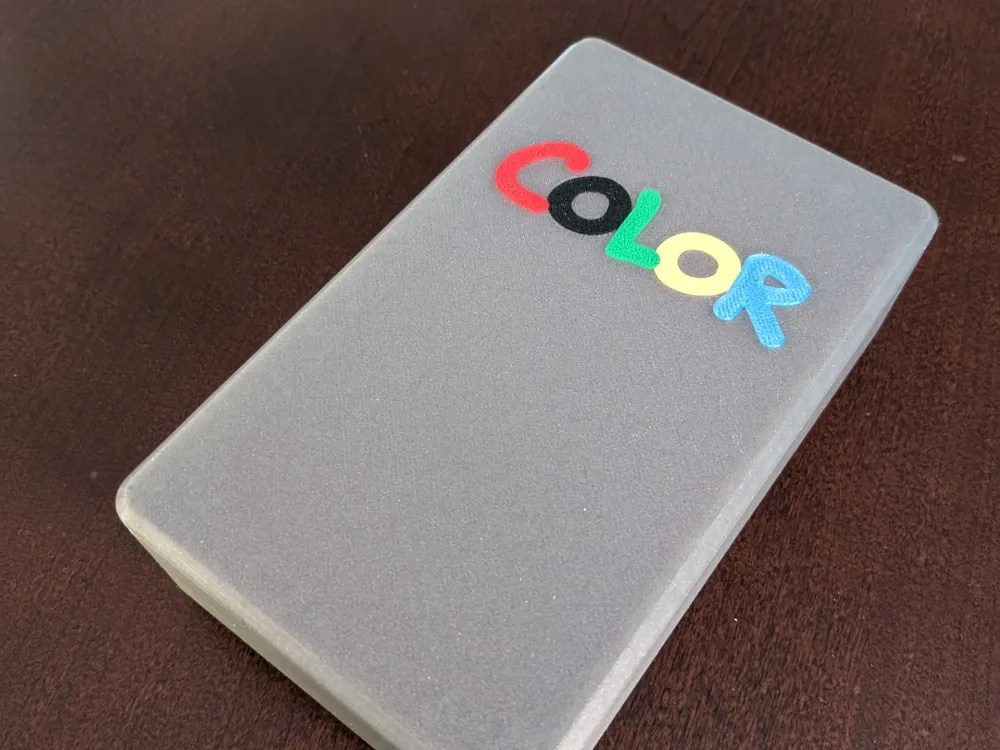
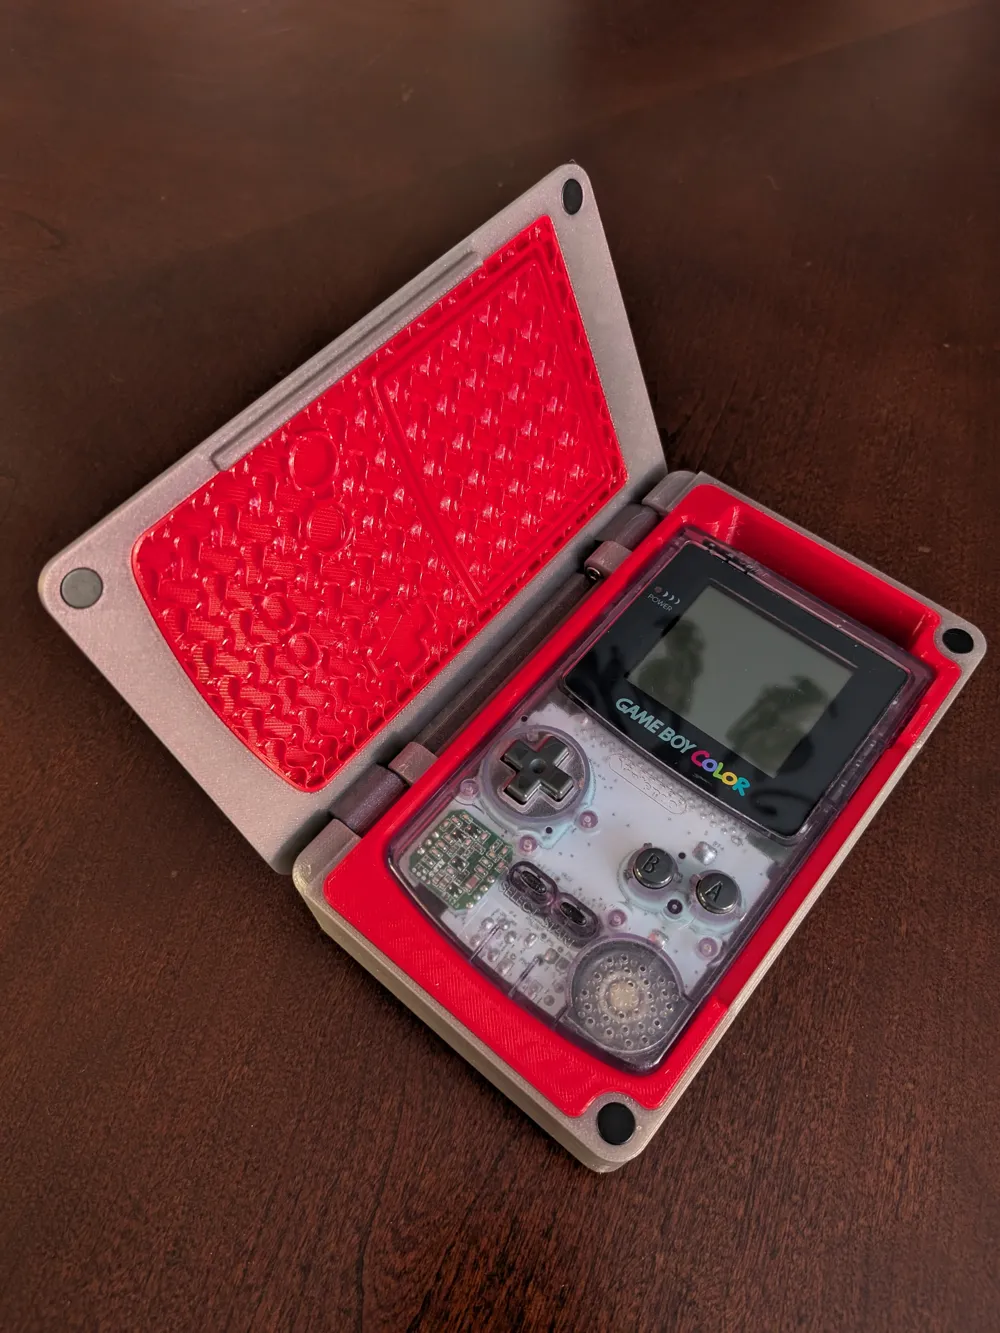
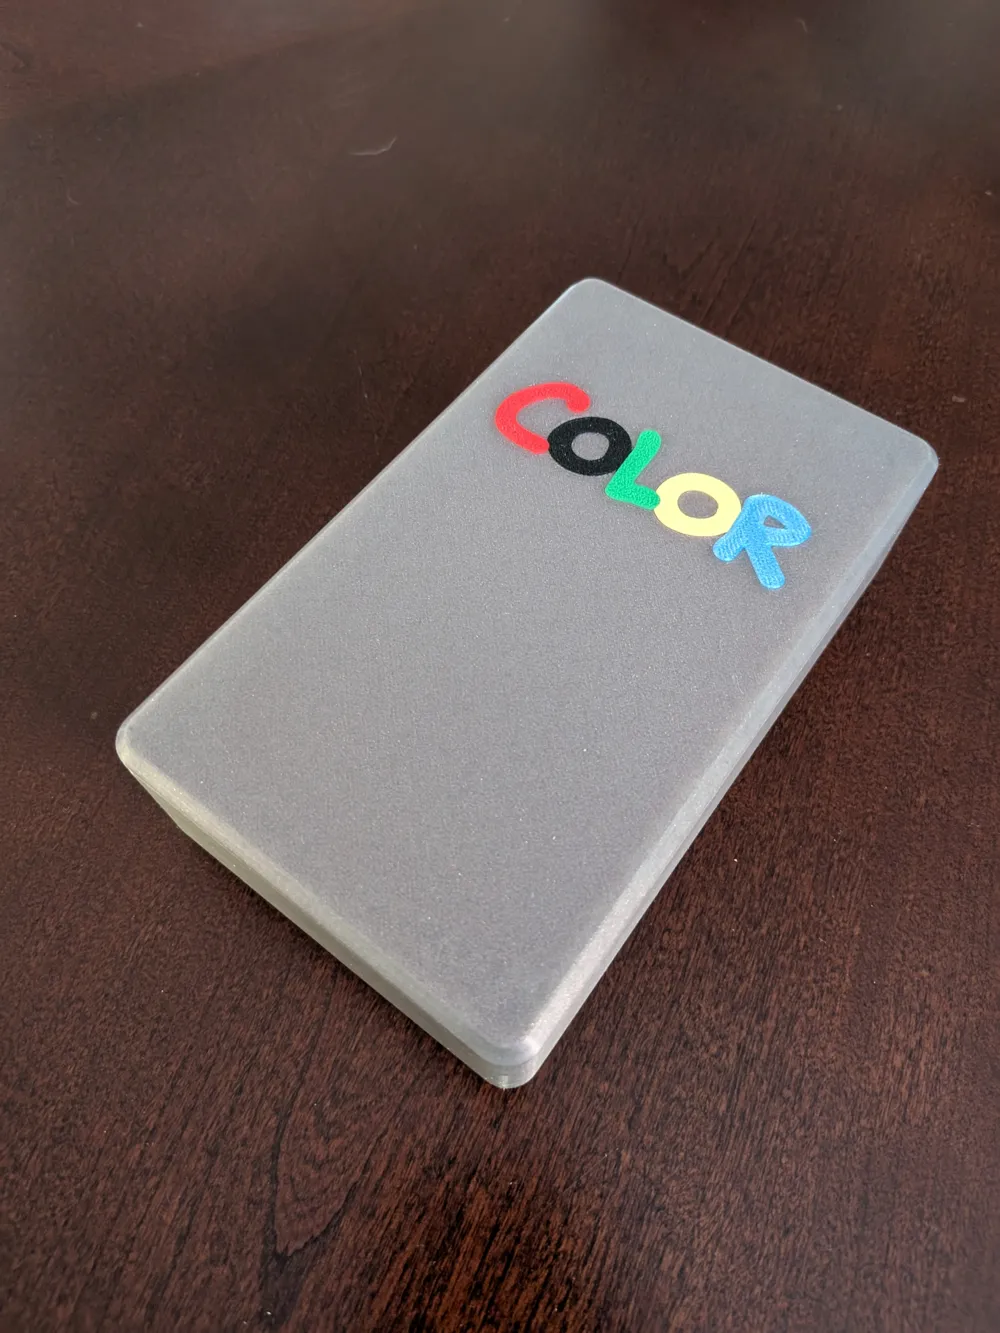
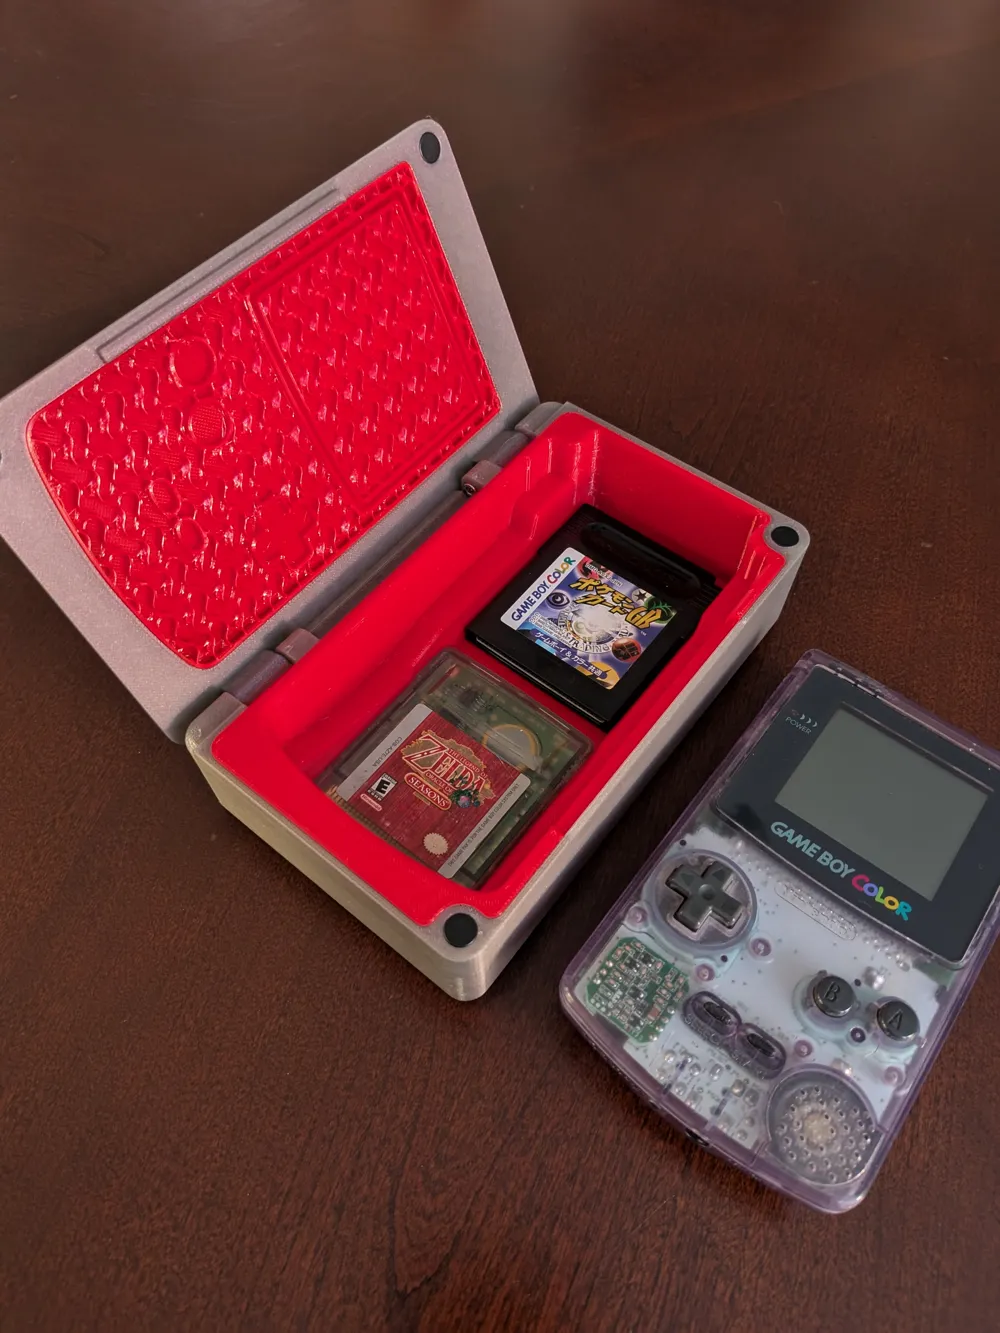
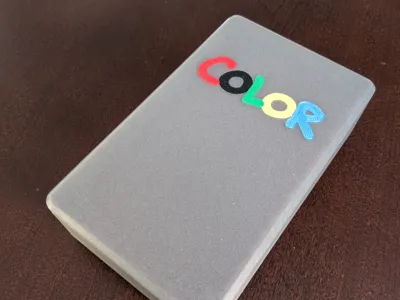
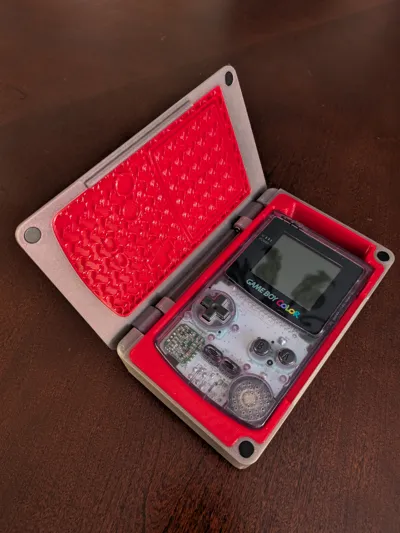
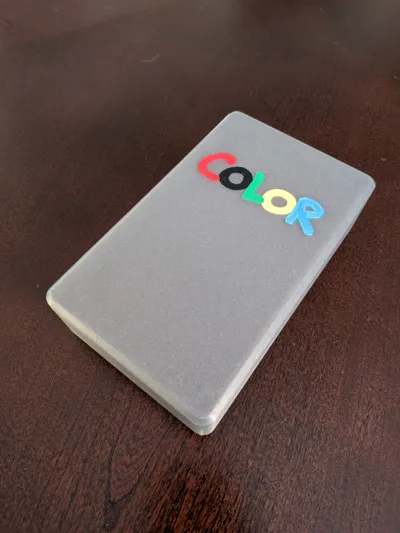
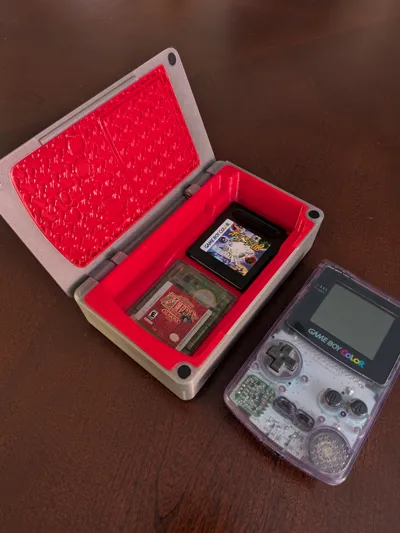
After building a case for my Analogue Pocket I looked to other handhelds that I could apply the same idea to and landed on my Game Boy Color. Borrowing a similar design to the pocket case this brings the same level of protection and storage.
Purchase
https://r0adkllprints.etsy.com
BoM
| # Required | Material |
| 2 | M3x30mm Socket Head Screws |
| 4 | 8x3 round magnets |
| 1 | Super Glue (I used Gorilla Super Glue Gel to great success) |
| ~130g | PLA |
| ~88g | 95A TPU |
Parts
This build consists of 4 printed parts:
- Body - Printed in PLA (or w/e hard material you prefer)
- Body Insert - Printed in TPU
- Lid - Printed in PLA (or w/e hard material you prefer)
- Case_Lid_Mesh_v# - This version is for multi-color printing setups (such as a Bambu Labs AMS, or Prusa MMU)
- Case_Lid_NoLogo_v# - This version is for single extruder/single filament setups.
- Lid Insert - Printed in TPU
Lid Insert & Body Insert
It is recommended to print both of these parts in TPU (I'm a big fan of Overture 95A TPU but any TPU you would like to use should work fine) since the material is softer and shouldn't scratch your GBA or GB games. (plus this material is really fun to print in!!)
My Settings:
- Lid Insert
- 10% Gyroid Infill
- 3 Bottom Layers
- 0 Top Layers
- Body Insert
- 10% Gyroid Infill
- 3 Bottom Layers
- 5 Top Layers
The body should be a straight forward print but make sure your material is dry and your settings are tuned as it can be prone to zits. Also be sure to enable Avoid crossing perimenters for best results.
The lid is printed with exposed infill so as to give it a cool appearance and make minimal contact with the pocket in the case. I print this part with 3 bottom layers, 0 top layers, and gyroid infill (but feel free to mix this up!)
Assembly
Once you have you're parts printed and gathered assembling the case is pretty straight forward.
Glue your magnets into the Lid and Body parts (BE CAREFUL OF THE POLARITY HERE AS YOU WANT THE CASE TO ACTUALLY CLOSE)
Next, glue the Lid Insert into the Lid using super glue. Then screw the Lid onto the Body using the 2 M3 20mm socket head screws like so:
Last, just drop the Body Insert into the Body and viola! your case is ready to hold and protect your pocket!
—
Changelog
v1
- Initial Release
v1.1
- Added Slim variant
- Added Lid insert for screen protectors
License



Comment & Rating (10)