
Mac Keyboard
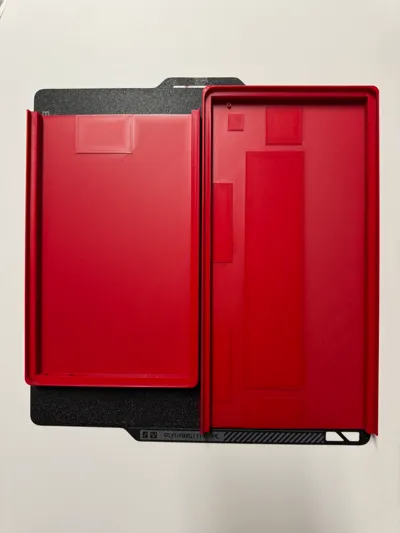
Print Profile(1)

Description
Boost Me (for free)
Thanks to you, this was even possible! For more such projects, please feel free to support me.
ATTENTION! Do not throw away your MacBook if the inner parts still work!
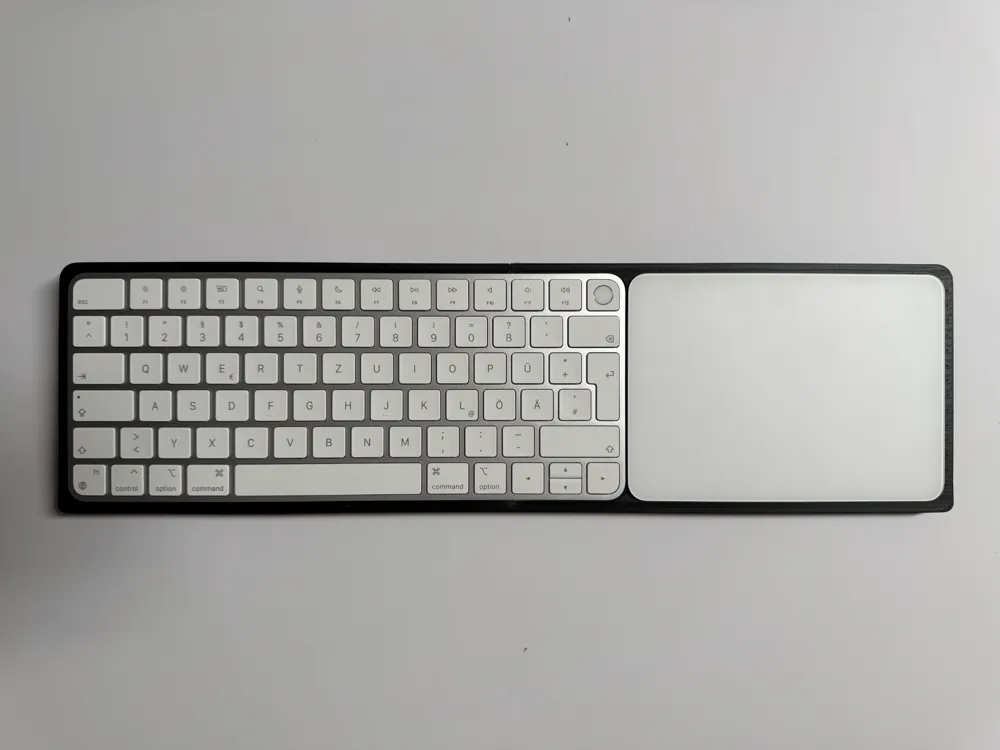
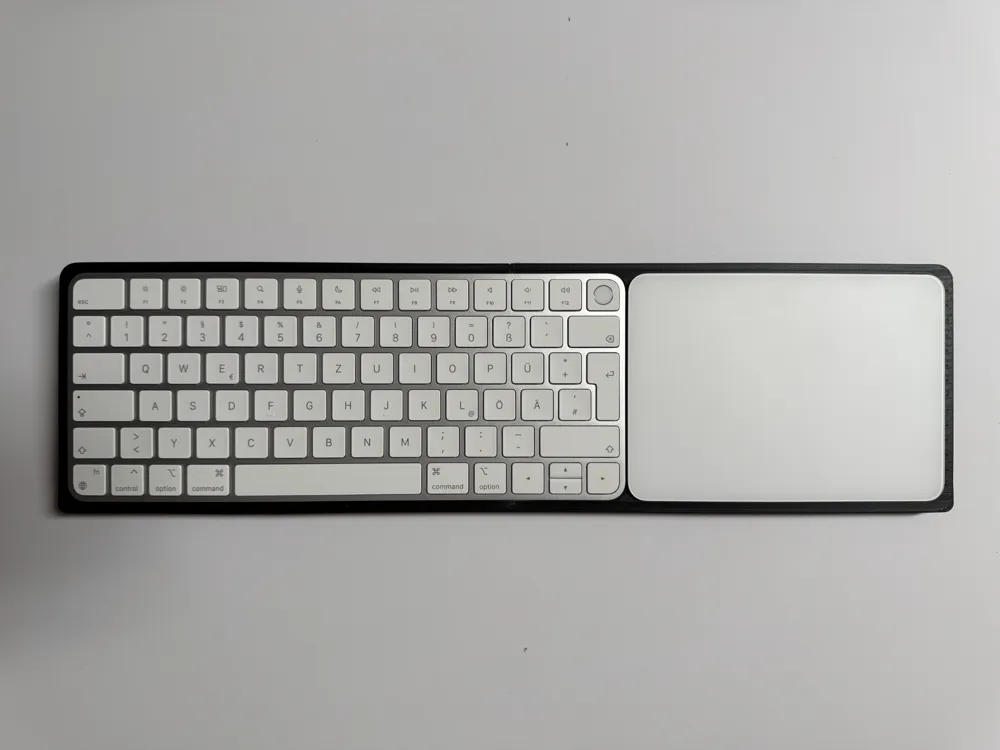
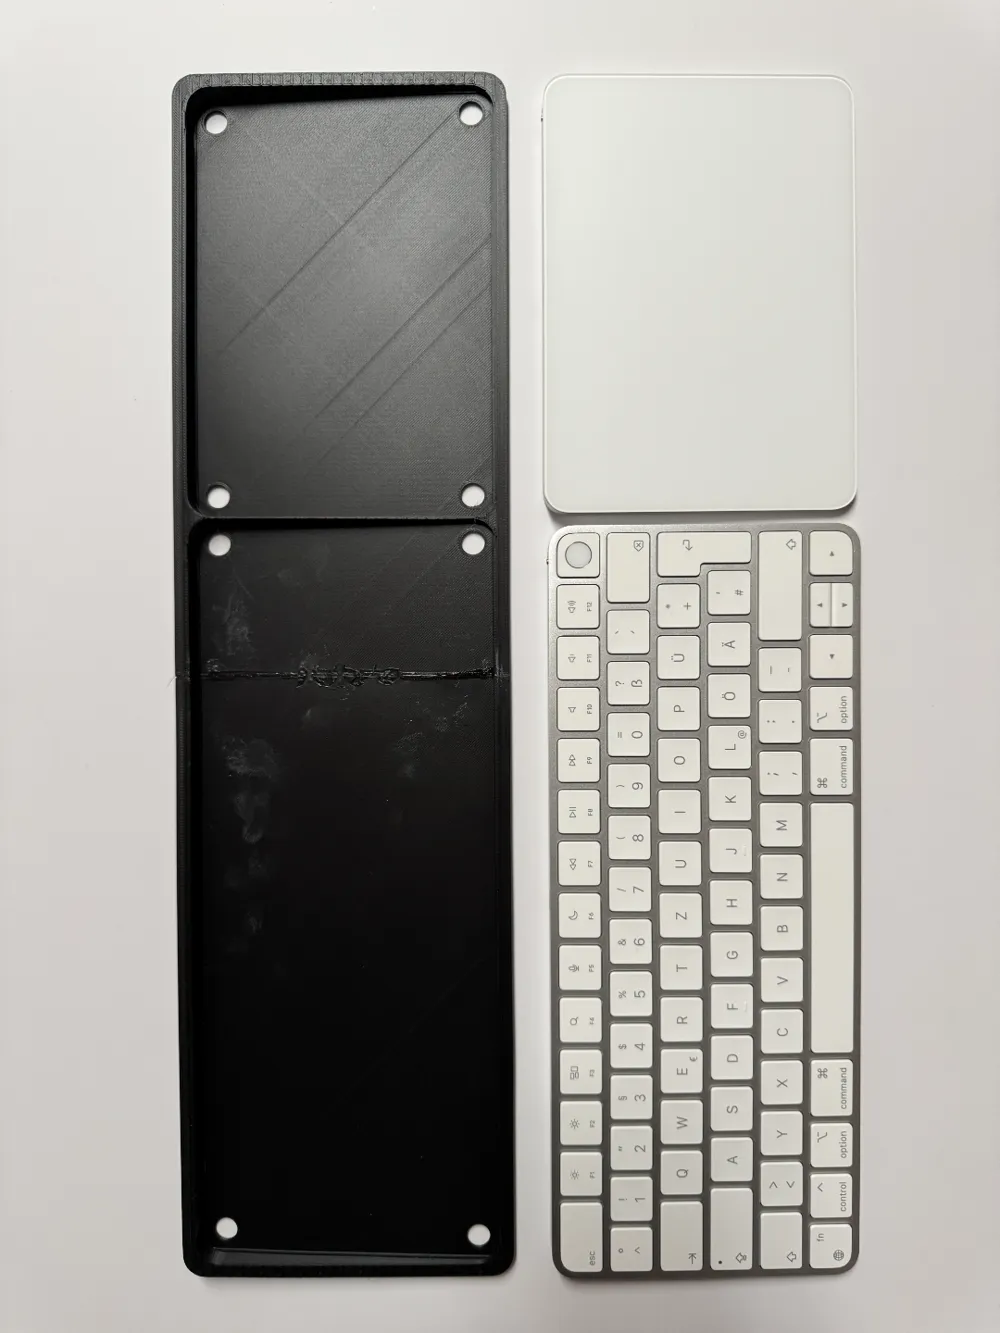
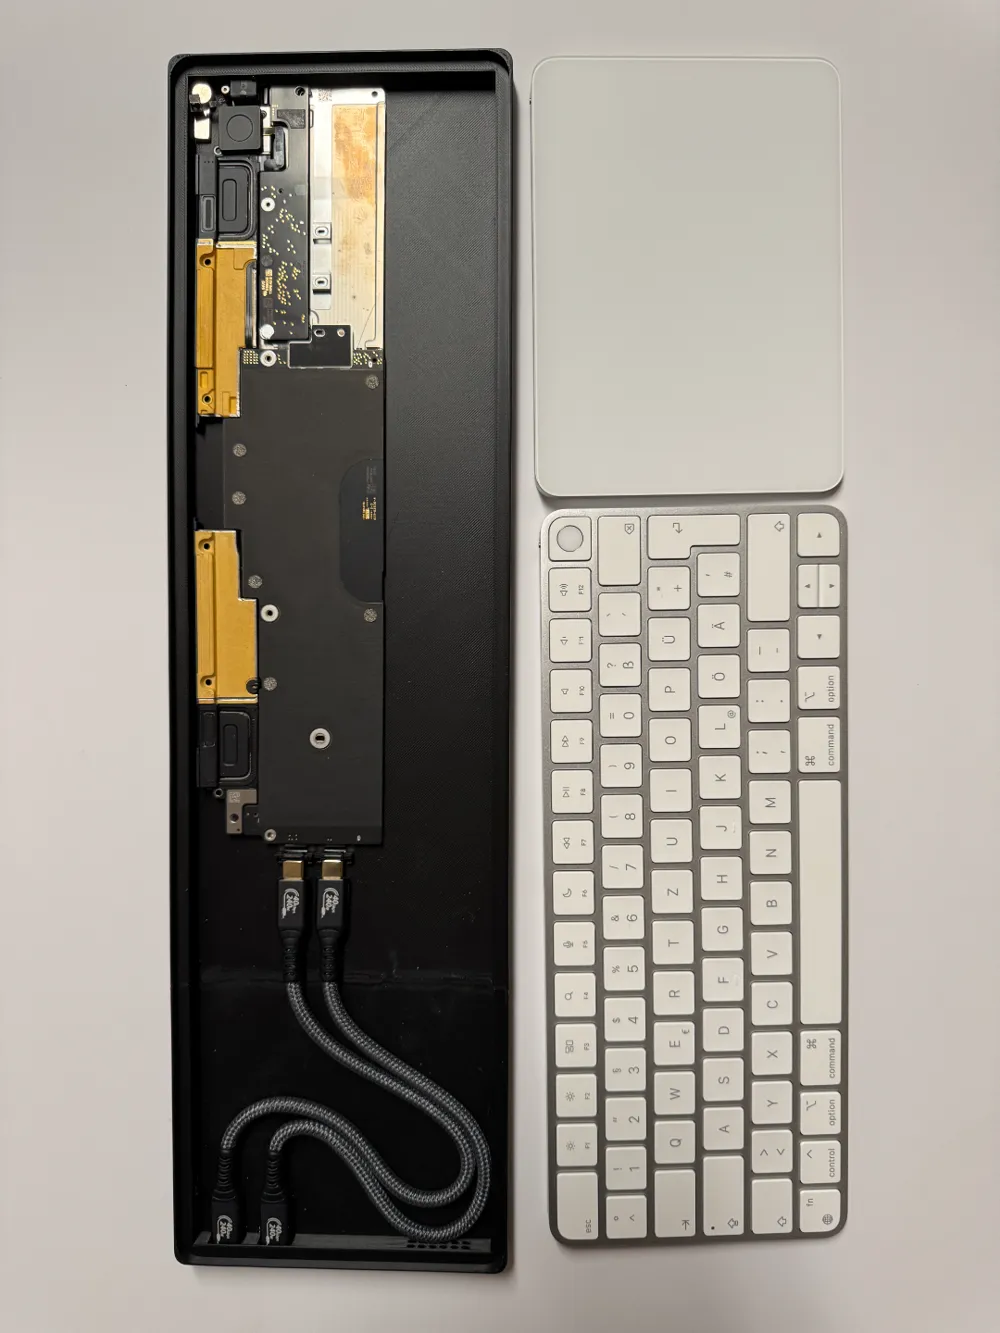
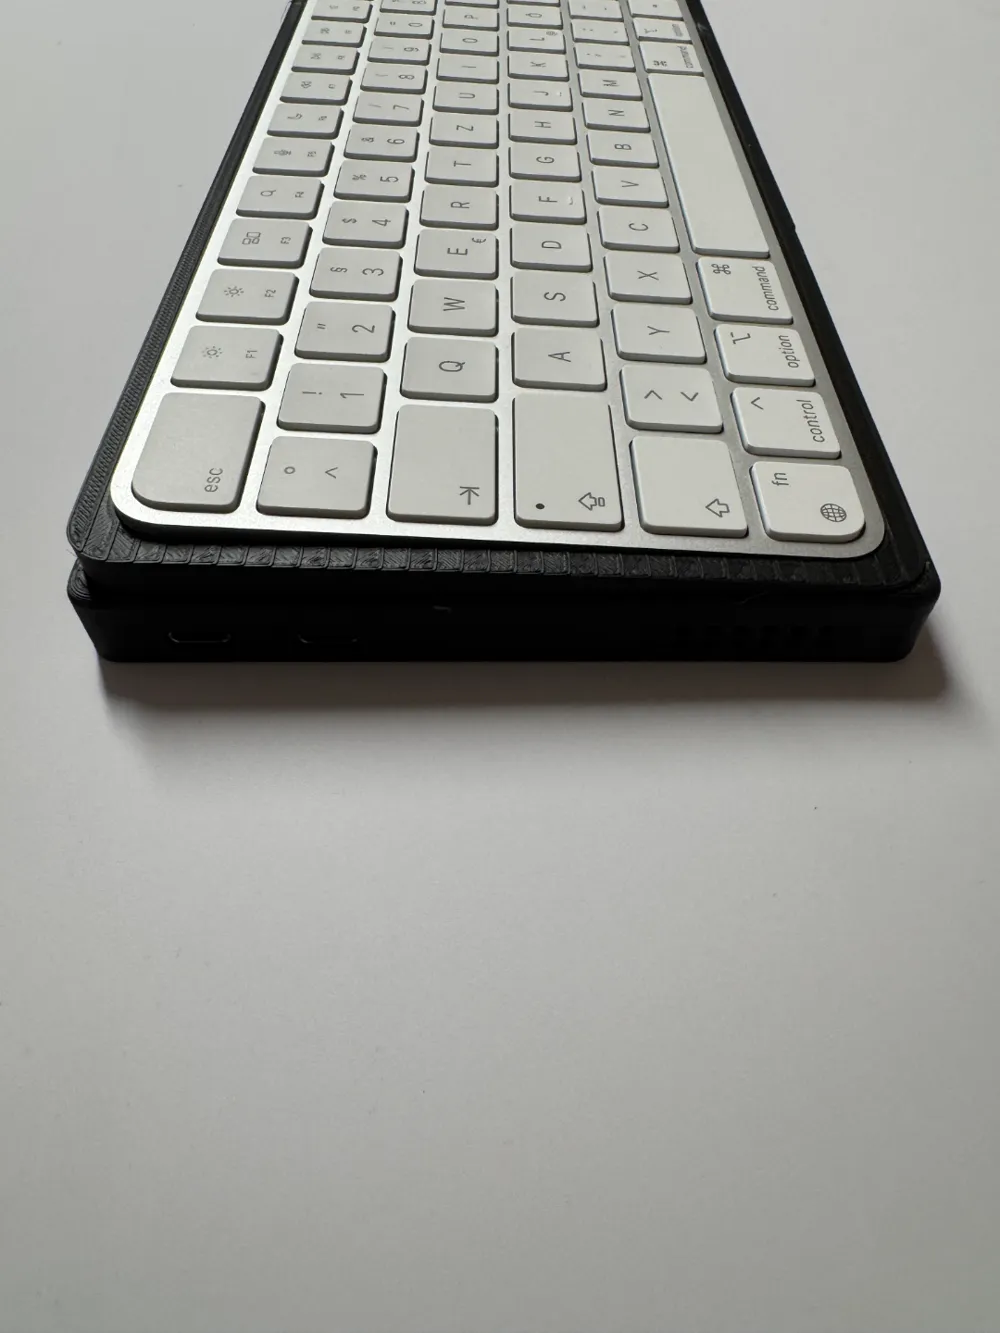
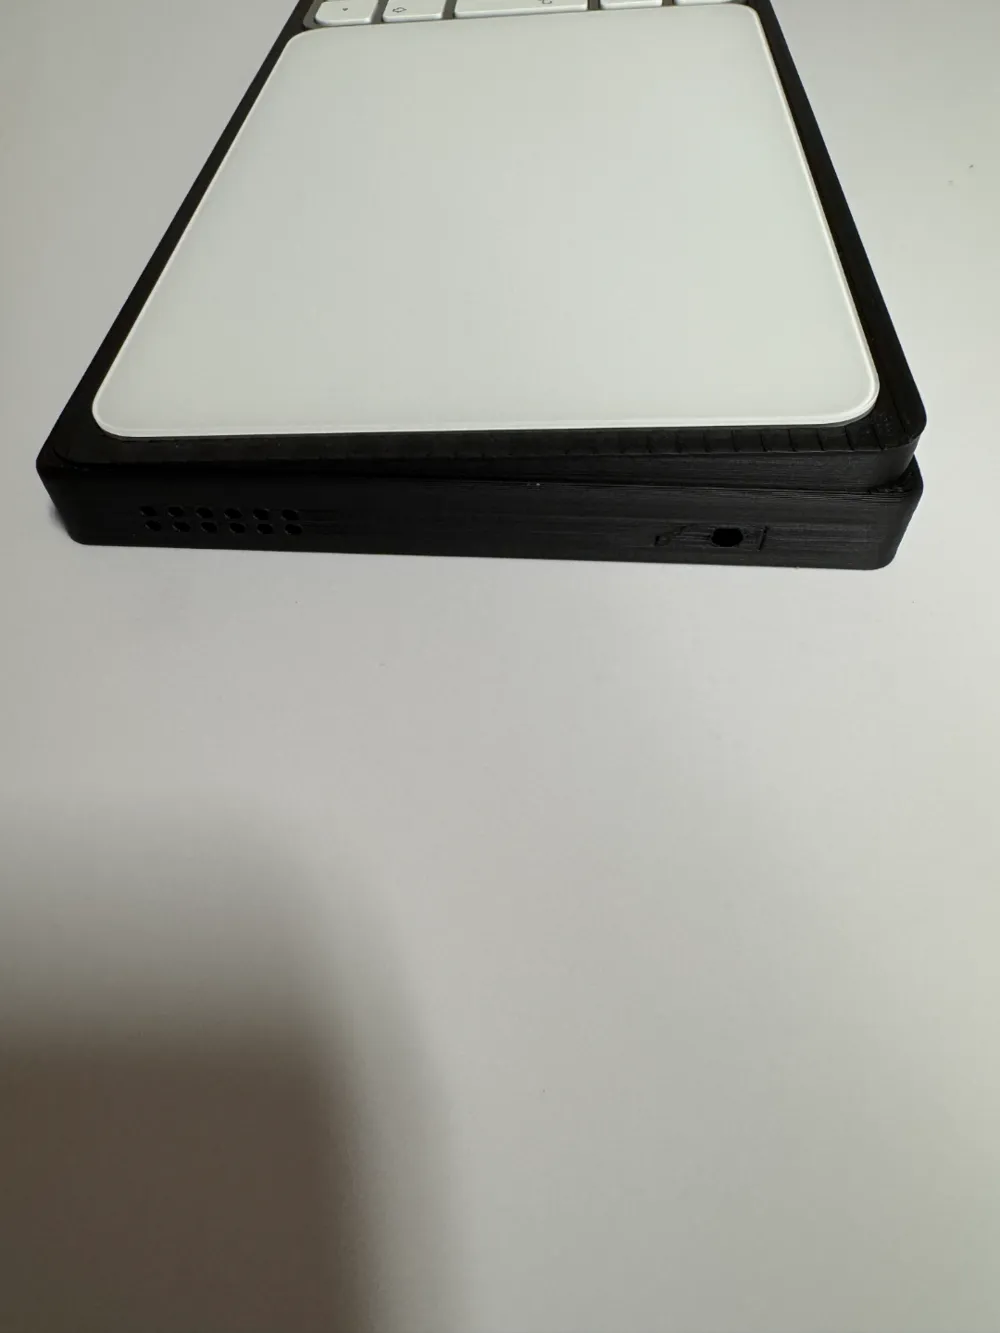
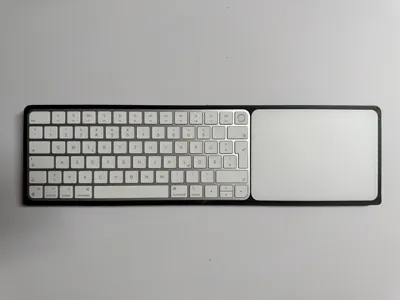
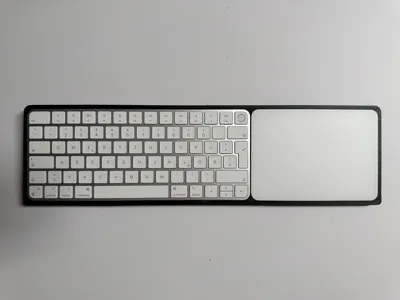
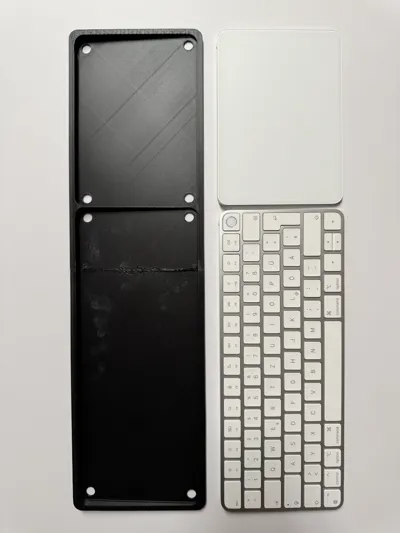
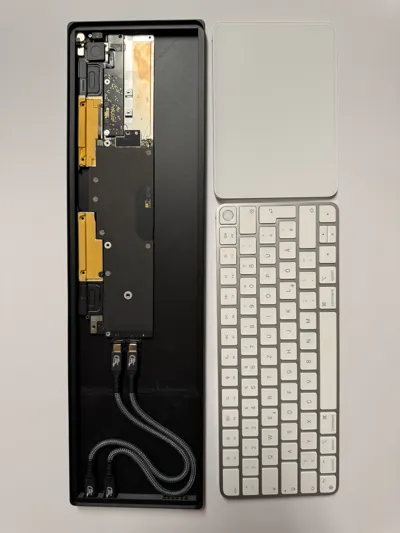
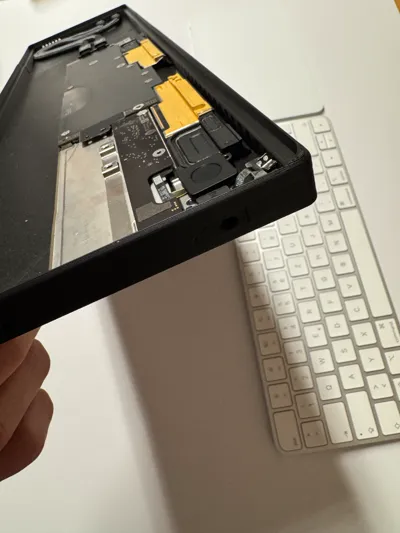
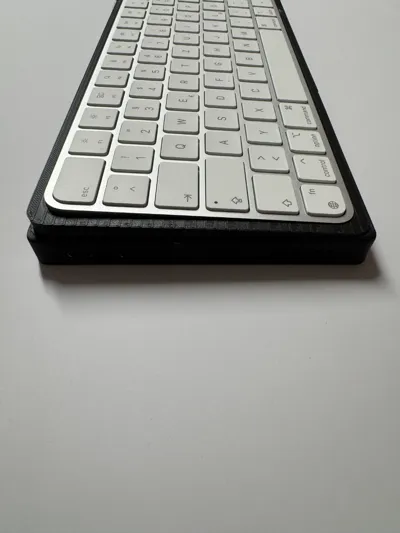
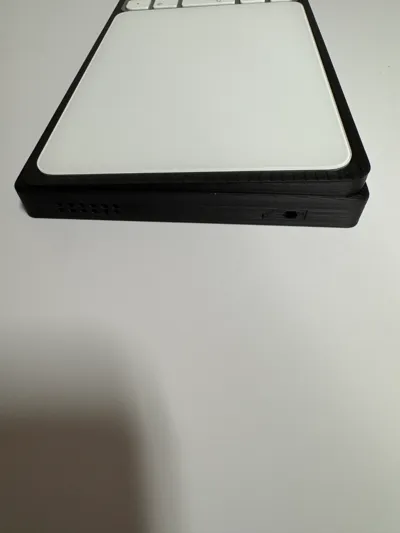
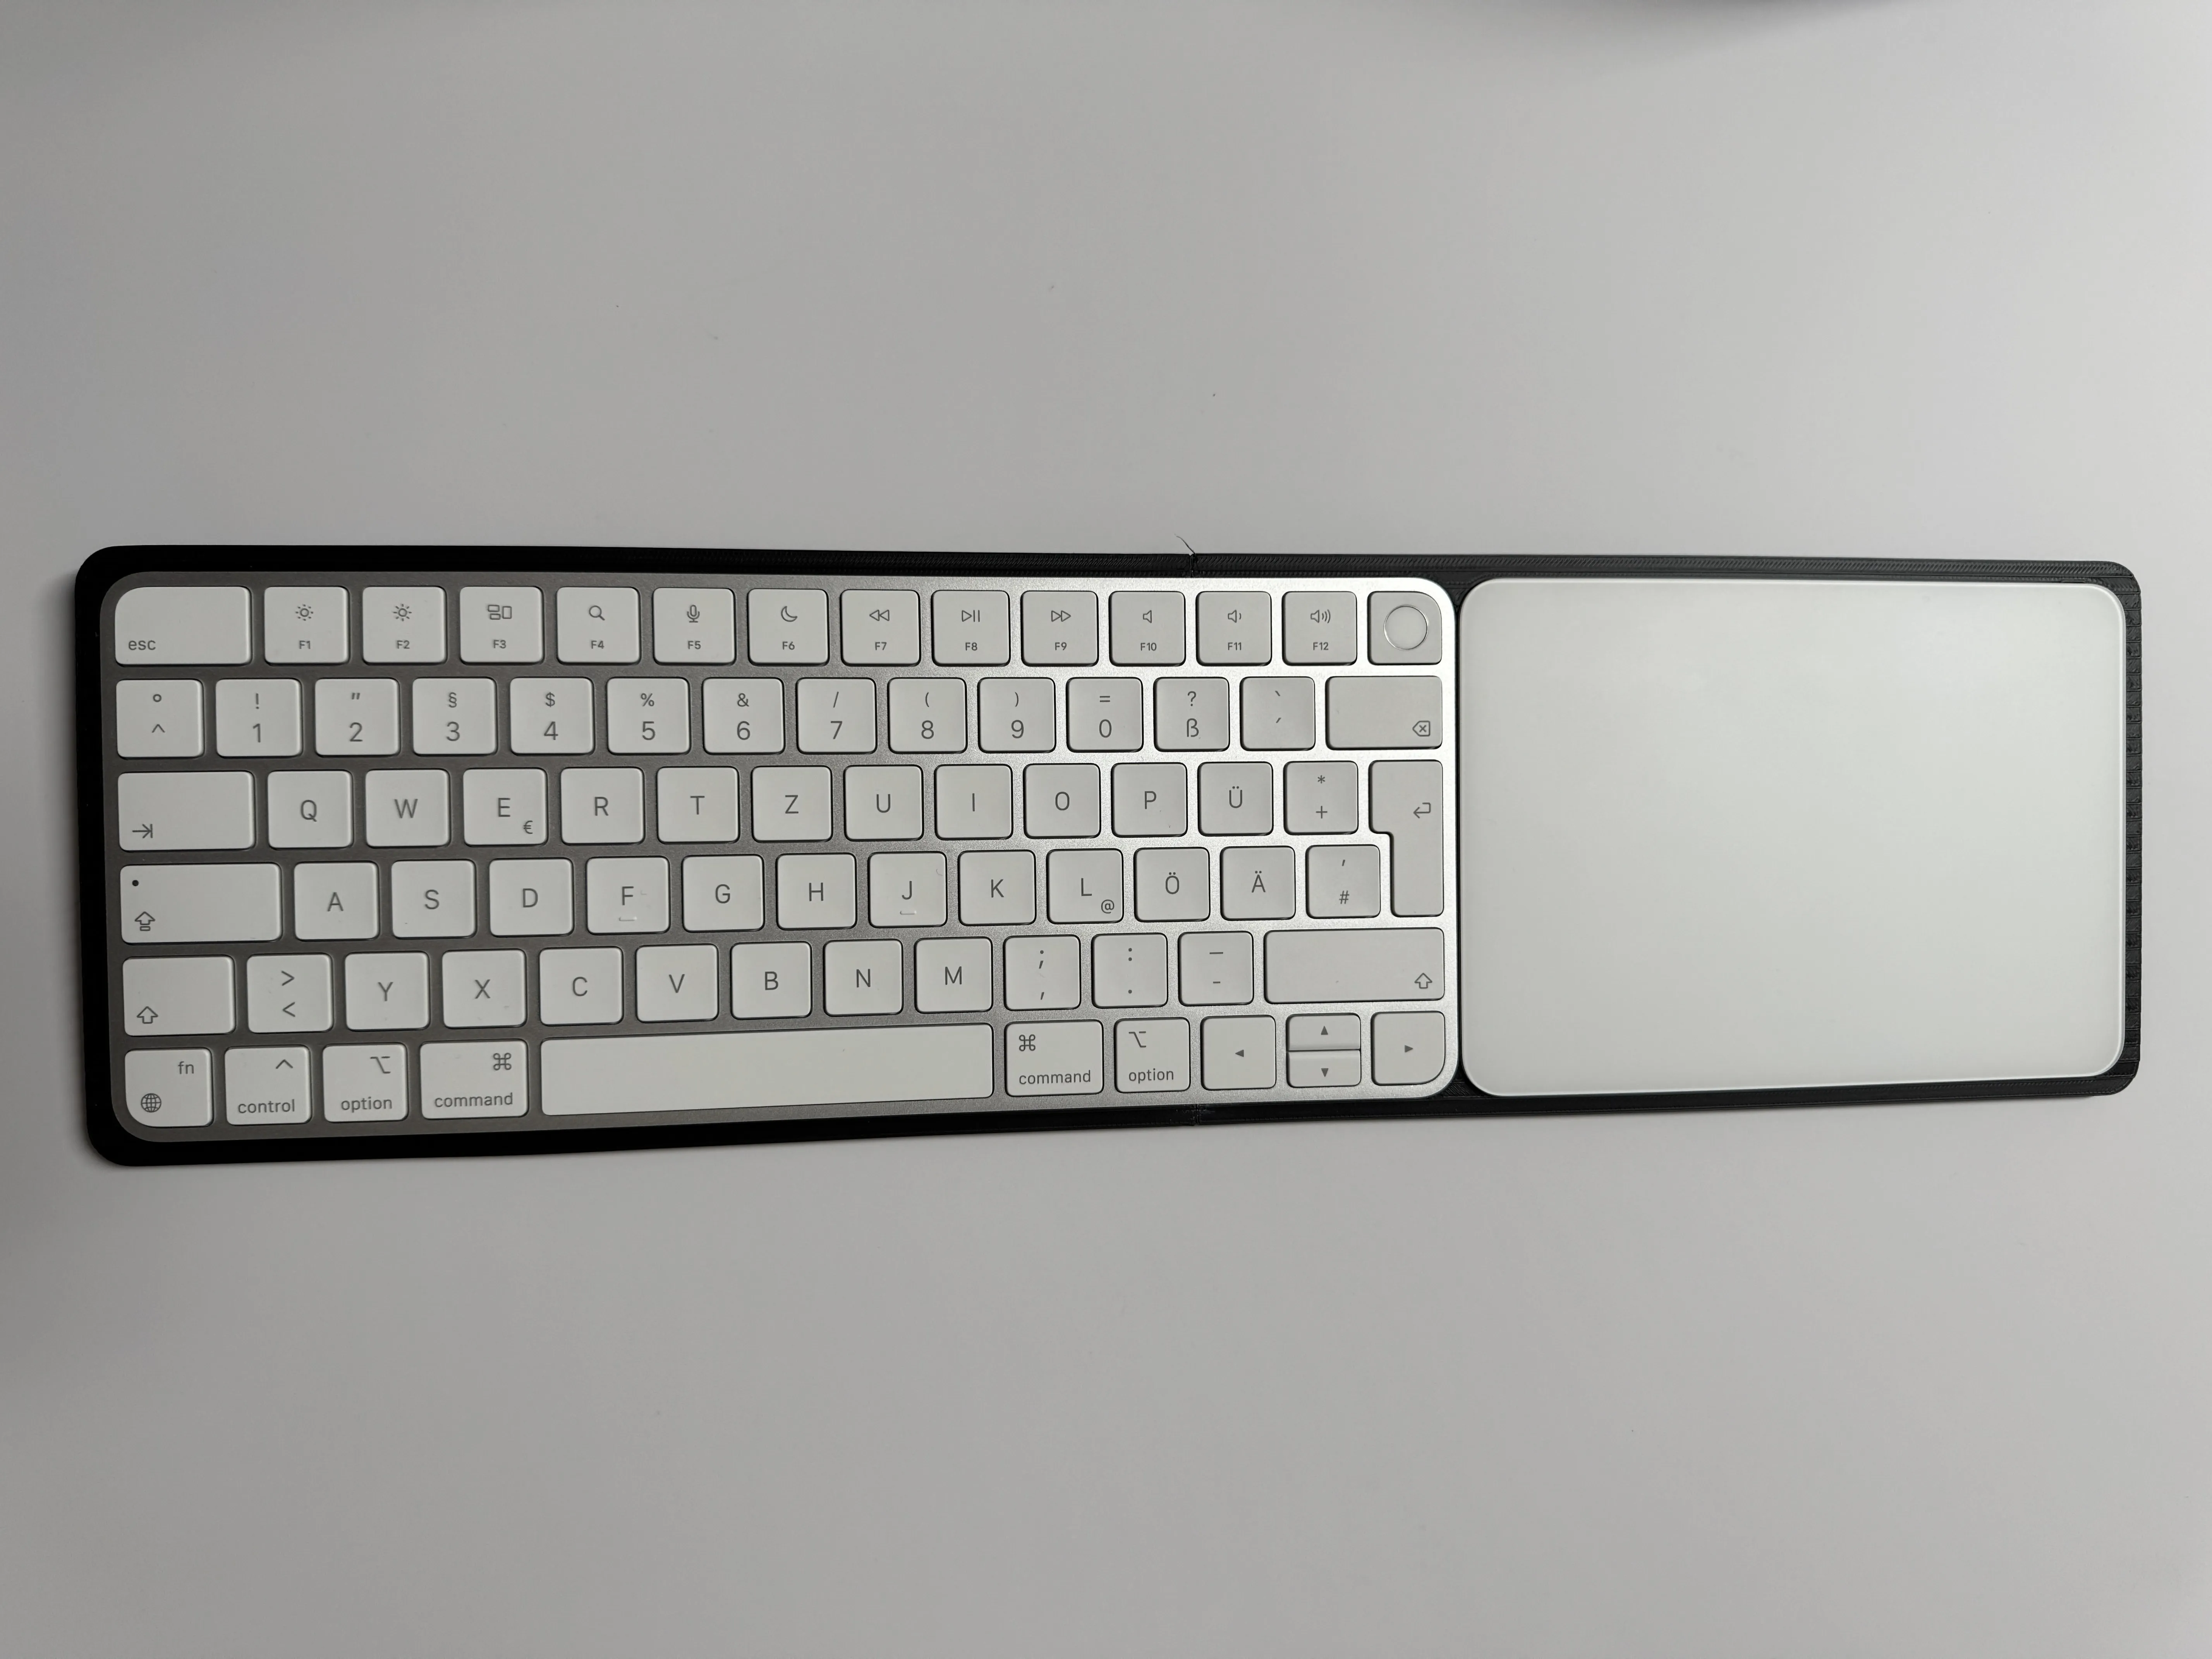
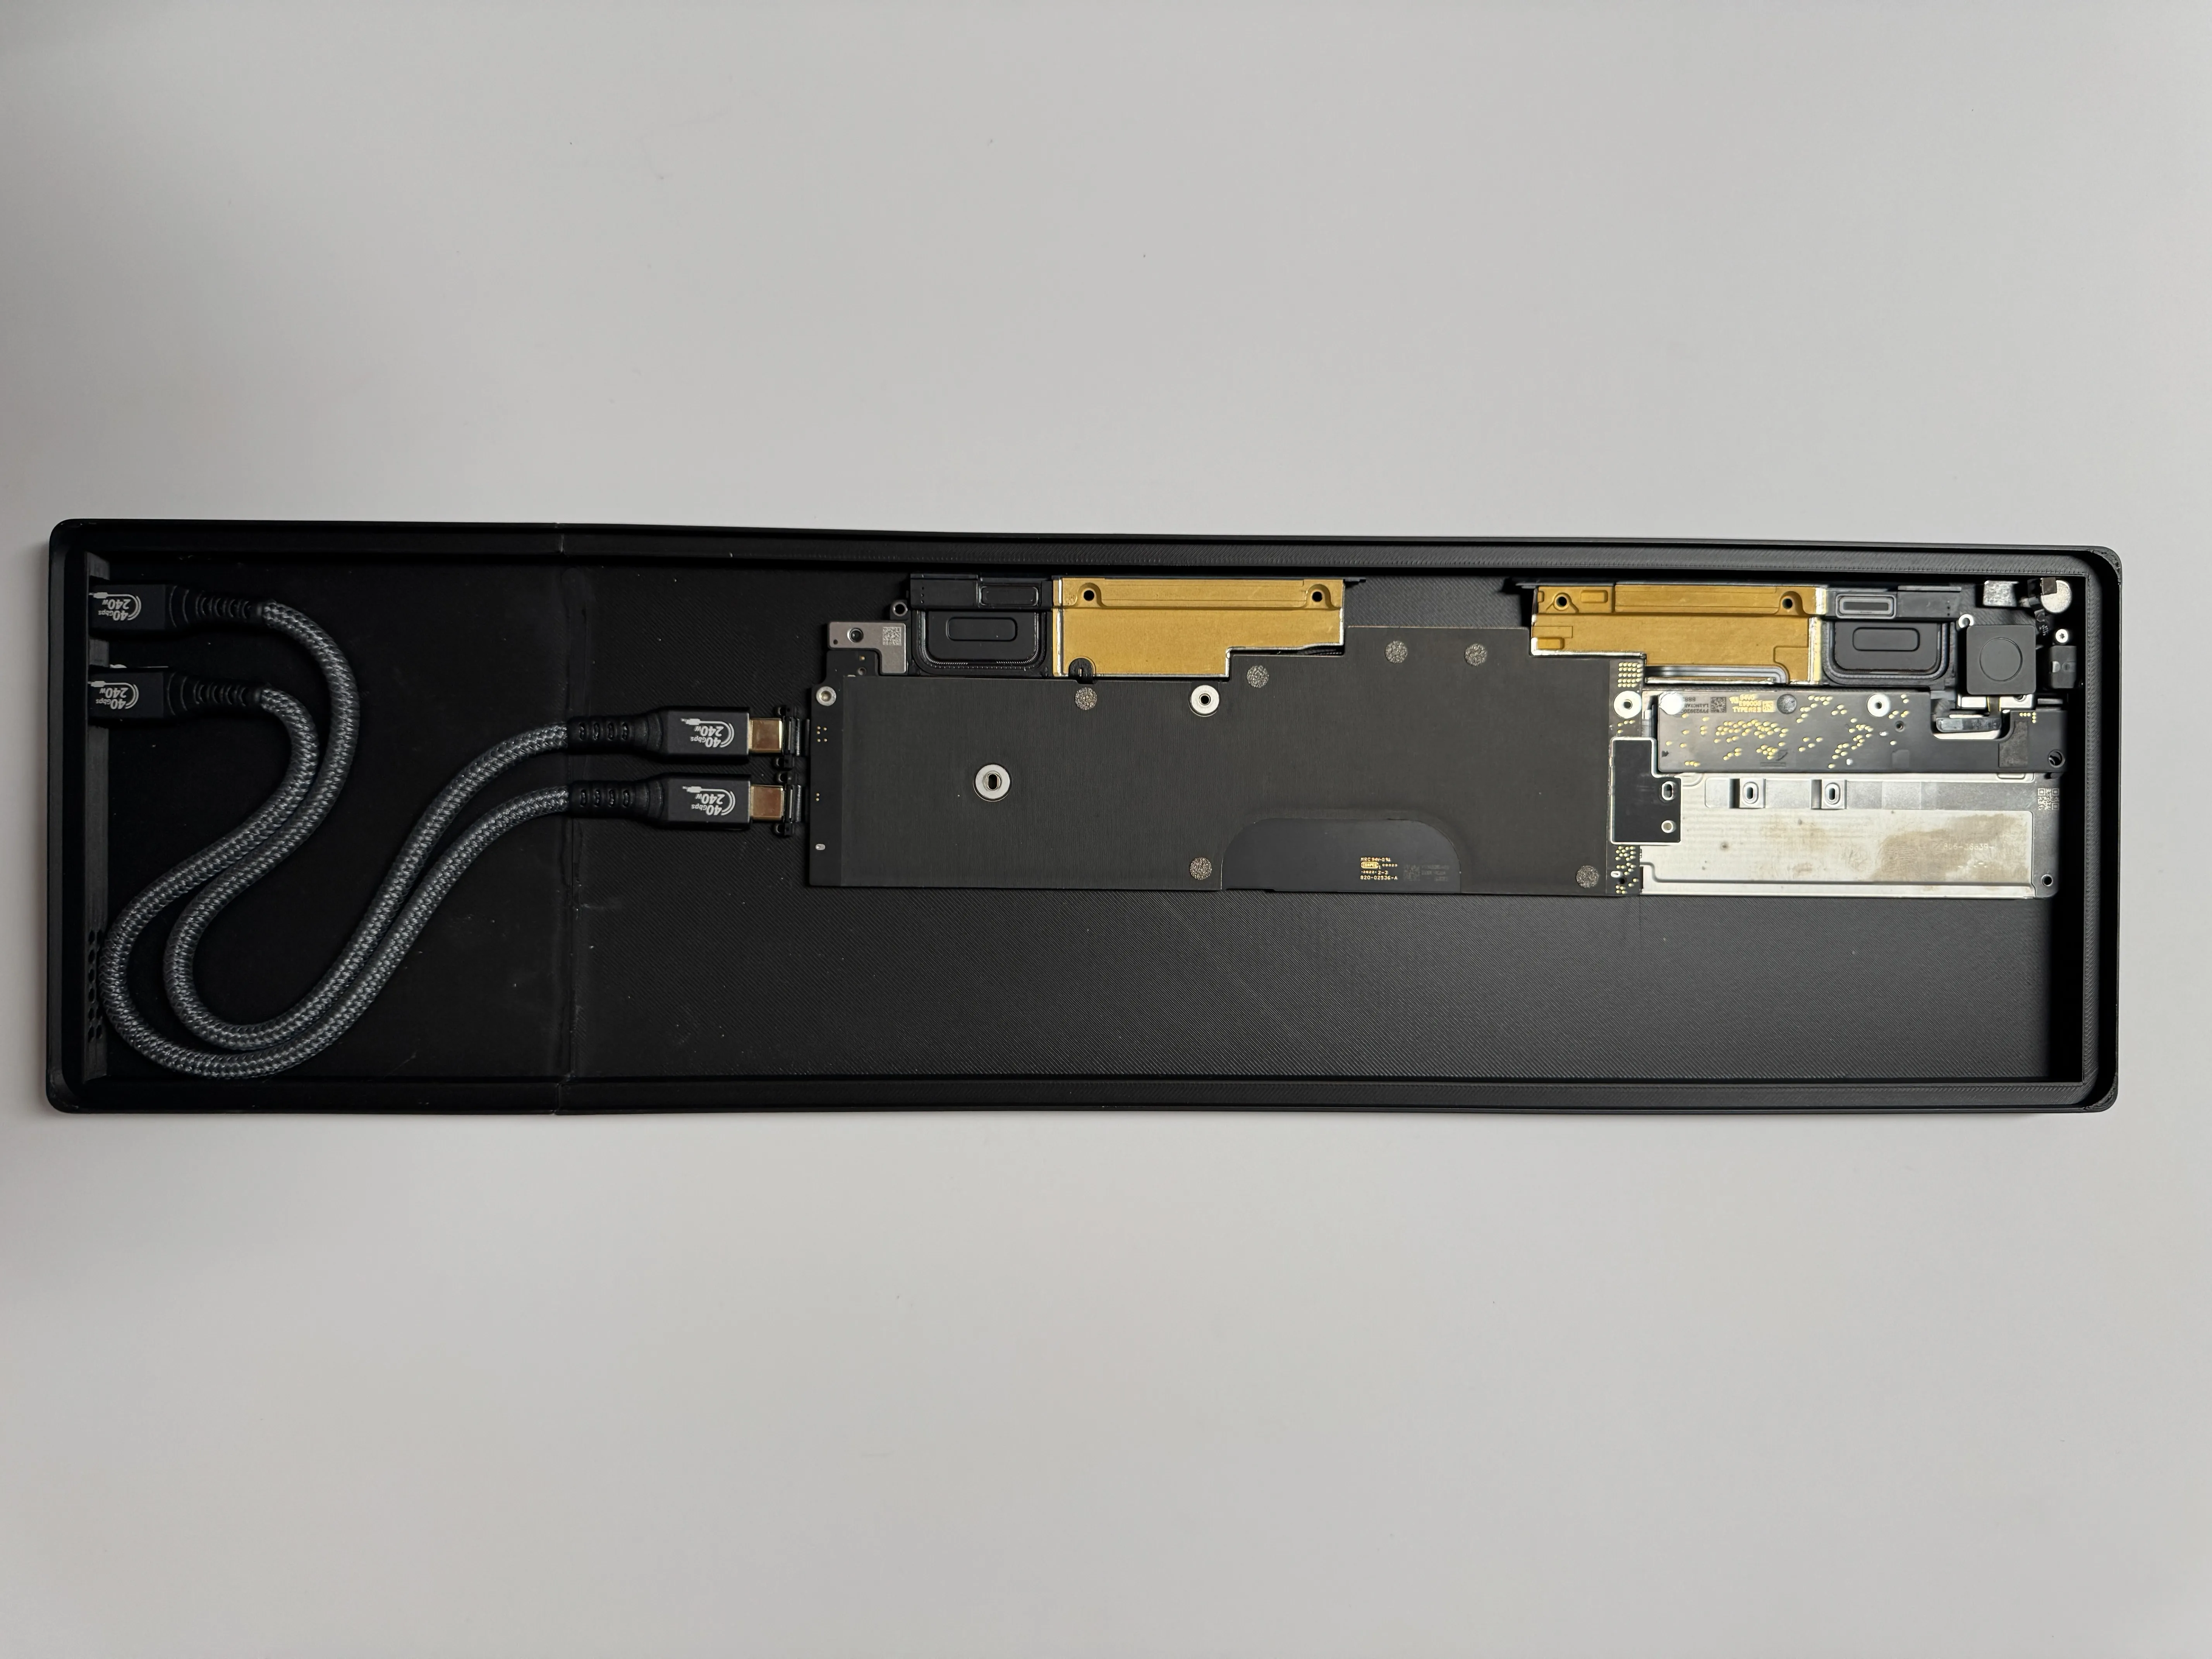
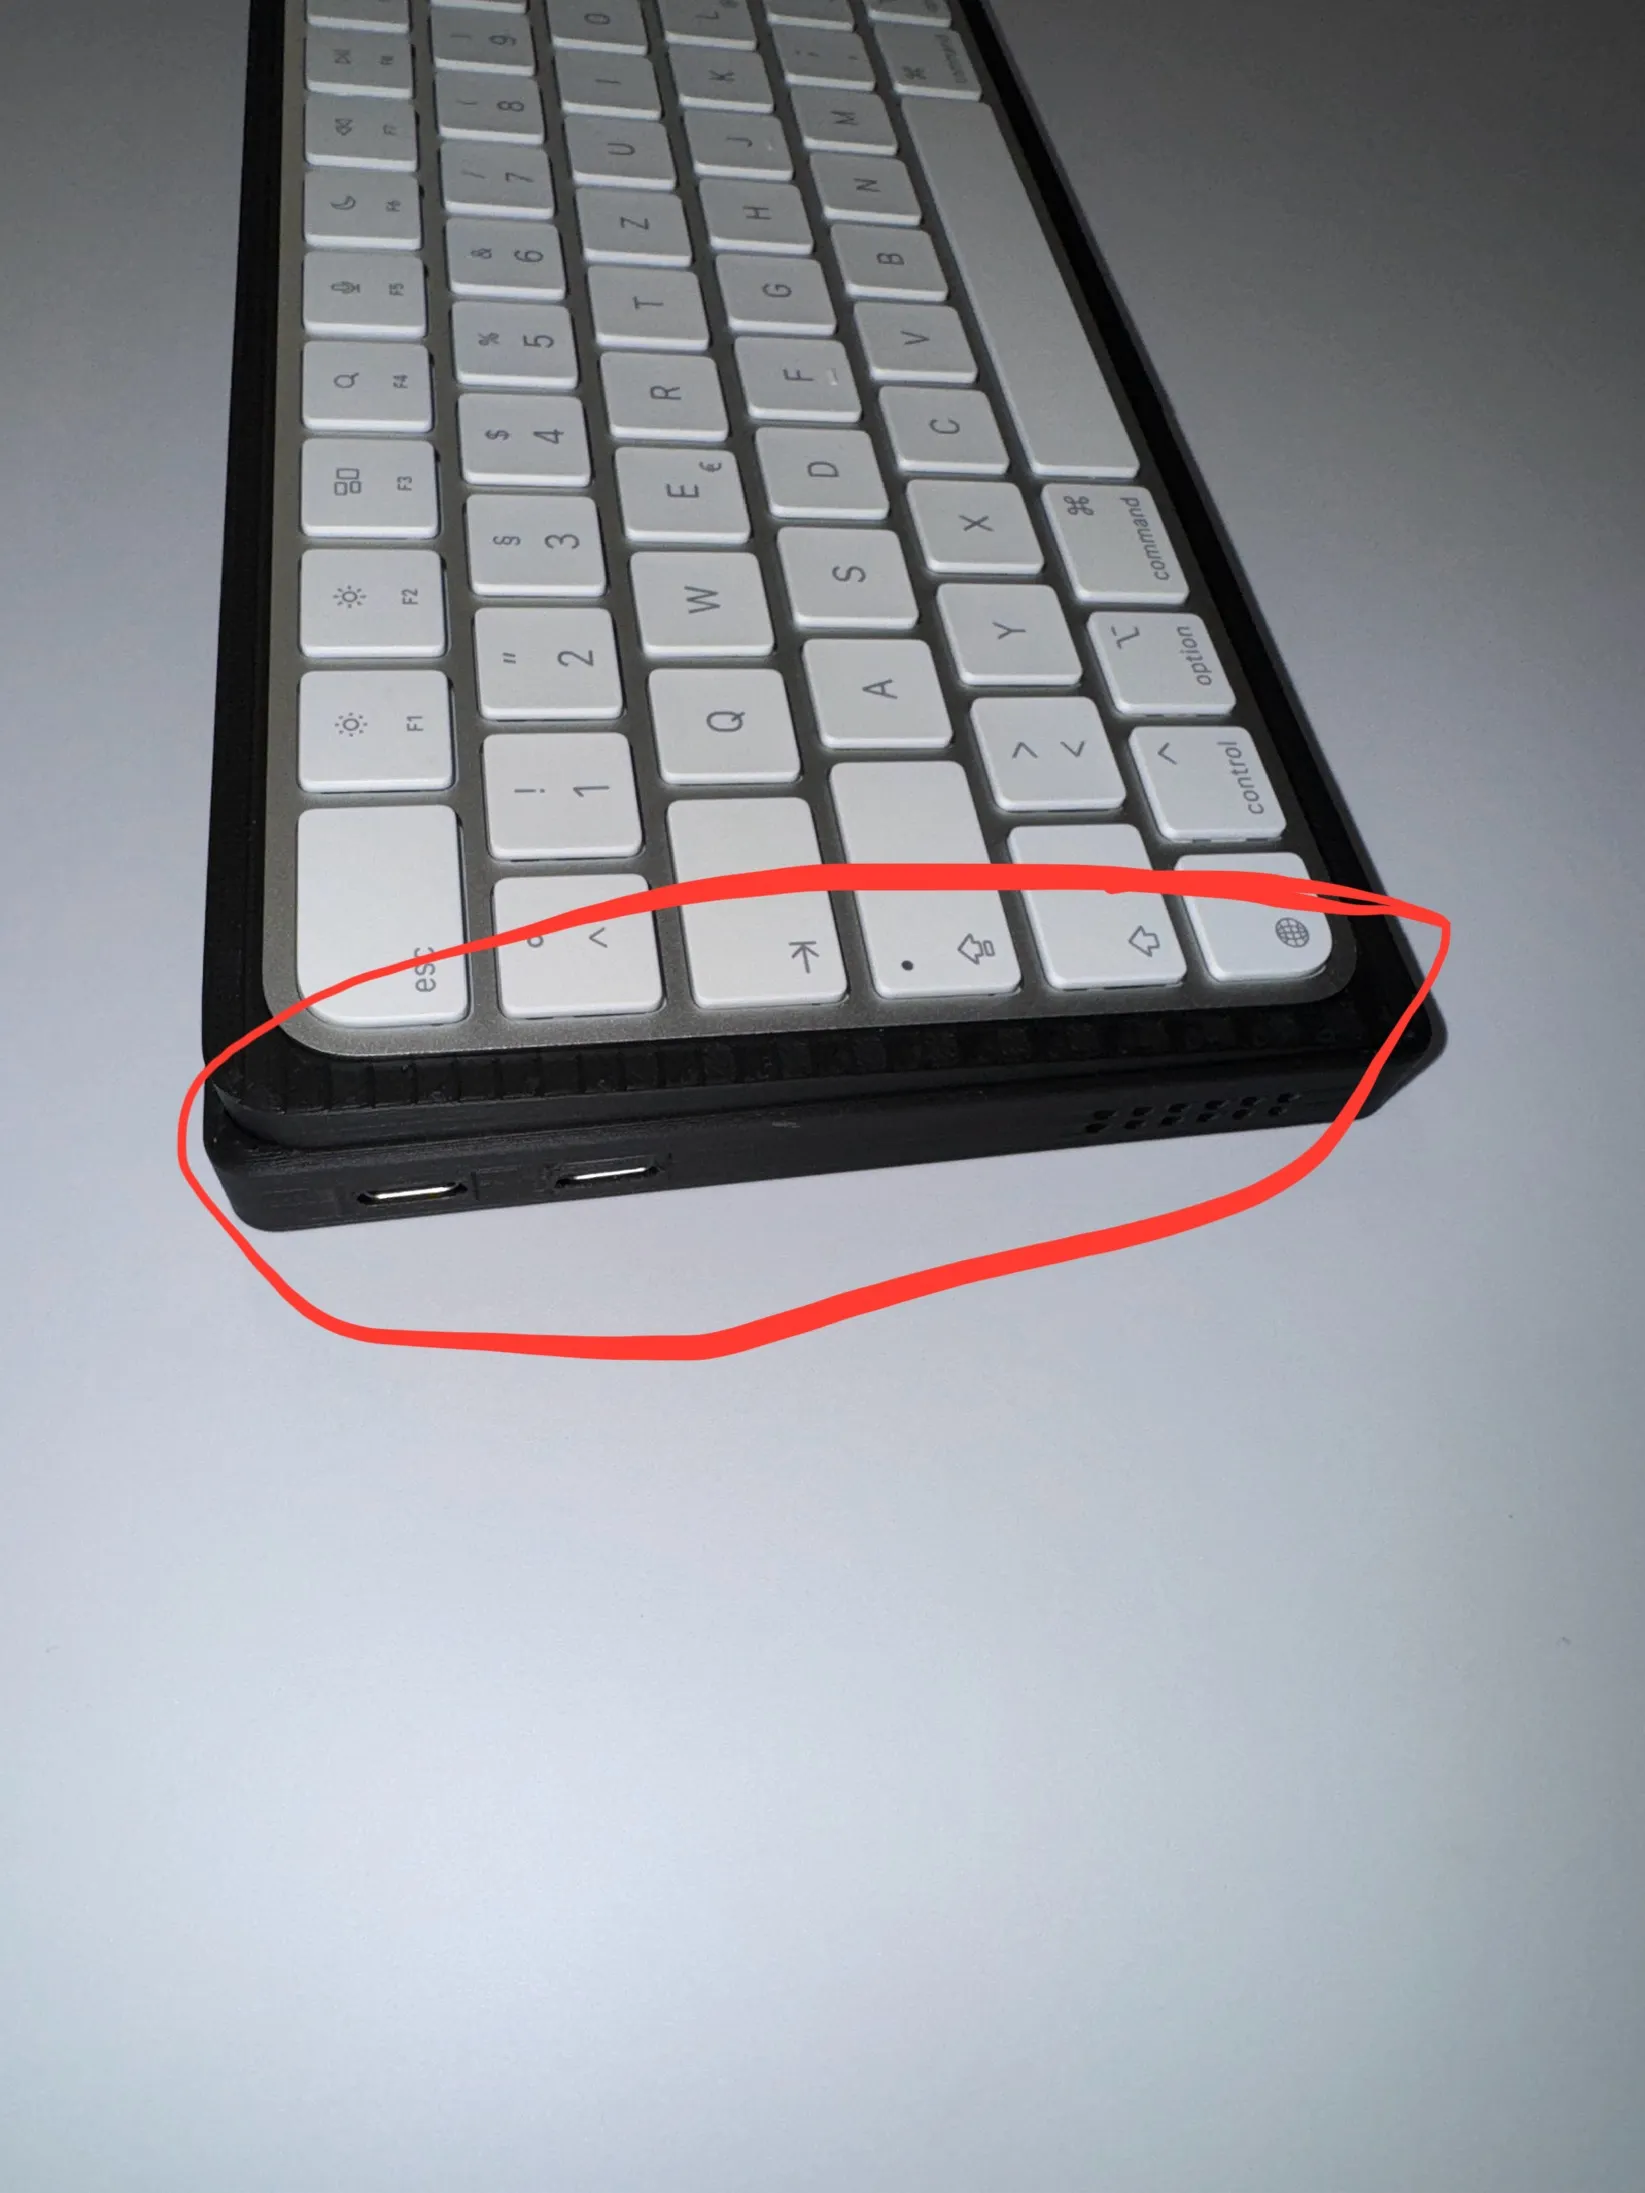
The Mac Keyboard is a stylish and well-designed enclosure for dismantled MacBooks whose internal components are still functioning flawlessly. The lower part of the enclosure houses the MacBook components, while the upper part integrates an Apple Magic Keyboard 2nd Gen (without number pad) and an Apple Magic Trackpad 2nd Gen. Once both devices are connected via Bluetooth, you can continue working without any problems - even if your MacBook display is damaged and the repair costs seem too high.
An additional advantage: The Mac Keyboard can also be powered with a power bank if there is no outlet nearby, making it particularly mobile and flexible.
What is this good for?
By installing the working parts of your MacBook into the Mac Keyboard enclosure, you transform it into a compact Mac Mini. This allows you to connect it to an external monitor and continue using the full power of your device without having to buy a new one.
If you own an Apple Vision Pro, you can also pair it with the Mac Keyboard and work in the virtual space without relying on a physical screen. This allows you to work futuristically and minimally at the same time.
Can I use any MacBook?
I recommend using a MacBook with an M-processor, such as M1 or M2. These processors are more energy-efficient, generate less heat, and offer outstanding performance - perfect for installation in the Mac Keyboard.
What it could look like with the Vision Pro:
Imagine yourself sitting in an empty room with just a table. On the table lies your self-built Mac Keyboard. You plug it in or use a power bank, wait for the familiar boot sound and put on your Apple Vision Pro. When the Mac starts up, you can use it in the virtual environment - a futuristic setup without a physical monitor.
Test and compatibility:
I tested this setup with a MacBook Air M2, and the enclosure is specifically designed for this model. I cannot guarantee whether a MacBook Air M1 will also fit in this enclosure, as the design was specifically developed for the M2.
How did the idea come about?
The original idea comes from the well-known YouTuber AlexiBexi, who uses various components for creative projects. After watching his video, I thought: “Why not design an elegant enclosure that is perfectly suited for this purpose?” This is how the Mac Keyboard was born - a combination of design and functionality. With the help of a 3D printer, I was able to create a custom-made enclosure that is optimally matched to the MacBook components.
Instructions: Build your own Mac Keyboard
Before you start dismantling your MacBook Air, there are a few things you should keep in mind:
- Use a MacBook Air M2, as the enclosure was specifically designed for this model.
- Completely set up your MacBook Air (use an external monitor if the display is not working).
- If you are using an Apple Magic Keyboard with Touch ID, set up Touch ID beforehand.
- Make sure that both the Vision Pro and the MacBook Air are logged in with the same Apple ID.
- Update macOS to the latest version.
- Enable two-factor authentication for your Apple ID.
- Enable iCloud Passwords and iCloud Keychain.
- Turn on Bluetooth.
- Make sure that both the MacBook Air and the Vision Pro are connected to the same Wi-Fi and connect automatically.
- Connect the Apple Magic Keyboard and the Magic Trackpad via Bluetooth.
- Set the power saving mode to “NEVER”.
- Disable automatic sleep mode and enable automatic user login.
- Test in advance whether the Apple Vision Pro can connect to the MacBook Air.
Components and steps for construction:
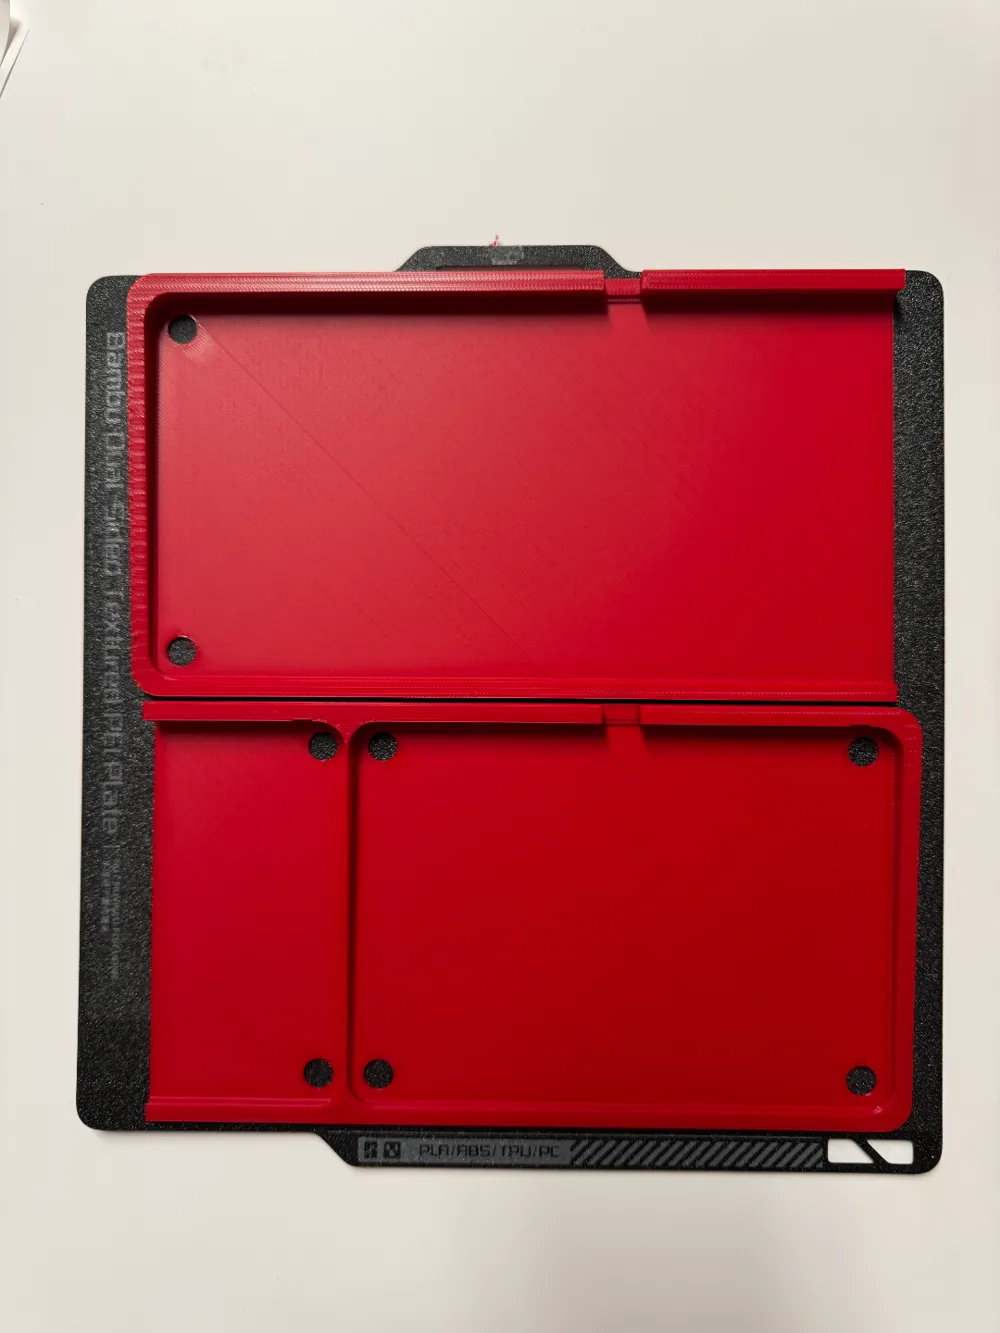
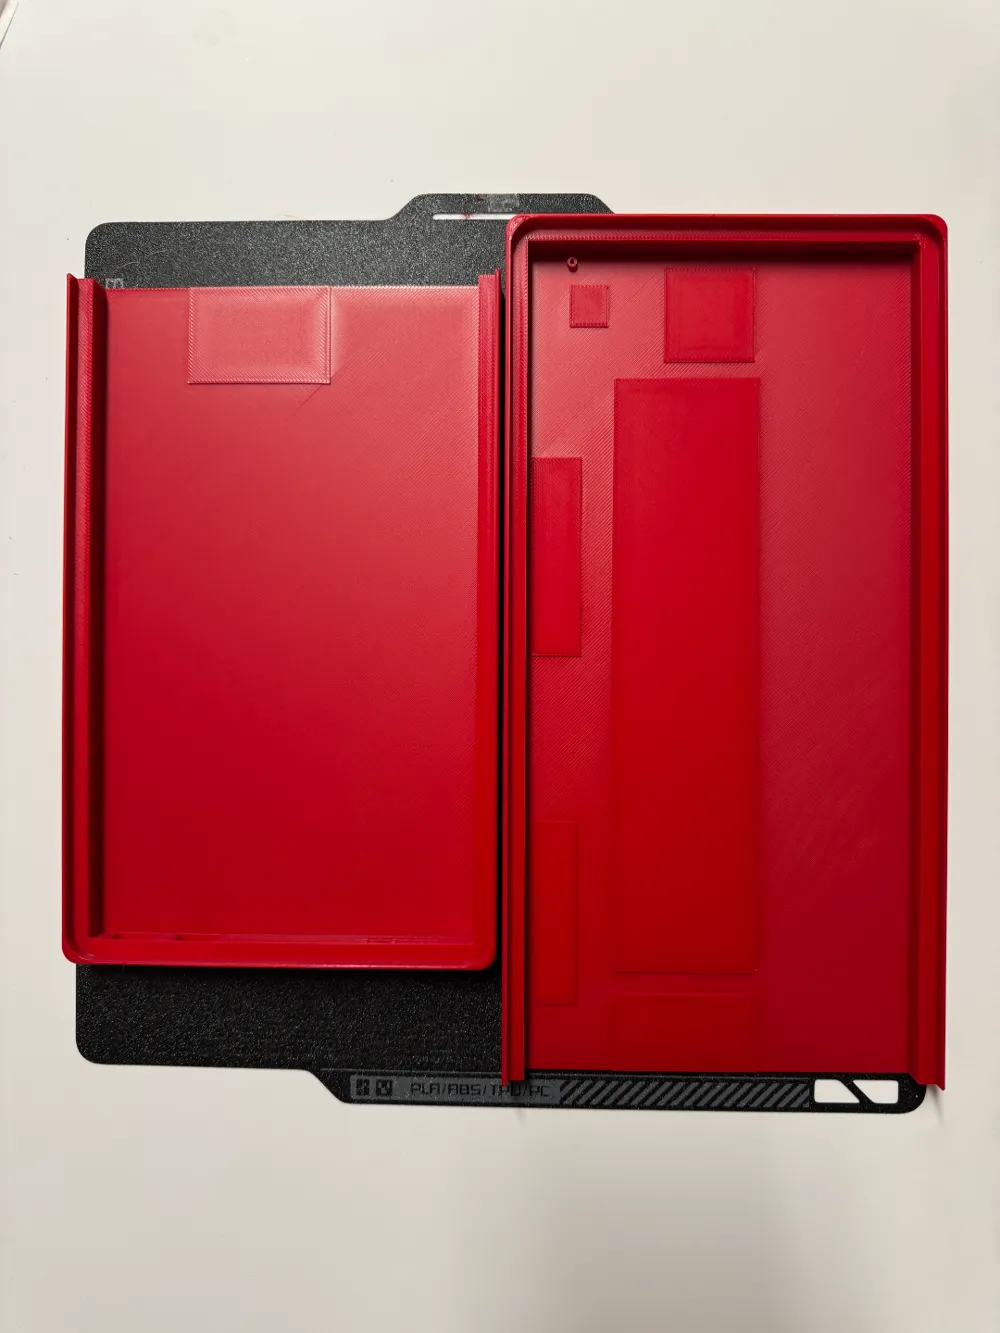
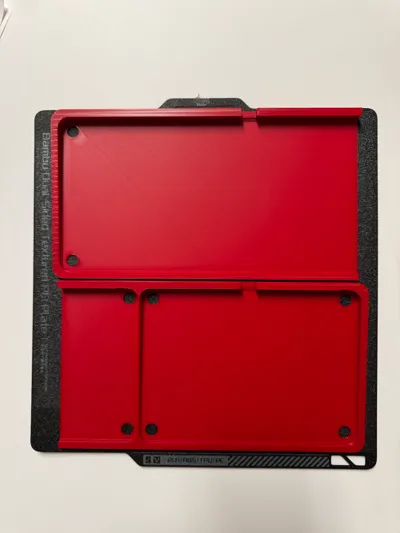
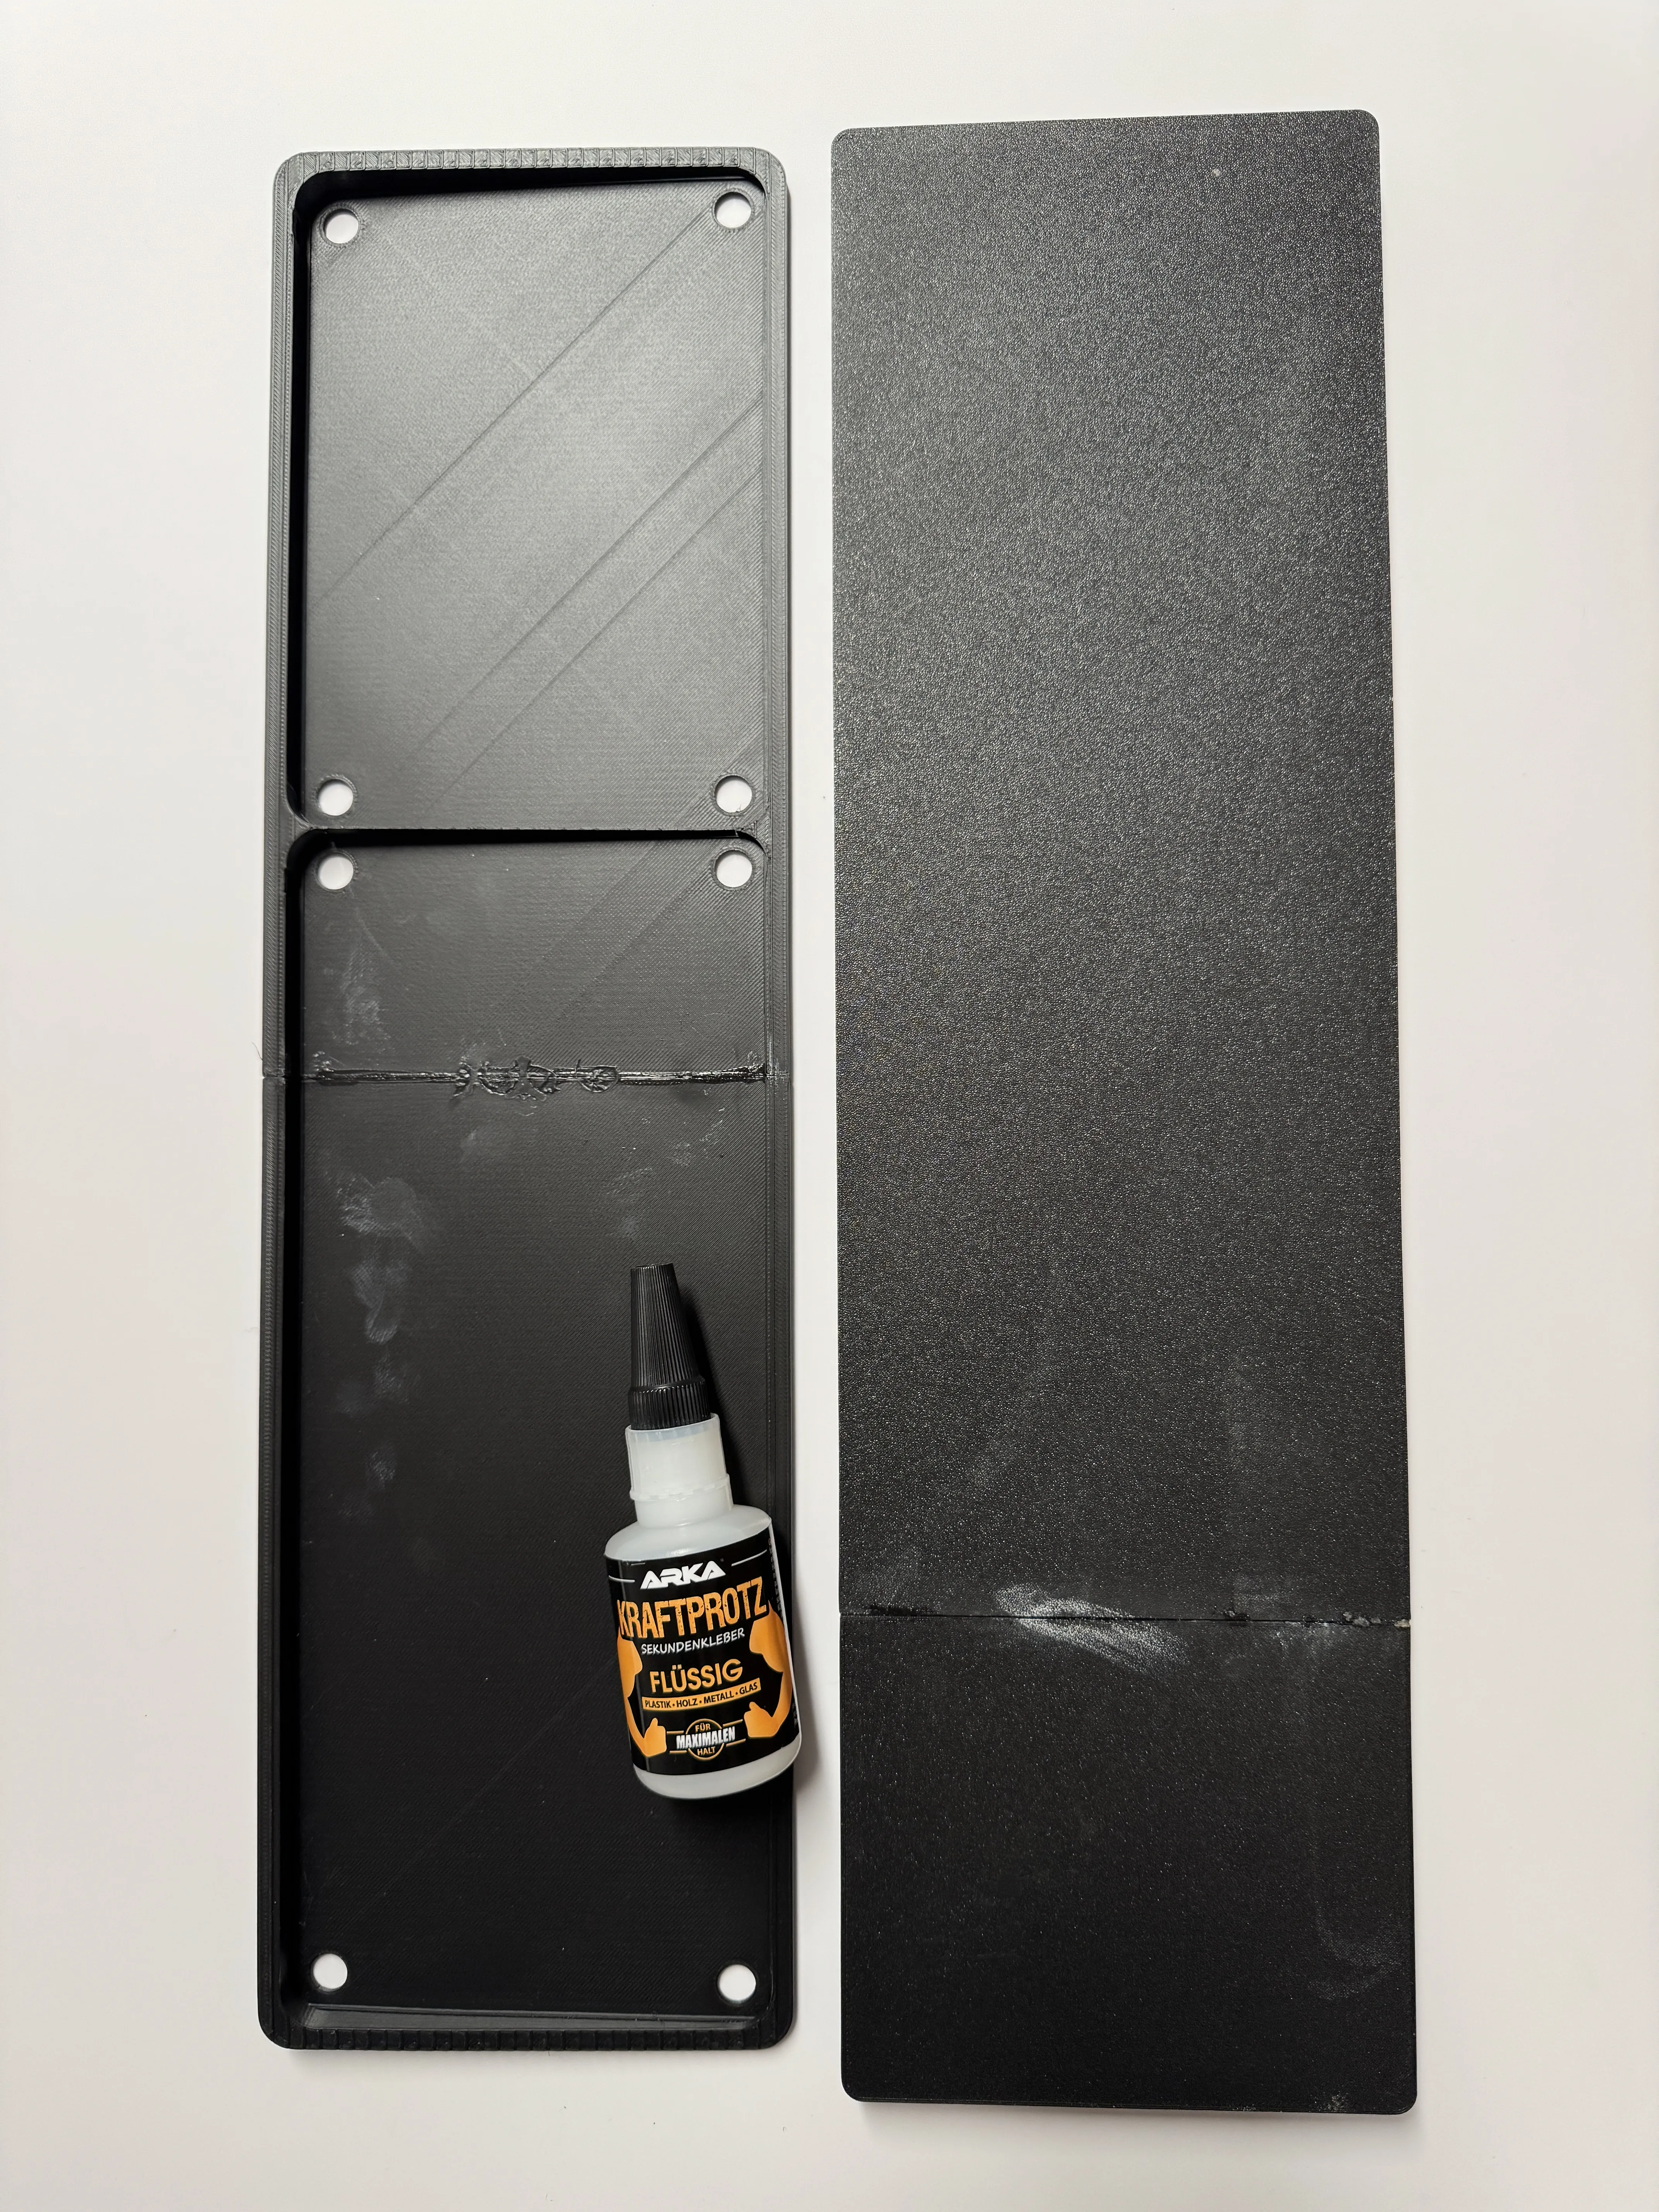
- Glue the 3D printed parts together (use super glue, for example).
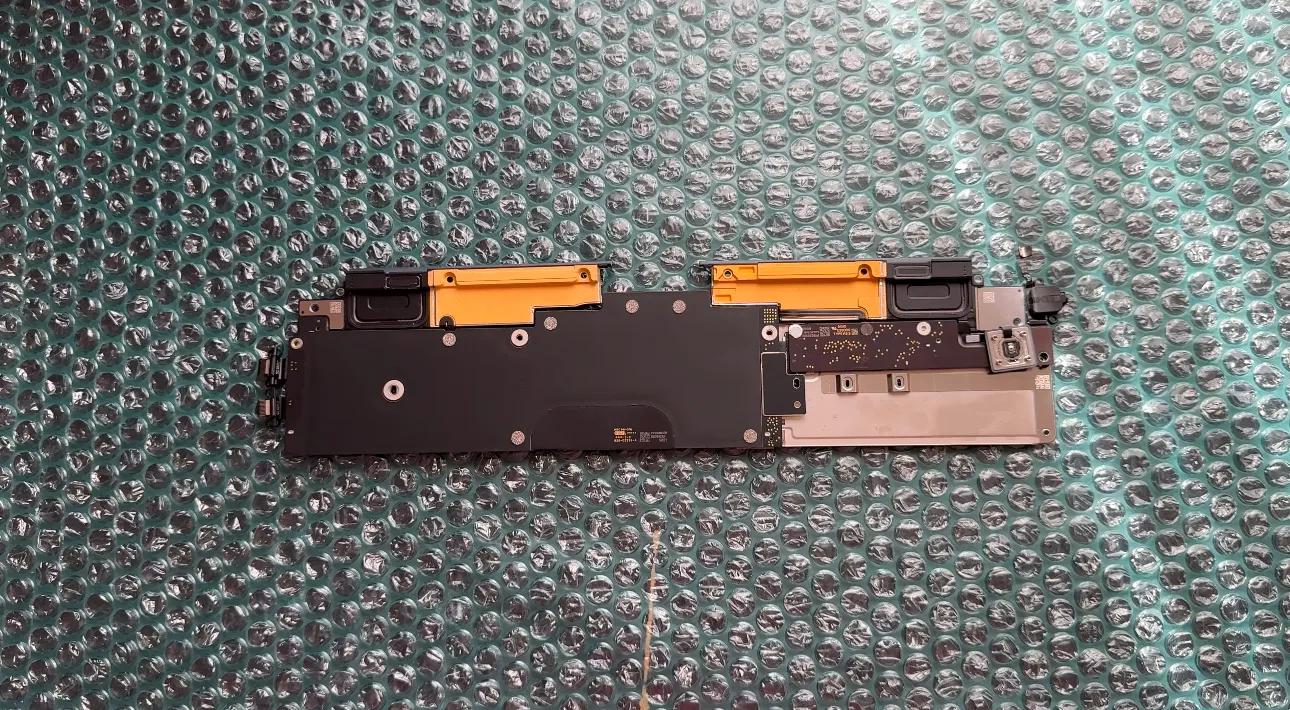
- Build the logic board from your MacBook Air.
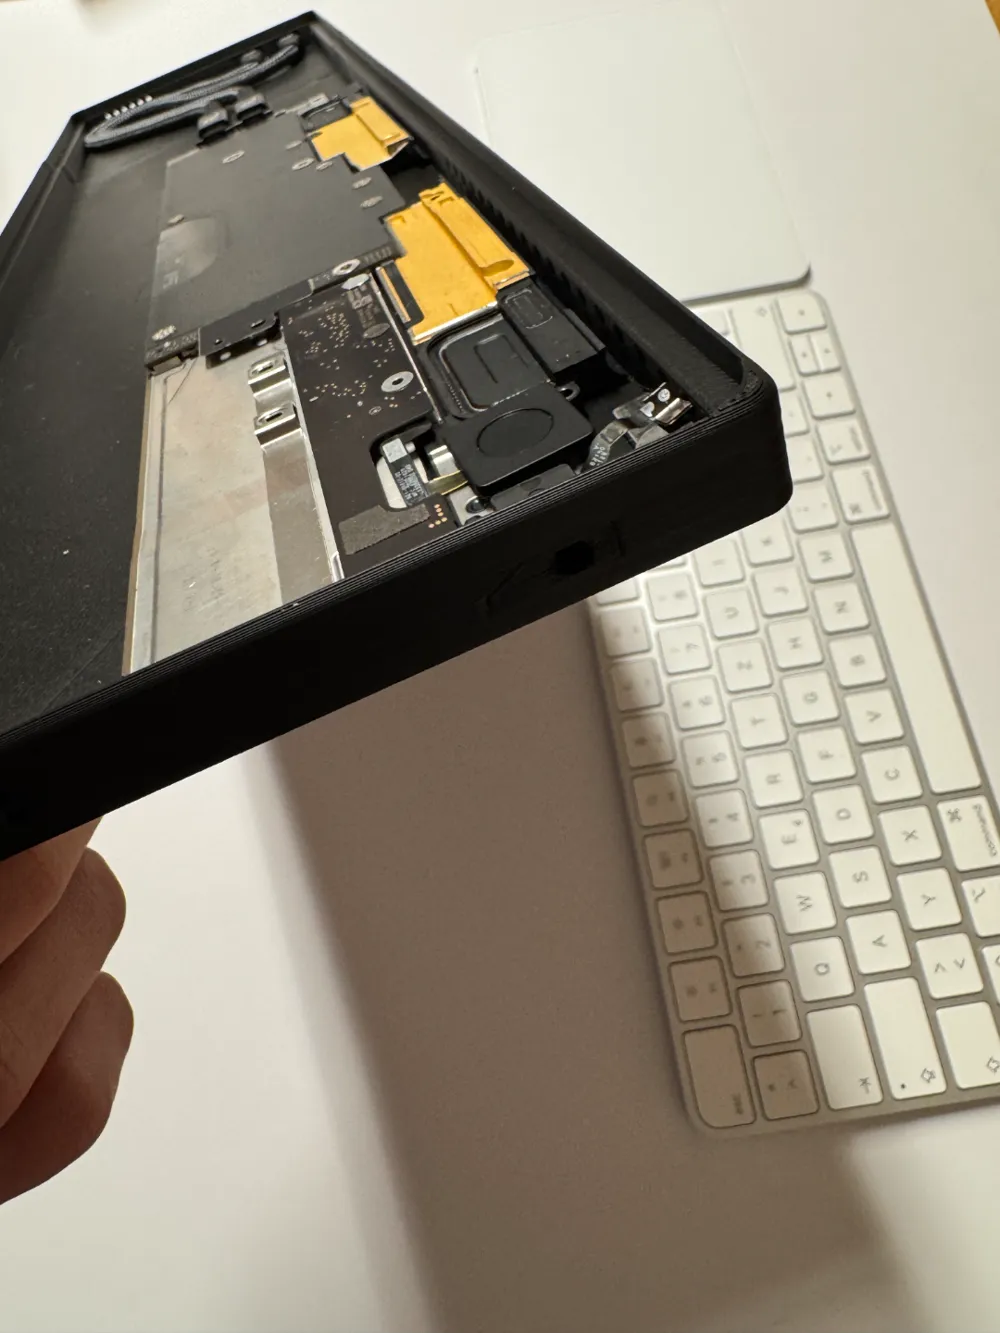
- Remove speakers, Touch ID sensor, Wi-Fi and Bluetooth antenna, headphone jack (Aux) and both USB-C ports.
- Connect all components to the logic board.
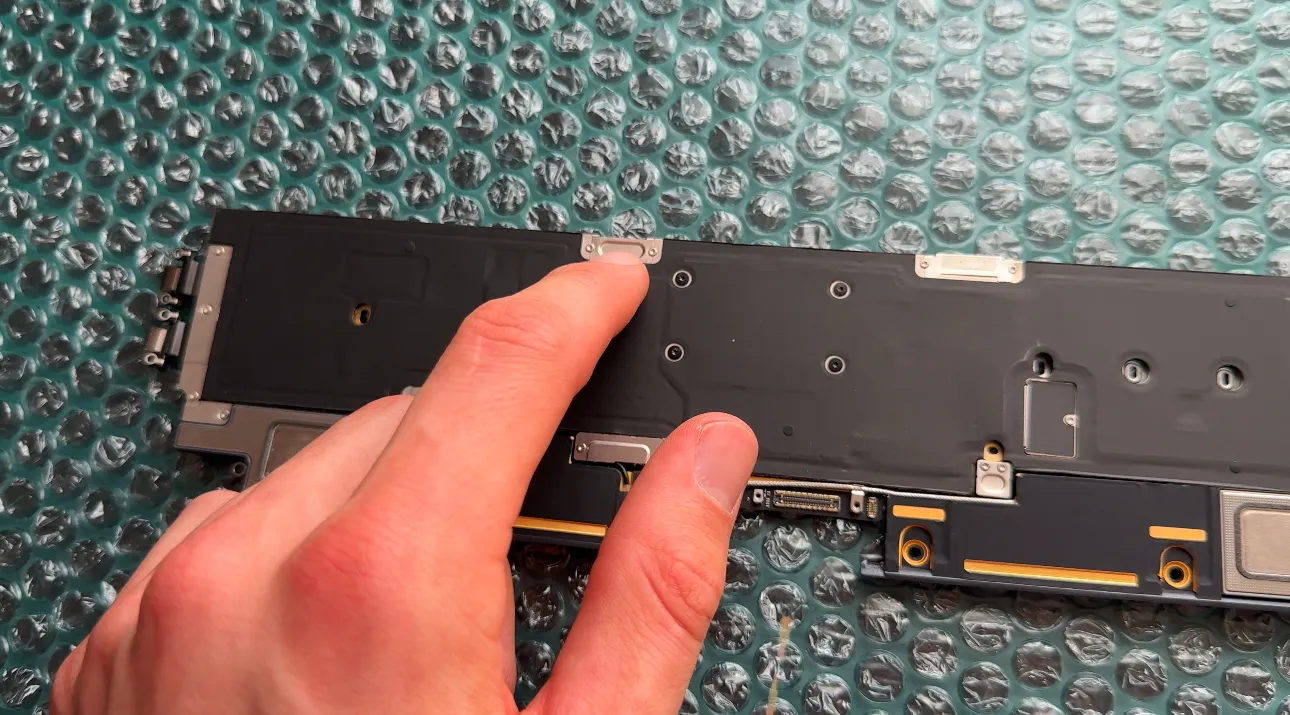
- Screw the cover plates over the components.
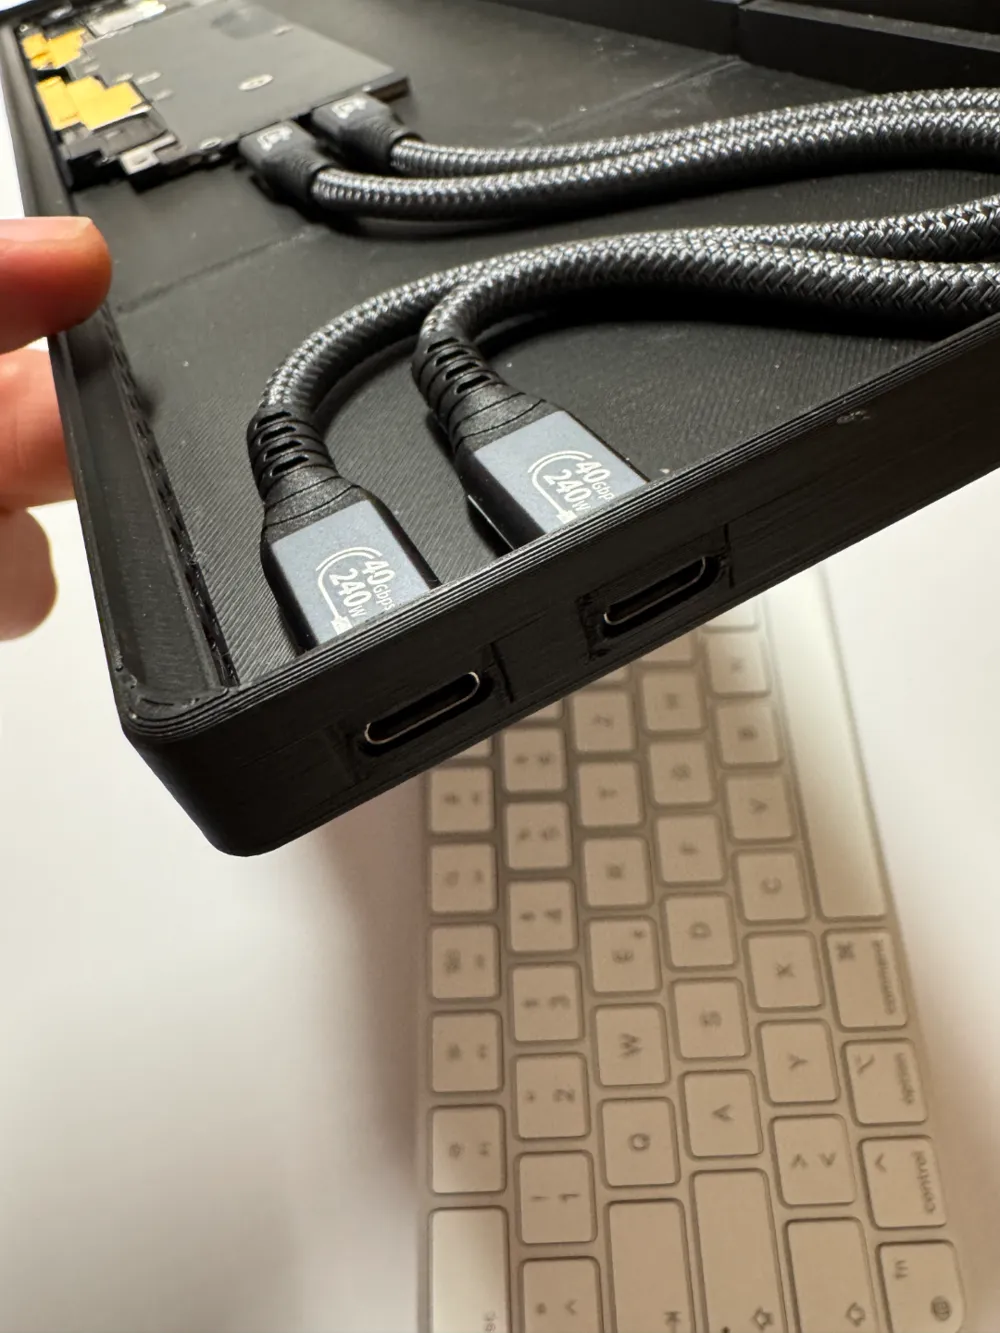
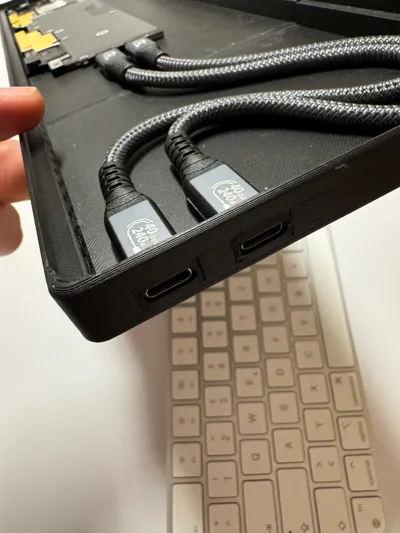
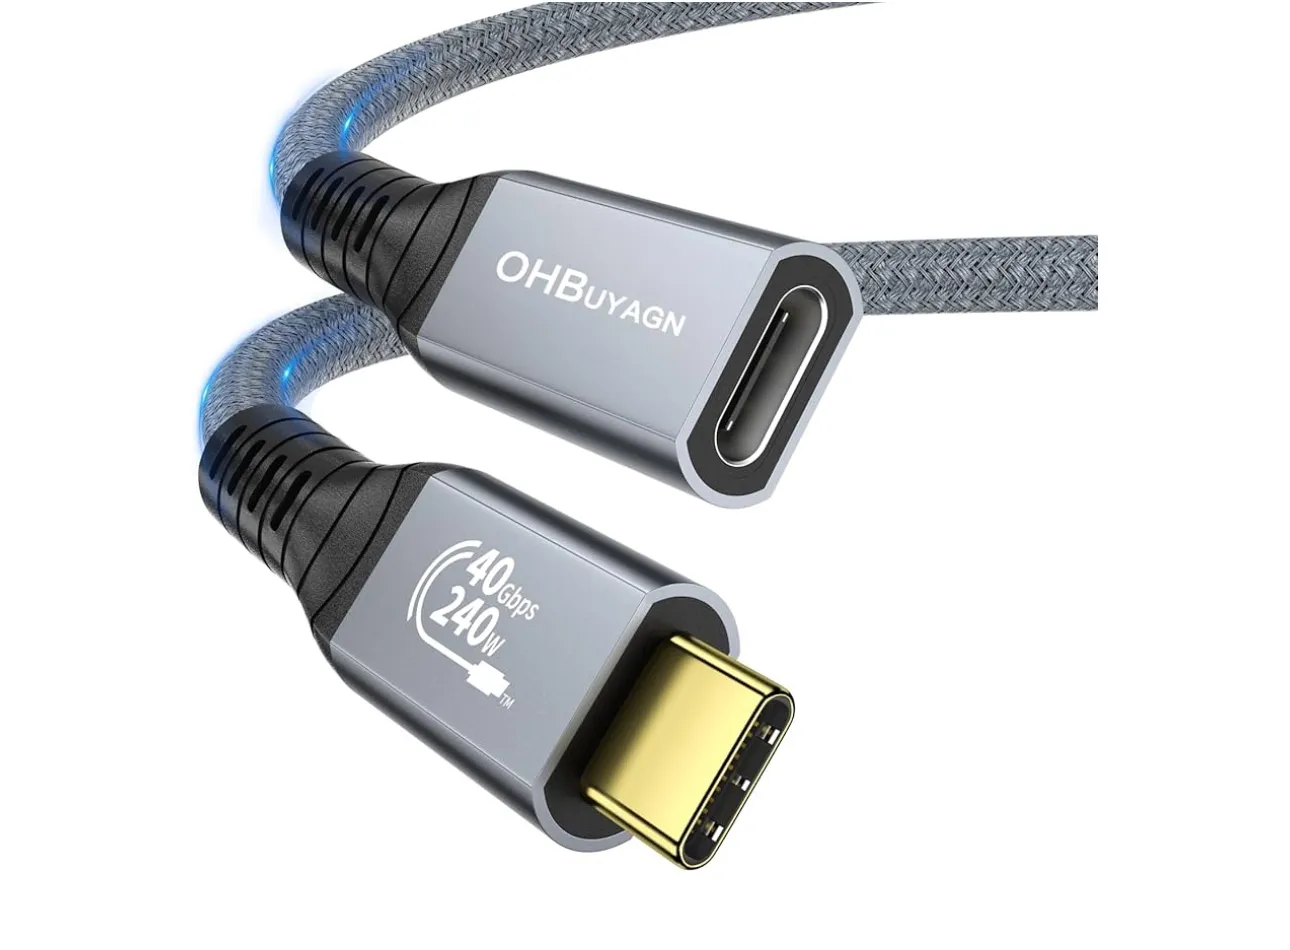
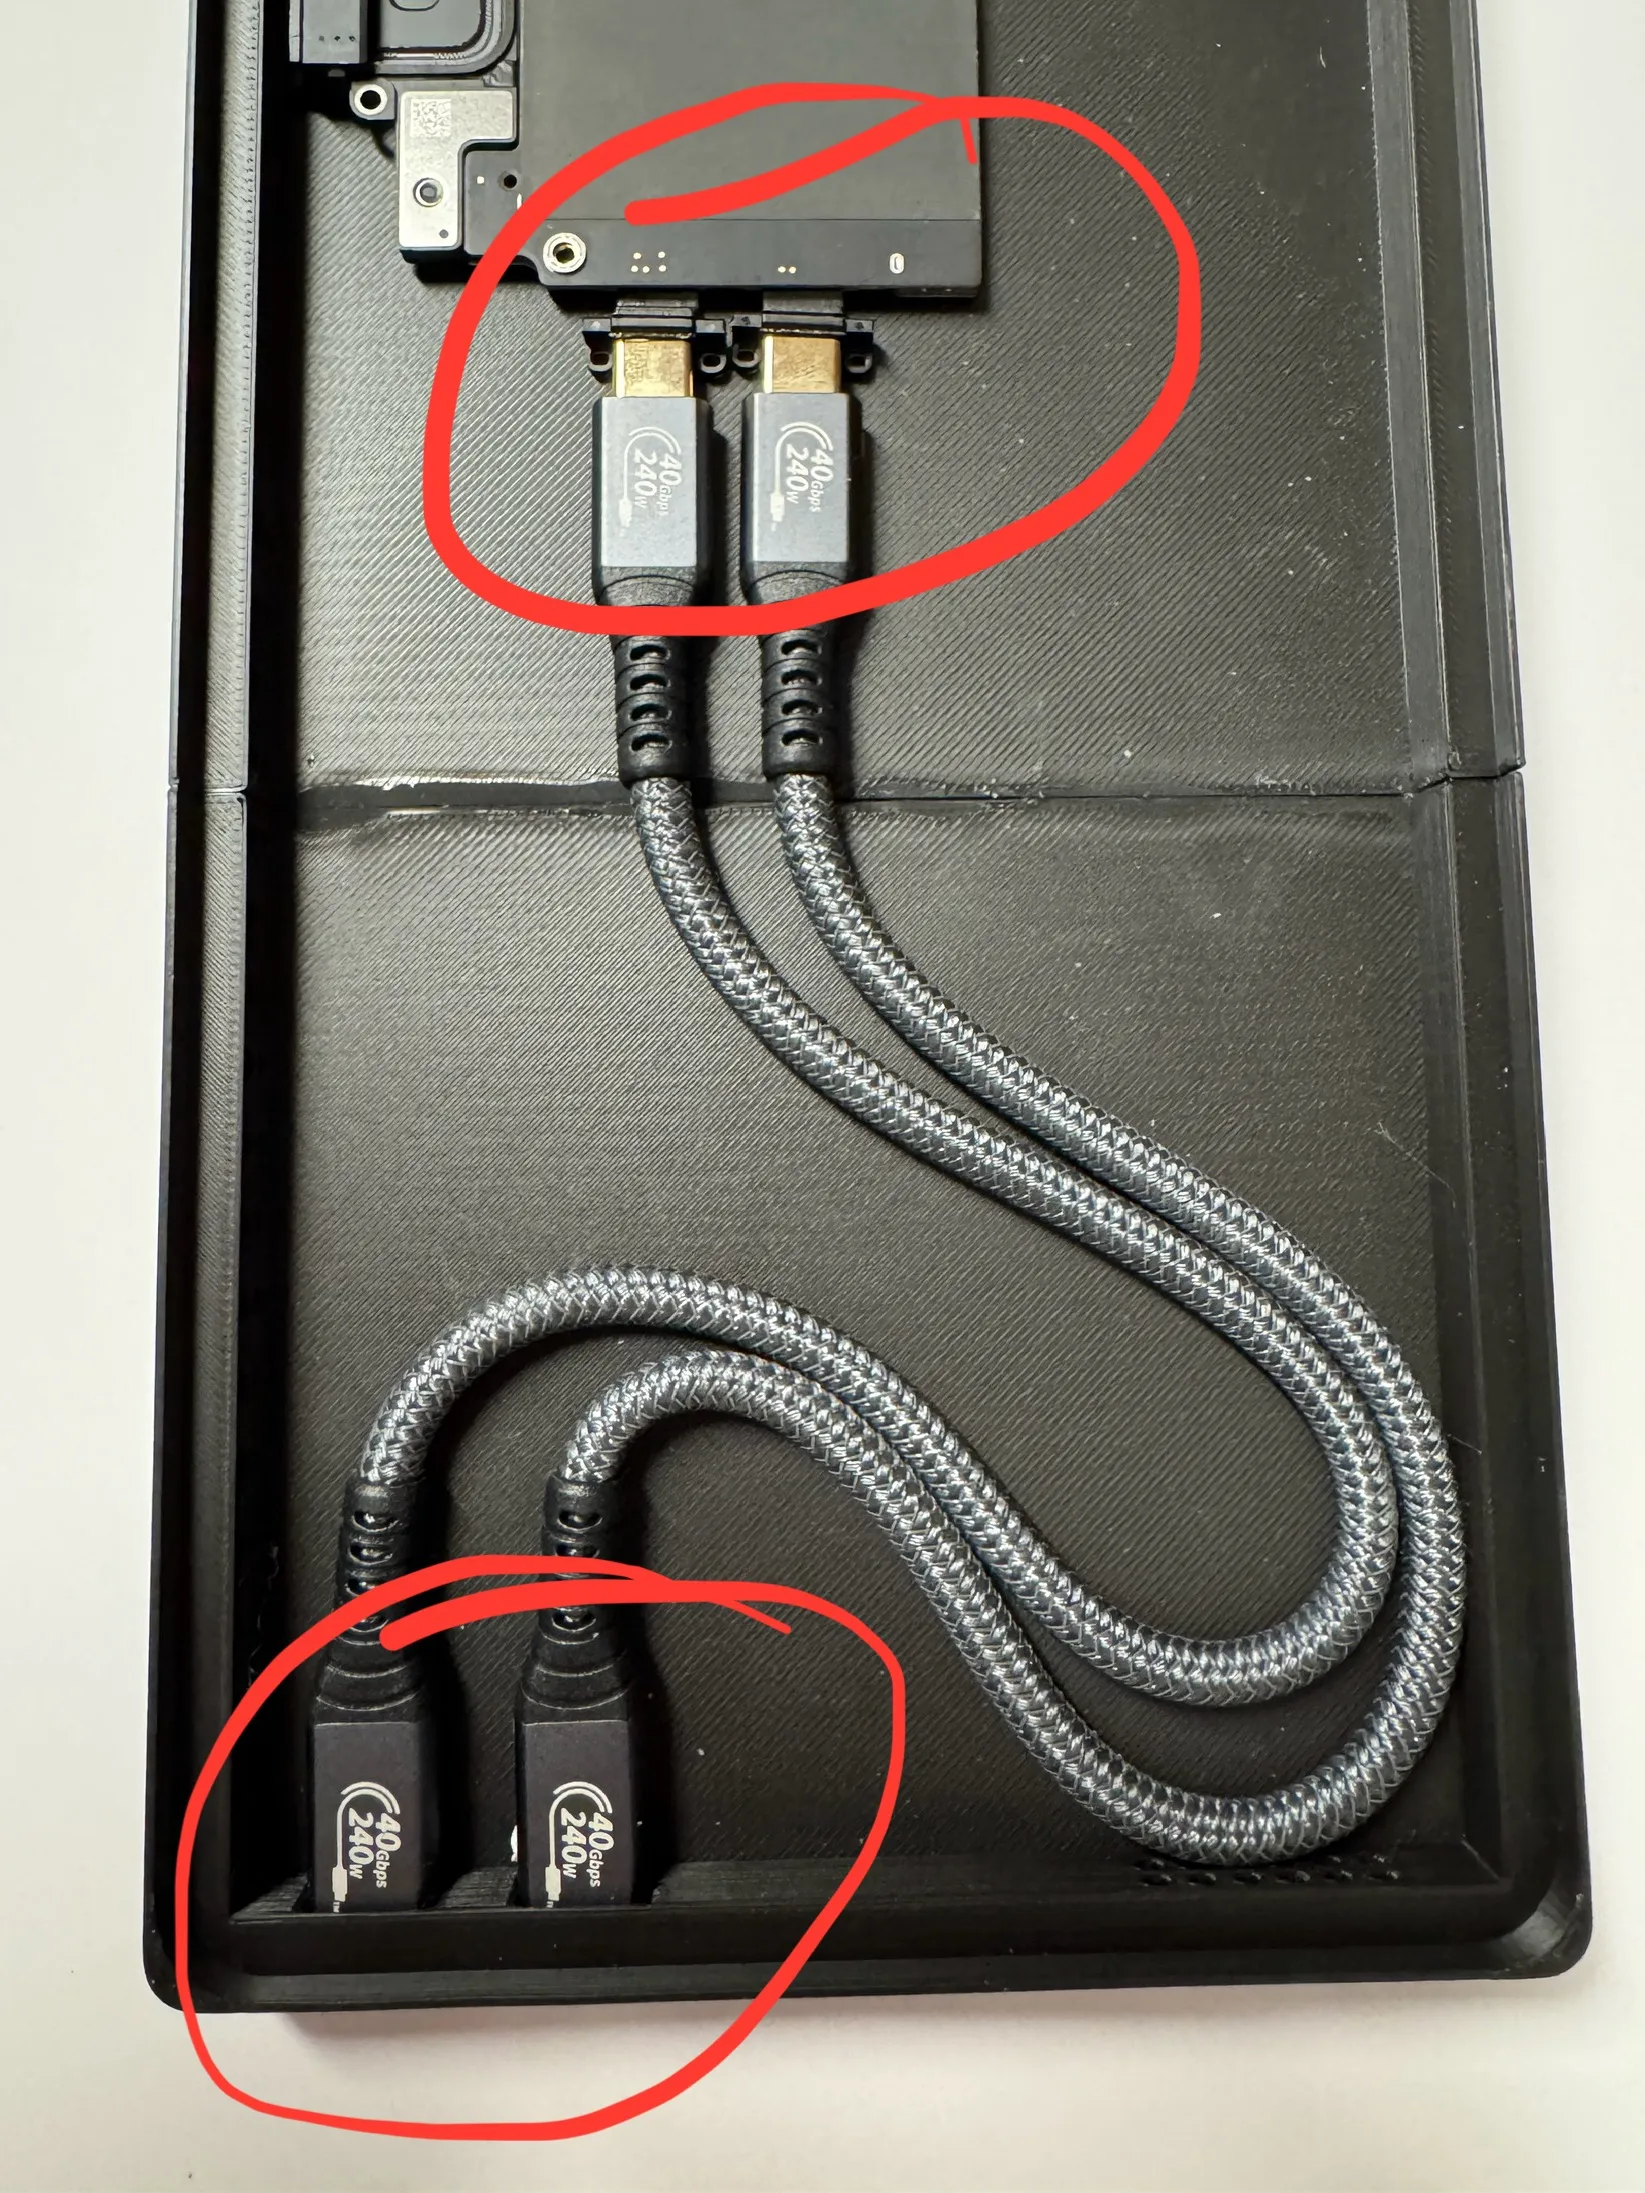
- Use 2 USB4 extension cables (240W, Thunderbolt 4 support, 40Gbps data transfer, 8K/60Hz).
https://www.amazon.de/dp/B0CGDPWHGK?ref=ppx_yo2ov_dt_b_fed_asin_title&th=1
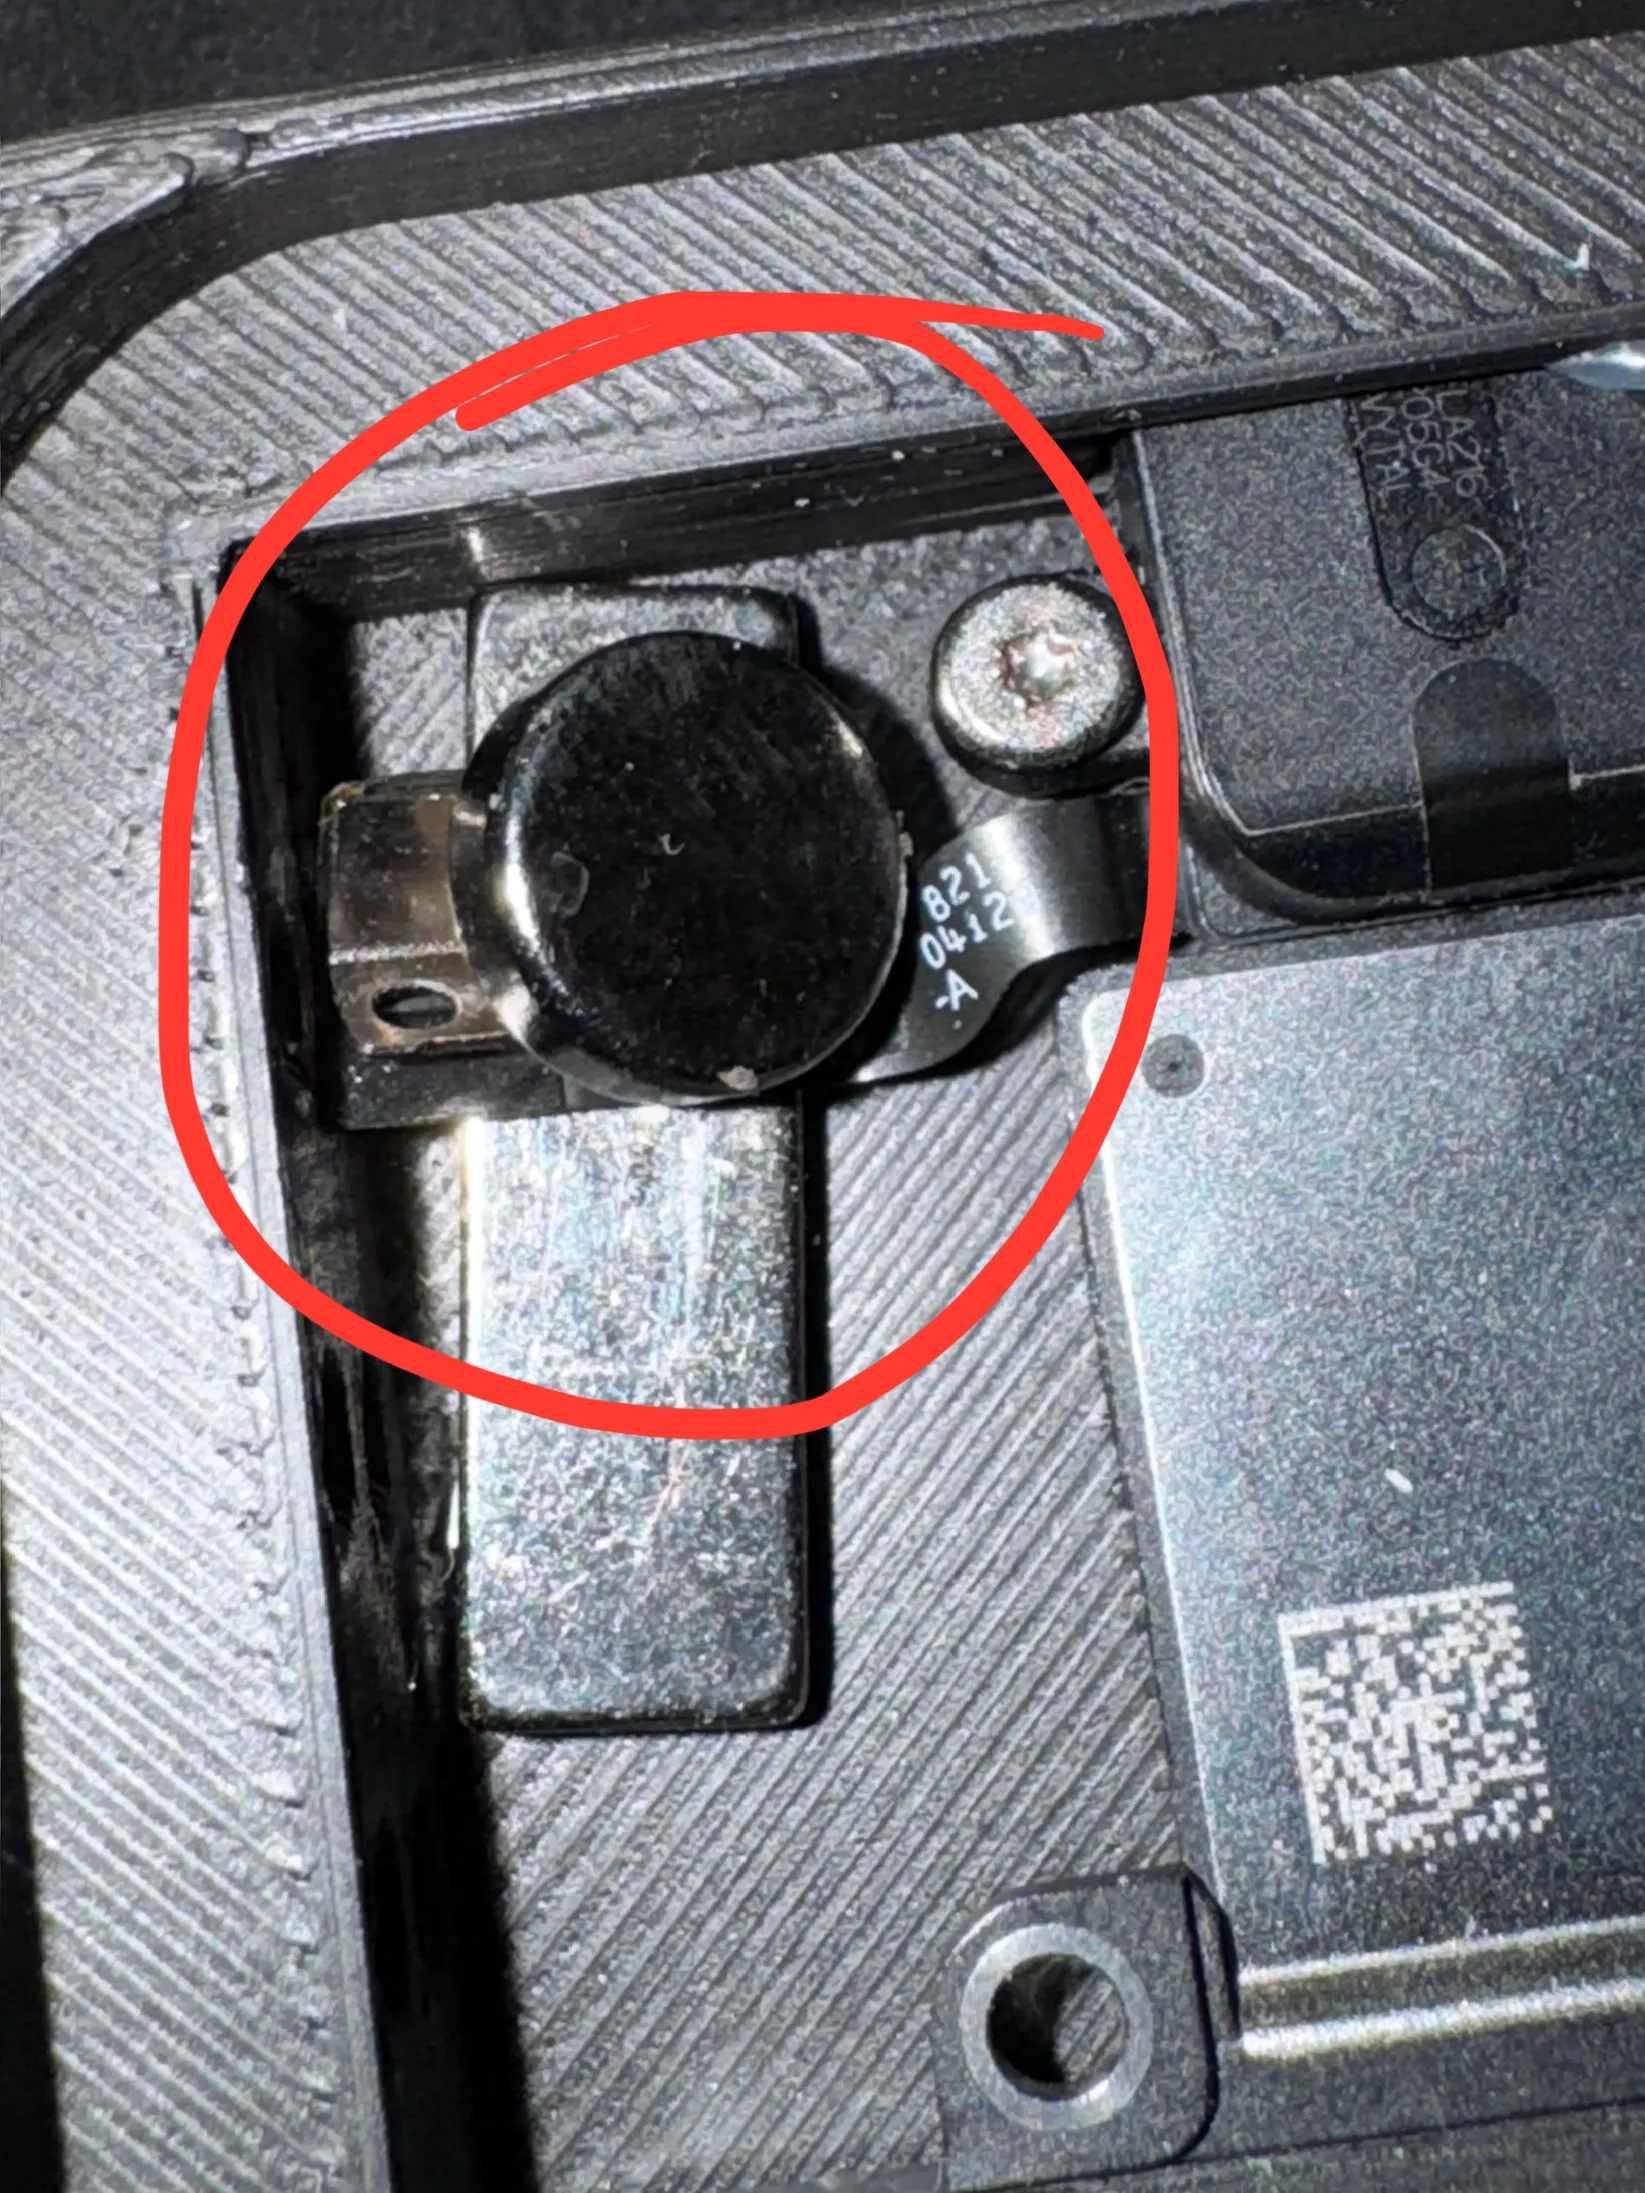
- Insert the headphone jack and align the logic board in the enclosure to secure it.
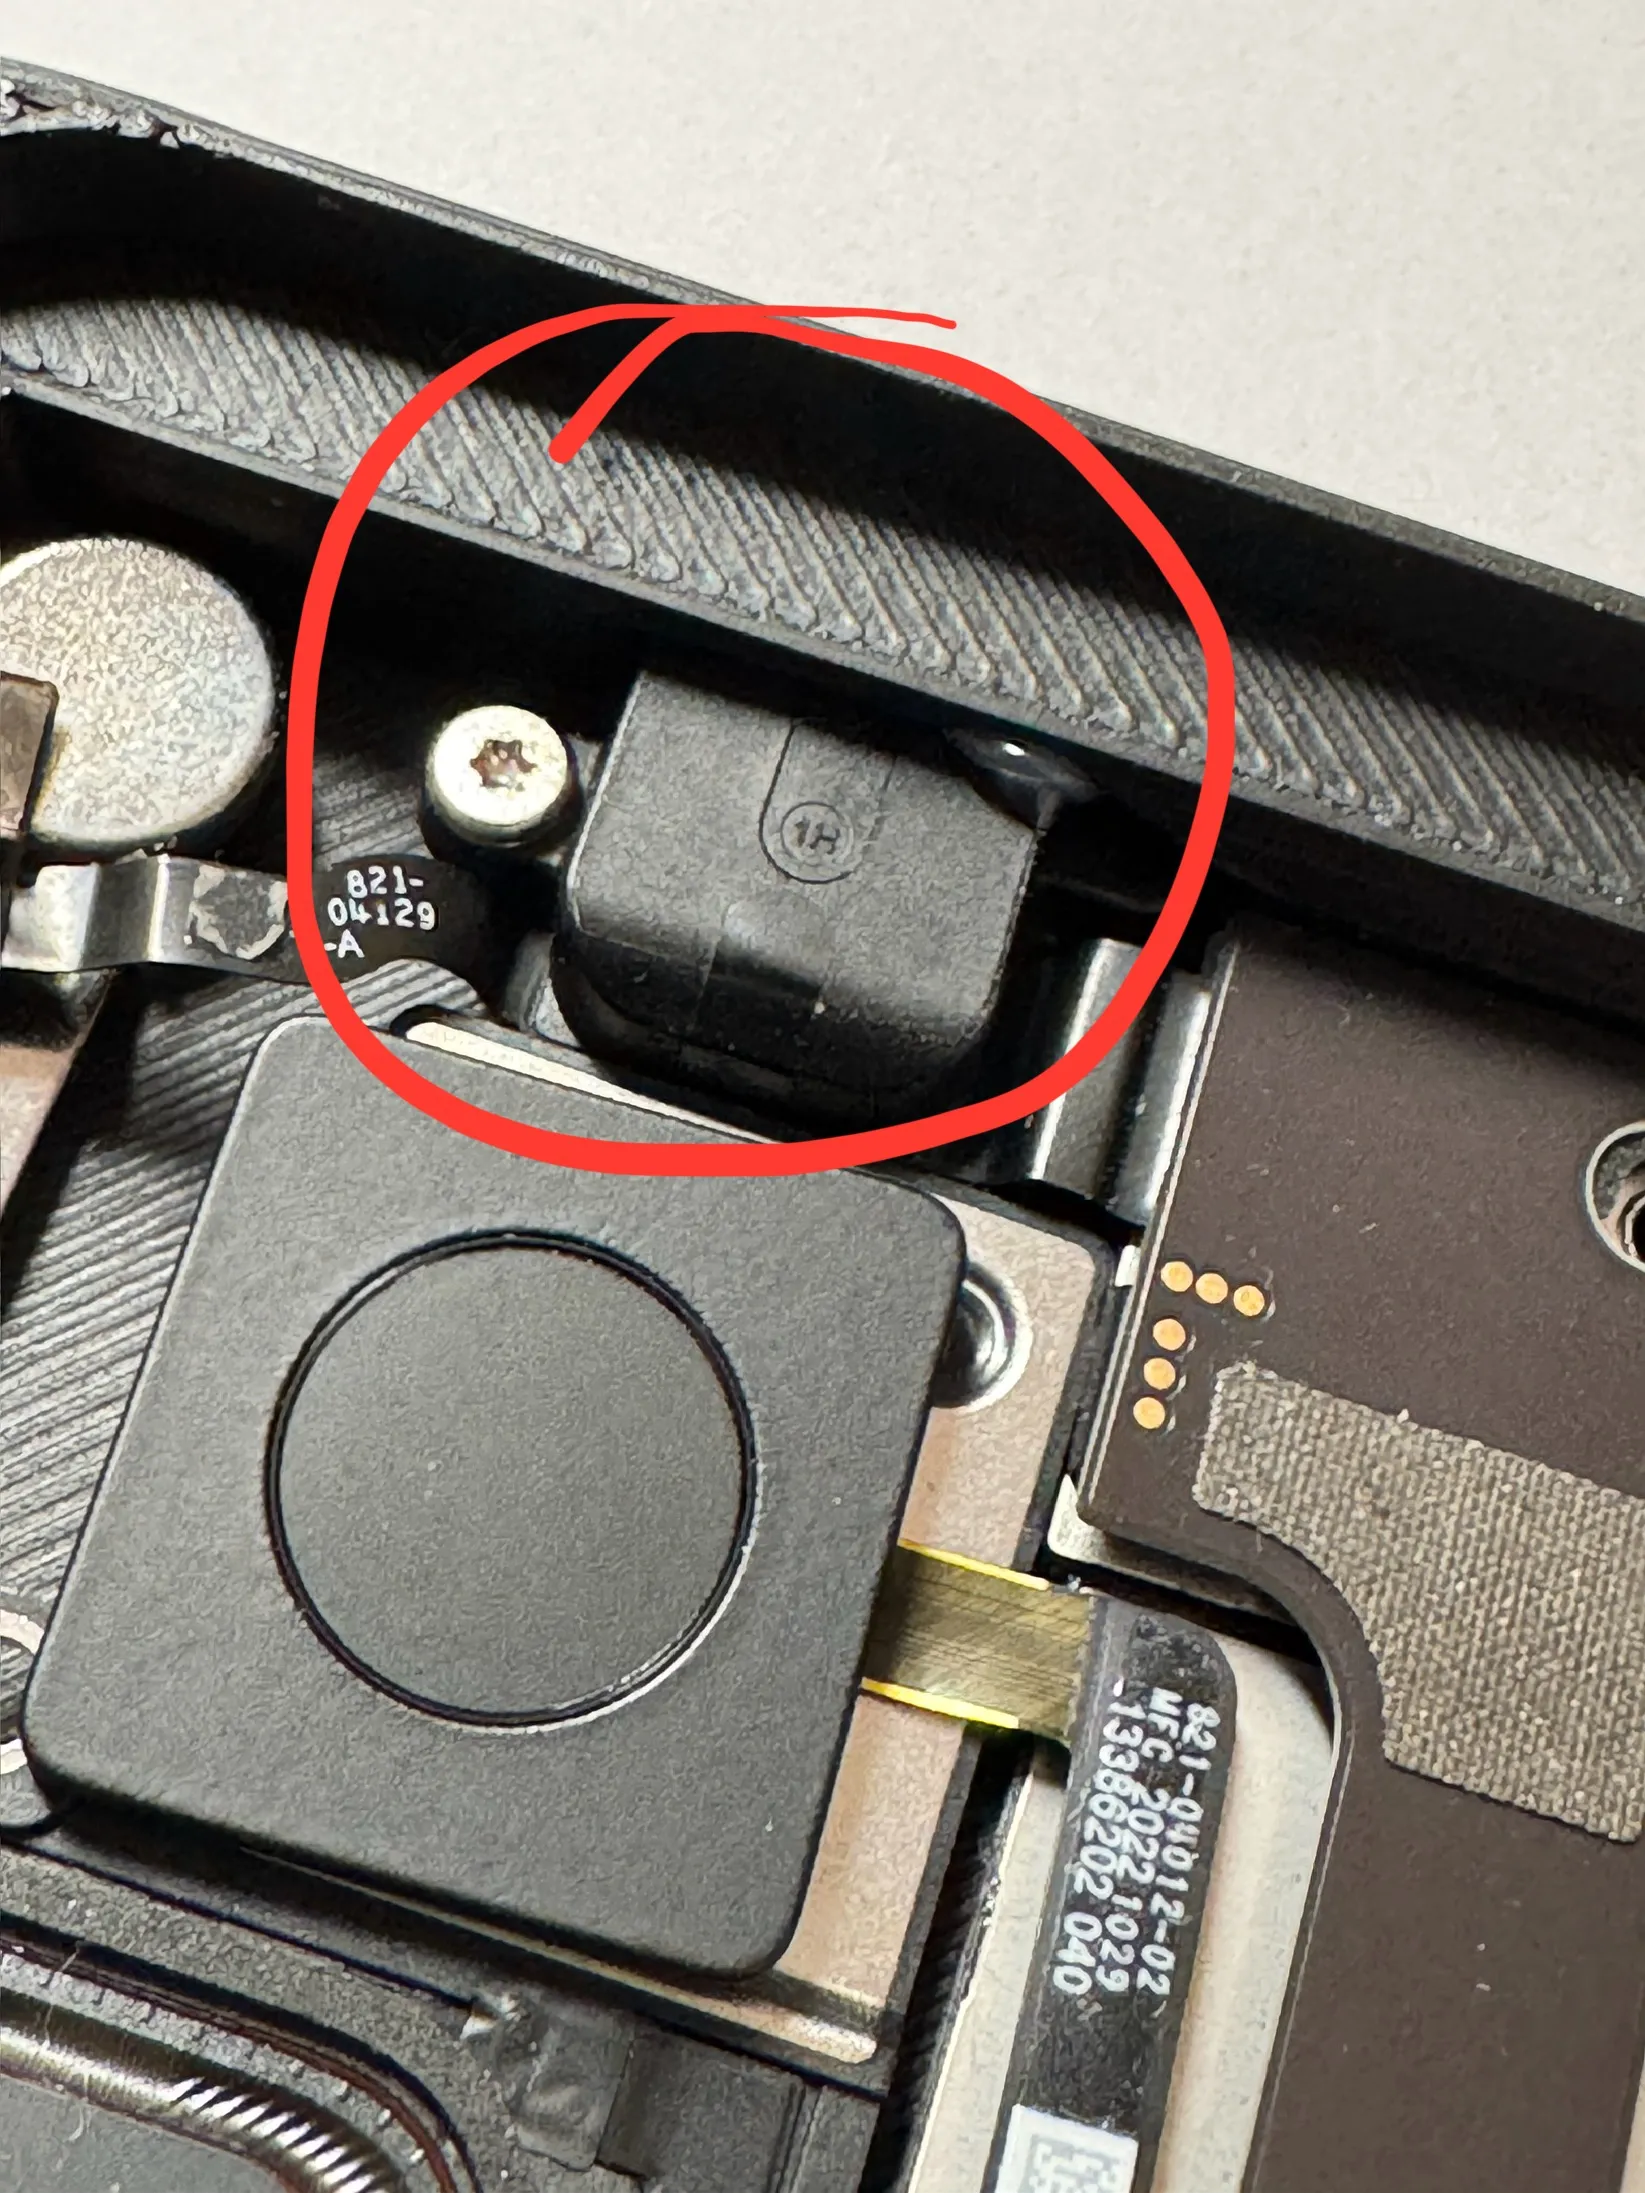
- Secure the logic board with thermal adhesive tape.
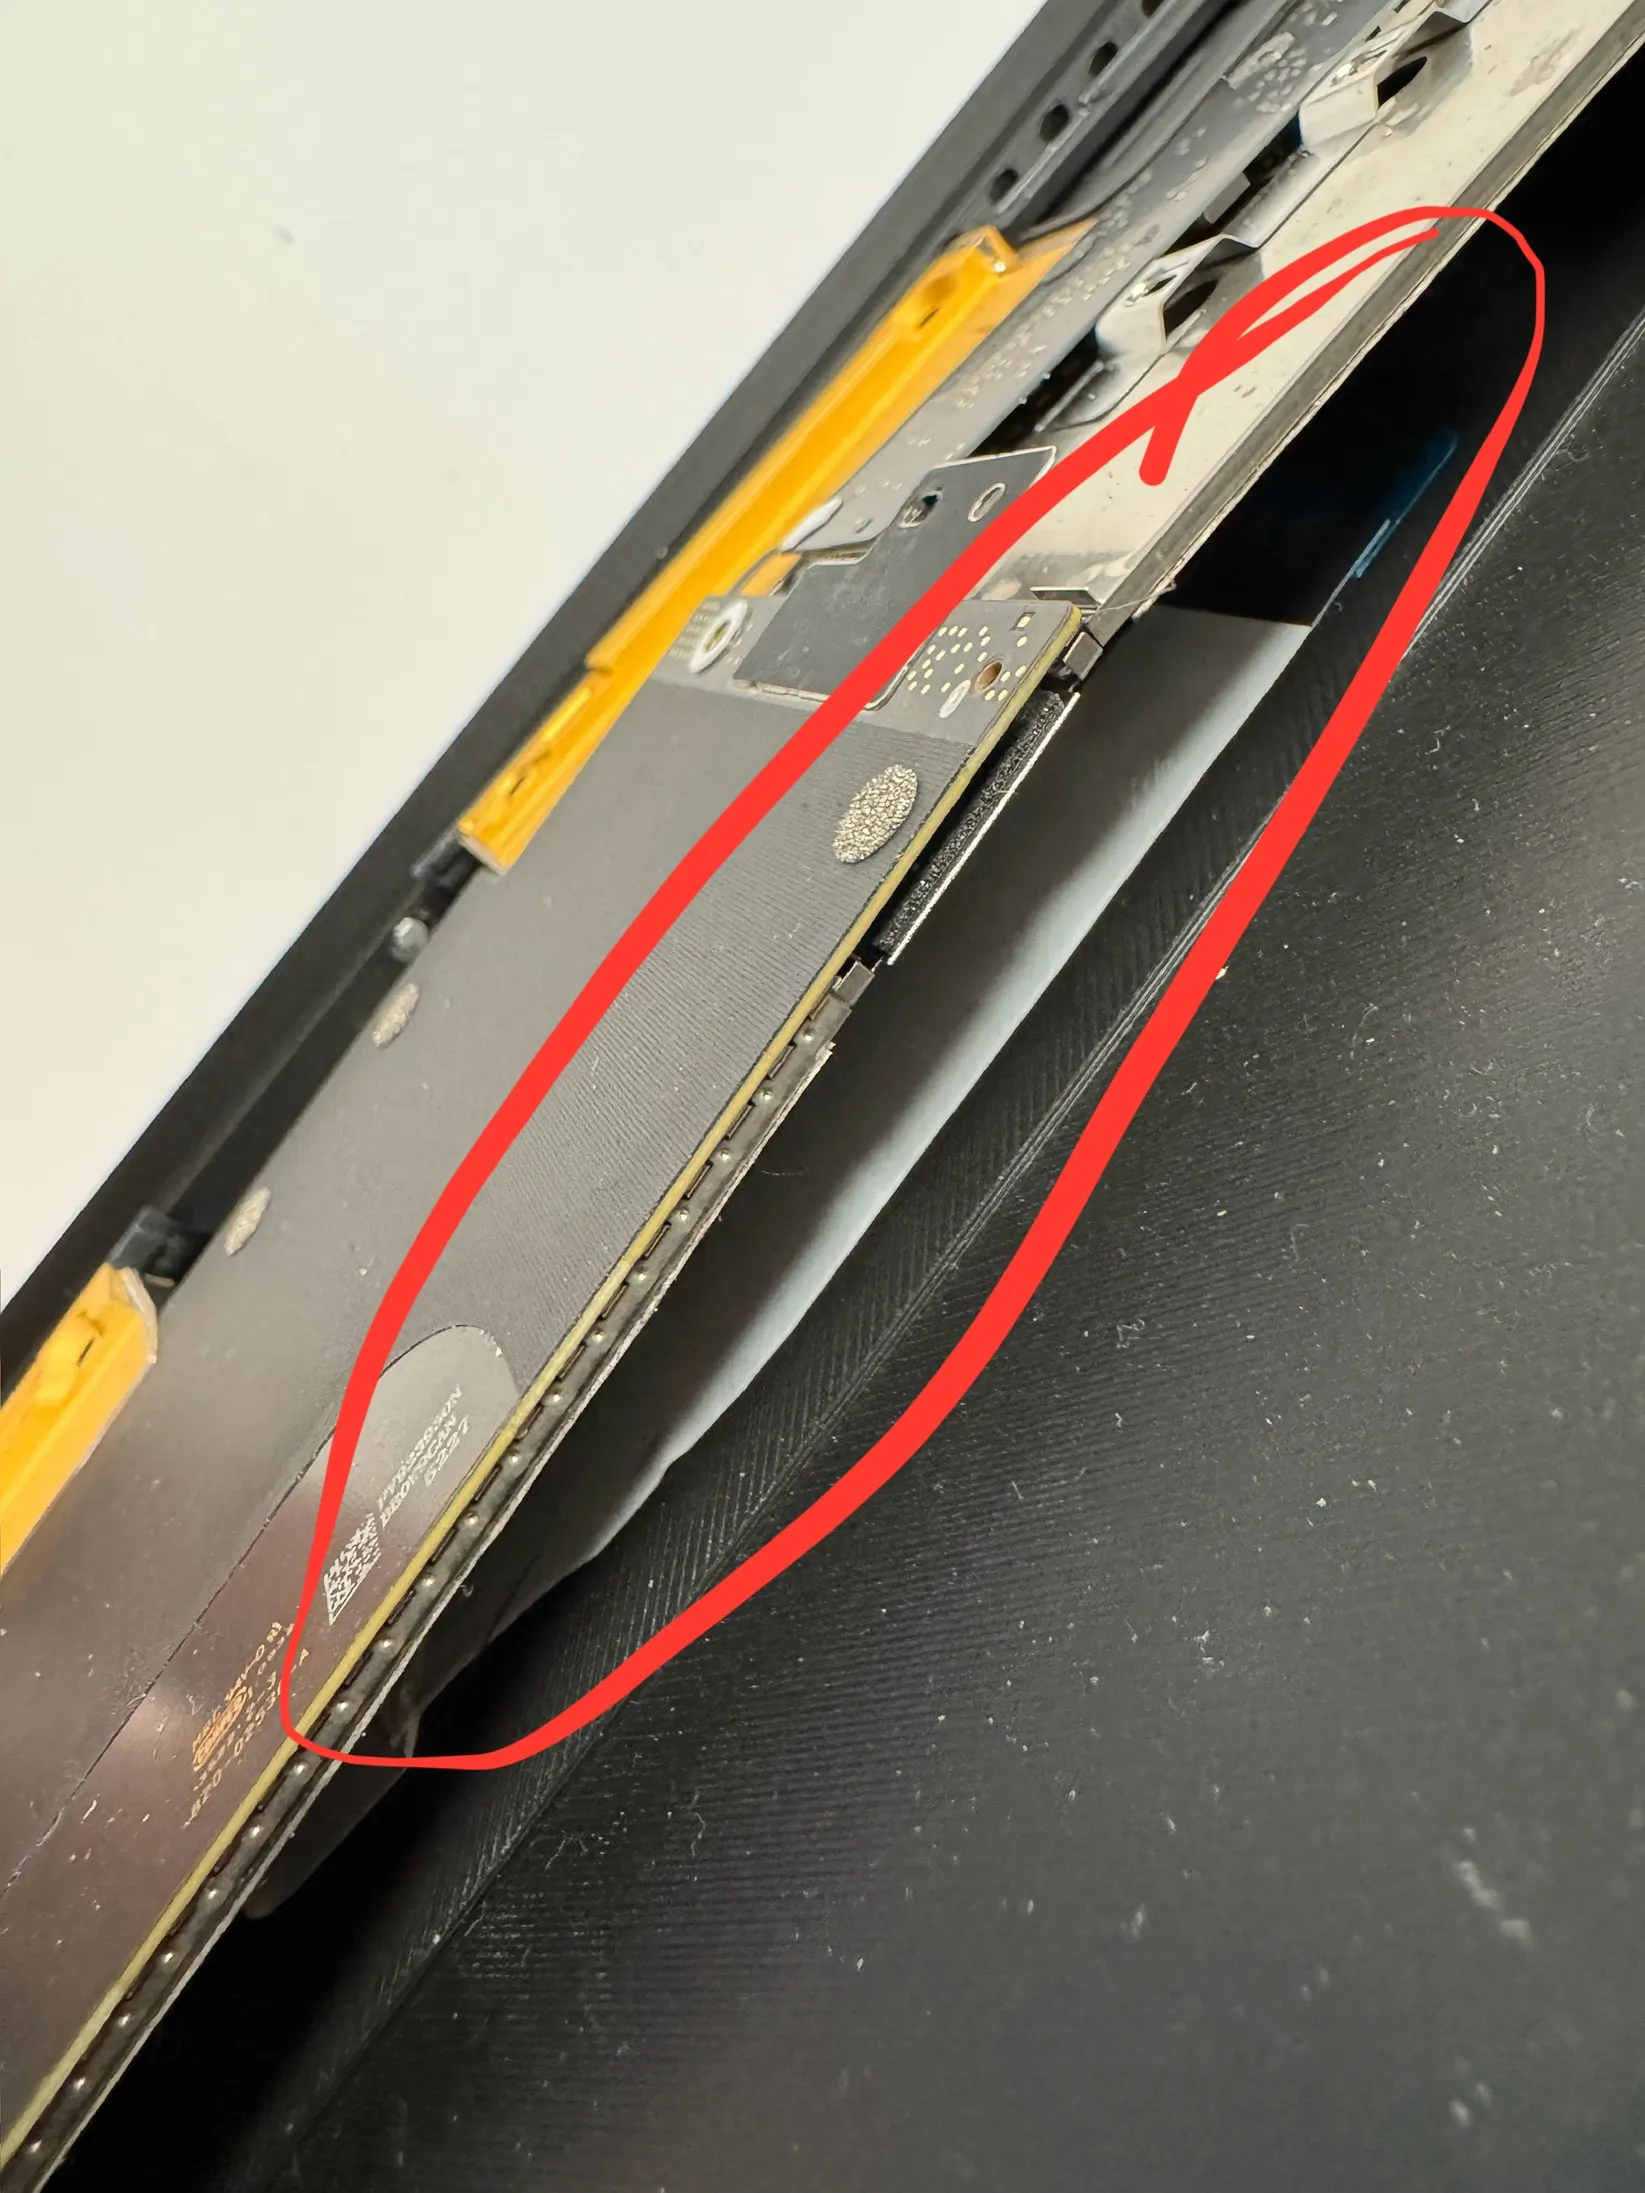
- Pay attention to the hinge sensor so you can see the desk. The sensor reacts to a magnet.
- Connect the USB4 cables to the logic board and secure them.
- Place the Magic Keyboard and Trackpad in the shell and place the shell with the Magic Keyboard and Trackpad in the designated recess in the enclosure and glue it together if necessary.
Thank you for your support!
This project came about thanks to the great support on YouTube, TikTok and Instagram. It started as a fun project, but the huge interest motivated me to share it with you and help you build it.
If you like this project and would like to support me in future projects, feel free to follow me on YouTube, TikTok and Instagram for more cool ideas and instructions!
Have fun building and trying out your own Mac Keyboard!
License



Comment & Rating (1)