PolyDryer Adapter Plate


Print Profile(1)

Bill of Materials


Description
I wanted to connect the new Polymaker PolyDryer to my larger container, so I designed this adapter plate to fit the PolyDryer to any container. I had some issues cutting holes in my box without cracking the plastic, so I created the cutting guide plates to go with it.
Parts
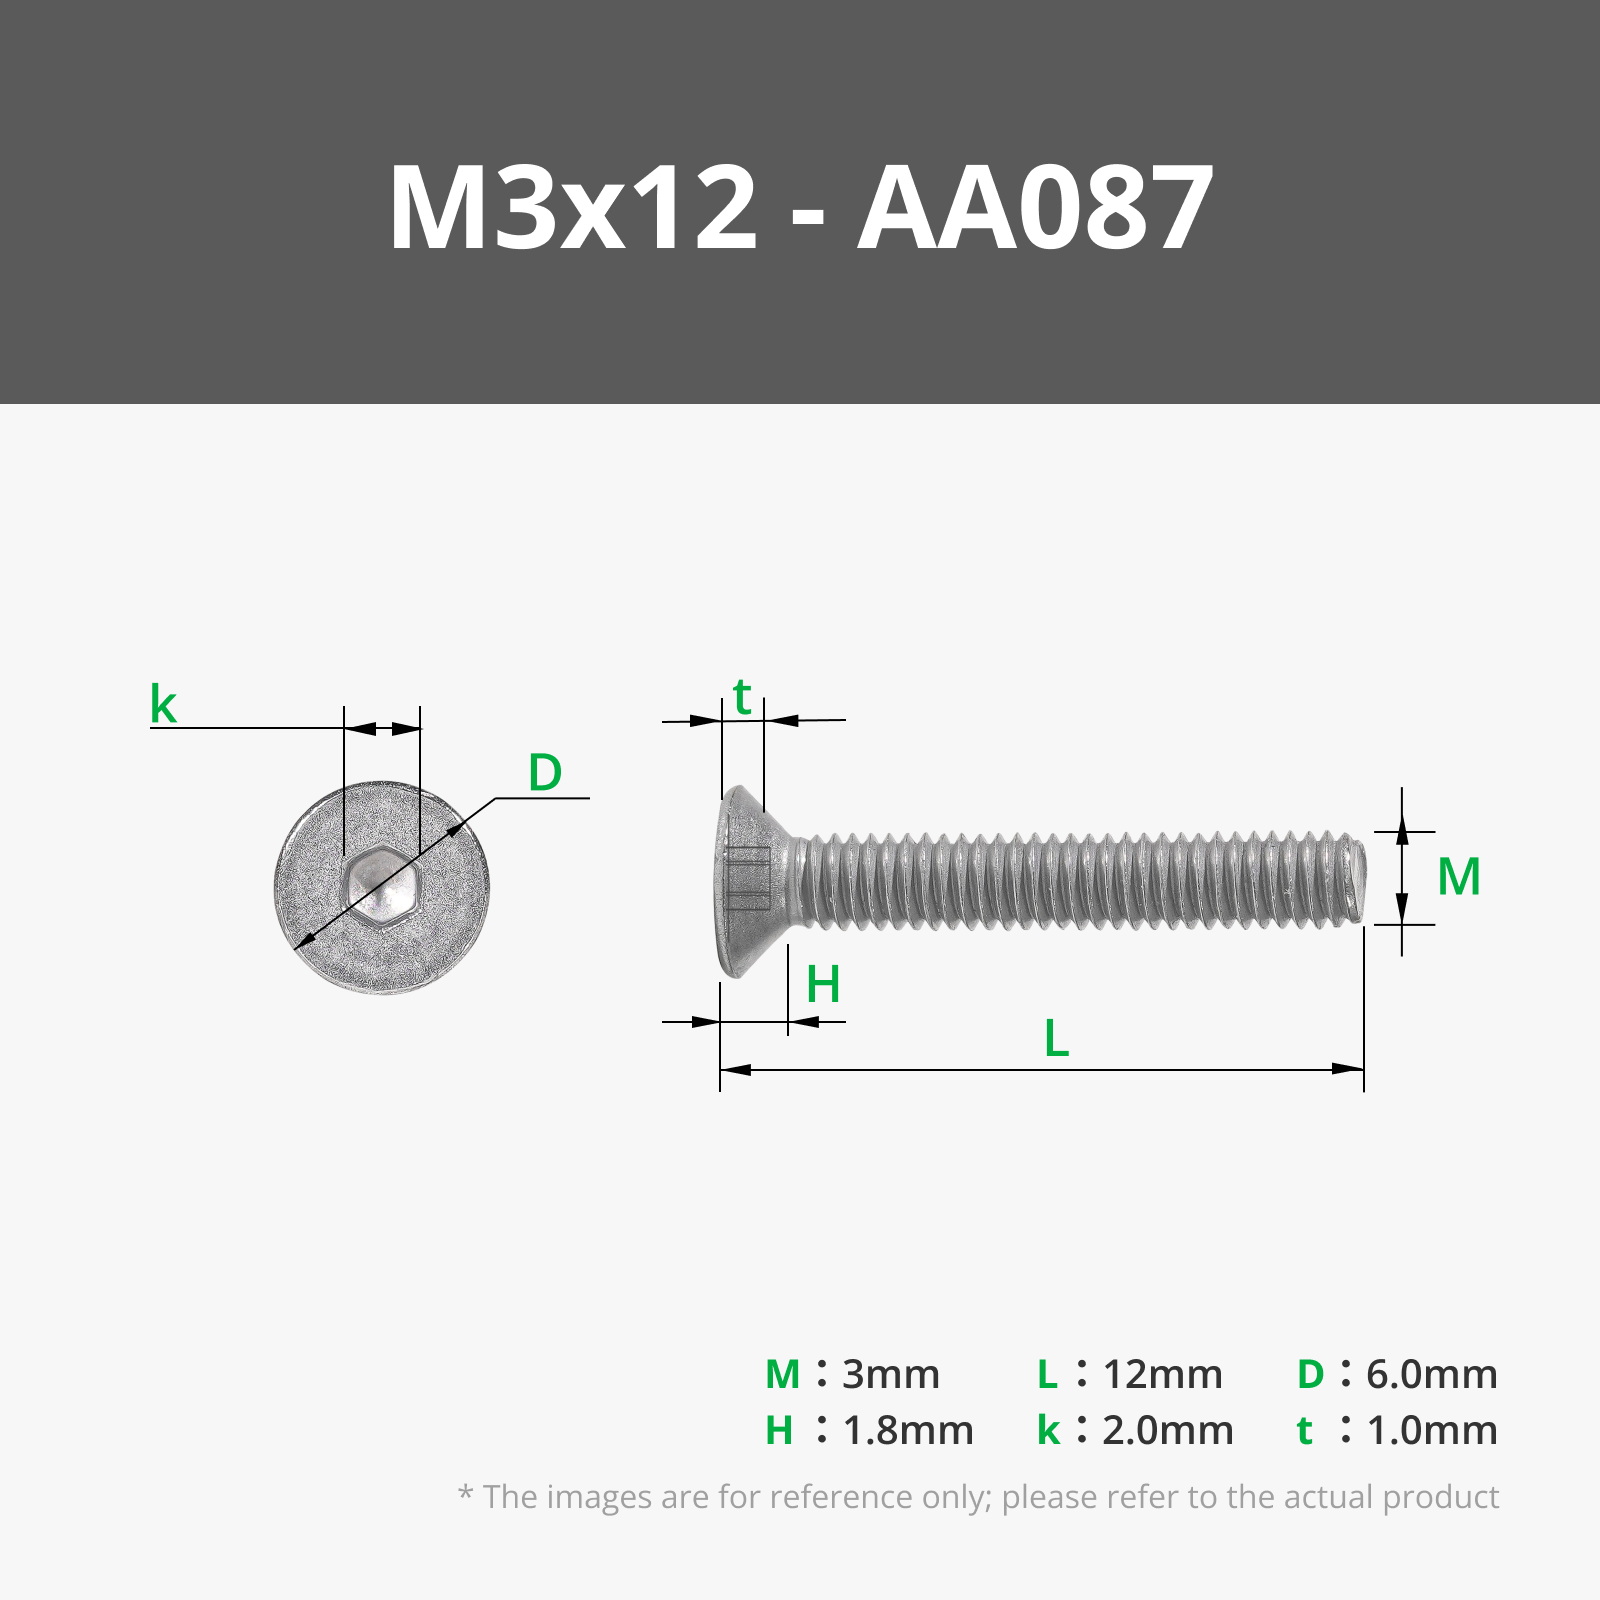
- M3x12mm+ FHCS - Qty. 8 (These will depend on the thickness of the container you are installing the adapter plate on)
- M3 Nuts - Qty. 8 (If using the cutting guides. These are just temporary to hold the cutting guides in place)
- M3 X D5 X L4.0 Heat Set Inserts - Qty. 8
- TPU Filament
- PETG, ABS, ASA, or PA filament (Really any filament with higher glass transition temps)
Cutting Guides
To use these plates, you want to tape one down (the two cutting guides are the same) on the outside of the container in the place you want the dryer to mount. Then use a drill bit to drill the holes for the 8 screws. Place the second cutting guide plate on the other side of box and screw the two plates using some M3 screws (the length of these will depend on how thick your box is) and nuts. Next, use a Dremel or similar cutting tool to cut out the wall of the container in the two opening. Once the cutting is done, remove the screws, nuts, and the two cutting guide plates.

Prep Parts
Install 4 M3 heat set inserts into each of the two inner plates.

Installation
Insert the Gasket into the outer plate.

Insert the outer plate through cutouts.

Slide the inner plate over the passthrough port of the outer plate.

Install the 8 M3 screws from the outer plate through the inner plate.

Install the PolyDryer

Snap the clamps over the dryer to hold it in place.


Install the Caps when the dryer is not installed.

License
You shall not share, sub-license, sell, rent, host, transfer, or distribute in any way the digital or 3D printed versions of this object, nor any other derivative work of this object in its digital or physical format (including - but not limited to - remixes of this object, and hosting on other digital platforms). The objects may not be used without permission in any way whatsoever in which you charge money, or collect fees.
Comment & Rating (62)