
Mesh Tray
Print Profile(1)
Bill of Materials
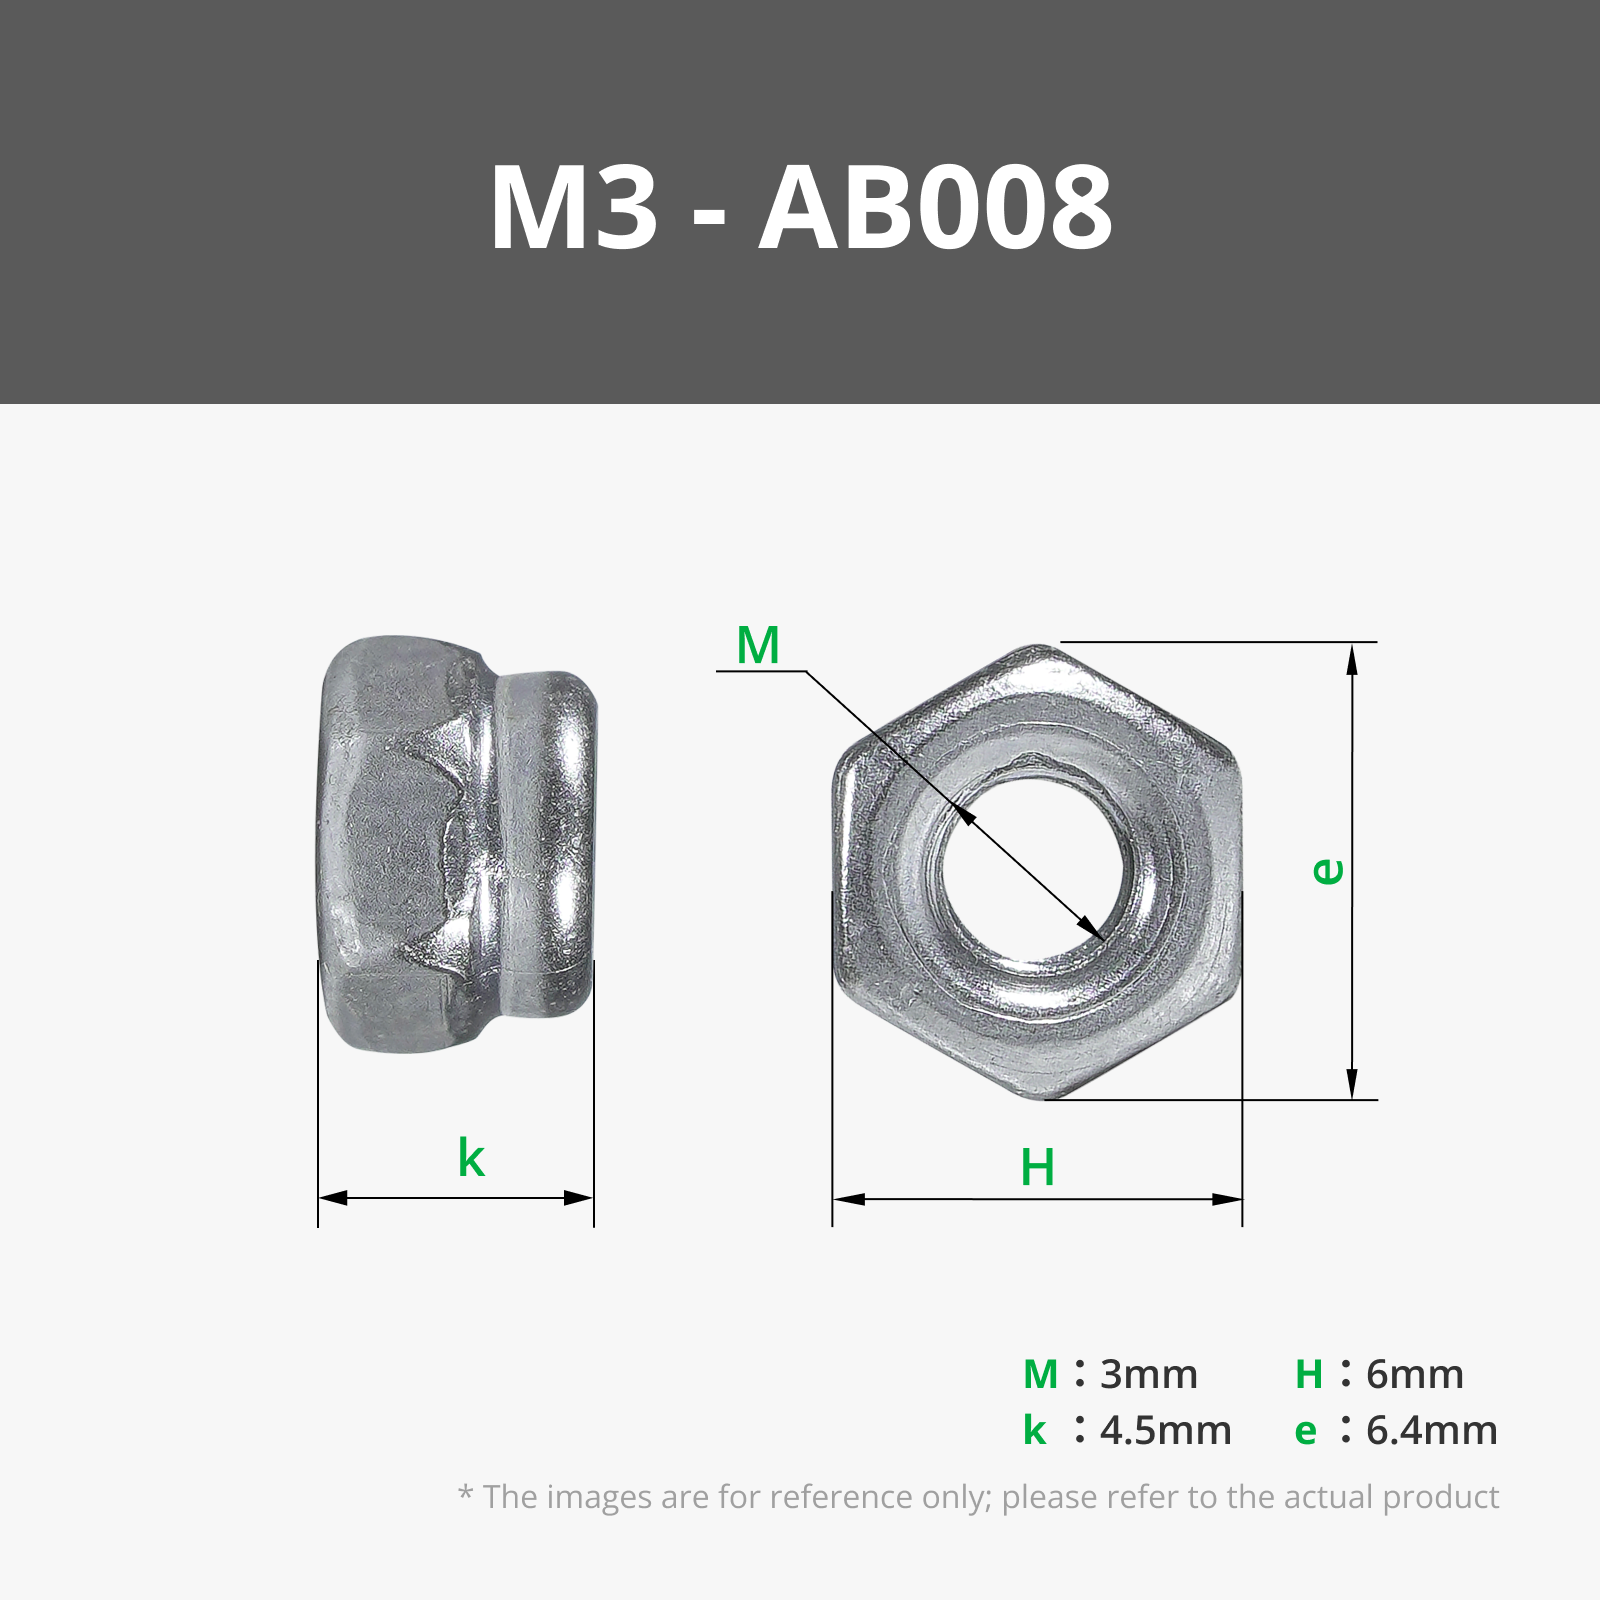





- M3 Nuts x 8: https://amzn.to/3TcwFH4
- M3 Flat Head Screws (M3 x 8 mm) x 8: https://amzn.to/4fVSi7e
- Adhesive feet (1/2 in) x 4: https://amzn.to/4hycnla
- Aluminum rods (6 mm x 400 mm) x 2: https://amzn.to/4yHPqlQ
Description
Boost Me (for free)
If you appreciate my work and would like to see more of these projects in the future, feel free to support me with a free boost. Thank you so much!
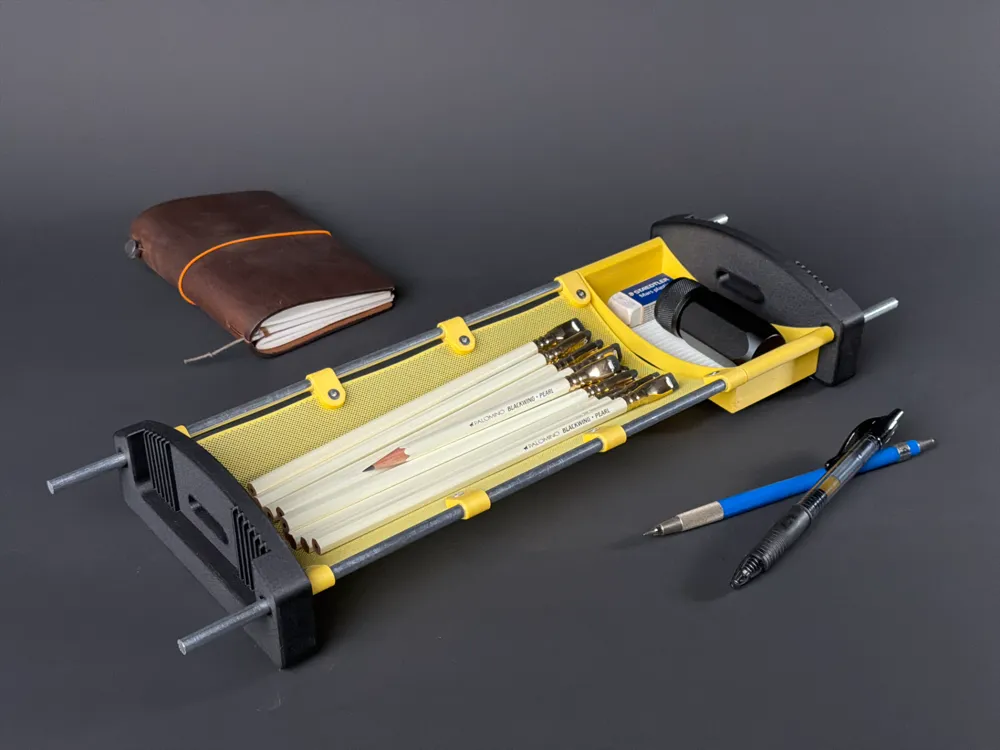
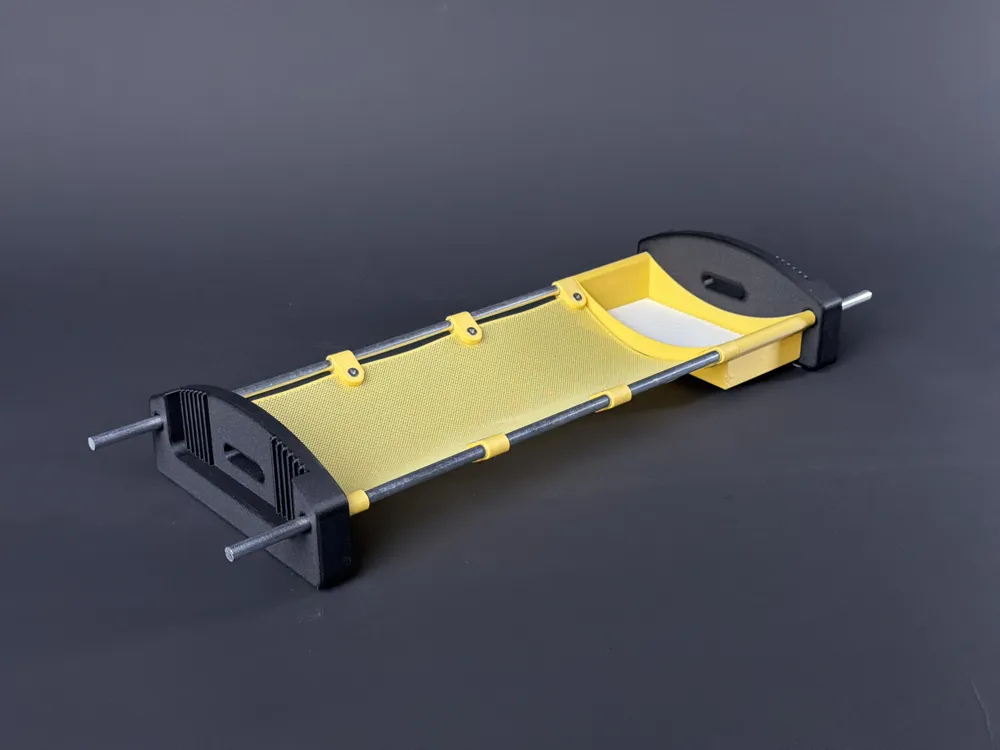
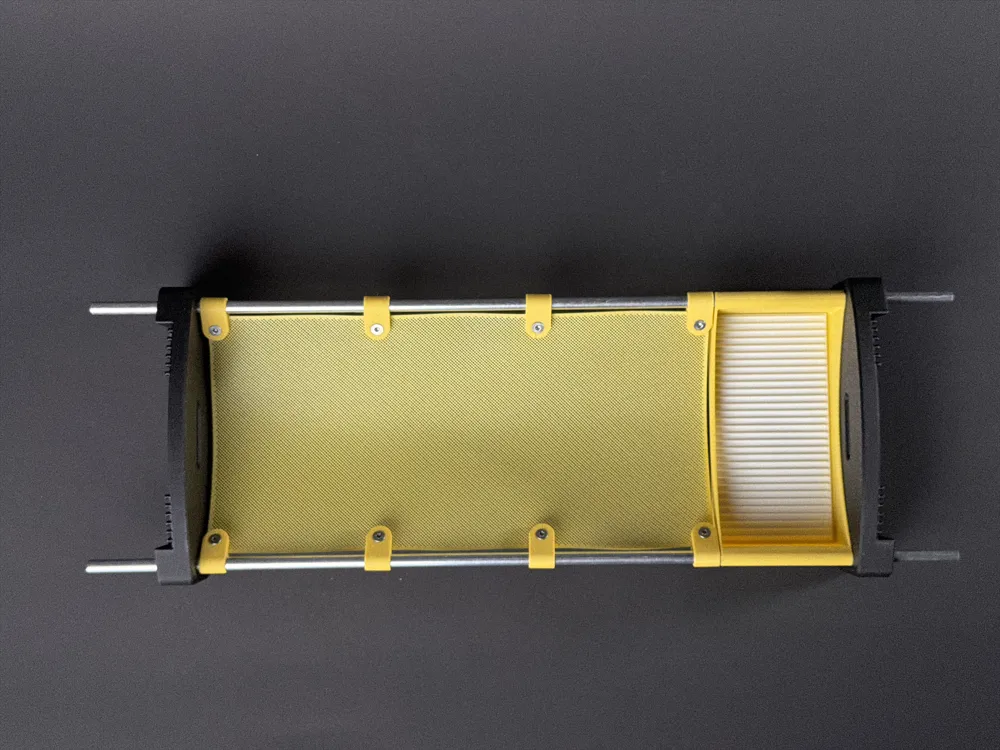
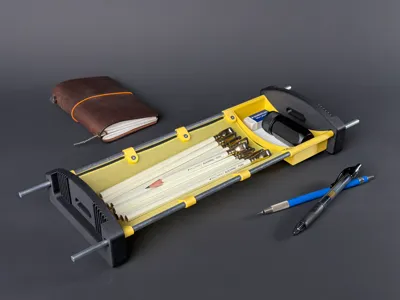
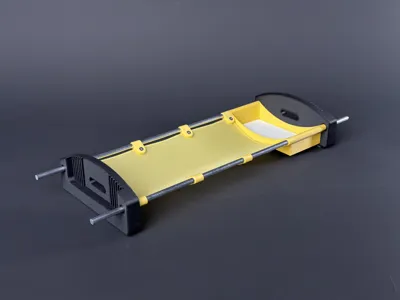
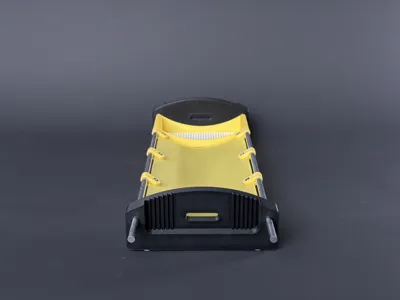
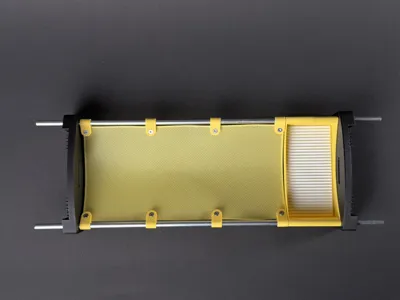
I wanted to create a home for some of my most prized writing instruments. Recently I had been experimenting with mesh techniques and decided to combine the ideas into one end design. While I designed this specifically for my Blackwing pencil collection, it can be used for a variety of uses.
Bill of materials
- 2 x aluminum rods (6 mm x 400 mm)
- 8 x M3 Flat Head Screws (M3 x 8 mm)
- 8 x M3 Nuts
- 4 x adhesive feet (1/2 in)
Considerations
- Rod diameters may differ depending on your source so you may need to gently coax the rods through the holes on each of the pieces.
- Be sure to let the bin cool on the build plate before removing, otherwise you may warp the large flat bottom.
- Be extra careful when removing the TPU mat from the build plate as you may encounter tearing of the material as it sticks to the build plate.
- Careful not to overtighten the screws as they could potentially break the brackets.
Assembly
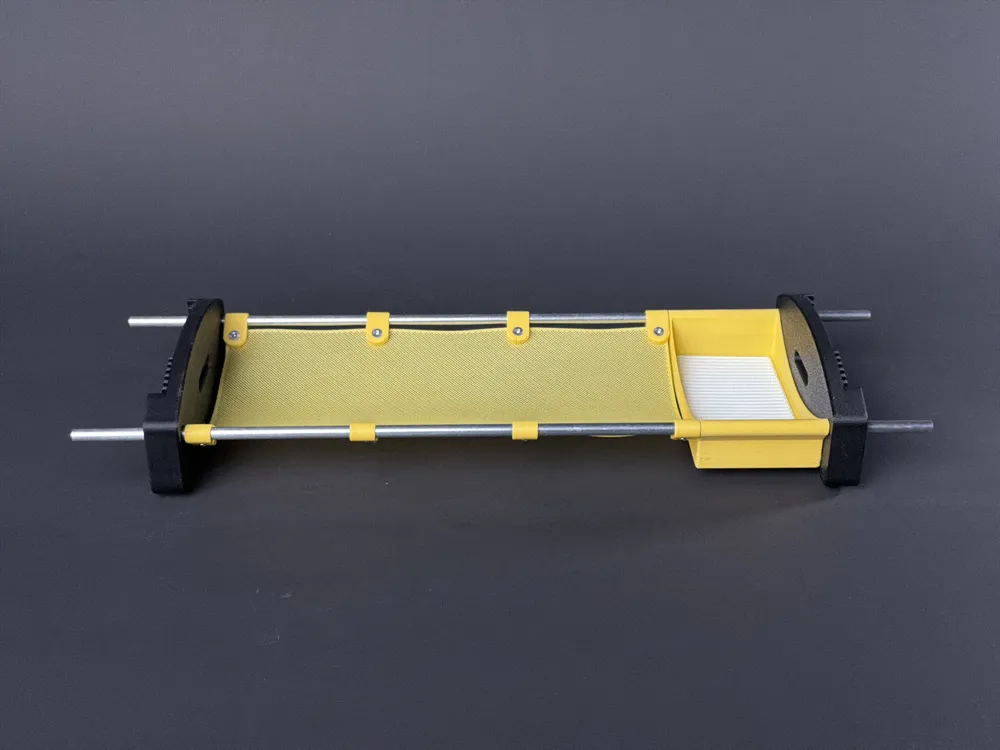
- Attach mesh brackets to mesh by using M3 x 8mm screws and M3 nuts.
- Carefully slide the mesh assembly onto the rods.
- Slide the bin onto the rods.
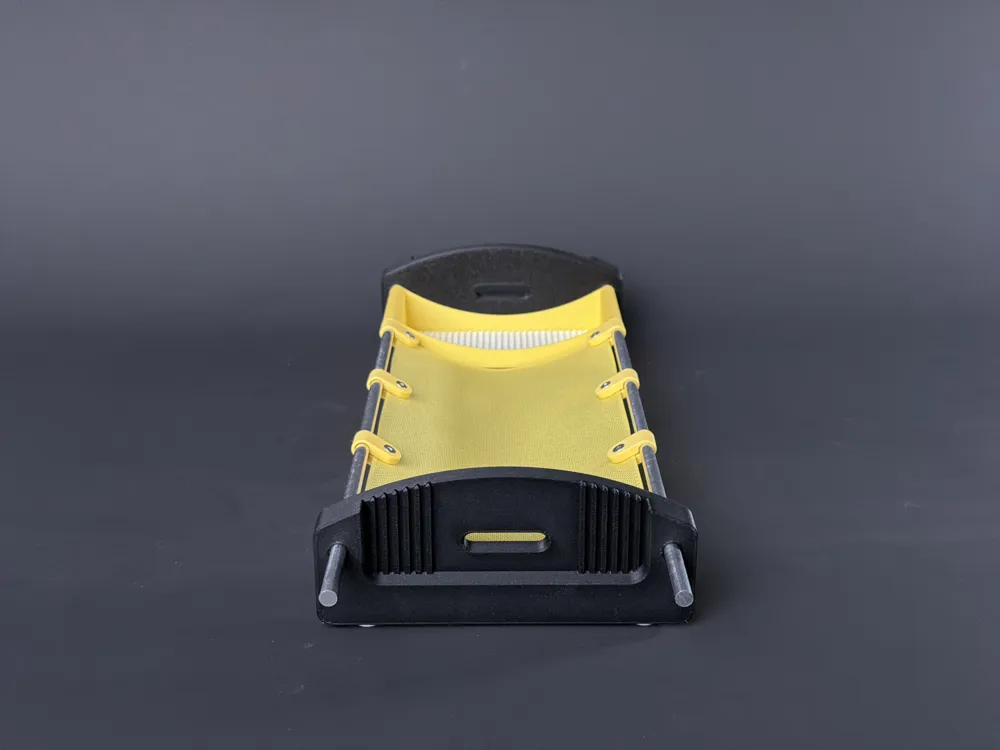
- Slide the risers onto each side of the assembly.
- Attach adhesive feet onto the bottom of the risers.
- Place the mat in bottom of the bin.
Boost Me (for free)
If you appreciate my work and would like to see more of these projects in the future, feel free to support me with a free boost. Thank you so much!
License

You shall not share, sub-license, sell, rent, host, transfer, or distribute in any way the digital or 3D printed versions of this object, nor any other derivative work of this object in its digital or physical format (including - but not limited to - remixes of this object, and hosting on other digital platforms). The objects may not be used without permission in any way whatsoever in which you charge money, or collect fees.


Comment & Rating (0)