


Print Profile(2)


Description
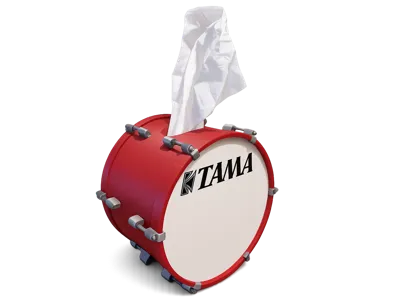
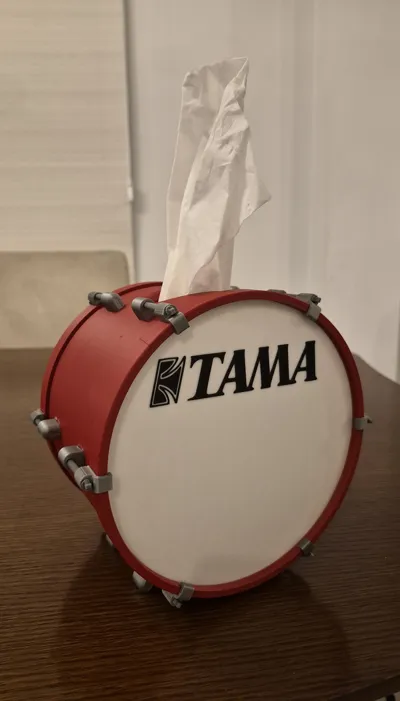
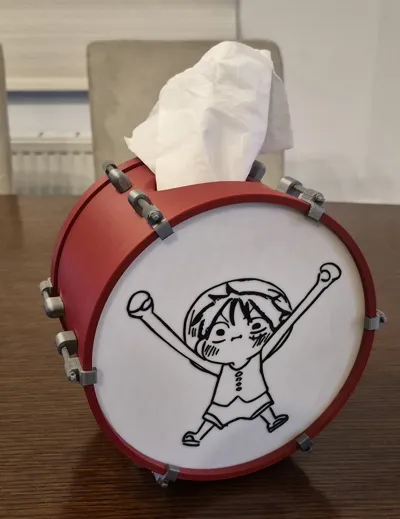
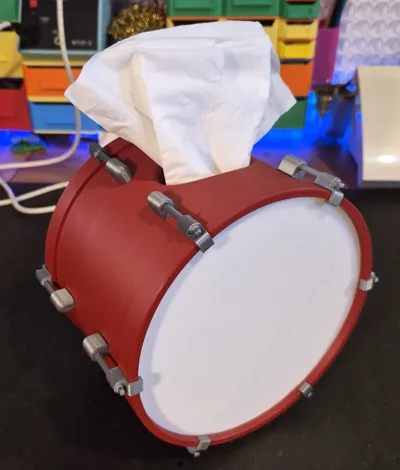
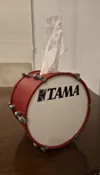
This is my first attempt at a tissue box resembling a Bass Drum. To assemble it you will need some superglue.
The internal dimensions for the slot of the tissue box are 118mm x 116mm x 125mm (WxLxH)
I have added 2 print profiles
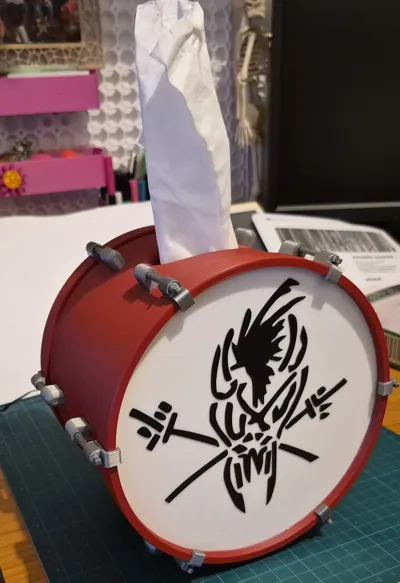
Drum_TissueBox.3mf - No AMS required prints on four plates (6 plates since you need 2x Rim and 2x Pads). The pads in this version are empty so you can add your own text using Bambu Studio if required.
Drum_TissueBox_PadsOnly.3mf - This print profile includes only the pads shown in the pictures. I have added a filament swap at the 2.20mm layer. If you don't have an AMS you can add a pause and manually swap the filament.
Assembly Instructions
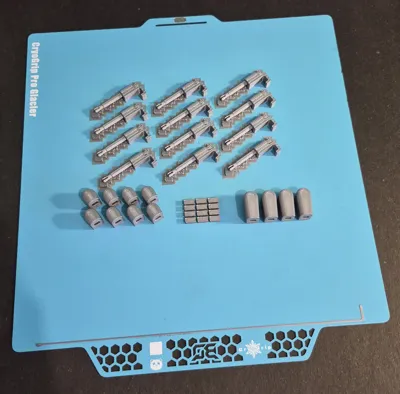
Apply a drop of superglue in the slots of the main body and press the rectangular pins all the way in.

Allow a few minutes for the glue to dry and then you can start gluing the hardware around the main body.
Apply a drop of glue on the pin and another on the square slot of the posts. When installing the posts around the main body make sure the round hole points toward the drum pad on each side. The long post (#1 shown in the image) are used as feet so they should be installed at the four pins at the bottom of the drum. Allow a few minutes for the glue to dry

Apply a few drops of glue around the inner surface of the rim and then place the drum pad. Allow the glue to dry completely before attaching to the main body otherwise you might glue it permanently.

You can now attach the drum pads on either side and use the pins to hold it in place. The pins might be a snag fit on the first try but after that they are easier to remove/install.

License
You shall not share, sub-license, sell, rent, host, transfer, or distribute in any way the digital or 3D printed versions of this object, nor any other derivative work of this object in its digital or physical format (including - but not limited to - remixes of this object, and hosting on other digital platforms). The objects may not be used without permission in any way whatsoever in which you charge money, or collect fees.
Comment & Rating (0)