
Mini R56 OBD Support
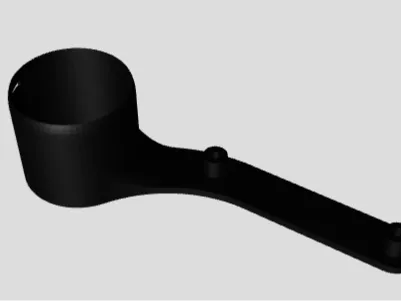
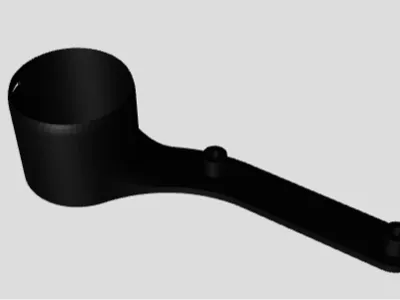
Print Profile(1)
Bill of Materials

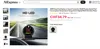
- OBD READER x 1: https://de.aliexpress.com/item/1005006132185121.html
Description
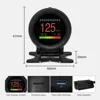
This is a custom-made mount designed to install an OBD2 gauge / head-up display (A205 model) perfectly onto a Mini Cooper R56 (JCW / One / Cooper / S).
It allows for a clean integration, placing the screen nicely on the side of the steering column tachometer where it is highly readable while driving. It should also fit other Mini models (R50, R53, R55, R57, R60...) that share the same gauge cluster design.
Features:
- OEM Fitment: Mounts directly using the car's original screws. No need to swap screws or drill into your dashboard.
Hardware Compatibility: Specifically tailored for the A205 OBD2 display (commonly found on AliExpress here:
- Clean Look: Blends seamlessly into the Mini's interior styling.
Modifications & Source Files
I designed this model using Fusion 360. If you need to modify or adapt the design for another car model or a different gauge, feel free to reach out! I can provide the source files or export the model in a different file format (like STEP or IGES) upon request.
Important Note (No Photos)
Unfortunately, I no longer own the car, so I don't have any photos of the final rendering installed in the vehicle. Rest assured, the placement on the side looks great and the display remains perfectly visible!
Recommended Print Settings & Maker Tips
- Material: ABS is highly recommended. Warning: Do not use PLA, as car interiors can easily reach over 60°C in the summer, which will warp or melt the part.
- My Setup: I printed mine in ABS and finished it with acetone vapor smoothing. It looks amazing, gives it a professional OEM finish, and handles the hot summer sun with zero issues. (I haven't tested it in PETG, so I can't confirm if it holds up as well, but ASA/ABS is your safest bet).
- Orientation: Print flat on the bed for maximum arm strength.
- Supports: Required for the cylindrical housing and overhangs.
- Installation & Fitment Tips: 1. I had to lightly sand the outer body of the OBD2 gauge itself to get it to slide into the mount perfectly, but once installed, the sanded parts are completely hidden inside the cylinder and not visible at all. 2. When installing the mount on the car, I gently warmed up the arm with a heat gun (or a hairdryer) to slightly bend the bracket to my exact liking for the perfect viewing angle.
Documentation (2)
License

You shall not share, sub-license, sell, rent, host, transfer, or distribute in any way the digital or 3D printed versions of this object, nor any other derivative work of this object in its digital or physical format (including - but not limited to - remixes of this object, and hosting on other digital platforms). The objects may not be used without permission in any way whatsoever in which you charge money, or collect fees.


Comment & Rating (0)