


Print Profile(2)


Bill of Materials


Description
Boost Me (for free)
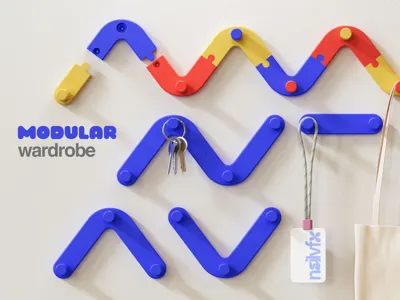
Modular Wardrobe System


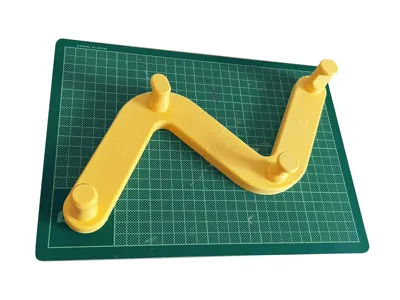
The Modular Wardrobe is a flexible and easy-to-use wall hanger system, specifically designed for 3D printing.
The model is built without any sharp edges and prints smoothly, minimizing visible layer lines for a clean finish.
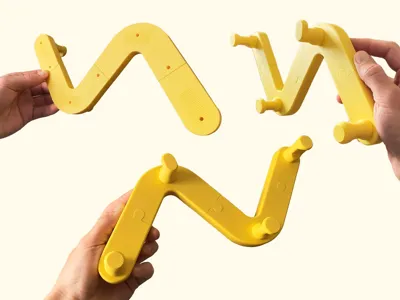
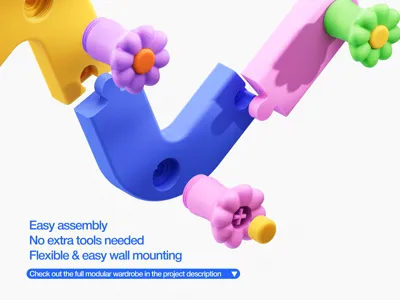
The puzzle-style connection system holds the pieces together through tension and friction, making installation quick and simple.
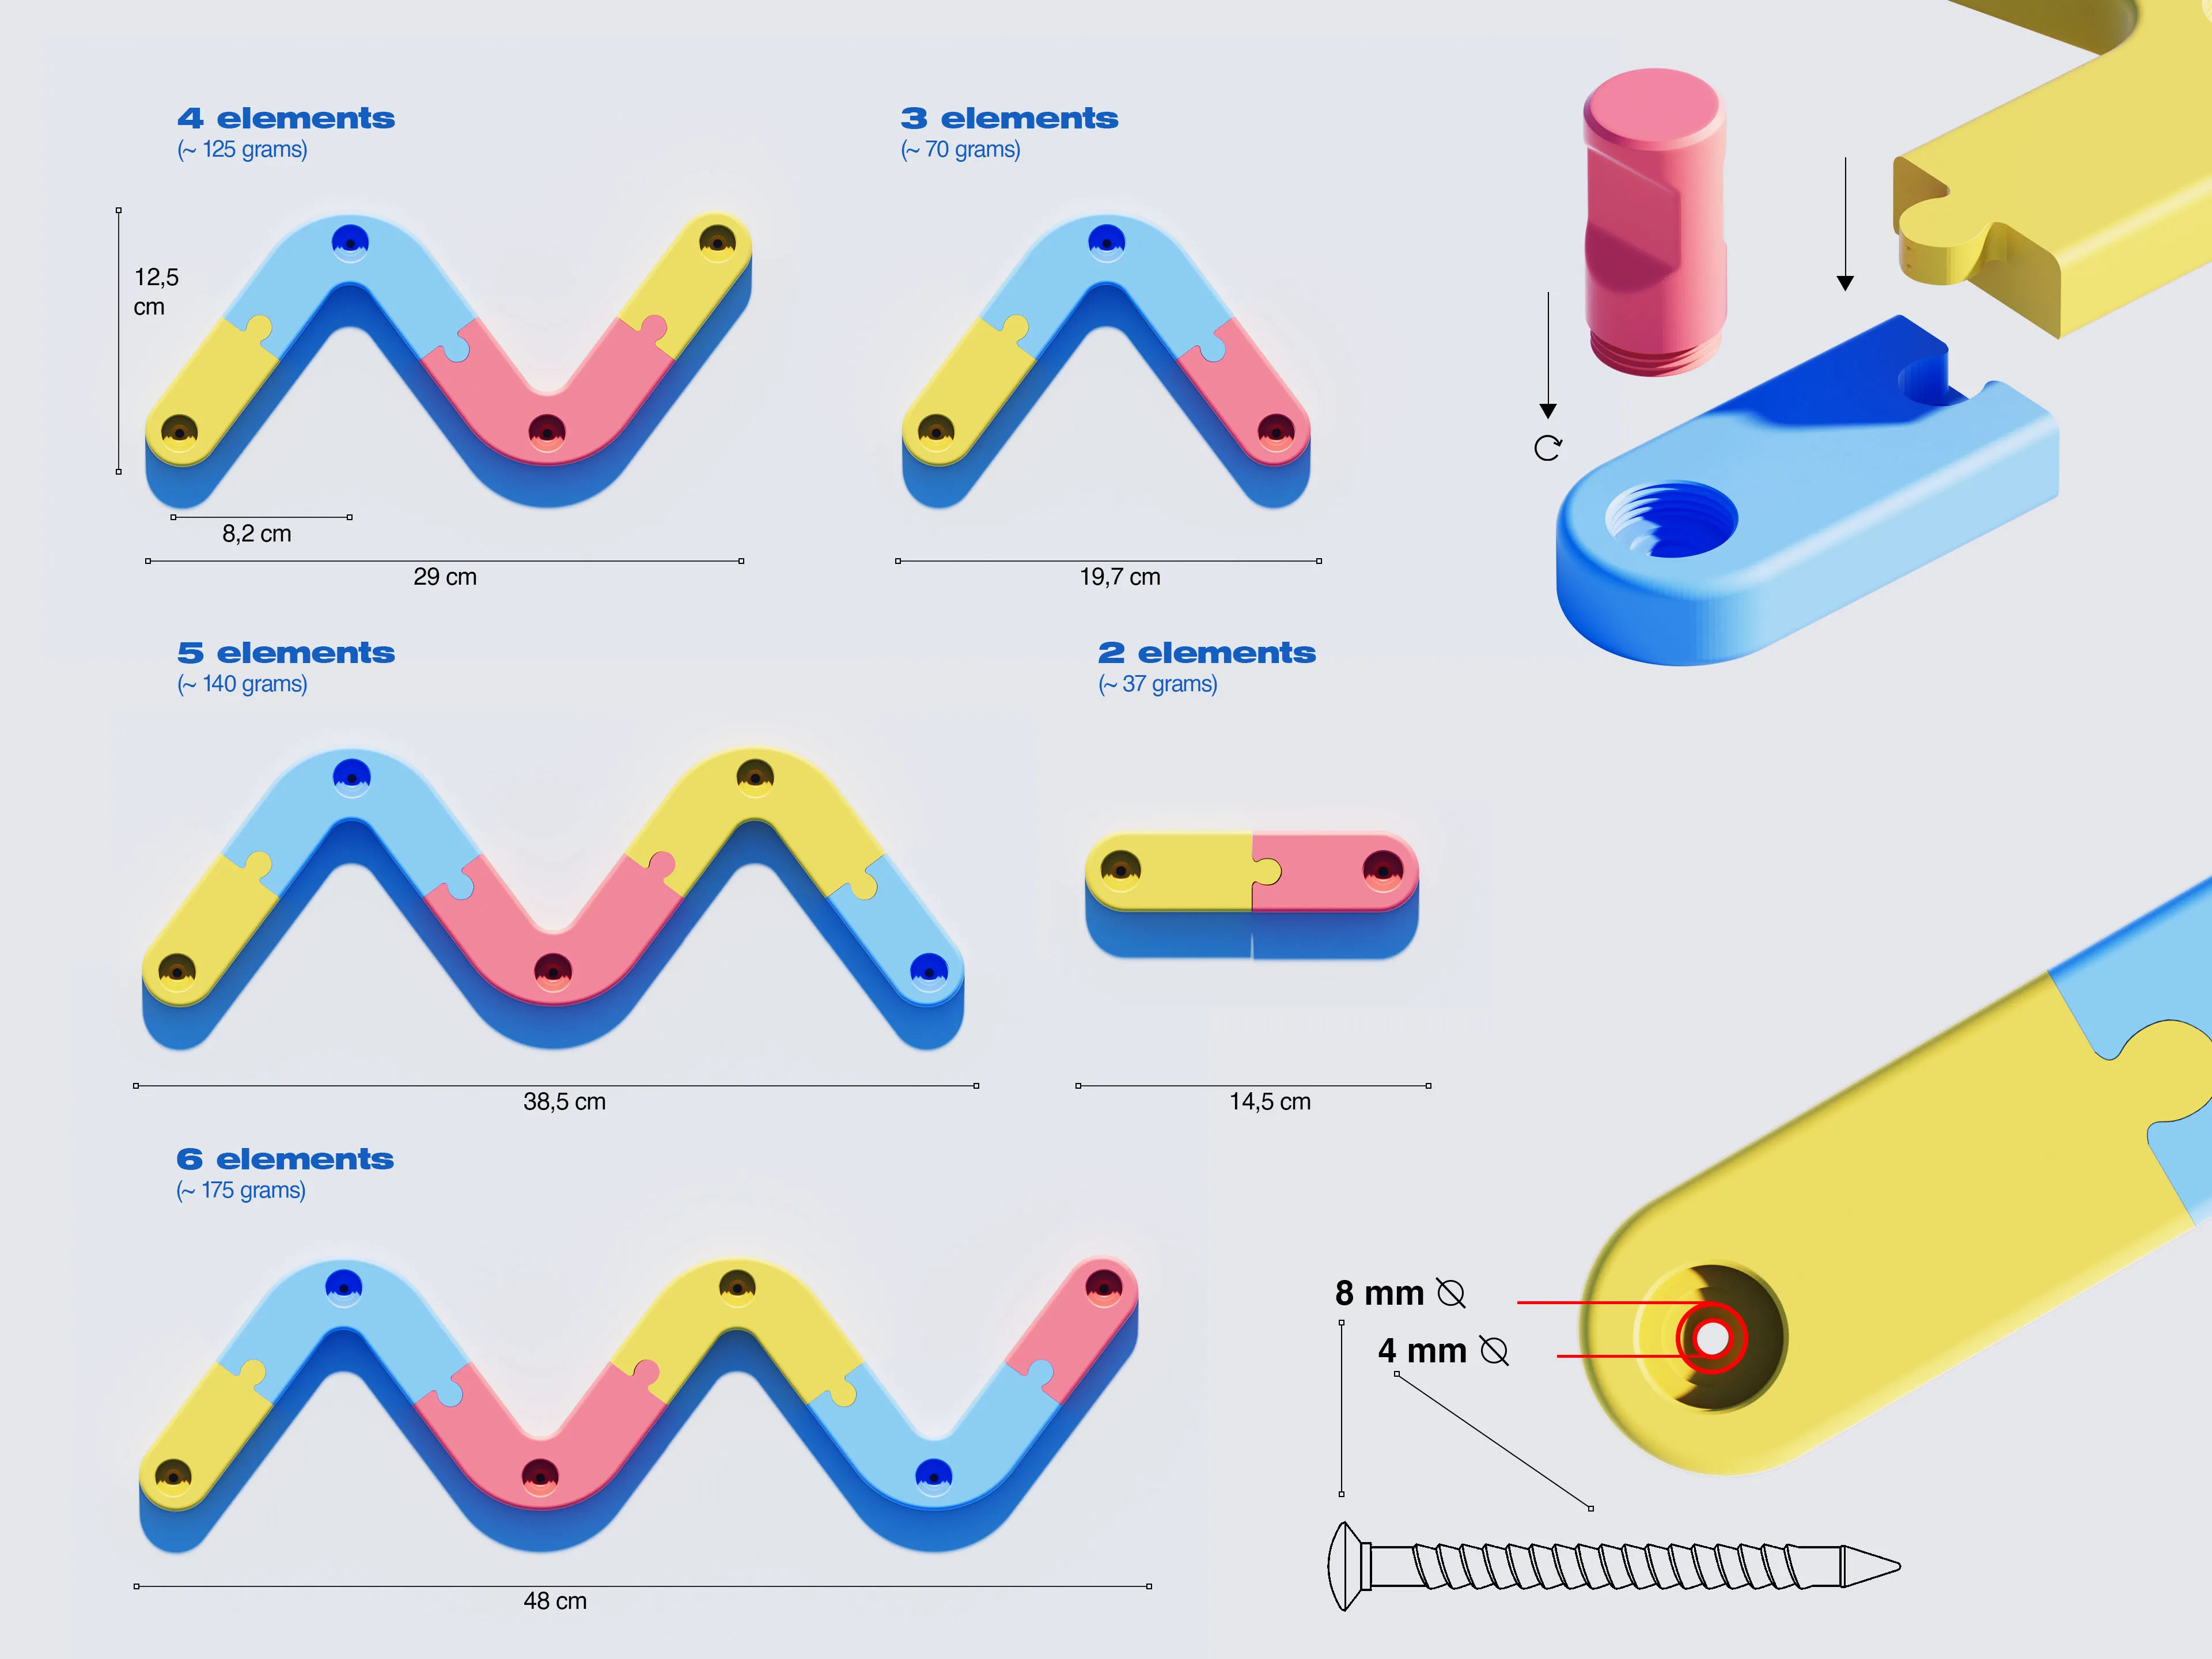
Base version (4 elements) weighs approximately 125 grams and can be printed in under 4 hours (tested on a Bambu P1S).
This version is designed for small to medium items such as hand towels or children’s clothing.
A larger version for bulkier items like jackets and coats will be uploaded soon.
The system is fully expandable, allowing you to add additional elements at any time. Middle elements weigh approximately 35 g, while the side pieces are just under 20 g each. Aside from wall mounting, no additional tools are required to assemble the wardrobe.
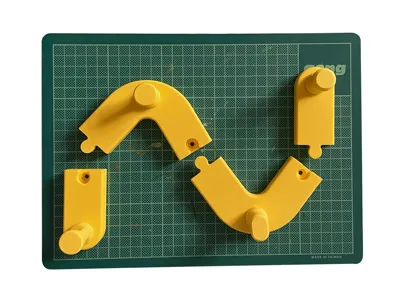
The Hangers

There are four different hanger designs available (see images for reference).
You can find all hanger options in a print profile, choose the one that fits your needs best.
Before mounting the wardrobe, make sure to screw the hangers into the threads once or twice. They may feel tight at first, which is intentional to ensure a secure fit.
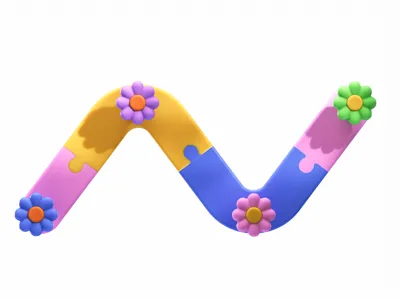
You can also check out the Flower Hanger designed for the modular wardrobe.

Installation
For wall mounting, you can use either screws or double-sided adhesive tape.
Screw mounting (recommended):
This is the more durable option if your installation space allows it.
- Use 1–2 screws per element
- Maximum screw diameter: 4 mm
- Maximum screw head diameter: 8 mm
Adhesive tape mounting:
- Use one piece of 35 × 15 mm double-sided tape per element (see MakerSupply link in the parts list)
- Reducing the infill for this version is recommended to lower overall weight
Dimensions
Base Version (4 elements):
- Width: 29 cm
- Height: 12.5 cm
- Depth: 1.4 cm
Small Version (3 elements):
- Width: 19.7 cm
Mini Version (2 elements):
- Width: 14.5 cm
Large Version (5 elements):
- Width: 38.5 cm
XL Version (6 elements):
- Width: 48 cm
License
You shall not share, sub-license, sell, rent, host, transfer, or distribute in any way the digital or 3D printed versions of this object, nor any other derivative work of this object in its digital or physical format (including - but not limited to - remixes of this object, and hosting on other digital platforms). The objects may not be used without permission in any way whatsoever in which you charge money, or collect fees.
Comment & Rating (2)