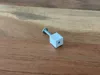
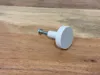
Cabinet knobs


Print Profile(10)

Description
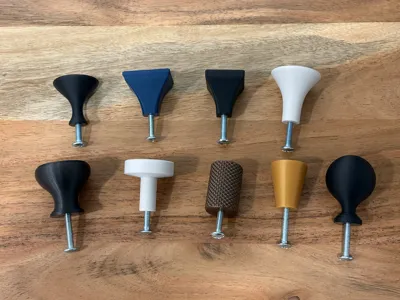
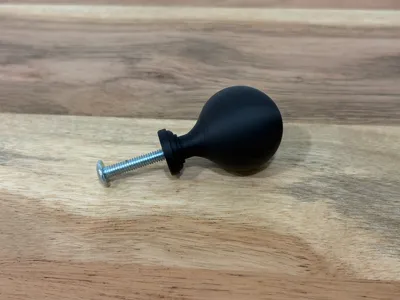
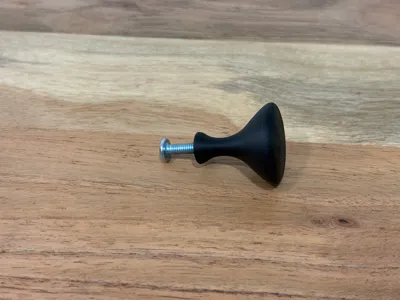
This started out as me needing a bunch of knobs for a project the other day, and rather than spending a bunch of money buying some from the store, I decided to just make one. The design ended up working out better than I thought, so I designed a few more to share. Please read the part about the threads below!
These use the #8-32 screw that most cabinet knob manufactures in the USA use. If you don't have any on hand, you can find these at just about any hardware store .

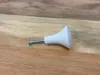
The threads on these run about an inch into the knob for extra strength. While you can use a 1" screw, I would recommend a 1-½" one if you are using it on a ¾" thick door.

Printing the threads
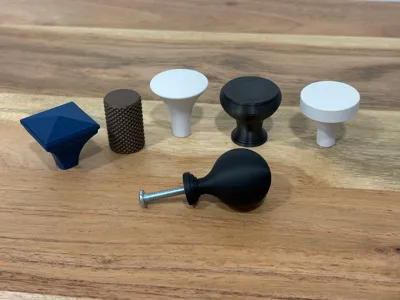
You may have to tweak the threaded hole size based on your printer and filament calibration. This is very easy to do in Bambu slicer. You simply have to adjust the X-Y hole compensation under Precision in the Quality tab. All of the knobs in the 3mf files are currently set to 0.2, which should be close to where it needs to be, but may still need to be adjusted slightly. I found for my printers that 0.19 - 0.21 depending on the printer worked great. This allowed the knob to thread onto the screw with little to no resistance. These settings were tested on my A1, P1S, X1C and H2D. I have included a small threaded block that you can test your thread settings on before printing a knob if you like. If the hole is too tight and the screw won't easily screw in, increase X-Y hole compensation by .02 or so. If its too loose, decrease it slightly.

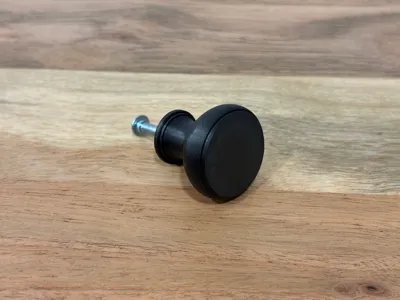
There are a couple ways to make these look good. Matte filament helps to hide layer lines well. Variable layer height works well on the rounded top knobs. And Ironing can give you a smoother finish on the flat top ones. These settings are enabled in the file, but you can tweak them or turn them off if you like. You can also wet sand and paint them.


These all print without supports, and are oriented on the build plates in the proper position.
Membership
Interested in selling these models? Sign up for the commercial license.
License
You shall not share, sub-license, sell, rent, host, transfer, or distribute in any way the digital or 3D printed versions of this object, nor any other derivative work of this object in its digital or physical format (including - but not limited to - remixes of this object, and hosting on other digital platforms). The objects may not be used without permission in any way whatsoever in which you charge money, or collect fees.
Comment & Rating (131)