Cable Ring Label - Customizable Tag


Print Profile(4)


Description
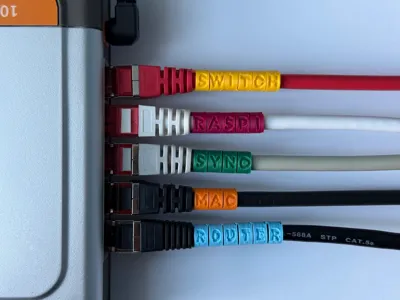
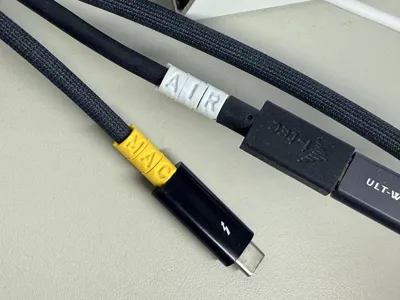
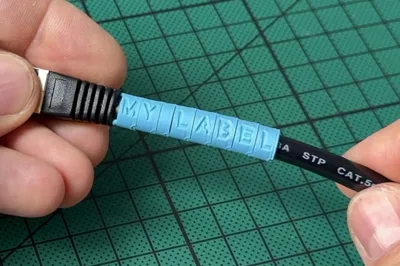
I use my Studio Display with both my Mac and MacBook Air by manually swapping the USB-C cables. Since the cables are located behind the display, it's difficult to recognize which cable belongs to which device, so I thought it would be great to have a simple label to quickly identify the right cable. That’s how the idea of rings with customizable characters was born
1. Preparing
- The available diameters are 4, 5, 6 and 7mm that should be suitable for most of the data cables
- Determine your own cable size. You can measure the cable diameter or print few test rings of different diameters with corresponding numbers, for example: a 4 mm ring with the number 4, a 5 mm ring with the number 5, etc. and directly check on the cable.
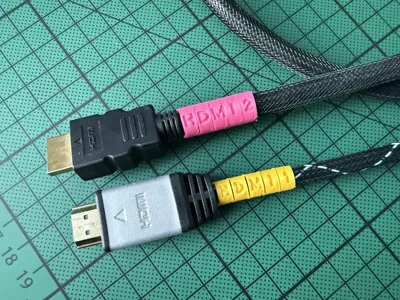
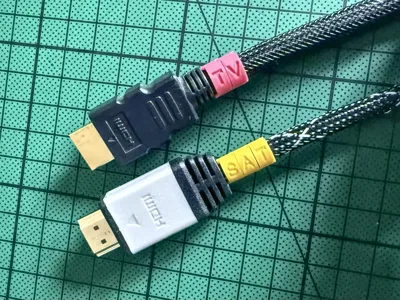
- To make the process (and your life) easier, I've already prepared the complete alphabet and the numbers 0–9 for each ring size. Simply clone the characters you need and delete the unwanted ones. For perfectionists, there's also a spacer to be used between the words.
- The text is entirely managed by Bambu Studio, so you easily can change the font, its properties or apply any other characters. Simply double click the letter on the ring and accompanying text menu will appear.

- The templates are created with NIMBUS SANS L which provides a pleasing appearance when 3D printed. However, some characters such as S/5/6 or 8/B may look very similar. Therefore, if readability is essential, I’d recommend replacing the critical characters with those from the DIN or from the LATO font (http://www.latofonts.com) which provide better distinction.

2. Printing
- The 0.4 mm nozzle provided reasonable quality with standard 0.16 mm HQ profile.
- The 0.2 mm nozzle is supposed to provide better resolution, so I'll test this in the future.
- All labels were printed on Bambu Cool Plate Super Tack; I have no experience with other build plates.
- Always use supports to ensure good adhesion. I actually don’t like supports, but here it's absolutely necessary to avoid spaghetti printing. The good news is the rings can be easily removed by twisting and the remaining "Space Invaders" can be removed with a plastic scraper.


3. Applying
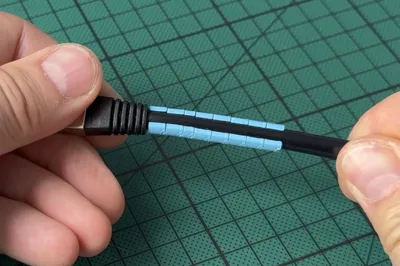
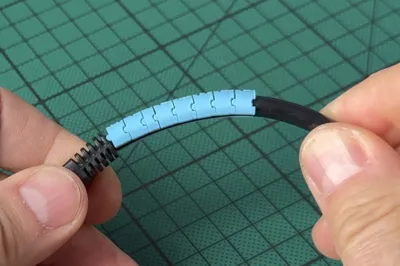
- Carefully press the rings onto the cable and firmly connect them together. You may need a bit patience with these little guys, but the result is great.
- The PLA Basic gave me the feeling to be slightly more flexible than PLA Matte.

Please feel free to share any feedback that can help to improve the design, handling or experience with this make.
Boost Me (for free)
If you like my work, I'd be happy to get your support
License
You shall not share, sub-license, sell, rent, host, transfer, or distribute in any way the digital or 3D printed versions of this object, nor any other derivative work of this object in its digital or physical format (including - but not limited to - remixes of this object, and hosting on other digital platforms). The objects may not be used without permission in any way whatsoever in which you charge money, or collect fees.
Comment & Rating (4)