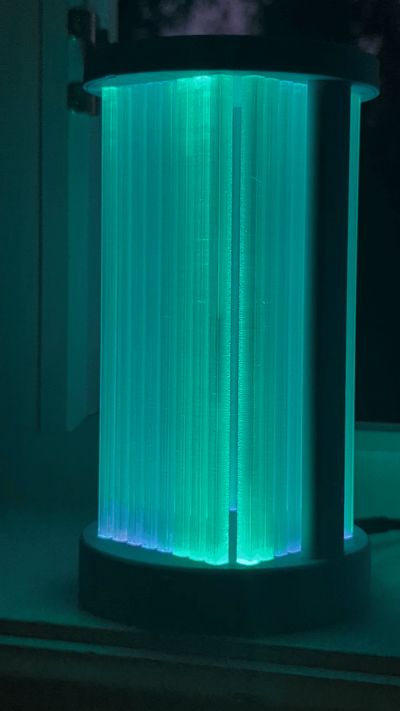
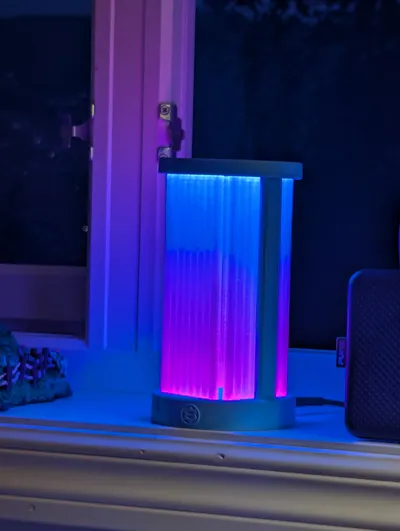
Gradient Pillars


Print Profile(1)

Description
The model is mostly OK to print with PLA, however I highly recommend using PETG or other material that has higher temperature endurance. LEDs get quite hot and might soften the PLA, especially white color at full brightness consumes the most power and generates heat. The semi transparent beams are printed with PETG. Don't try using perfectly clear materials like acrylic stick because the light should deflect from the impurities, so you need to use someone imperfect transparent materials. BambuLab translucent PETG was what I had at hand, so I used it.
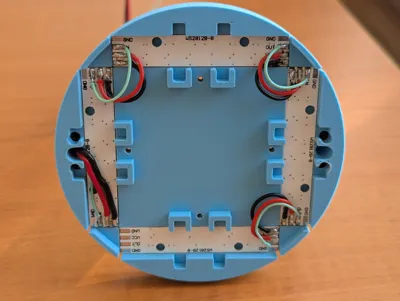
Esp8266 is flashed with WLED firmware. There are two touch buttons and eight WS2812 LEDs modules. All electronic components are from aliexpress. Here you can flash your esp8666 directly from browser with the latest WLED version.
Important points when doing the electronic assembly:
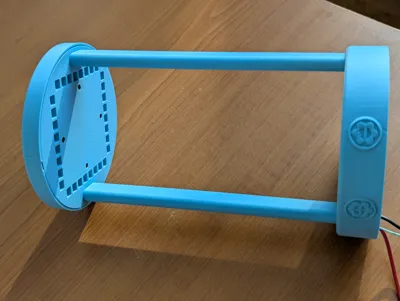
- To get the LED PCBs fit into the slot, please trim the edges of PCB, it also helps to get rid of the splinters.
- Each LED PCB draws about 270mA, so in total they will consume slightly more than 2A, so please chose the power cable accordingly.
Don't use the 5V from the esp8266 pinout, because it is feed through a very small diode which can not withstand the current. Instead, you can scratch the 5V trace as I did in the picture to get 5V from USB directly. For GND you can scratch almost anywhere on PCB where GND plane is available.

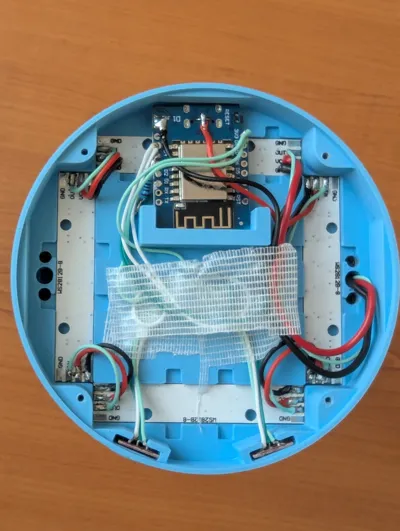
I have added 10k pull-up resistor and a 1k resistor in series to the data line. Otherwise esp8266 won't boot.

For touch buttons I used D1 and D2 (GPIO4 and GPIO5), I think it is possible to use other pins from the board however I haven't tried all. Important thing to do is to add capacitor to touch button boards, because they are easily affected if supply voltage fluctuates, that happens when brightness of the LEDs increases so fast. On the right board, you can see the capacitor I added.

The rest of the assembly is straightforward, just solder the wires. I know my cabling is a bit messy but this is one of my fist 3D designs.
Example links from aliexpress:
LEDs All you need is to search for WS2812
Touch Button search for TTP223
wemos D1 mini make sure you order version with USBn type-c
All the screws are M2. On side columns I used 20mm, for the rest 6mm was OK. But be gently with screws!!!
Don't forget to check the other v2
Comment & Rating (0)