Wind up key


Print Profile(1)

Bill of Materials
Description
Membership
If you’d like to use this model commercially, buy me a beer and we’ll call it even. 🍺
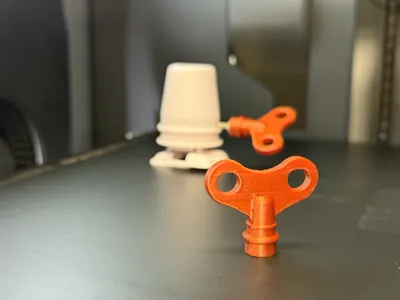
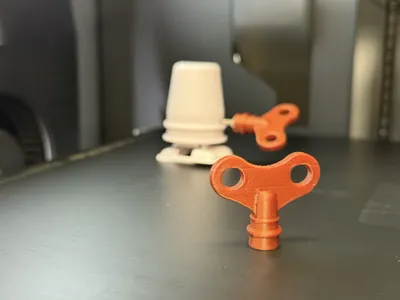
🗝️ Wind-Up Key for Walking Mechanism MD001 – Retro charm, freshly printed!
Remember those classic tin toys that waddled around after a few twists of a key? Well, they're making a stylish comeback! This lovingly modeled wind-up key is designed to fit the Wind-Up Walking Mechanism MD001 like a glove – or rather, like a gear in a well-oiled machine.
With a nostalgic silhouette inspired by vintage tin toy keys, it’s the perfect finishing touch for your walking contraptions, creatures, or curious little automatons.
✔️ Compatible with MD001 mechanism
✔️ Retro design with a modern twist
✔️ 3D printed with care and a touch of childhood wonder
Boost Me (for free)
Thanks for the boost! Now I can keep creating weird little things that probably shouldn't exist—but totally do. 🛠️✨
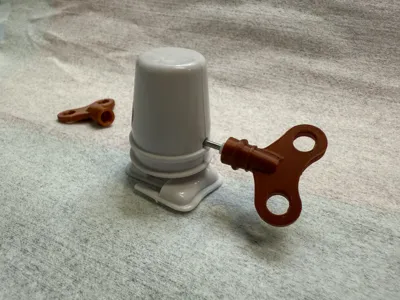
🔧 Installation Instructions
To install the key onto the MD001 wind-up mechanism, follow these simple steps:
- Hold the shaft firmly – I can recommend using pliers to grip the metal shaft of the mechanism while inserting the key. This helps prevent accidental damage or stress on the internal components.
- Align and press – Align the keyhole with the shaft and press the key in firmly. It may require a bit of force – don’t worry, that’s by design! The tight fit ensures the key doesn’t spin freely or slip during winding.
- Twist to test – Once inserted, give the key a gentle twist. If it turns smoothly and the mechanism starts ticking, you’re good to go!

🔧 Removal Instructions
Need to take the key off the MD001 mechanism? Easy – just reverse the installation steps:
- Hold the shaft firmly – Just like during installation, use pliers to grip the metal shaft to avoid putting stress on the mechanism.
- Pull the key straight out – Using two fingers, apply steady pressure away from the mechanism. The fit is tight by design, so a bit of force may be needed – but don’t wiggle or twist too much to avoid damage.
- Store safely – Once removed, keep the key somewhere safe – preferably where small curious creatures (kids, cats, goblins) won’t run off with it.
⚠️ Note: Patience beats brute force. Avoid pulling at an angle.

License
You shall not share, sub-license, sell, rent, host, transfer, or distribute in any way the digital or 3D printed versions of this object, nor any other derivative work of this object in its digital or physical format (including - but not limited to - remixes of this object, and hosting on other digital platforms). The objects may not be used without permission in any way whatsoever in which you charge money, or collect fees.
Comment & Rating (15)